- Author Jason Gerald [email protected].
- Public 2023-12-16 10:50.
- Last modified 2025-01-23 12:04.
Close-up photography with detailed objects requires good lighting, and the use of light boxes is the perfect solution. The light box will make the light spread out so that the background on which the object is placed will appear even. Professional light boxes are quite expensive, but you can make an inexpensive version at home. To make an inexpensive photographic light box, you can make a frame by punching holes in the left, right, and top sides of the cardboard box, then covering the window holes with cloth or white tissue paper. Also place the white poster cardboard curved (don't bend it) inside the box to create a smooth, plain background. You can also cover each window opening with black poster cardboard to block out the light as needed during the shoot. For lights, you can use a flash (flash), table lamps, and other light sources to create the lighting effect you want.
Step
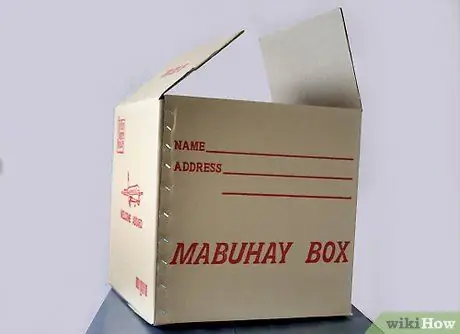
Step 1. Prepare a cardboard box
It must be large enough to fit the object you are going to photograph. Chances are you'll need to build lightboxes of different sizes.
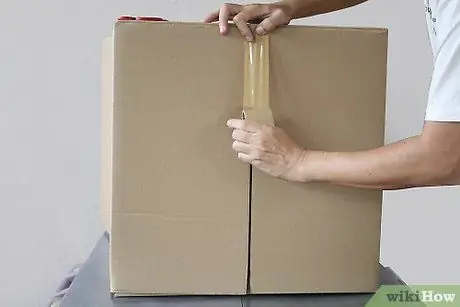
Step 2. Secure the bottom of the cardboard with duct tape
Also use duct tape to glue the inner lid of the cardboard. In this way, the lid will not interfere.
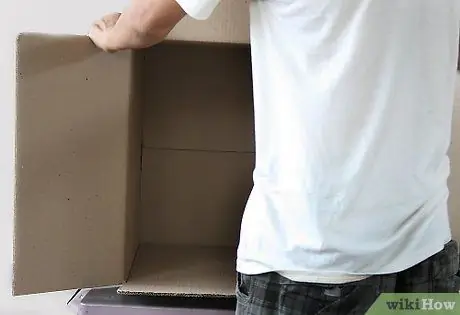
Step 3. Lay the cardboard
The exposed part should be facing you.
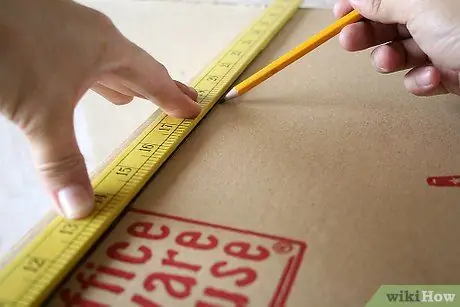
Step 4. Make a 2.5 cm wide frame on each left, right, and top side of the cardboard
A standard 30 cm ruler will help you create a perfectly straight frame of the right width.
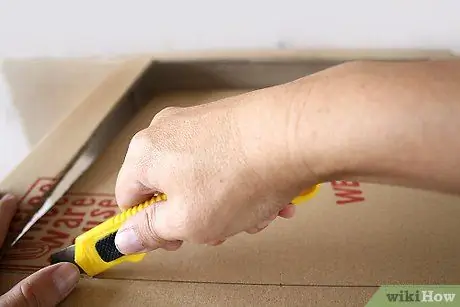
Step 5. Use a cutter knife and cut along the lines you drew
You can use a ruler with straight edges as a guide when cutting. The cut doesn't need to be perfectly straight. Note that the front cover of the cardboard is still left now, as it is useful for stabilizing the cardboard and making cutting easier. To do this, close the two flaps on the front of the cardboard tightly.
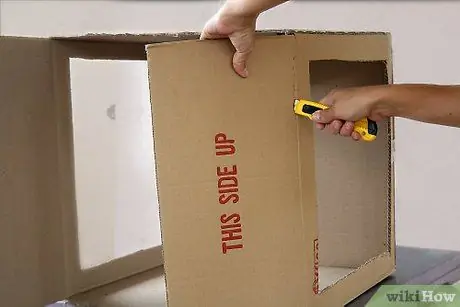
Step 6. Now, cut the two front covers of the cardboard with a cutter knife
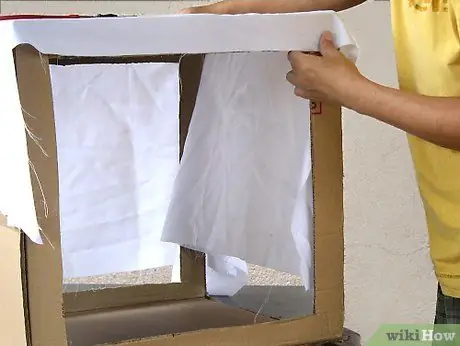
Step 7. Cut a few pieces of white fabric (muslin, nylon, or white fleece) large enough to cover each window opening in the cardboard
Tape it to the outside of the cardboard with clear tape. Start with a single layer of fabric. After all the openings in the cardboard are covered with cloth, do a test shoot. You may need an extra layer of tissue paper to get the lighting right.
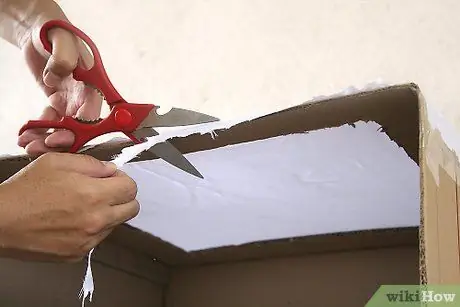
Step 8. Use a knife cutter and scissors to smooth out the pieces of cardboard and fabric hanging from the edges of the cardboard
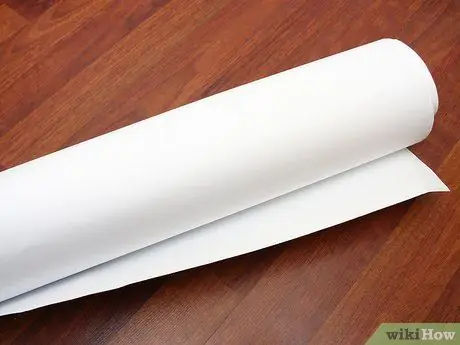
Step 9. Cut a piece of matte white poster cardboard to fit inside the cardboard
Use a rectangular cardboard that is the same width as the width of the cardboard, but twice as long.
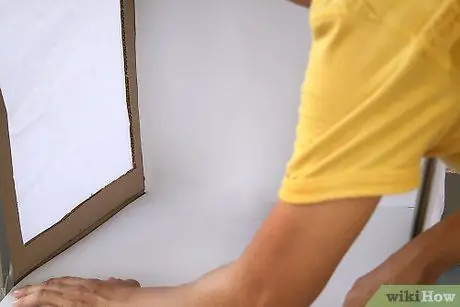
Step 10. Insert the white cardboard into the cardboard, bending it so that it covers the back of the cardboard all the way up
Bend gently, do not bend / fold. Trim the front end if necessary. This cardboard will serve as a smooth, cornerless background for your photo shoot.
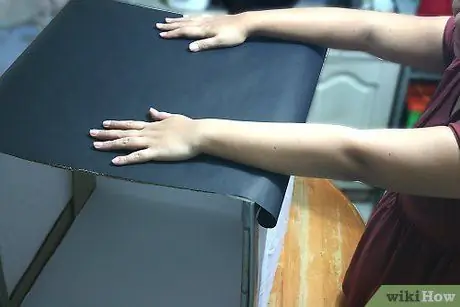
Step 11. Cut out a matte black poster cardboard that is large enough to cover the fabricated cardboard window
This black cardboard is useful for blocking light from certain directions when shooting.
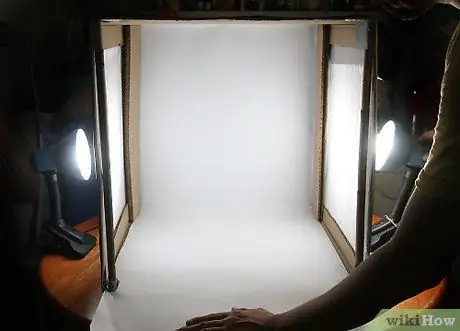
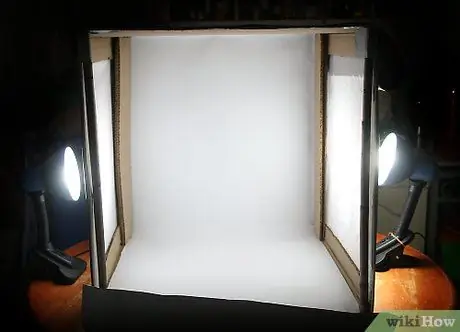
Step 12. Prepare the lamp
Professional photography lights, flashlights, and even standard table lamps can be placed on each side or on cardboard to produce the lighting effect you want.
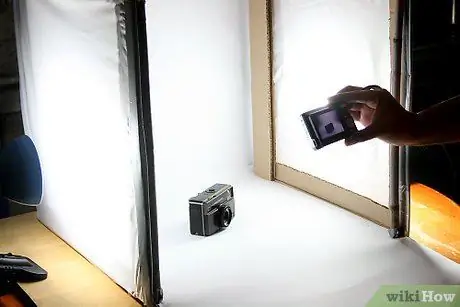
Step 13. Take a test shot
Check how well these cloth and tissue paper filters do at scattering light. Add several layers of tissue paper as needed. The camera photo below is an example made in a lightbox and not edited, just cropped. Now is the time for you to take great photos!
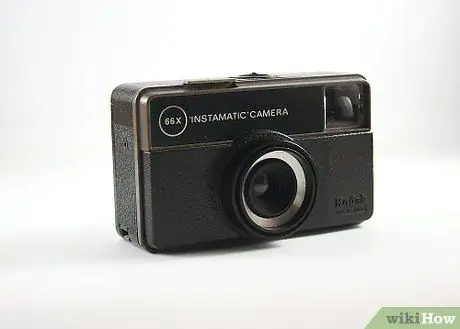
Step 14. The photo created in the lightbox will appear clean, sharp, and without any gray tones on the background
Consider an example of a photo taken in a lightbox like this.
Step 15. Done
Tips
- Use matte poster cardboard instead of glossy. Glossy poster cardboard will reflect light and create a sparkle in the photo.
- If you want to shoot vertically from top to bottom, cut the bottom of the box like the left, right, and top sides, and cover it with cloth/tissue paper. Place the box with the open side facing down, then cut a lens-sized hole in what is now the top. That way, you can place your subject on a matte white cardboard and then place a light box on top of it. Shoot through the hole at the top of the box.
- Try poster cardboard or even fabric in other colors for the desired effect.
- If your camera has a "Custom White Balance" feature, learn how to use it. With this feature you can create completely different effects on the same photo.
- Punching holes in the bottom of the box will actually make it easier for you. Just place the light box over the subject you want to photograph.
Warning
- Make sure the lights you use won't start sparks!
- Also use a strobe light (strobe).
- Be careful when using a cutter knife. You will certainly have difficulty when taking pictures if you hurt your finger. Cut in a direction away from you and your hand.


