- Author Jason Gerald [email protected].
- Public 2024-01-15 08:07.
- Last modified 2025-01-23 12:04.
This wikiHow teaches you how to unlock objects, layers, and elements on a "locked" master page in Adobe InDesign so that they can be moved or modified.
Step
Method 1 of 3: Unlocking a Locked Object
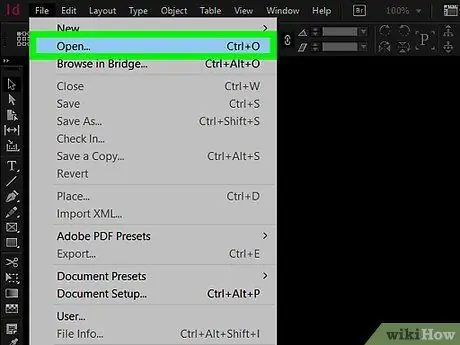
Step 1. Open a file in Adobe InDesign
To do so, double click on the pink app icon that says " ID, " then click File on the menu, and click open…. After that select the document containing the locked objects and click Open.
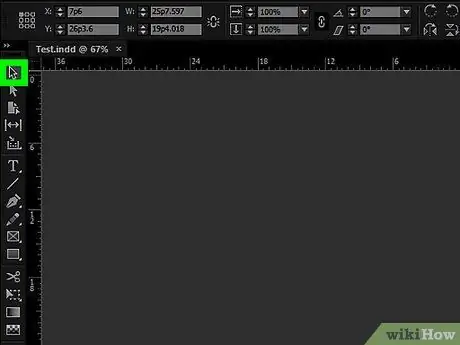
Step 2. Click the Selection Tool, the black pointer at the top of the Tools menu
It's on the left of the screen.
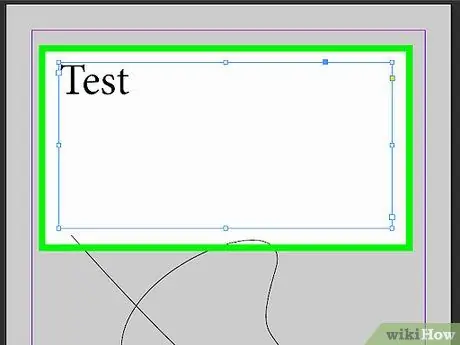
Step 3. Click the object you want to unlock
To select multiple objects, press Ctrl (Windows) or (Mac) while clicking the object you want to unlock
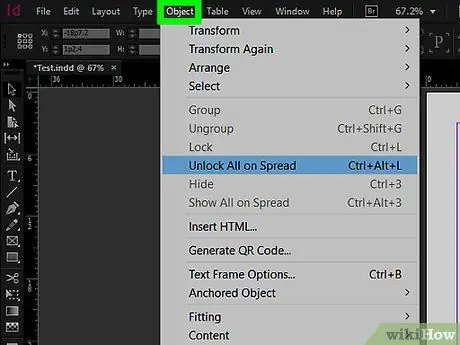
Step 4. Click Object in the menu at the top of the screen
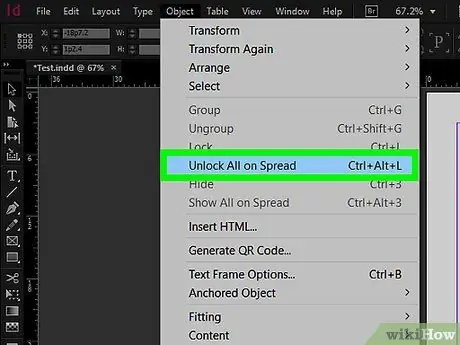
Step 5. Click Unlock
Now the object you selected can be moved or changed.
Click Unlock All on Spread to free all objects in the current spread (page).
Method 2 of 3: Unlocking the Locked Layer
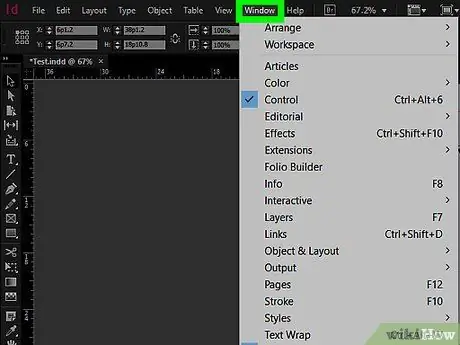
Step 1. Click Window on the menu
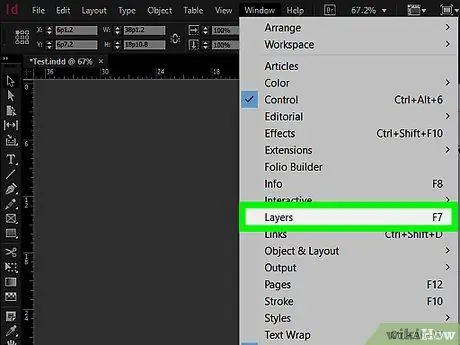
Step 2. Click Layers
As a result, the Layers panel will open on the right side of the application.
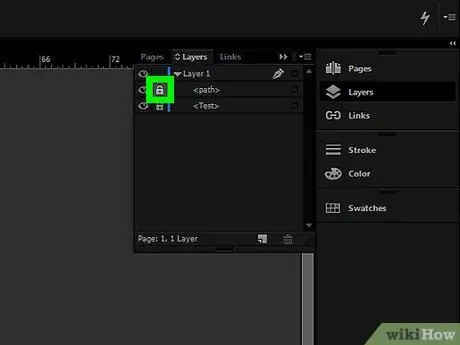
Step 3. Click the lock icon next to the layer you want to unlock
The lock icon will disappear and become unlocked.
-
To unlock all layers at the same time, click
in the upper right corner of the Layers panel, then click Unlock All Layers.
Method 3 of 3: Unlocking Locked Master Page Elements
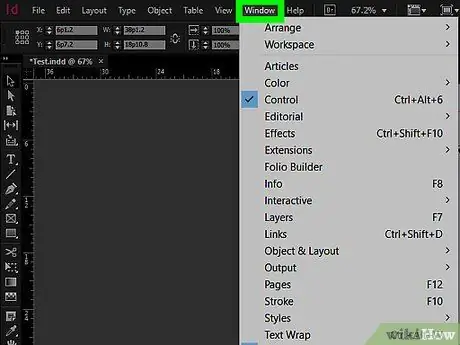
Step 1. Click Window on the menu
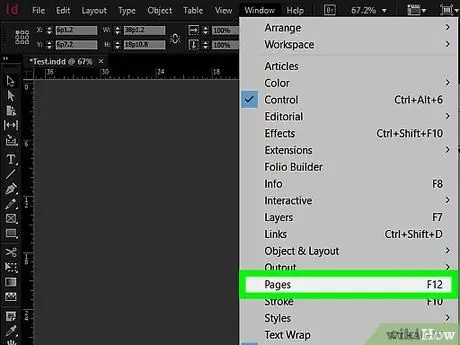
Step 2. Click Pages
After that, the Pages panel will open on the right side of the app.
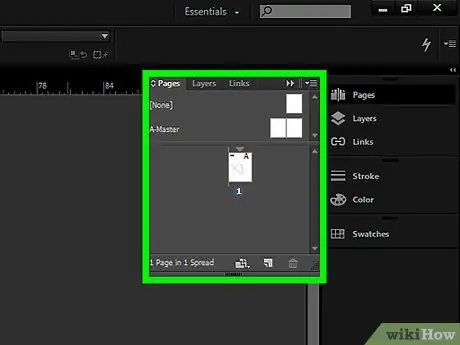
Step 3. Open the Master Page you want to change
To do this, press Ctrl+⇧ Shift (Windows) or +⇧ Shift (Mac) while clicking the Master Page icon in the Pages panel.
- Unlock Master Page elements when you want to replace elements that are bound to exist on each page, such as page numbers, chapters, and publication date. Select the list of pages in the Pages panel.
-
To unlock all Master Pages at once, click
in the upper right corner of the Pages panel, then click Override All Master Page Items.


