- Author Jason Gerald [email protected].
- Public 2024-01-19 22:11.
- Last modified 2025-01-23 12:04.
This wikiHow teaches you how to use the Canon CameraWindow program to transfer photos from a Canon camera to a Windows computer. Keep in mind that Canon cameras must have a WiFi feature in order to connect to CameraWindow. Also, CameraWindow is an old program so camera models manufactured after 2015 cannot be used with the program.
Step
Part 1 of 4: Downloading and Extracting CameraWindow from Canon
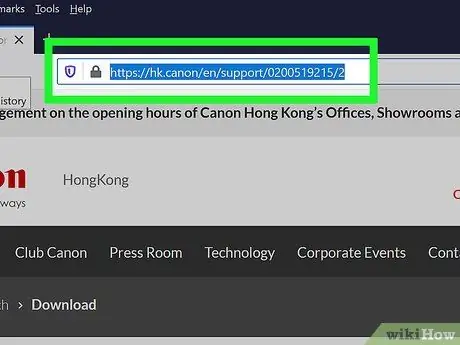
Step 1. Go to CameraWindow download page
Visit https://hk.canon/en/support/0200519215/2 via your computer's web browser.

Step 2. Click Download Now
It's a red button in the middle of the page. The CameraWindow ZIP folder will be downloaded to your computer afterwards.
You may need to select a location to save your download or confirm the download of the file before it is downloaded
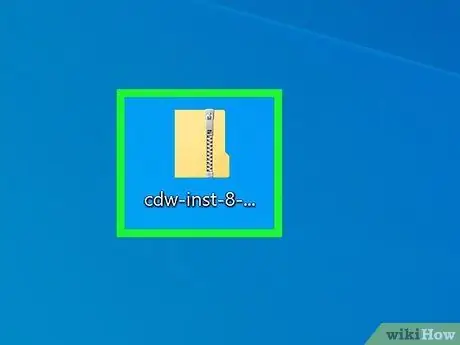
Step 3. Double-click the downloaded ZIP folder
You can find it in your browser's main download location (or any other location of your choosing). After that, the ZIP folder will be opened.
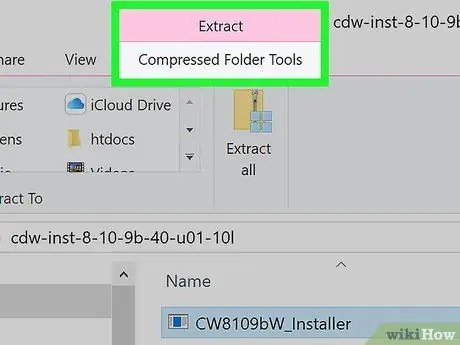
Step 4. Click Extract
It's a tab at the top of the window. The toolbar will be displayed under the tab “ Extract ”.
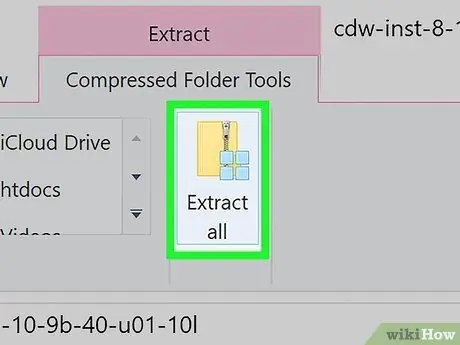
Step 5. Click Extract all
This button is on the toolbar.
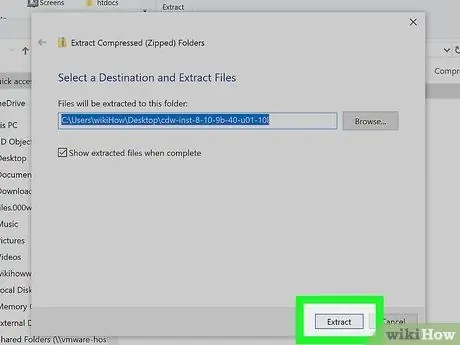
Step 6. Click Extract when prompted
It's at the bottom of the pop-up window. After that, the contents of the ZIP folder will be extracted to a regular folder, and the folder will be opened. When the extraction process is complete, you can open CameraWindow.
Make sure the "Show extracted files when complete" box is checked. Otherwise, you will need to open the extracted folder (regular folder) first before moving on to the next step
Part 2 of 4: Installing CameraWindow
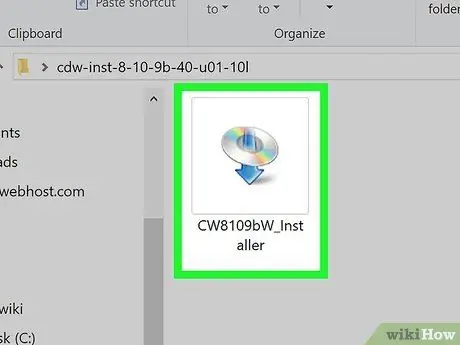
Step 1. Double-click the installation file
This file is in the extracted folder. After that, the CameraWindow installation window will open.

Step 2. Select the area where you live
Click where you currently live.
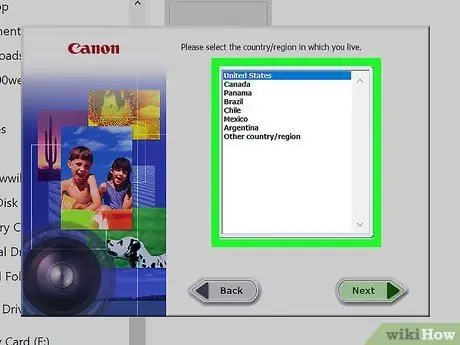
Step 3. Select the country of origin
Click your home country in the middle of the window.
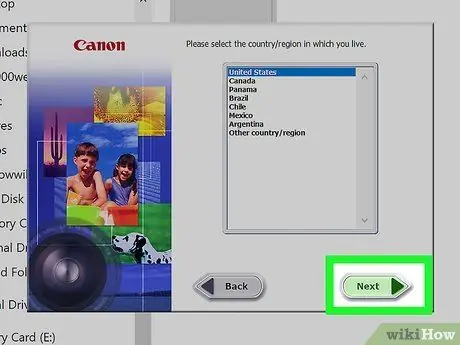
Step 4. Click Next
It's in the lower-right corner of the window.

Step 5. Choose a language
Click the language you want to use in CameraWindow.
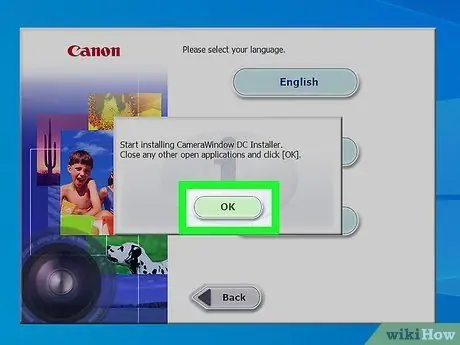
Step 6. Click OK when prompted
You will be taken to the installation confirmation page afterwards.
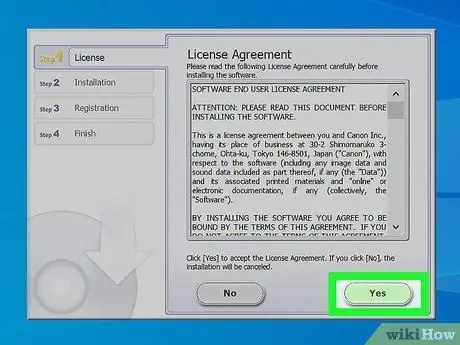
Step 7. Click Yes
It's in the middle of the window.
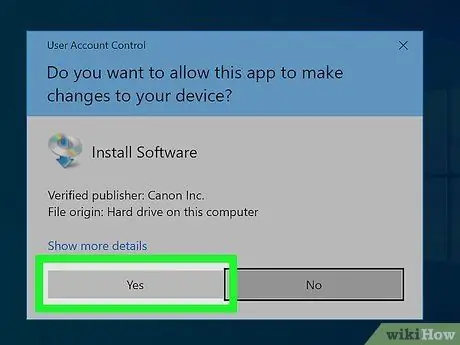
Step 8. Click Yes when prompted
With this option, the CameraWindow installation will begin immediately.
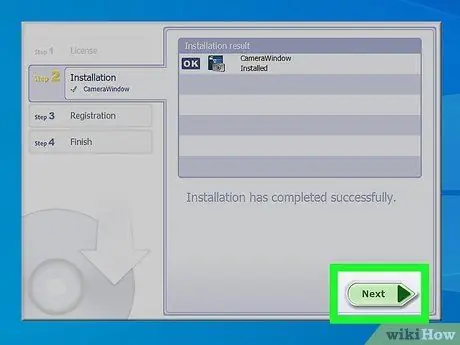
Step 9. Click Next
It's in the lower-right corner of the window.
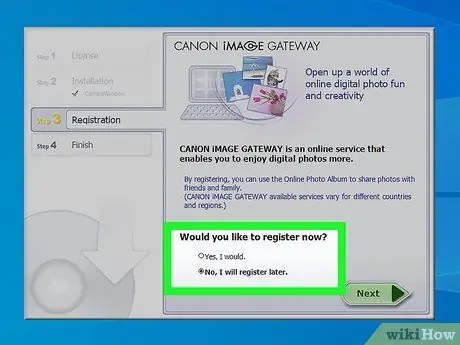
Step 10. Register for the service at a later time
Check the box " No thanks, I'll register later ", then click " OK ” when prompted.
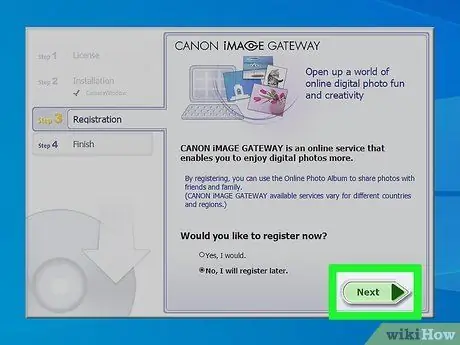
Step 11. Click Next
It's in the lower-right corner of the window.
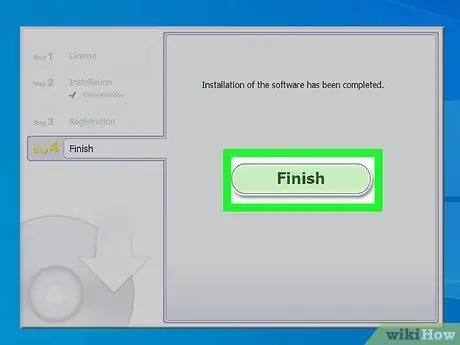
Step 12. Click Finish
It's in the middle of the page. Once clicked, the window will close and the installation process will end. At this point, you should be able to connect the camera to your computer.
Part 3 of 4: Connecting Camera to Computer
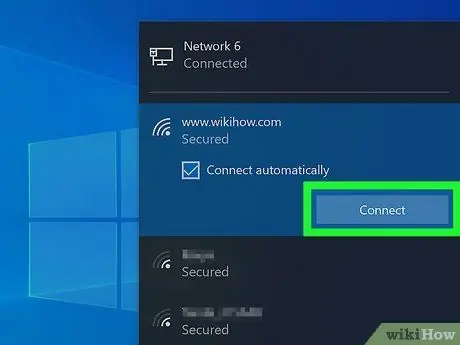
Step 1. Make sure the computer is connected to a WiFi network
In order to connect the camera to a computer, make sure that the computer is connected to a wireless network first.
You need to connect the camera to the same wireless network as the computer
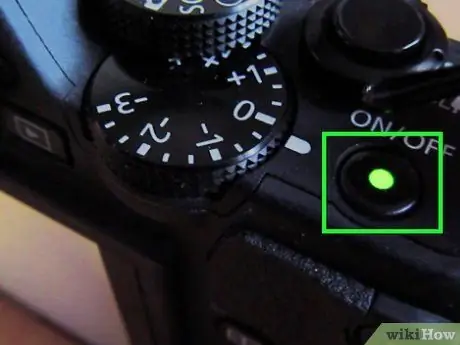
Step 2. Turn on the camera
Slide the camera's power button to the on position or press the "Power" button
to turn on the camera.
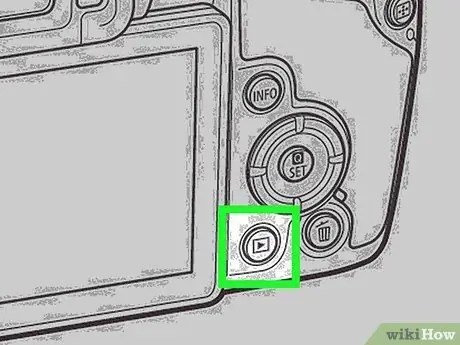
Step 3. Press the "Playback" button
This triangular button is on the back of the camera.
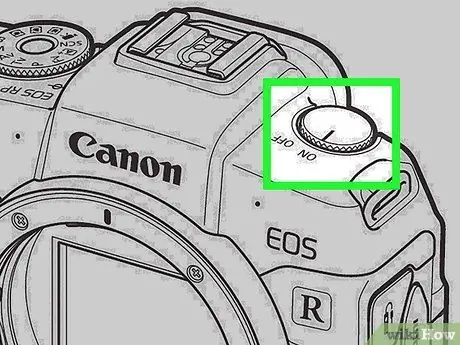
Step 4. Open the “Wi-Fi” menu
Move the selection using the arrow keys (or directional dial) on the camera until you find the option " Wi-Fi " or " Networks ", then select the option by pressing the “ FUNC. SET ”.
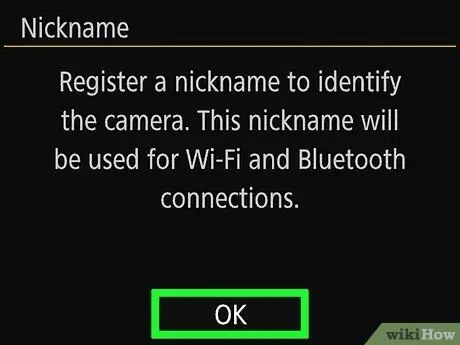
Step 5. Enter the camera name if prompted
When prompted to type a name for the camera, select the letter that appears in the menu. You need to assign a name to the camera so that it can be recognized by the computer.
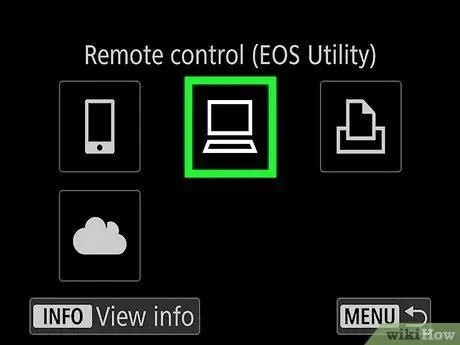
Step 6. Select the "Computer" icon
Move the selection to the computer icon using the arrow keys or the camera dial, then press the “ FUNC. SET ” to select an icon and open the menu.
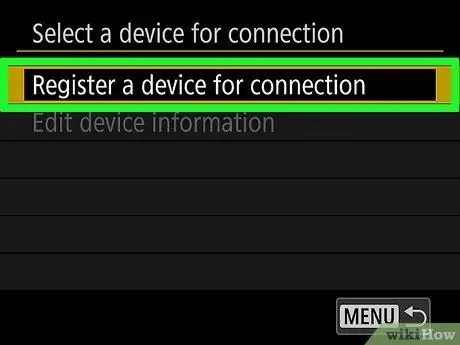
Step 7. Select Add a Device…
This option is in the computer menu. After that, a list of available WiFi networks will be displayed.
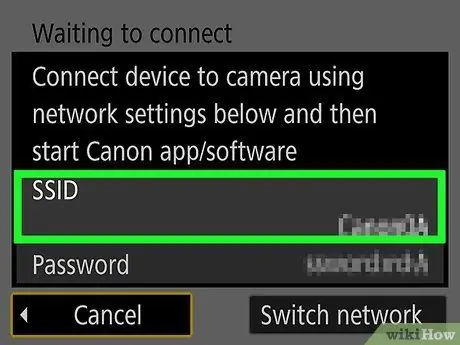
Step 8. Select the network name of the computer
Scroll down until you find the name of the network to which your computer is connected, then press the “ FUNC. SET ” to select a network.
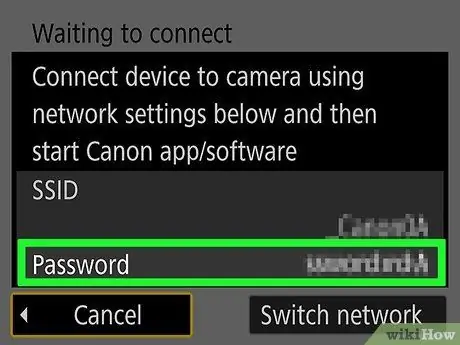
Step 9. Enter the network password if prompted
Use the keyboard displayed on the screen to type in the password for the camera to connect to the network.
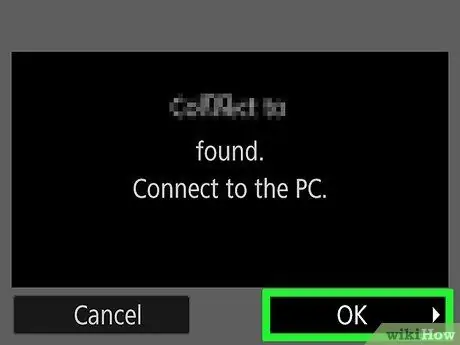
Step 10. Select a computer
Scroll down until you find the computer name, then select it by pressing the “ FUNC. SET The camera will be connected to the computer after that.
You may need to select " Auto ” first when prompted to set network settings.
Part 4 of 4: Moving Photos
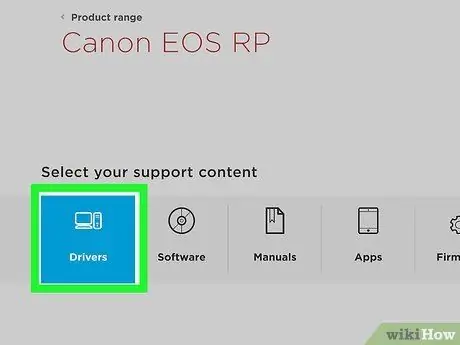
Step 1. Install the camera driver if necessary
If you have never connected the camera to a computer using a USB cable before, install the camera driver by following these steps:
-
Open File Explorer

File_Explorer_Icon - Click " Network ” on the left side of the window.
- Double-click the camera name.
- Follow the instructions shown on the screen.

Step 2. Open the “Start” menu
Click the Windows logo in the lower-left corner of the screen.
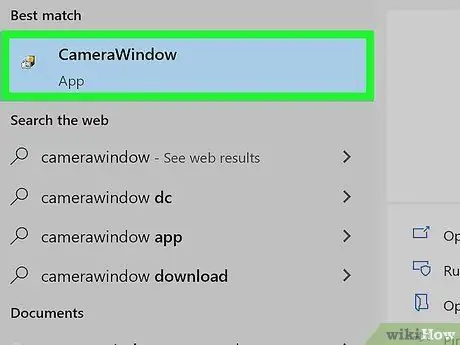
Step 3. Open CameraWindow
Type camerawindow into the "Start" window, then click " CameraWindow ” at the top of the search results list when prompted.
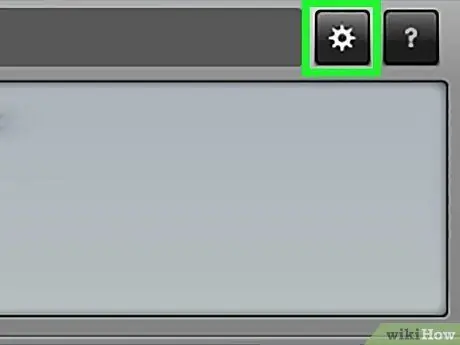
Step 4. Click the “Settings” icon
It's a gear icon in the upper-right corner of the window. After that, the “Settings” window will be opened.
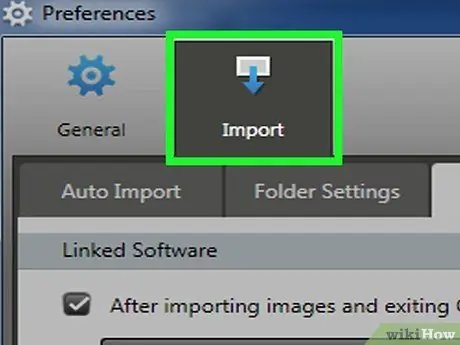
Step 5. Click the Import tab
This tab is at the top of the “Settings” window.
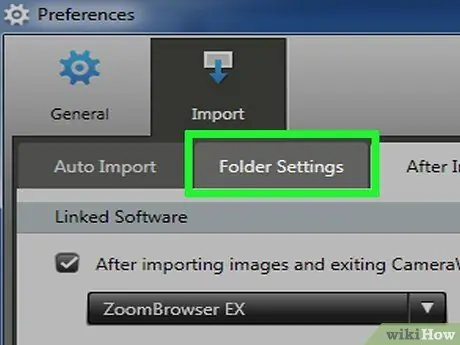
Step 6. Click Folder Settings
It's a tab at the top of the window.
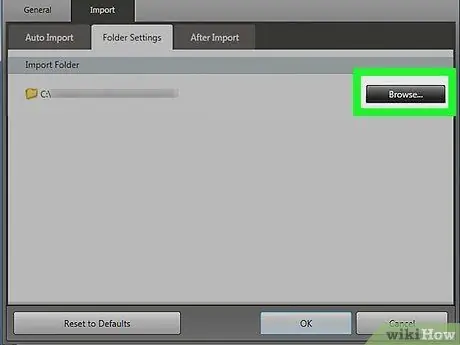
Step 7. Click Browse…
It's in the center-right side of the page. Once clicked, a File Explorer window will open.
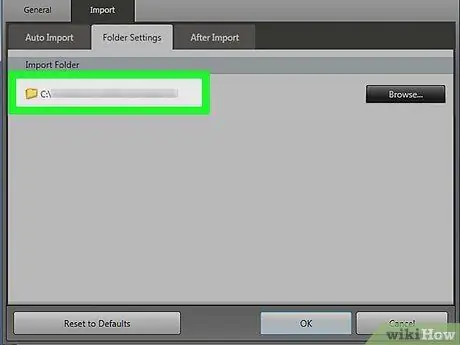
Step 8. Select a folder
Click the folder you want to set as the location for storing photos from the camera, then click “ Open " or " Select Folder ” in the lower-right corner of the pop-up window.
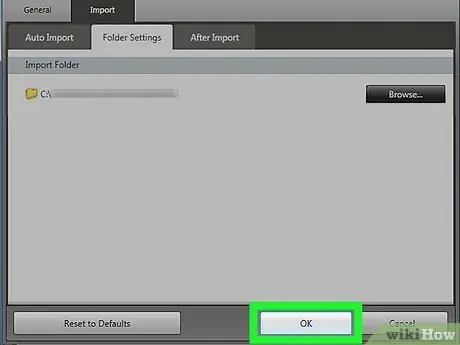
Step 9. Click OK
It's at the bottom of the window. After that, the settings will be saved and the “Settings” window will be closed.
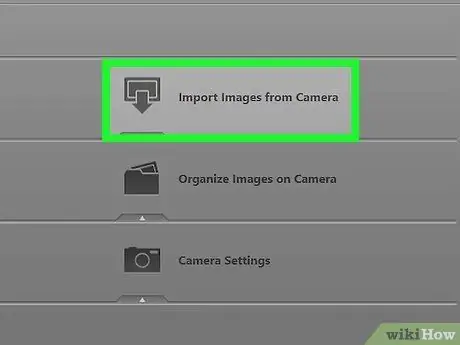
Step 10. Click Import Images from Camera
It's in the middle of the window.
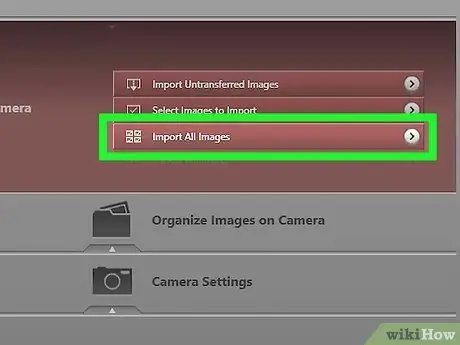
Step 11. Click Import All Images
It's in the middle of the menu. The photos from the camera will be transferred to the computer afterwards.
If you want to import only certain photos, click " Select Images to Import ”, select each desired photo, and click the arrow icon “ Import ” in the lower right corner of the window.
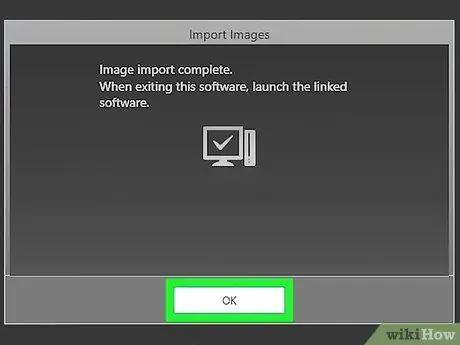
Step 12. Wait for the transfer process to complete
Once the progress bar in the center of the window disappears, the photos are done moving. You can find it in the previously selected folder.


