- Author Jason Gerald [email protected].
- Public 2023-12-16 10:50.
- Last modified 2025-01-23 12:04.
Everyone has drawn a tree, but it just takes a little observation and detail to draw a tree that is more realistic. Decide whether you want to start with a deciduous tree, or a coniferous tree such as a pine or spruce. Once you've finished creating the general shape of the tree, go back and add some twigs and branches. The tree will start to look realistic before your eyes!
Step
Method 1 of 2: Draw a Leafy Tree
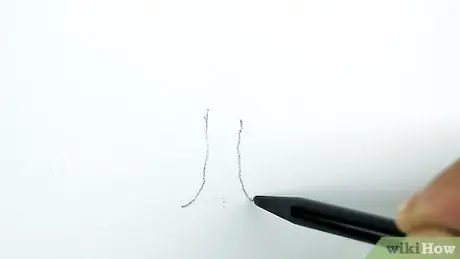
Step 1. Create a tree trunk
Decide on the shape of the tree you want as a whole first. For example, if you want to make a large oak tree, start with a wide trunk that rises into the sky. To make smaller branches, draw smaller trunks.
Consider using HB and 2B. pencils to draw the outline of a tree. Then, you can shade the tree with a darker 4B or 6B pencil.
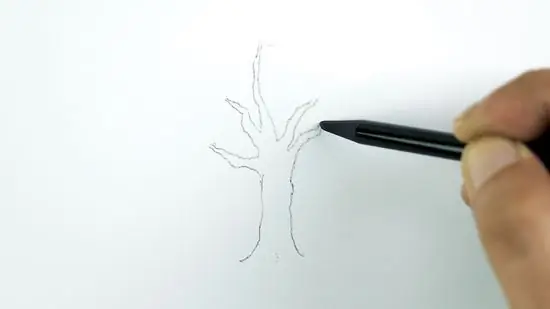
Step 2. Draw some branches sticking out of the tree trunk
Make as many branches as you want and position them on either side of the trunk. You also need to draw at least 1 large branch that tapers from the top of the tree.
If you're describing a small, young tree, remember that it usually doesn't have many large branches and will be thinner than a large mature tree
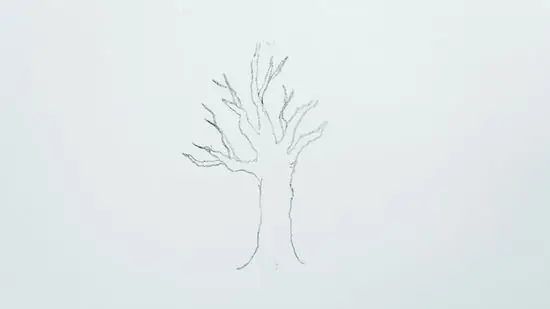
Step 3. Make the branches taper as they get further away from the main trunk
Instead of making small twigs sticking out of the branch, draw the branch so that it narrows before getting smaller.
Vary the size of the branches so they look more natural
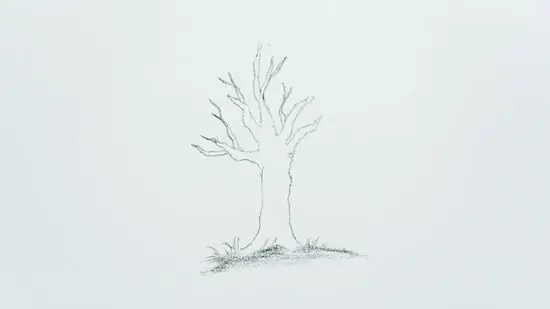
Step 4. Blend the base of the tree with its surroundings
Trees will look strange if there is no soil to plant their roots. Make a small amount of grass or rock near the root structure. Then, put a shadow around the base to add detail.
keep in mind the direction of the sun in the picture to create a tree shadow.
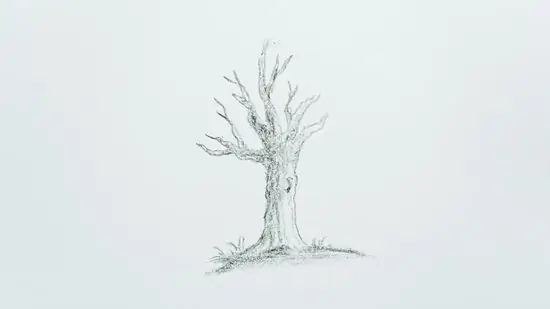
Step 5. Go back and apply shadows to the bark and branches of the tree
Use a darker pencil to create twists and turns on the tree bark. Don't be afraid to put shadows and dark spaces on tree bark or branches. This trick will make the tree look rougher.
You can also partially smear the graphite with stump blending paper. This step can help create shadows and depth in the image
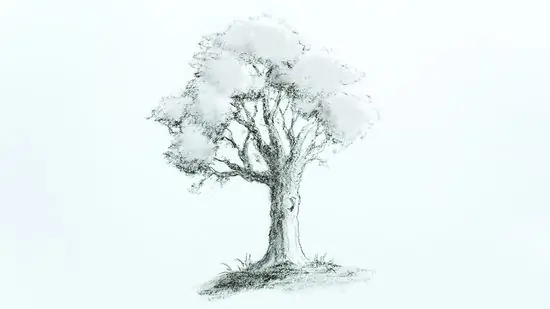
Step 6. Draw the leaves of the tree
Hold the pencil so that it is almost horizontal when it touches the paper. Then, make small, gentle movements to create clusters of leaves, instead of drawing them one by one. This will make your tree image appear more natural.
- Make sure some areas of the leaf are slightly darker to show depth in the tree.
- If you're drawing a tree in winter, you can either skip the leaves or leave some of them hanging on the branches.
Tip:
Keep the grip on the pencil limp. This can help you relax and not worry too much about the symmetry of the tree.
Method 2 of 2: Drawing a Fir Tree
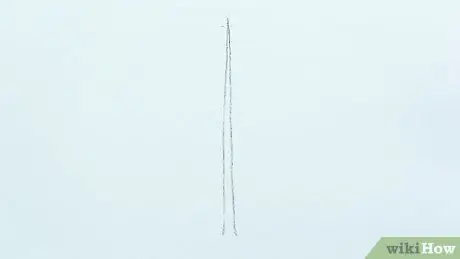
Step 1. Draw a thin line that will become the trunk of the tree
Use a 6B or dark pencil to draw thin lines on the paper. Draw a line according to the desired height of the fir tree.
You can make the tree trunk straight or curved, as desired
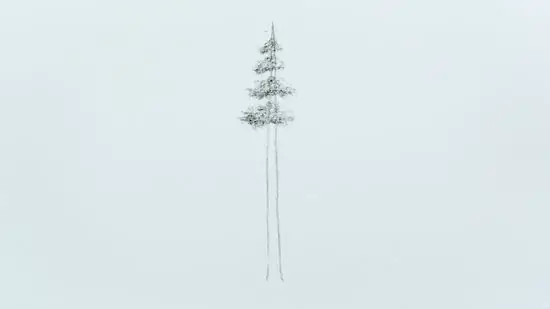
Step 2. Make some short branches sticking out from the top of the trunk
Draw the branches so that they are angled away from the main trunk of the tree. Make sure the branches near the top of the tree are the shortest because the branches will spread out as they get closer to the base of the tree.
Make some tall branches are thinner than those near the base tree.
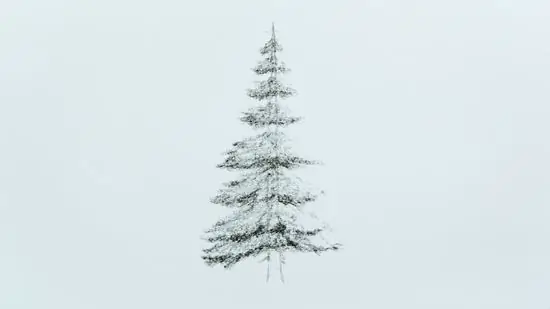
Step 3. Continue drawing the branches along the trunk
The spruce branches will get longer as they get lower on the tree trunk. As you approach the base, leave a gap so you can draw a tree trunk that reaches the ground.
Keep your hands limp and relaxed while drawing for a more realistic result
Tip:
Since most trees are not perfectly symmetrical, alternate some branches or space them out.
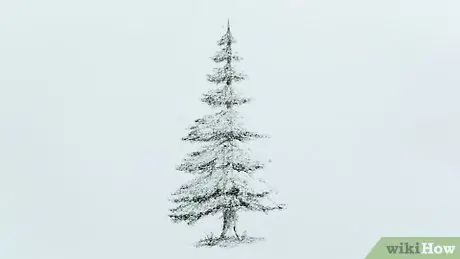
Step 4. Use the stump paper to blur the center of the tree
Since details are usually not visible when tree branches overlap, blend them along the center of the tree near the trunk. It is better to make the ends of the branches clearer so that they appear conspicuous.
If you don't have stubble paper, just rub the paper with your clean finger
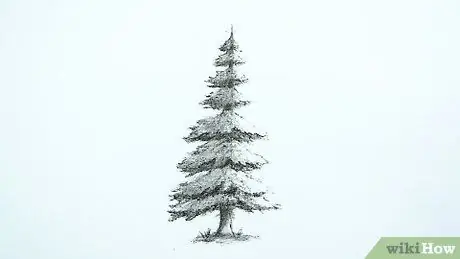
Step 5. Define the tree trunk and branches with a sharp pencil
Overwrite the tree image with a sharp, dark pencil, such as an HB mechanical pencil, and highlight each branch so that it stands out more. Then, make the trunk between the branches much darker and cast shadows at the base of the tree.
Fill the trunk so it's the width you want
Tips
- If the tree is lightly drawn, you can color it in using a sharp colored pencil.
- While you can draw a tree with a pointed pen, the details will be more difficult to add.


