- Author Jason Gerald gerald@how-what-advice.com.
- Public 2024-01-19 22:11.
- Last modified 2025-01-23 12:04.
A sphere is different from a circle because it is three-dimensional or 3D. Balls are quite complicated to draw because they involve applying light and shadow to make them appear 3D. However, you just need to prepare the right tools and use a little imagination to draw the ball well.
Step
Method 1 of 3: Draw a Ball
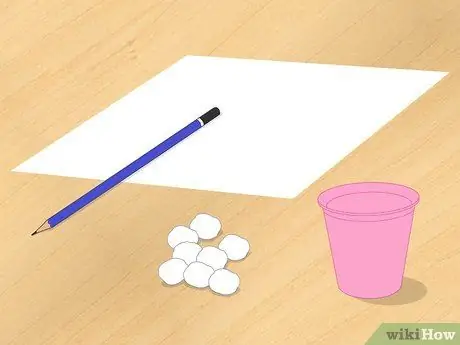
Step 1. Gather the materials to draw the ball
This is the basic method for drawing a ball, so you don't need a lot of material.
- Sketchbook or paper
- Pencil
- Cotton ball or tissue
- Circular object
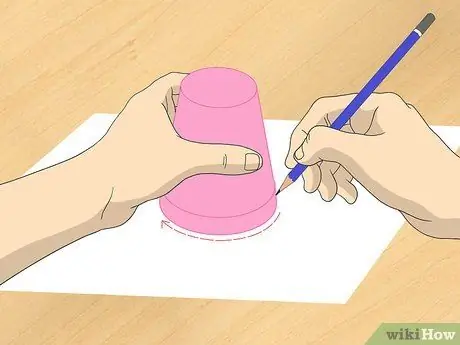
Step 2. Trace the object on the paper
You can use a small bowl, glass, cup, or other circular object.
This way, you can focus more on learning how to shadow the ball instead of learning how to draw perfect circles
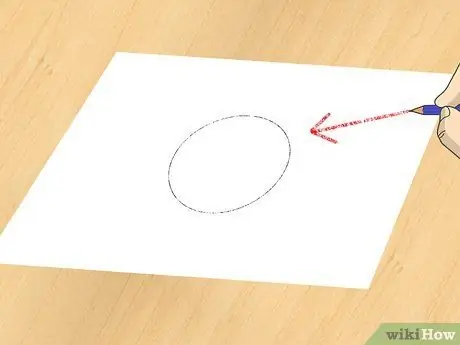
Step 3. Determine the light source
Once you've determined which angle the light is coming from, draw an arrow towards the circle from that direction.
You will later leave a part of the ball untouched, at the end of the arrow, to indicate the highlight of the light source
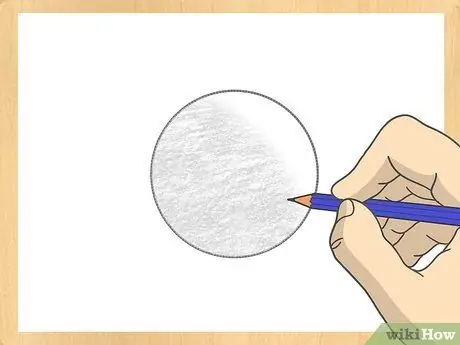
Step 4. Fill the ball with a very light shadow
Avoid pressing the pencil too hard, as you are filling in the first layer of shadow. Additional shadow layers will be added later in the next step.
Leave the circular or oval section at the end of the arrow (as a sign of the direction the light is coming from) completely untouched
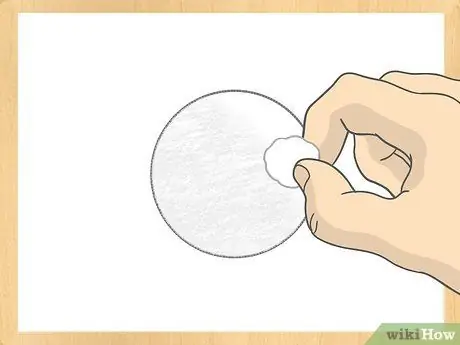
Step 5. Smooth the shadows with a cotton swab or tissue
Rub gently and carefully over the shadow layer you created so that the graphite doesn't smear beyond the circle's boundaries.
Remember, leave the highlight points untouched. Don't let this point get stained with the graphite rubbed with cotton
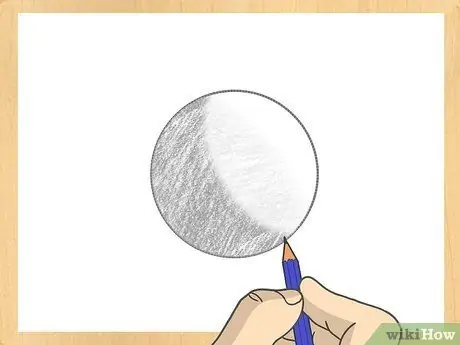
Step 6. Add more layers to the part of the ball that gets less light
Gently re-fill the shadows on most of the circles so that the parts of the ball that are not exposed to the light appear darker.
This shading technique is called mid-tone. Now around the center of the ball is filled with a medium colored shadow
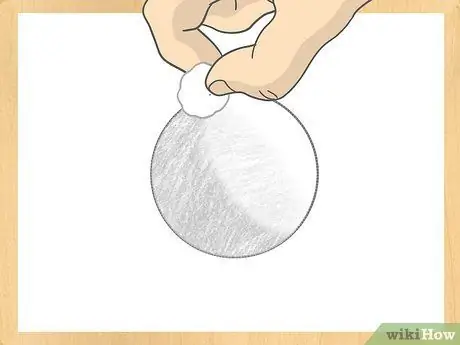
Step 7. Repeat shadow smoothing with cotton or tissue
Again, don't let the highlight points and the outside of the circle get stained with pencil graphite.
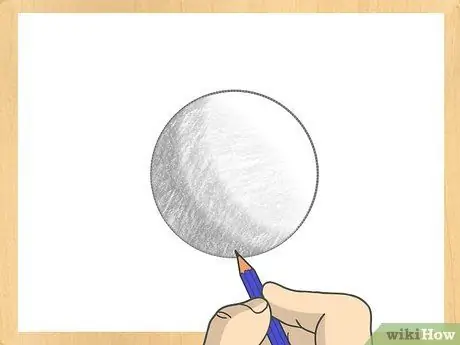
Step 8. Darken the outer edges of the circle, especially on the bottom and the opposite side of the light source
These parts are not exposed to light so it is natural that the color is darker.
The further away from the light source, the darker the shadow. However, the shadow was not as dark as the space directly beneath the sphere
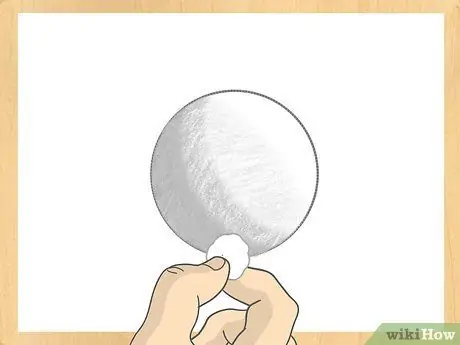
Step 9. Smooth back the dark shadows
Shadows must remain subtle so that the ball looks realistic using a cotton swab or tissue.
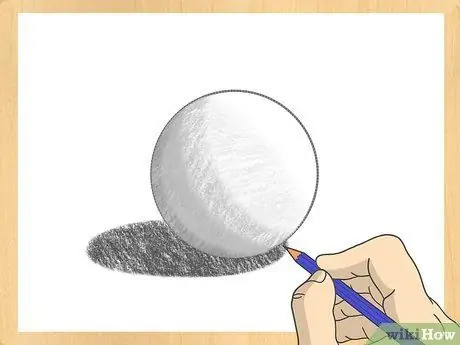
Step 10. Create a crescent-shaped edge on the opposite side of the light source
This is the final shadowing stage, namely the creation of the core shadow.
Fill the border with a slightly darker shadow, then tape it so that it forms a crescent moon before tapering down the other side. Make this darkest part of the shadow close to the bottom edge of the ball, it should not be more than centimeter thick
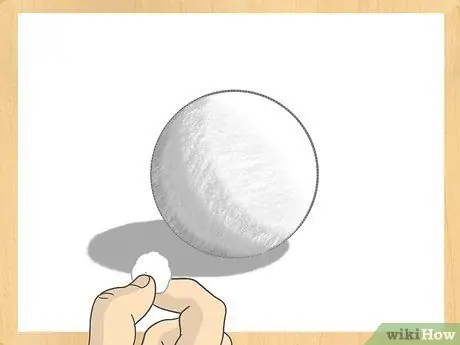
Step 11. Rub a cotton swab or tissue on the dark crescent shape under the ball one last time to make it look smooth
This will help the core shadow blend into the ball.
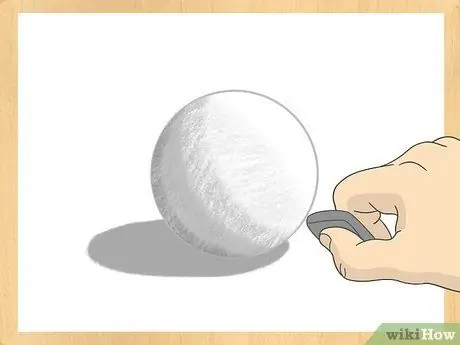
Step 12. Clean the edges of the ball by erasing any smudges or pencil strokes that extend beyond the circle's borders
Do not remove anything that is inside the ball.
Method 2 of 3: Drawing a Ball with an Egg Cup
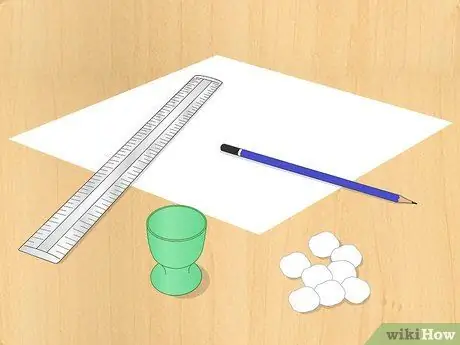
Step 1. Prepare the materials needed
There are several items needed to draw with this method. Make sure everything is available.
- Sketchbook or paper
- Pencil
- Egg cup
- Ruler
- Blender, cotton ball or tissue
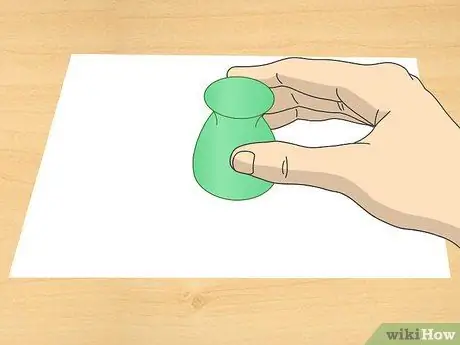
Step 2. Place the egg cup upside down on the paper
Place the cup in the center of the paper so you have enough room around the ball.
Remember that one side of the sphere will have a core shadow, which is the darkest part of the sphere that is not exposed to light
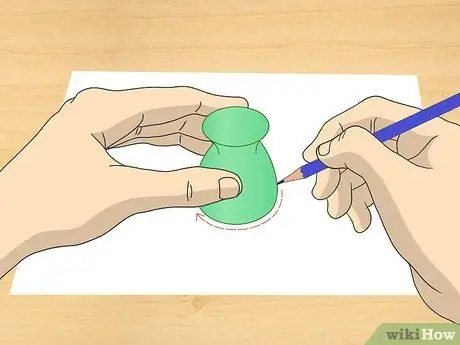
Step 3. Trace the egg cup to make a circle with fine strokes
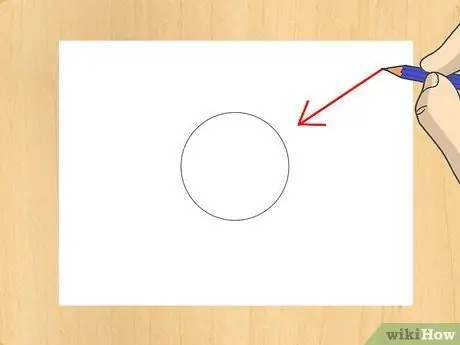
Step 4. Determine the direction of the light
The light source will come from the top left or top right of the ball. The core shadow will be on the opposite side of the light source.
If the core shadow appears from the left side of the sphere, the light source is in the upper right corner. On the other hand, if the core shadow appears on the right side of the sphere, then the light source is from the top left corner
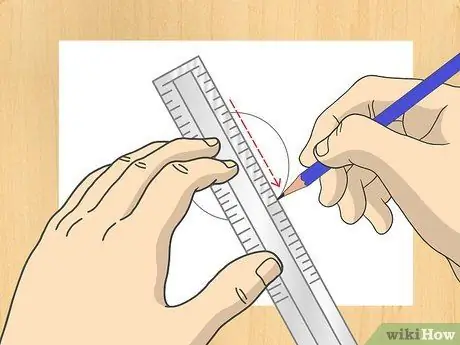
Step 5. Draw a thin guide line with a ruler from the light source to a point 1 centimeter away inside the circle
Make a thin point at a distance of 1 cm inside the circle, then draw an arrow from the corner of the light source towards that point. This arrow indicates the direction of the light.
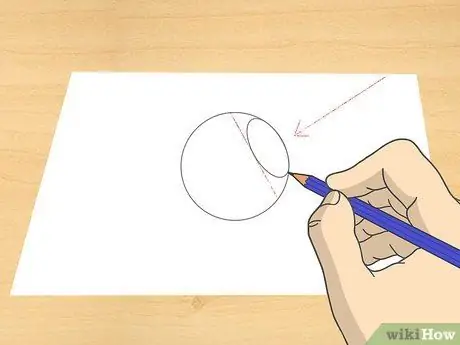
Step 6. Draw a small oval shape around the point you just made inside the circle
This point is the center of the beam, which means that the oval will not be touched at all.
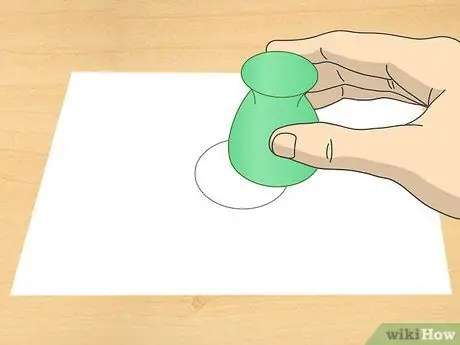
Step 7. Place the egg cup on top of the circle so that the opposite side of the light can be seen
What is meant here is the bottom edge of the circle opposite the light source. Leave centimeter between the circle of the ball and the rim of your egg cup.
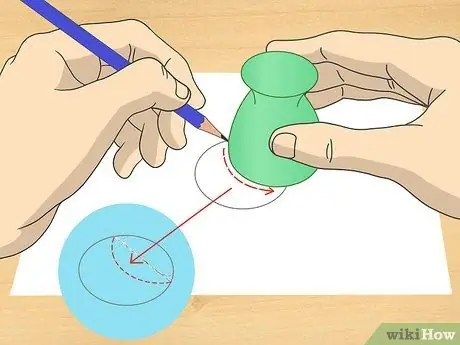
Step 8. Trace the curved edge of the cup from one side to the other with light strokes
The space that was just created was the shadow of the core of the sphere, which was the darkest part that was not exposed to light.
Its shape resembles a crescent moon. Keep this in mind as you read the rest of the instructions
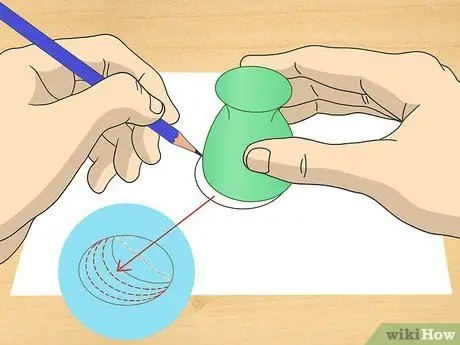
Step 9. Repeat steps 7 and 8 above, moving three times closer to the center of the circle
By now, you should have made four crescents from the egg cup on the bottom edge of the circle opposite from the light source. These crescent moons should fill almost a half circle.
These crescents will be used for mid-tones, or gradual shadows so the ball looks three-dimensional
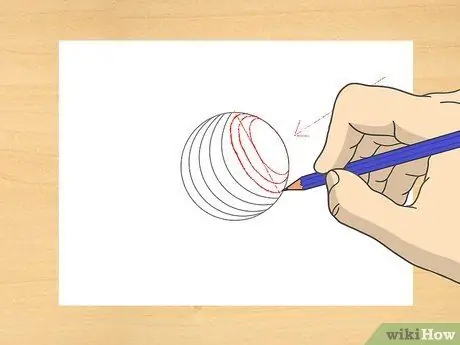
Step 10. Create some additional mid-tone lines with your freehand on the side of the circle that is close to the light source
At this point, the egg cup is too big to create mid-tone stripes.
- Make small ovals (like points of light) with thin lines using your hands and continue to stretch them outward until you have three ovals that gradually enlarge.
- You may leave a space between the largest oval and the center most crescent of the egg cup.
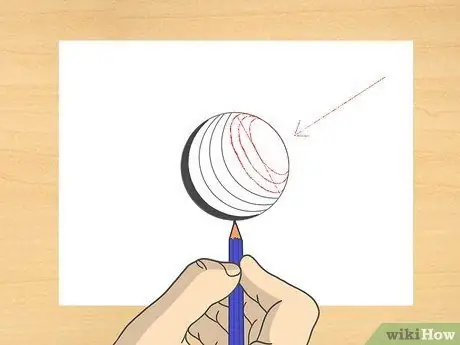
Step 11. Fill the bottom crescent with the darkest possible shadow
This crescent moon is created as part of the core shadow, so it should be the darkest color compared to the other shadows.
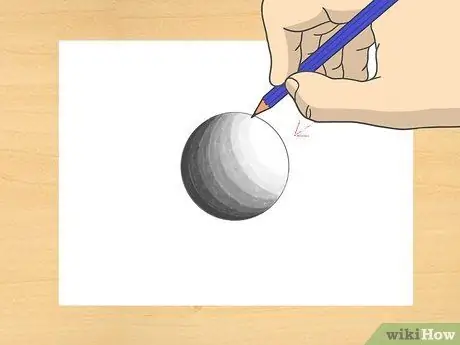
Step 12. Fill the rest of the crescent moon with gradually getting thinner shadows
Since you're working from the bottom up towards the oval, the shadow in one crescent should be thinner than the previous crescent.
The highlight part will not be touched at all
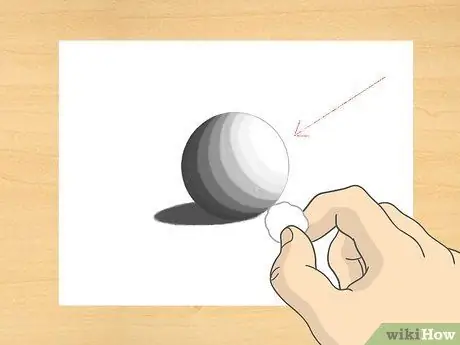
Step 13. Mix the color with a blending tool, cotton swab, or tissue
Gently rub all over the ball so the colors appear to blend naturally.
Start from the point where the light shines towards the darkest part so that the pencil graphite in the dark part doesn't smudge onto the part where the graphite is thin
Method 3 of 3: Draw a Ball Using a Model
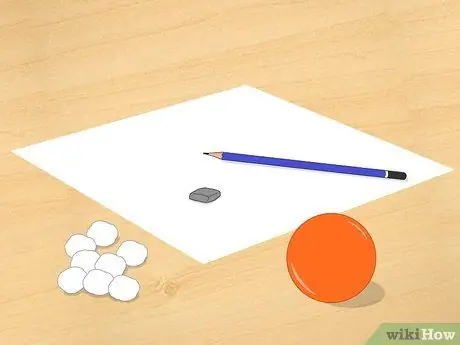
Step 1. Gather the necessary materials
This method is slightly different in that it uses a real, spherical object placed in front of you as a model.
- Ball shaped object
- Sketchbook or book
- Pencil
- Eraser
- Blender, cotton or tissue
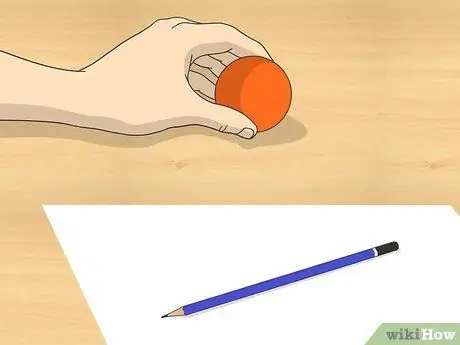
Step 2. Place a spherical object as a model
Place it on the table in front of your chair, and make sure there is a light source hitting the ball on one side. This will help shading the ball.
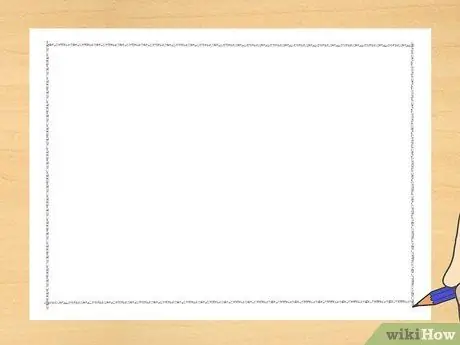
Step 3. Draw a drawing area around the edge of the paper
This area is a boundary that is about 1 centimeter from the edge of your paper.
You don't need to use a ruler to draw this area. But if you want go ahead
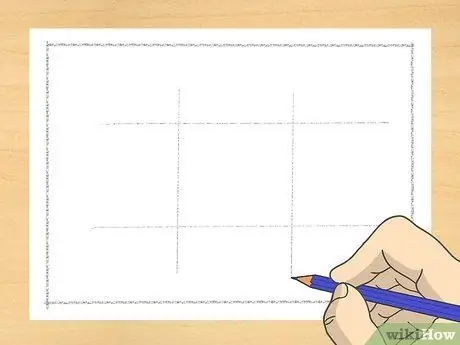
Step 4. Draw the spherical border
You can guess, because the measurements will be taken later.
- Draw four very thin short lines and form a square. These four lines may be incomplete but must mark the four sides of the square.
- The line should be very thin so that it is easy to erase later.
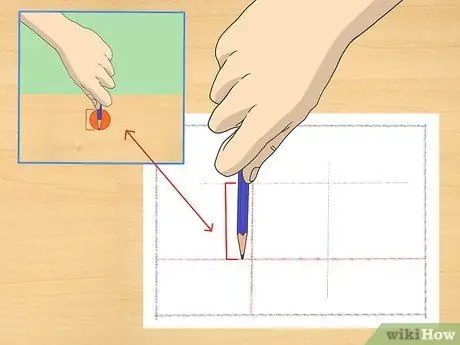
Step 5. Mark the horizontal and vertical axes within the constraint
Draw the axes thin so they almost touch the boundaries you drew.
You can measure by comparison. This means that you can create the size of the boundaries and axes by comparing the size of the model to the size of your pencil. Hold the pencil vertically covering the ball from top to bottom. Hold the tip of the pencil over the ball, and place your thumb on the part of the pencil that touches the bottom of the ball. Place the pencil on the drawing paper without moving your thumb, then compare it to the height of the vertical axis drawn and correct if necessary. Repeat this process to compare the width of the ball to the horizontal axis
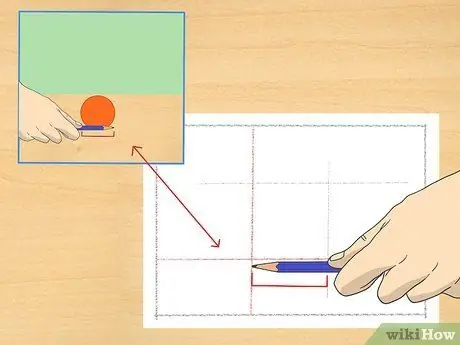
Step 6. Compare the height and width of your two axes
The length of both should be almost or exactly the same.
Reusing your pencil, lay it along the vertical axis with the tip facing up. As before, place your thumb at the base of the wick. Now, rotate the pencil until it is horizontal and compare the distance to the horizontal axis. Make adjustments if the distance is not the same
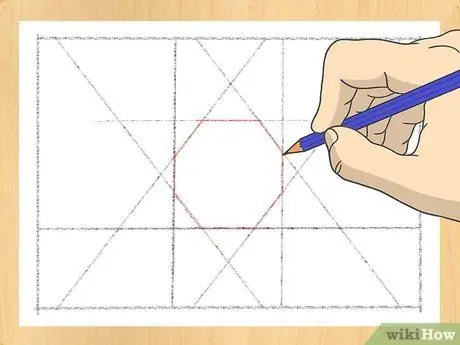
Step 7. Draw the contours of the sphere with the boundaries you created in Step 4
Imagine the edges of the ball are made up of a series of planes made up of short, straight lines. Start drawing the edges of the ball in this way using contours.
- Draw the first few series of contours, preferably in an octagonal shape. These lines will only almost intersect at the ends.
- Then, draw a series of smaller contours in the first set. This new set doesn't need to be tangent, as it will give the contours a rounded shape.
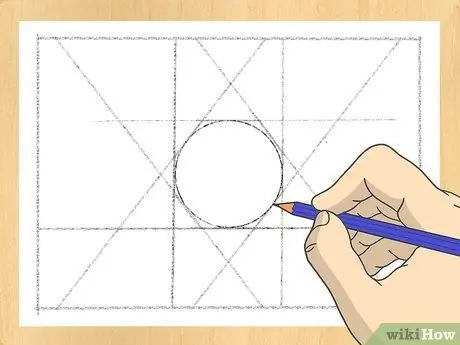
Step 8. Draw a transition curve from one plane line to the next
Where the plane contours do not touch each other, draw transition curve lines to connect them.
This way you can easily create a circular shape
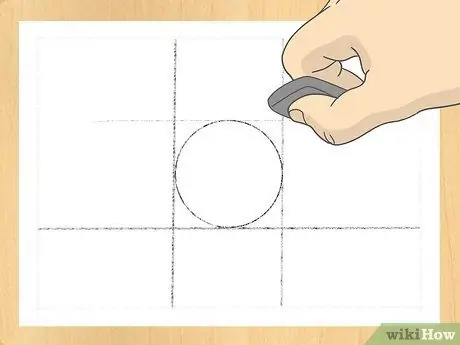
Step 9. Clean the edges of the contour with an eraser
When all the contour lines are on the circle, clean the edges of the contour and thin out your circle.
Smooth out your eraser before erasing these lines. That way, you can smooth and thin your new circle well
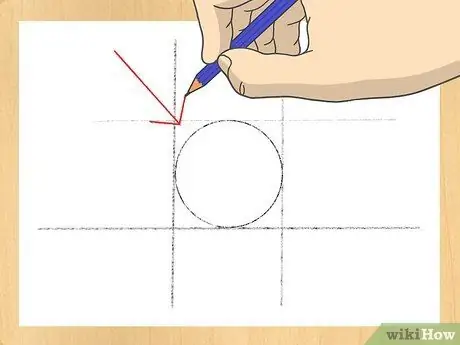
Step 10. Determine the direction of the light
Make an arrow from the source of the light to the circle. The tip of the arrow in the circle is the point of the beam of light.
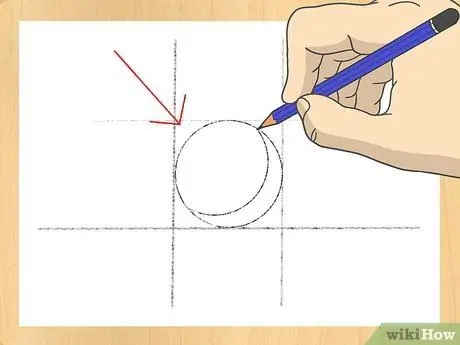
Step 11. Draw a curved line on the opposite side of the direction the light is coming from
These curved lines will connect the transitions of the axes you drew.
- If the light source is on the top left, the curved line should be on the bottom right side of the circle. On the other hand, if the light source is on the top right, the curved line will be on the bottom left side of the circle.
- This curved line is the start of the core shadow.
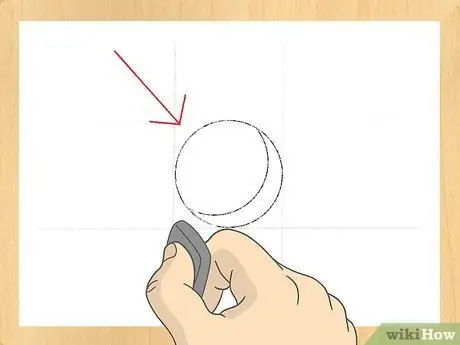
Step 12. Erase the horizontal and vertical axes once the curved lines are finished drawing
Now that the circle and initial core shadow have been drawn, the two axes are no longer needed.
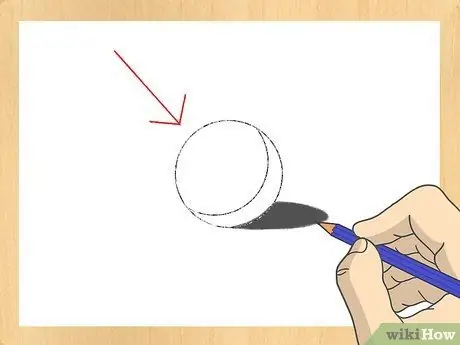
Step 13. Draw the darkest shadows
This shadow is a small shadow that is directly under the ball. In the previous method, this shadow is called the core shadow. Light cannot reach this part.
Leave this darkest shadow confined to the base of the ball. Each side of this shadow tapers just as it will travel down the side of the ball
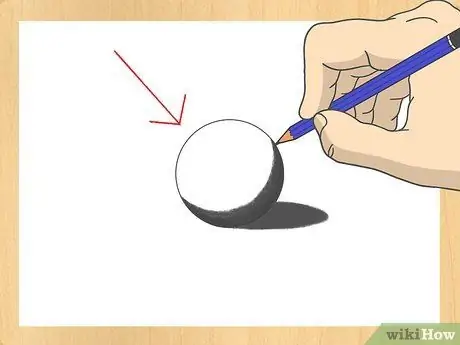
Step 14. Fill the shadow on the plane
Make a shadow of medium darkness in the space between the curve just drawn and the edge of the sphere.
Smooth out the shadow with a blending tool, cotton ball or tissue when the shading is done
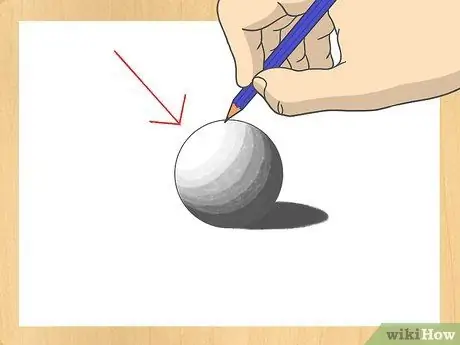
Step 15. Continue shading from dark to light, moving from bottom to top
Leave the spotlight on the ball completely untouched.
As you shadow the ball, you'll be shading it with half-tones. Half-tones are light shadows you create on the lower half of the ball and opposite from the light source
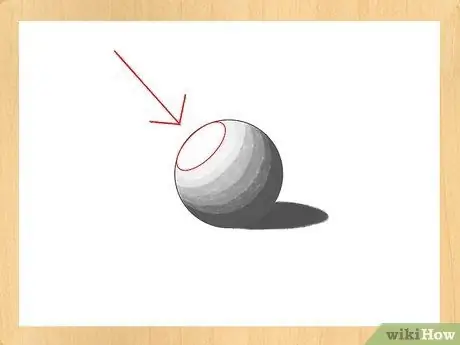
Step 16. Leave the spotlight near the light source untouched
When filling shadows towards the light source, leave the oval or circular parts of the sphere untouched.
The shading around the spotlight must be very thin to depict the reflection of light around the area
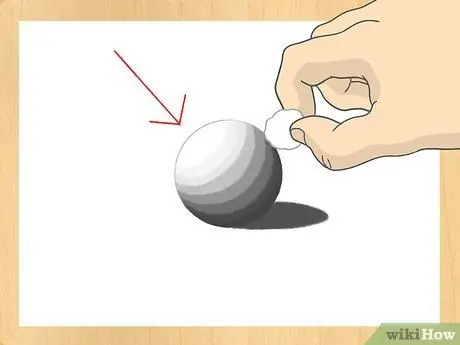
Step 17. Blend the shadows so they blend
Use a blending tool, cotton ball or tissue to gently rub the shadows so they blend in and soften the look of your image.


