- Author Jason Gerald gerald@how-what-advice.com.
- Public 2023-12-16 10:50.
- Last modified 2025-01-23 12:04.
The Dynamic Link Library, or DLL file, is the mainstay of traditional Windows programming. These files are used by the program to obtain additional functions and libraries without having to be embedded in the program itself. Often, DLL files are shared between different programs. For most users, DLLs run in the background, and you rarely have to deal with these files. However, sometimes you may need to register a DLL in order for your installed program to run properly. If you are interested in coding, exploring how to create DLLs can also clarify your understanding.
Step
Method 1 of 2: Using DLL Files
Step 1. Understand what a DLL file is
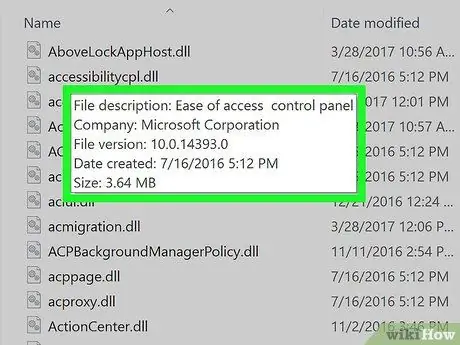
A DLL (dynamic link library) is a Windows file that is used by programs to call existing functions. Basically, they allow Windows and other programs to perform their functions without having to have those functions.
DLL files are an important part of Windows programming, and make programs leaner and more efficient
Step 2. Be aware that the average user does not need to open or interact with DLL files
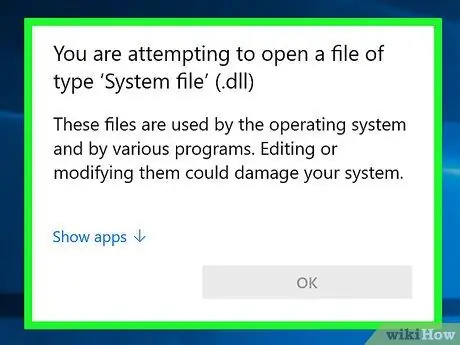
For most users, the DLL file will be in the background. The program will install and call them automatically, and moving the files can cause serious problems on the computer system.
- Sometimes when installing a community-made program, you will be prompted to place the DLL file in a specific location. Make sure you trust the program before following these instructions, because DLL files can be dangerous.
- If you are interested in learning how to create a DLL file, see the next section.
Step 3. Register the new DLL
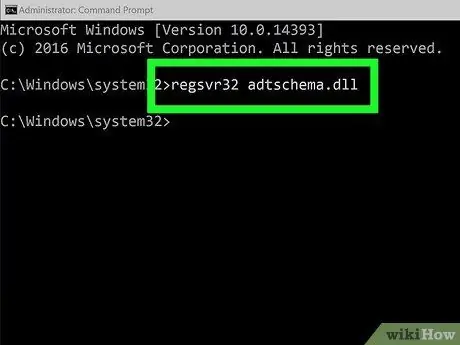
If you have to manually copy the DLL file into a folder or program to use, you may have to register it in the Windows Registry before the file can be used. Refer to the instructions in the program to determine whether or not you should perform this step (this is very uncommon for most Windows programs).
- Open Command Prompt. You can find it in the Start menu or by pressing Win+R and typing cmd. Navigate to the location of your new DLL file.
- If you are using Windows 7 or later, open the folder containing the new DLL file, hold down Shift and right-click in the folder, and select "Open command window here". Command Prompt will immediately open in that folder.
- Type regsvr32 dllname.dll and press Enter. This will add the DLL file to the Windows Registry.
- Type regsvr32 -u dllname.dll to remove the DLL file from the Windows Registry.
Method 2 of 2: Decompile the DLL File
Step 1. Download and install a decompiler
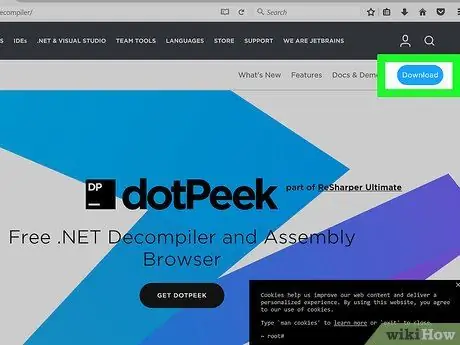
A "decompiler" is a program that allows you to view the source code used to create a file or program, in this case a DLL file. To see the code that makes a DLL file work, you'll need to use a decompiler to turn the file back into readable code. Opening a DLL file without a decompiler (such as opening it with Notepad) will display a jumble of unreadable characters.
dotPeek is one of the popular free decompilers. This can be found at jetbrains.com/decompiler/
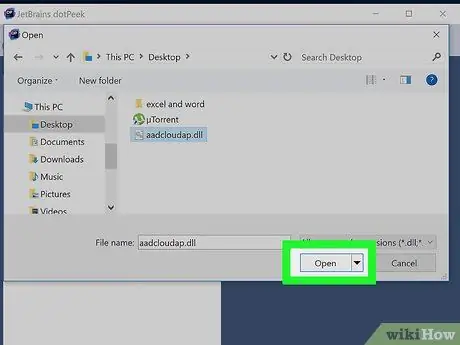
Step 2. Open the DLL file in your decompiler
If you are using dotPeek, click "File" → "Open" then browse to the DLL file you want to decompile. You can explore the contents of the DLL file without affecting your system.
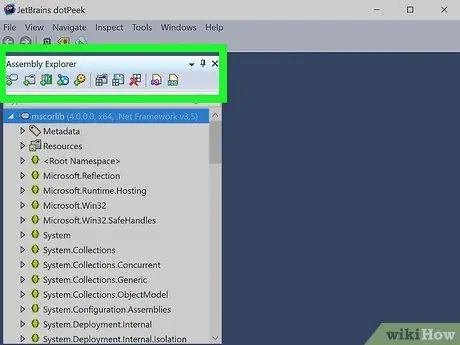
Step 3. Use "Assembly Explorer" to explore the nodes of the DLL file
DLL files are made of "nodes," or modules of code that work together to form the entire DLL file. You can expand each node to see what subnodes it may contain.
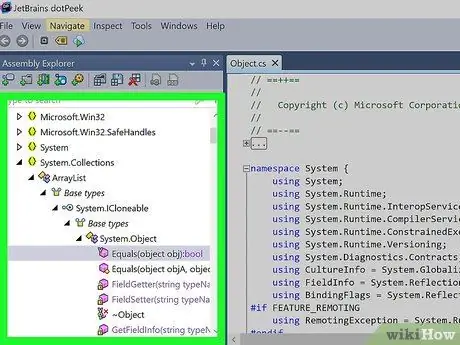
Step 4. Double-click a node to view its code
The code for the node you selected will appear in the frame to the right of the dotPeek. You can browse the code to review it. dotPeek will display the code in C#, or it will download additional libraries so you can see the code from the original source.
If the node requires additional libraries to be viewed, dootPeek will attempt to download them automatically
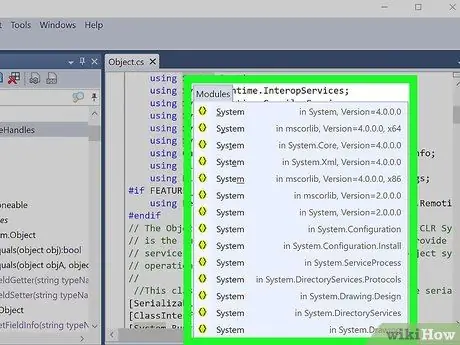
Step 5. Get clarification for different code snippets
If you come across a code snippet that you don't understand, you can use the Quick Documentation feature to see what the command does.
- Place your cursor over the code snippet you want to find a caption for in the Code Viewer frame.
- Press Ctrl+Q to load the Quick Documentation window.
- Follow the links to learn more about each aspect of the code you're researching.
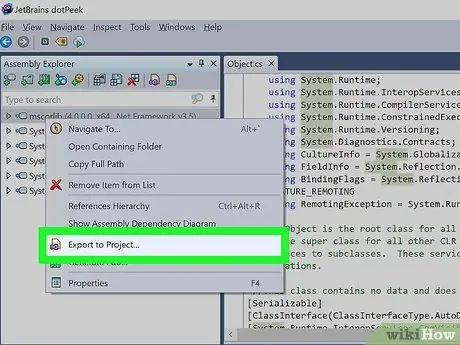
Step 6. Export the code to Visual Basic
If you want to manipulate, edit, and create your own files, you can export them into Visual Studio. The exported code will be in C#, even though it was originally written in a different programming language.
- Right-click the DLL file in Assembly Explorer.
- Select "Export to Project"
- Select your export option. You can have the project open immediately in Visual Studio if you want the file to run in the program immediately.
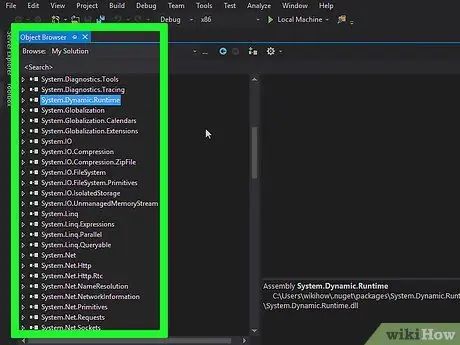
Step 7. Edit the code in Visual Studio
Once your project is loaded in Visual Studio, you will have full control over editing and creating DLL files of your own creation. Click here for detailed instructions on how to use Visual Studio.


