- Author Jason Gerald gerald@how-what-advice.com.
- Public 2023-12-16 10:50.
- Last modified 2025-01-23 12:04.
Windows 8 is the latest generation of Microsoft Windows operating system. Most of the features are the same as Windows 7, but are designed to be more mobile friendly and appear sleeker.
Step
Part 1 of 7: Using the Start screen
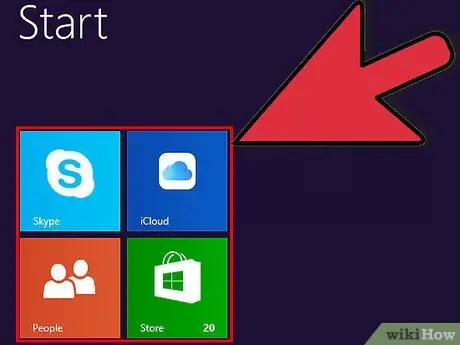
Step 1. Use tiles
When you start your computer and bypass the lock screen and log in, you will be presented with the Start screen. This screen replaces the Start button function in older versions of Windows. On your Start screen, you can see boxes of various sizes and colors. These squares are called tiles, and work the same as icons in earlier versions of Windows. Clicking on a tile will open the program it represents.
- Some tiles will display basic information about the program. For example, the tile for the Store program will show the number of apps that require updating if any.
- You can move tiles by holding and dragging them. With the Windows 8.1 update, you can move and change multiple tiles at once.
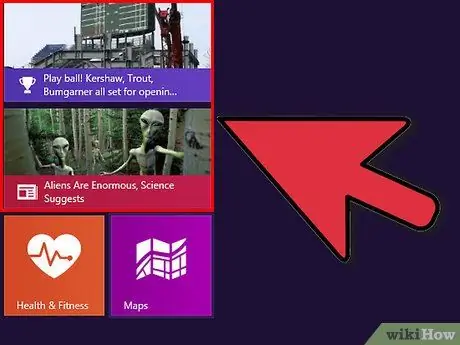
Step 2. Use "Live Tiles"
Live Tiles are tiles that change their contents every few seconds to keep you updated. This information is often useful and gives your Start screen a more dynamic look, but not every app tile has this functionality. Live Tiles are especially useful when combined with an app like News, which will show you the latest news.
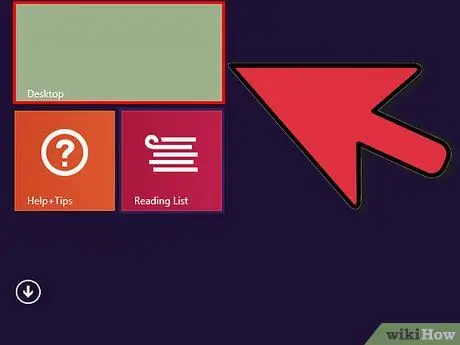
Step 3. Click the "Desktop" tile to enter the conventional desktop view
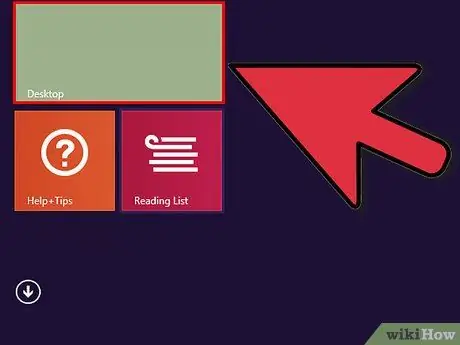
A tile will be available on your Start screen to take you to the desktop view. You don't always need to use a desktop, but you may want to show the desktop as the default until you're more familiar with Windows 8.
Part 2 of 7: Using the Desktop View
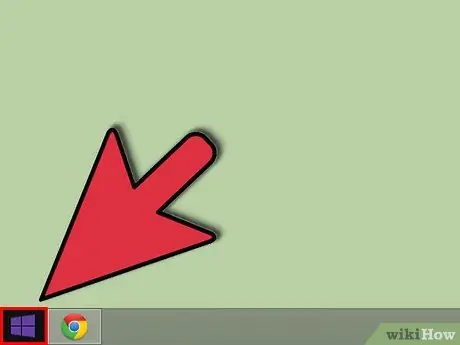
Step 1. Use the new Start button
Once you are in the desktop view, you may notice that the usual Start button has changed appearance. Although the button was gone in Windows 8, it is back in Windows 8.1. However, the menu that appears when the button is clicked is not the Start menu you normally use, but the Start screen that was discussed earlier. Selecting Start from the menu in the right corner of the screen (Charms menu) will also open the Start screen.
- Think of the Start screen as a new kind of Start menu with more functionality.
- If you are not comfortable with this change, in Windows 8.1 you can set this screen to be transparent to the desktop, to look like Windows 7.
Step 2. Organize files as you would in older versions of Windows
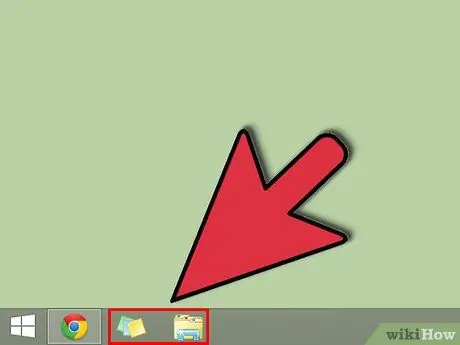
When using the desktop view, you will notice that nothing has changed on the desktop. You can still organize files in directories, start programs, and create and open files in the same way as in previous versions of Windows.
Step 3. Use the desktop as a standalone program
Keep in mind that Windows 8 treats the desktop as a separate program, and this will be visible when you look at the taskbar or move between programs.
Step 4. Set the computer to auto-start the desktop on startup
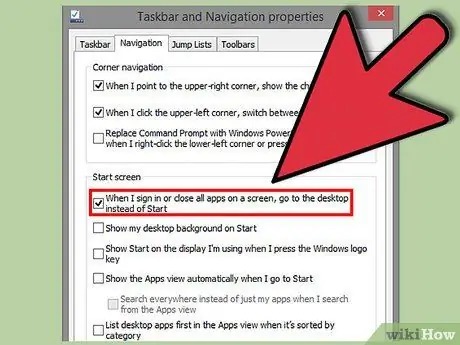
If you want, in Windows 8.1 you can set an option that lets you start the desktop automatically as soon as you turn on your computer. This option can be found on the Navigation tab of the Taskbar Properties window that you normally access.
Part 3 of 7: Using Basic Navigation
Step 1. Use the Charms bar
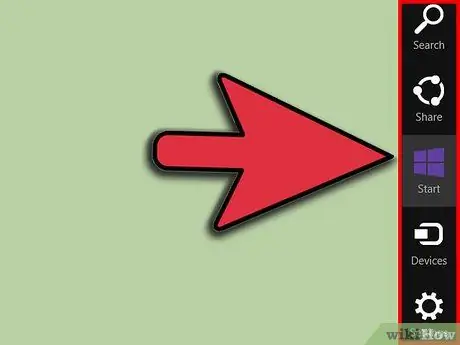
Access this bar by holding down the mouse to the top right of the screen and sliding it down. Doing so displays the system time, as well as a menu used to control various functions on the computer. This menu is very useful and you will definitely want to use it.
- The "Search" option will do the same with the All Application button in the Start menu. However, in some applications, pressing this menu will perform an in-app search, instead of a system-wide search. Therefore, be careful when wearing it.
- The "Share" option can be used when you are viewing an image, for example. Share items to attach them to emails, upload them to SkyDrive, and other functions depending on the file you have open.
- The Start option will take you to the Start screen.
- The Devices option allows you to access settings such as second screen, or printer settings. The available settings will depend largely on the device you have and the program you are using.
- The Settings option will access the program settings in some applications, but will access the computer settings most of the time. Click this menu to turn off or use the "Sleep" mode on your computer, connect the computer to the internet, adjust the sound, personalize the computer, access the Control Panel, and so on.
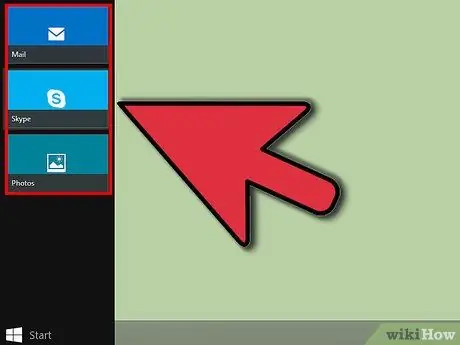
Step 2. Switch between windows
Switching between windows can be done by holding down the mouse at the top left of the screen and clicking left. You will switch to another running program. To switch to a specific program, you can hold your mouse in that corner and slide it down to display the taskbar equivalent. This will display all currently open programs.
Keep in mind that in Windows 8, the desktop is considered a program. Therefore, you may need to open the desktop before going to the program you want
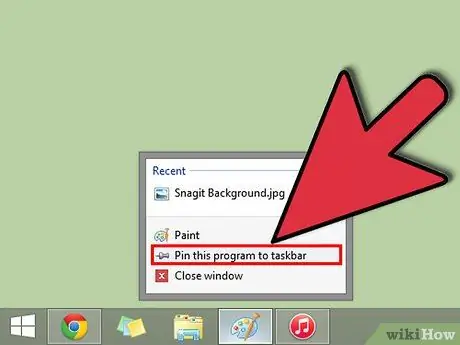
Step 3. Open the program by clicking on the program tile on the Start screen or the program icon on the desktop screen
You may want to create tiles for programs you access frequently, in the following way. Programs can also be pinned to the taskbar like previous versions of Windows.
To pin a program on the taskbar whose icon is not on the desktop, find the program by searching in Charm and select Pin to Taskbar. However, this cannot be done for all programs. Pinning a program to the Start screen will always be possible
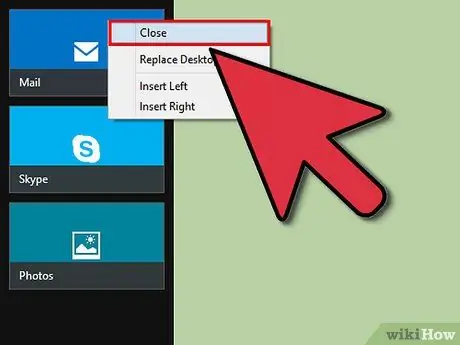
Step 4. Close the program by clicking the "X" button which is usually seen at the top right of the program window
If this button is not available, you can use the taskbar at the edge of the screen, swipe down, and right-click the program you want to close.
You can also use Alt+F4 to close a program, but this will only close the currently open program
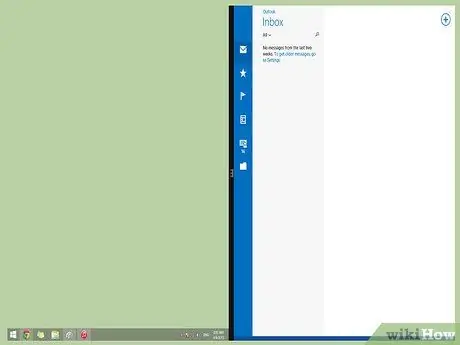
Step 5. Use multiple programs at the same time
You may find that if you close your browser screen while you are playing music on YouTube, the music that is currently playing will stop. If you want to use two programs in Windows 8 at the same time, you need to turn on "Windowed mode" on your computer.
- Do this by opening two programs at the same time. Hold your mouse to the top left corner and other programs you want to open will appear. Drag the image, and hold it in the corner of the screen until the corner appears. Release your mouse, and your program will be up and running.
- Windows 8.1 allows you to have up to 8 open programs, but this is still limited by your screen size. If you have a tablet, for example, you're still limited to 2 open programs.
Part 4 of 7: Using Basic Programs
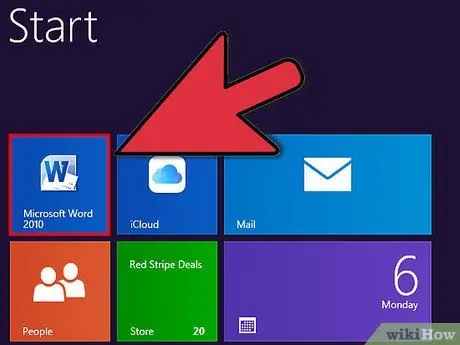
Step 1. Use Microsoft Office
If you have the latest version of Office designed specifically for Windows 8, it will look even cooler. However, it still functions the same as Office 2007, for example, so you'll find it easier to adapt once you're familiar with that version. New features have been added to the latest version of Office, and you may find this latest version more comfortable to use and more productive.
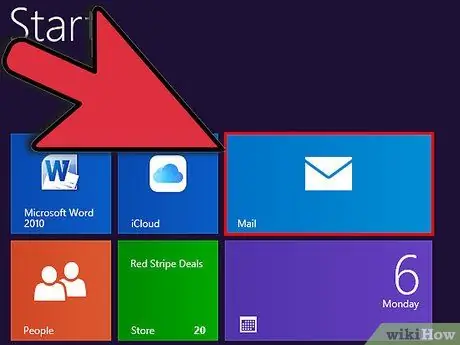
Step 2. Use the Mail app
This very useful app takes care of all your email accounts and collects them in a single program. This app supports Hotmail, Yahoo!, AOL, GMail/Google, Outlook, and other similar email services. You can read, send, and manage your emails through this app.
Add an email account via the Charms menu. Select Settings, then Account, and finally Add Account
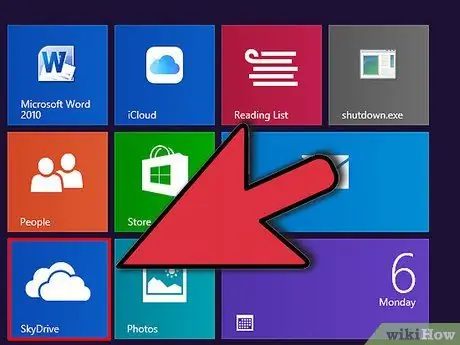
Step 3. Use SkyDrive
SkyDrive is an app that lets you save files on the internet so you can access them from anywhere. You can make files private, public, or share files with specific people. You can also create directories, upload files, and update the screen display and view file details by right-clicking on the window background.
Use of SkyDrive usually requires a subscription, but some SkyDrive functions are available for free
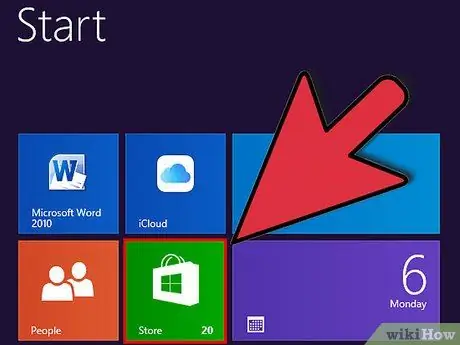
Step 4. Use Windows Store
This app store is a service that allows you to find and download programs and games for your computer. Some applications can be downloaded for free, but some are paid. You can download apps like games, productivity, social and entertainment related apps, sports, file reader apps, and so on.
Step 5. Access Accessories
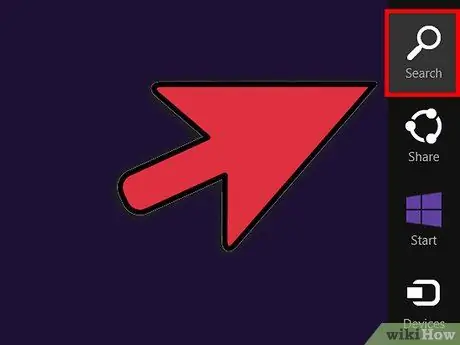
You can find built-in programs in the Accessories menu, such as Notepad and Calculator. The program is still available in Windows 8 and can be found by clicking the Search button on the Charms menu and scrolling down.
These programs will run on the desktop and are considered a single program
Step 6. Use the new printing equipment
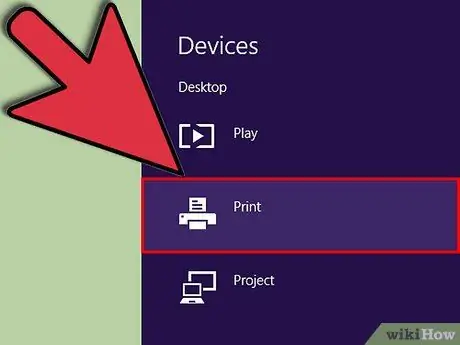
Make sure the printer is detected in the Charms menu. For programs that run on the desktop or have a familiar interface, you can print in the usual way, but if you want to print from a "modern" application, you need to find the print button on the application or press Ctrl+P to open a printing window.
Step 7. Arrange your own tiles
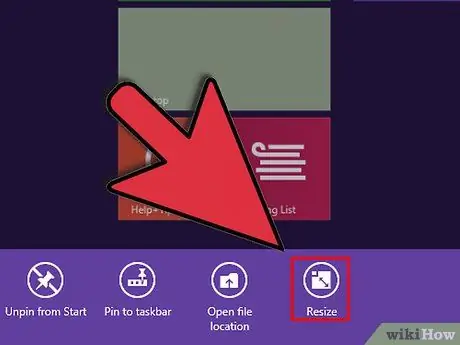
You can create a new tile by right-clicking the application icon in the search menu. You can also change the appearance of the tile by selecting its size if available. Completely customized tiles can be created with third-party programs, which allow you to select images and enter text for your tiles.
Part 5 of 7: Changing Settings, Programs, and Display
Step 1. Add the program
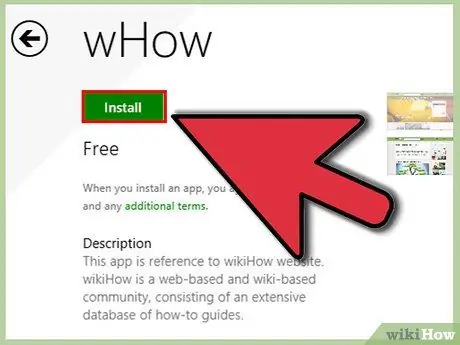
You can add programs via CD/DVD as usual, or you can install programs via the Windows Store as discussed earlier. Programs can also be downloaded and installed from the internet like previous versions of Windows. There are many types of programs available, but keep in mind that not all types of programs can run (perfectly) on Windows 8.
- Check if the program you just purchased/downloaded is compatible with Windows 8. You can also use the Upgrade Assistant if you are still using an older version of Windows, or use Microsoft Compatibility Checker to find out the compatibility of the program you want to use.
- You can also use compatibility mode or download the latest drivers to help your program run smoothly.
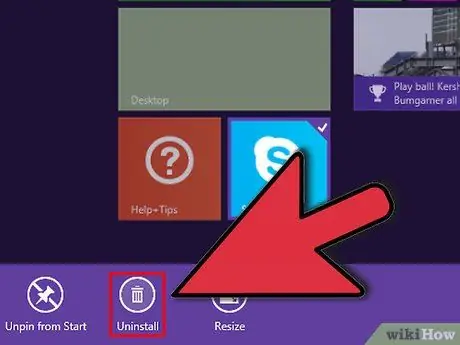
Step 2. Remove unused programs
You can remove a program by right-clicking on the program tile on the Start screen. You can also use the Add/Remove Programs menu, which can be found by searching for Add or Remove Programs in the search menu. This menu will appear under Settings, which must be selected for it to appear.
Keep in mind that removing a program is different from removing a program tile. If you only want to remove the tiles, follow these steps
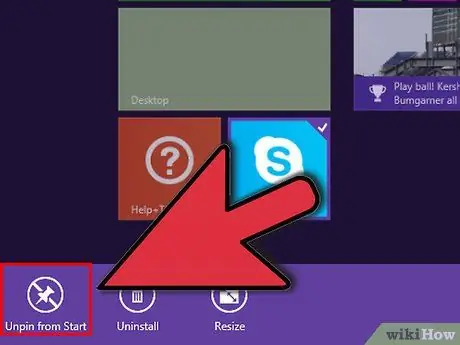
Step 3. Delete the tiles by right-clicking the tile you want to delete and selecting Unpin from Start
This is different from deleting a program, because the program will not be uninstalled and can still be opened. You just remove this program tile on the Start screen with this process.
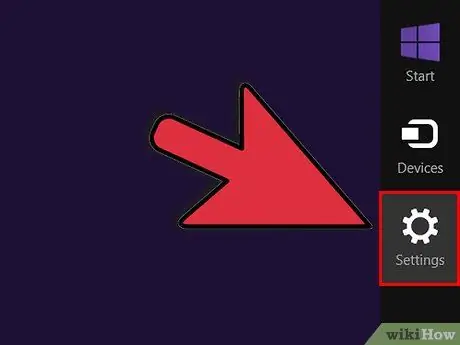
Step 4. Adjust the six basic settings available in the Charms menu
These settings include "Network", "System Volume", "Screen Brightness", "Notifications", "Power", and "Keyboard". Experiment with these settings as they give you control over the basic system settings.
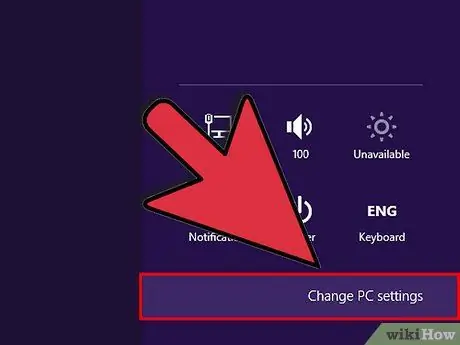
Step 5. Adjust the settings further by selecting More PC Settings under the six settings
Here, you can customize the screen, change user settings, privacy, sync, and so on.
You can also adjust some settings via the desktop if you feel more comfortable
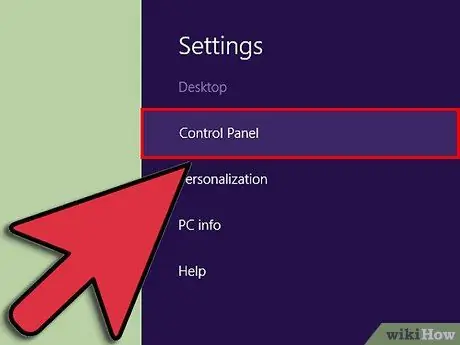
Step 6. Access the Control Panel
Control Panel can still be opened by searching with the search menu in the Charm bar or clicking Control Panel in the Settings menu. You can also access the Control Panel and other important settings by placing your mouse in the lower-left corner of the screen and right-clicking there.
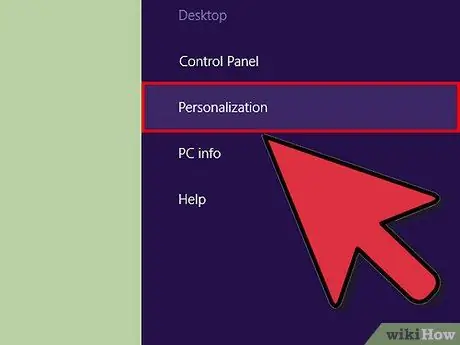
Step 7. Personalize your device
There are many ways to change the look of your device, and these are a great way to make a "personal" impression on your device. These settings can also be synced between devices if you wish, so your device will look the same even if the device you are using is different.
- Personalize the Start screen. You can choose a background and color scheme for the Start screen by selecting Settings and then Personalize in the Charms bar. This option can only be done on the Start screen. In this menu, you can also make the Start screen transparent to the desktop instead of creating a completely different screen. This means that you can also set a personal image as the background for the Start screen.
- Personalize the desktop. Right-click on the desktop view and select "Personalize". Choose any background image you want or choose from the predefined images.
- Personalize lock screen. Choose a lock screen background by selecting "Change PC Settings" under the six core settings menus discussed above, then selecting Personalize then Lock Screen. You can select an image as the background by clicking Browse.
- Change your account picture by selecting Change PC Settings under the six core settings menus discussed above, then selecting Personalize then Account Picture. You can select a picture as your account picture by clicking Browse, or you can take a picture if you have a webcam.
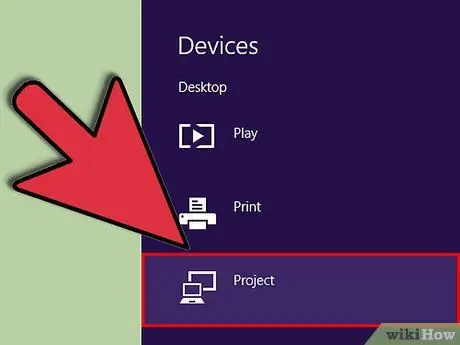
Step 8. Use Extended Mode
You can use the second screen (if you have one) by selecting Devices in the Charm menu. Click Second Screen and follow the guide to select the appropriate settings.
To customize how the taskbar works in this mode, you must right-click your taskbar in desktop mode and select "Properties"
Part 6 of 7: Gaining More Control
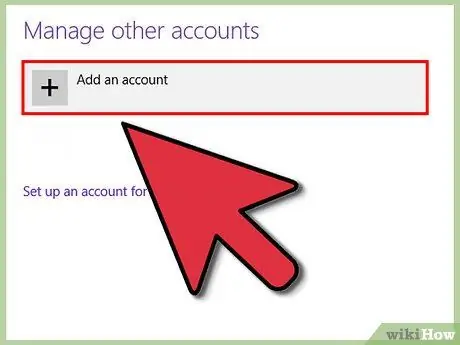
Step 1. Set up another user
You can add users by selecting Change PC Settings under the six core settings menus discussed above, then selecting Users, then Add a user.
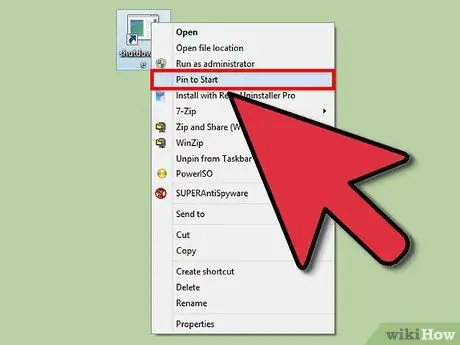
Step 2. Create a tile to shut down and restart your computer if you find it easier to shut down the computer with tile
Right-click on the desktop, click New > Shortcut, type "shutdown /p" (without quotes) in the Location field, and click Next. Once done, right-click the shortcut you just created, and click Pin to Start. Use "shutdown /r /t 0" to create a tile that will restart the computer.
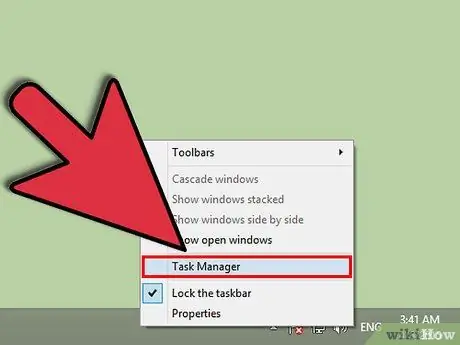
Step 3. Use Task Manager
You can use the completely revamped Task Manager by right-clicking on the left side of the screen, or searching for it in the search menu.
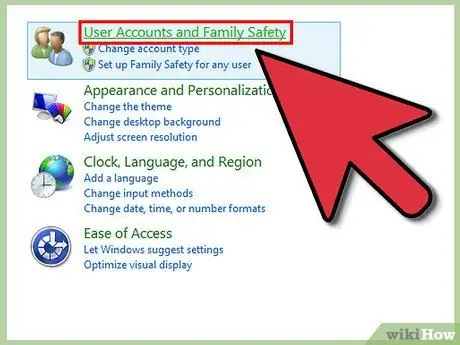
Step 4. Use parental controls
This control system is available in Windows 8 and is easier to use, but the name has changed to Family Safety. You can get activity reports sent directly to your email, set filters and restrict app access, as well as set computer time limits. Other features are also available here.
- Family Safety needs to be enabled when creating user accounts.
- To enable it, open Control Panel, select User Account and Family Safety > Family Safety, and select the user for whom you want to change control settings.
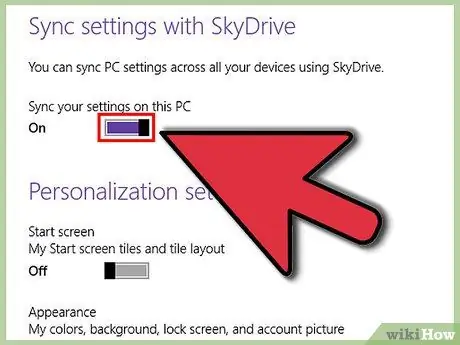
Step 5. Synchronize between devices
You can sync settings between all your Windows 8 devices by linking your computer account to your Microsoft account (or Live account) and allowing synchronization in your settings. Change the sync settings by selecting Change PC Settings under the six core settings menus discussed above, then selecting Sync your Settings, and turning on the available options.
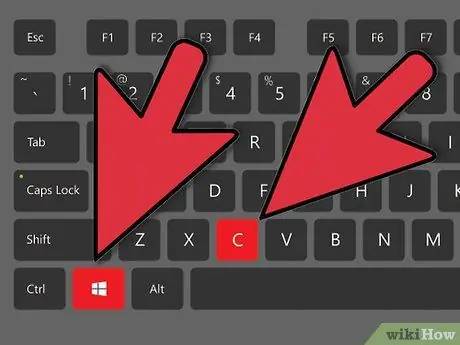
Step 6. Learn the available shortcut keys
This shortcut key will cause certain effects when pressed, for example closing programs or windows and other functions. Some of these shortcut keys are the same as the shortcut keys in other versions of Windows, and several new shortcuts have been added. There are many shortcuts available, but here are some of the most useful:
- Win or Windows key will take you to the Start screen.
- Win and type anything will search for programs, files, or settings.
- Esc will cancel most actions.
- Win+X will allow you to access many user commands.
- Win+L will allow you to switch users.
- Win+C will open the Charms menu.
- Alt+Tab will allow you to switch between applications.
- Win+E will open Windows Explorer.
Part 7 of 7: Setting Up System Security
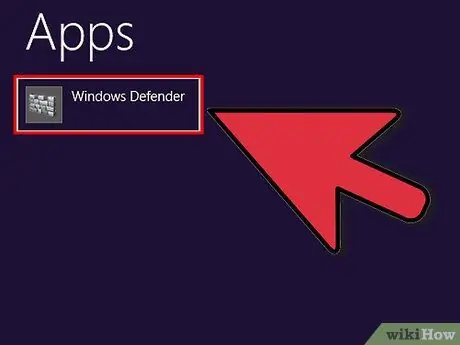
Step 1. Learn about Windows' built-in security system
Windows' built-in program, Windows Defender, is a pretty powerful computer protection program. However, if you use another security program, Defender will be turned off. Open Defender from the Start screen to make sure that Defender can be used.
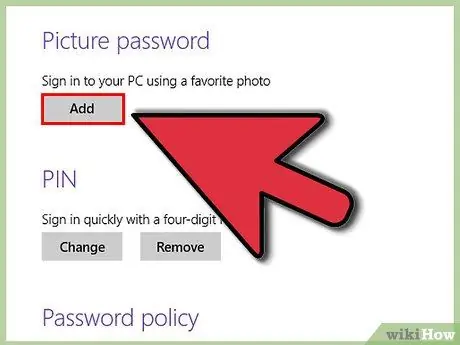
Step 2. Set an image password
You can use a picture password, which takes the form of a picture and gesture in the shape of a hand or a house, which will allow you to log in in addition to using a text password. It is not recommended for use on touchscreen devices, as fingerprints allow others to guess your password.
In the user settings, select Sign in Options and Create a Picture Password
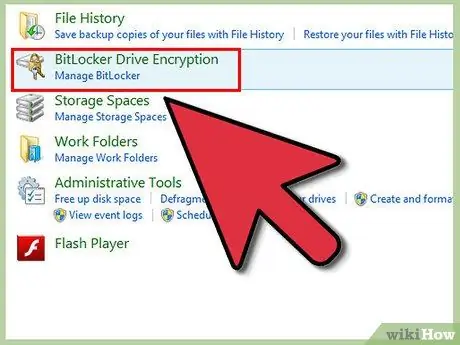
Step 3. Use BitLocker
BitLocker is a Windows 8 built-in encryption tool that can be used to make your device more secure. Go to Control Panel > Systems and Security > BitLocker Drive Encryption to set up BitLocker.
Make sure you keep the spare key in a safe place. If the key is lost, you may lose your data too
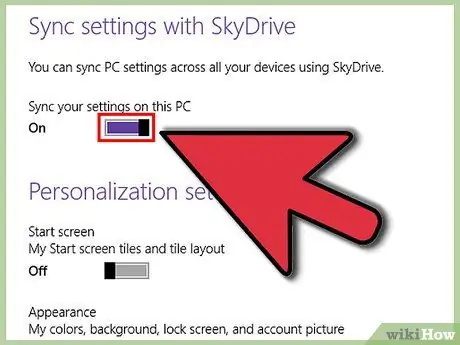
Step 4. Understand the dangers of device synchronization
Although very useful, there is a pretty serious threat behind it. If anyone has access to your login information, they can access your data from any Windows 8 device. Consider whether synchronization is a necessary feature before deciding to sync.
Step 5. Be careful with apps
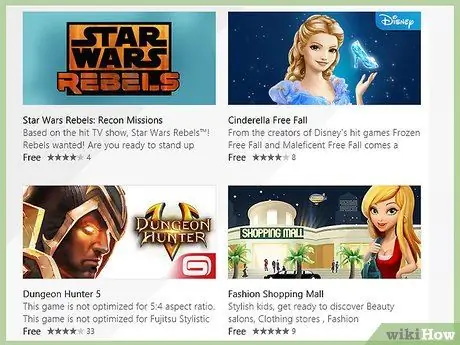
Some apps will ask for security permissions that you may not grant, or have permissions to store more data than necessary. Pay attention to app permissions before installing and don't download apps from dubious places. Always download apps directly from the app store whenever possible; it is safer than downloading from a third party location.

Step 6. Think before you click
A new secure operating system doesn't mean you have to stop being cautious. If a site feels dubious or something feels out of place, avoid it. Don't open emails from suspicious people, don't download attachments from people you don't trust, and be careful with websites that have a lot of pop-ups and downloads like videos.
Tips
- Use a Microsoft account to get many benefits in Windows 8.
- You can use Windows 8 and the version of Windows you are currently using. Be careful which partition you use to install. You must have an empty partition to continue with the installation.
- One of the new features of Windows 8 is the behind-the-scenes spell checker. This feature is very helpful when commenting on a blog or doing the creation/editing of a new WikiHow article, for example. This feature helps you add the necessary spelling changes. Fortunately, for online users, modern computer terms have been added to the dictionary.
Warning
- Make sure you check compatibility with older versions of software. A lot of old software doesn't run smoothly in Windows 8.
-
If you use Windows 8 along with an older version of Windows, be careful when leaving Windows 8.
- If Windows 8 puts your computer into Sleep mode, when you restart your computer you may be greeted with reports of storage media inconsistencies from older versions of Windows. You don't have to worry about it, but the media check might take some time. When you wake up from Sleep mode, Windows is "confused" about which partition to restart, and you may need to shut down and restart your computer if that happens.
- This happens because Windows 8 has a new boot menu that can be used with the mouse and has a beautiful color background.
- Set the msconfig of your old version of Windows. The Windows 8 boot menu may no longer be accessible, but at least your computer's "behavior" will be more consistent.
- Avoid a dual-boot setup if you're not experienced. Many WikiHow articles provide dual-boot guidance for your experiments.
- The dual-boot (or even single operating system) installation process should be monitored so that you don't write Windows system files on the wrong partition.
- Before Windows 8 was released, a version was available for removable storage media that would give you the same experience as installing Windows 8, and will help you determine your compatibility with this version of Windows. Versions for removable storage devices are also available for download.


