- Author Jason Gerald [email protected].
- Public 2024-01-19 22:11.
- Last modified 2025-01-23 12:04.
This wikiHow teaches you how to change the background of an image with Windows' built-in Paint program. While older editions of MS Paint can't be used to make an image transparent, you can make the background green by filling the image with a solid color that you can replace with another image later. You can also use Paint 3D to cut out the segment of the image you want to use, and then paste the cropped image onto a background.
Step
Method 1 of 2: Using Paint
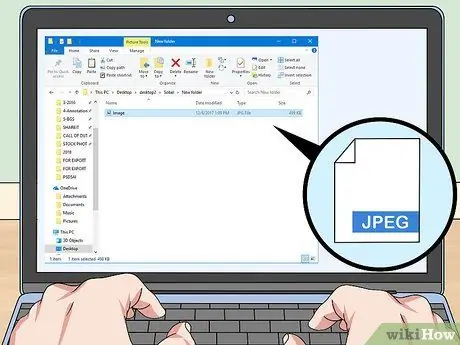
Step 1. Find the image you want to replace the background with
Open the folder where you want to save the image you want to use in this project. You can use any image, although high-resolution images are obviously easier to work with.
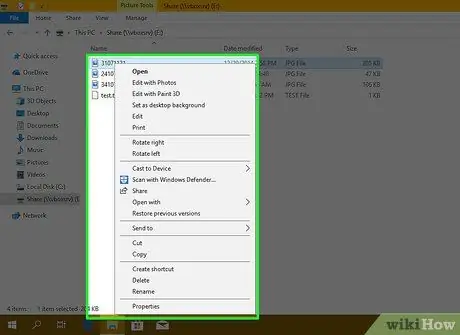
Step 2. Right-click the image
A drop-down menu will be displayed.
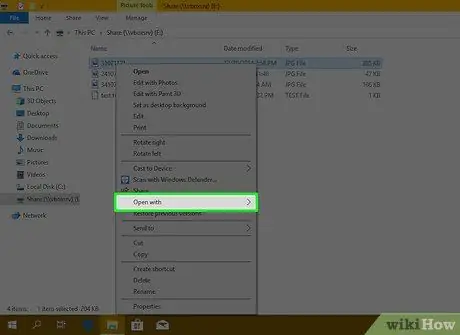
Step 3. Select Open with in the middle of the drop-down menu
This will bring up a pop-out window.
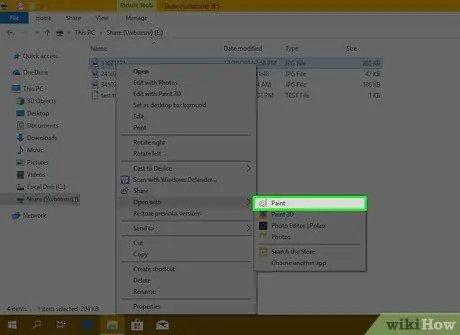
Step 4. Click Paint in the pop-out menu
Doing so will open your selected image in Paint.
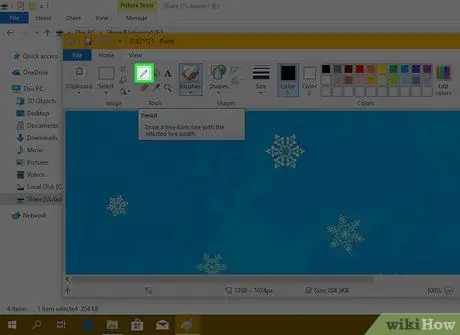
Step 5. Choose a drawing tool
Do this by clicking the pencil icon in the " Tools " section of the Paint toolbar.
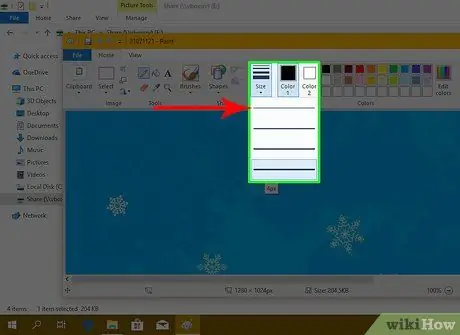
Step 6. Change the thickness of the drawing tool
Click the drop-down box Size, then click the thickest line in the drop-down menu that appears.
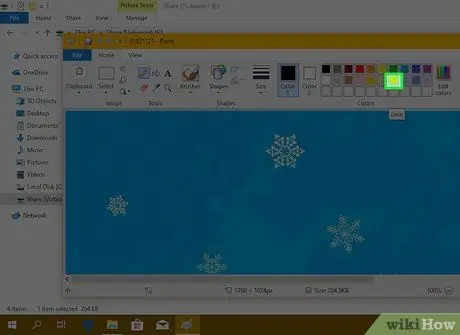
Step 7. Double click the light green square
It's in the top right of the Paint window.
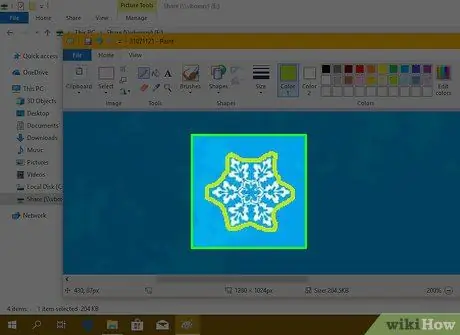
Step 8. Draw a line carefully in the part of the image you want to save
This is useful for creating a border between the image you want to replace the background with and the part of the photo you want to replace with a green screen.
You can enlarge the image by clicking on the icon + which is in the lower right corner.
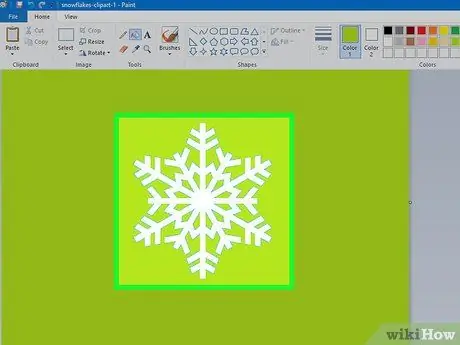
Step 9. Fill the surrounding space with a light green color
The best method for doing this will vary depending on the image used. For example, if the left side of the image is the largest part of the background to be removed later, select the rectangle icon, click Fill, click solid color, then click the box Color 2 and double click the light green color. Next, you can click and drag the section you want to delete by blocking it using the large green square.
When you're done, you'll have an image with a green background surrounding the subject
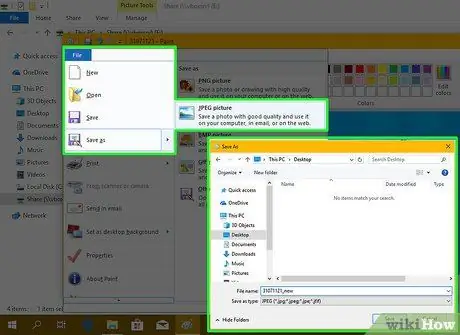
Step 10. Save the image
After adding a green background to the image, do the following to save it as a new file:
- Click File.
- Click Save as.
- Click JPEG pictures.
- Name the file, then select a location to save the file (for example Desktop).
- Click Save.
Step 11. Change the green background using another app
Unfortunately, Paint cannot replace the green background with another image. So you'll need to use an image editing program (such as Photoshop) or a video editor to replace it.
Since all parts of the background are the same color, each time the green screen is edited, the subject in it will not change on whatever background is selected
Method 2 of 2: Using Paint 3D
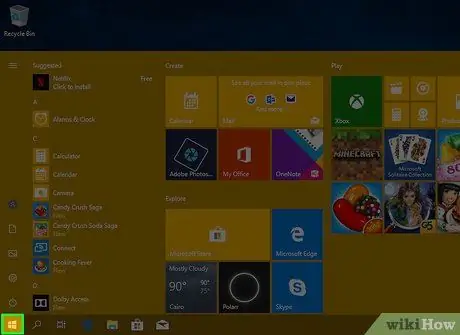
Step 1. Go to Start
Do this by clicking on the Windows logo in the lower-left corner.
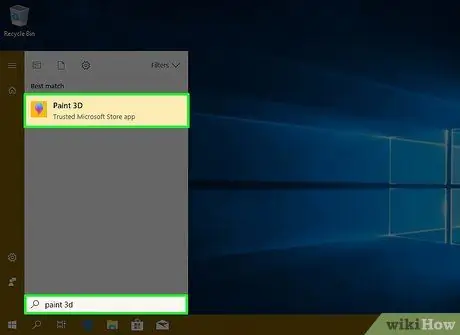
Step 2. Run Paint 3D
Type paint 3d into Start, then click Paint 3D displayed at the top of the Start window.
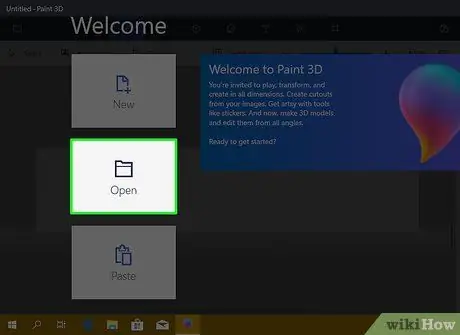
Step 3. Click Open
It's in the center of the Paint 3D window.
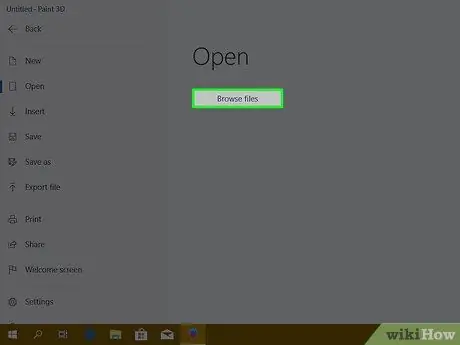
Step 4. Select Browse files in the middle of the window
A new window will be opened.
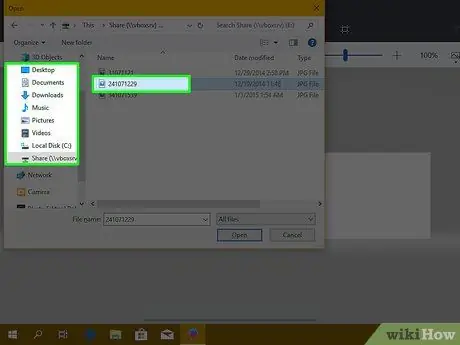
Step 5. Select the desired photo
Open the folder where the photo you want to change the background is stored in, then select the photo by clicking on it once.
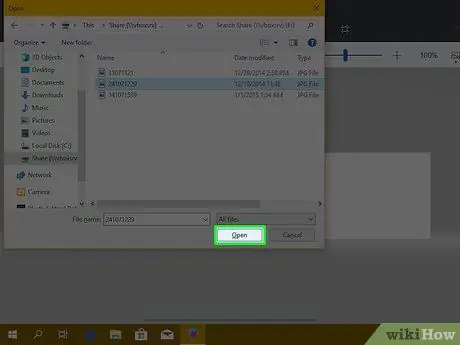
Step 6. Click Open in the lower right corner
The selected image will open in Paint 3D.
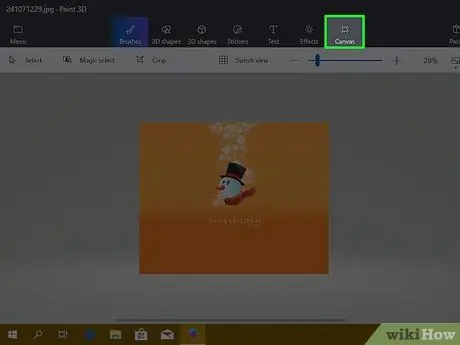
Step 7. Click the Canvas tab
This three-by-three grid icon is in the top right of the Paint 3D window. Doing so will open a new column to the right of the window.
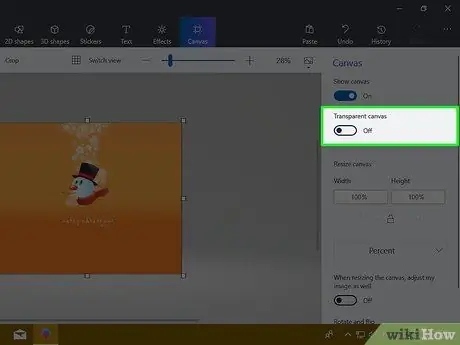
Step 8. Click the gray "Transparent Canvas" button
The buttons are in the right column. The button will turn blue
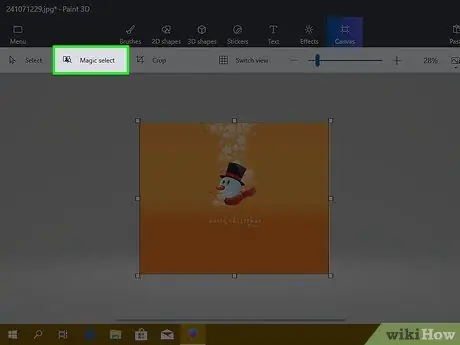
Step 9. Click Magic Select
This tab is on the left side of the Paint 3D window.
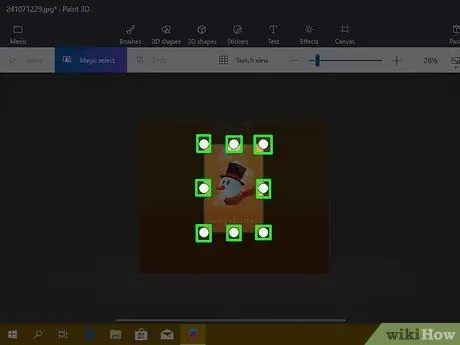
Step 10. Drag the edges of the canvas around the subject of the image
This is to ensure that the final image doesn't require too much editing.
Try to place the edges as close as possible to the part of the image you want to preserve without going over the inside
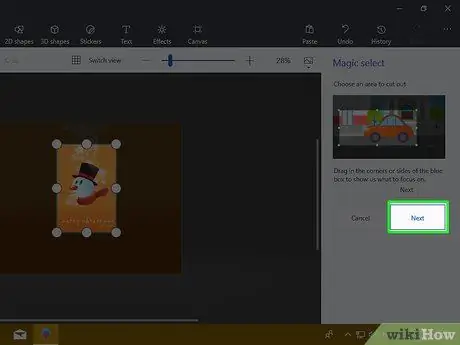
Step 11. Click Next on the right side of the page
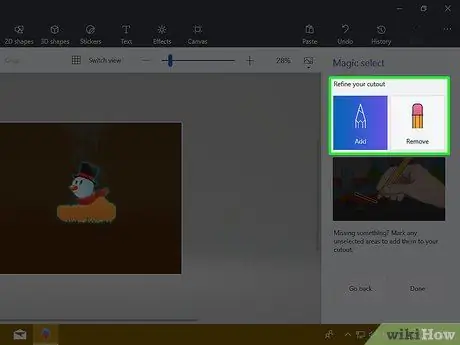
Step 12. Add or remove parts of the image that you want to remove or retain
Parts of the image that are blue lined and in full color (eg not grayed out) will be saved when you crop the image. If there are parts of the picture that you want to keep are not included, or parts of the picture that you do not want to be saved are included, you can add or remove parts of the picture by doing the following:
- Add (add) - Click the icon Add at the top of the right-hand column, then draw a line around the part of the image you want to include.
- Remove (delete) - Click the icon Remove at the top of the right-hand column, then draw a line around the part of the image you want to delete.
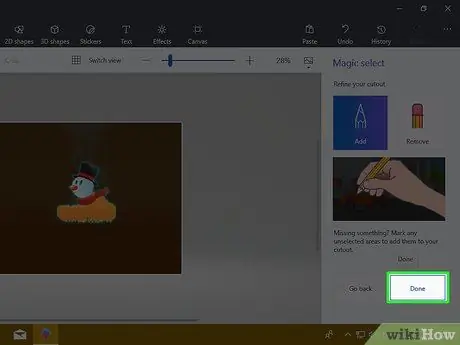
Step 13. Click Done which is on the right side of the page
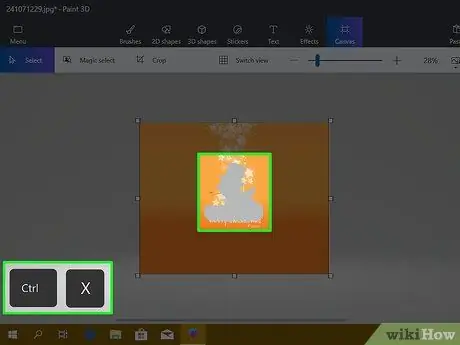
Step 14. Copy the selection you made to the clipboard
Do this by pressing Ctrl+X. The selected portion of the image will disappear from the Paint 3D window.
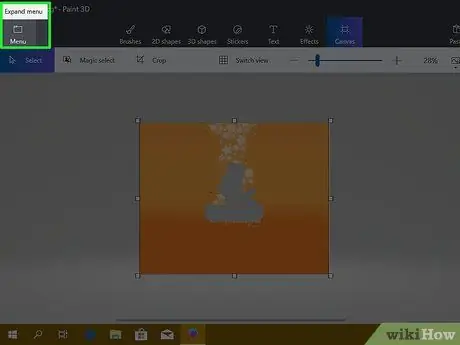
Step 15. Click Menu
It's a folder-shaped icon in the top-left corner.
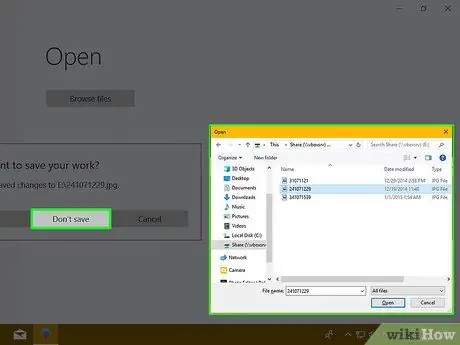
Step 16. Open the background image
How to do it:
- Click Open.
- Click Browse files.
- Click Don't save when requested.
- Select the image you want to use for the background.
- Click Open.
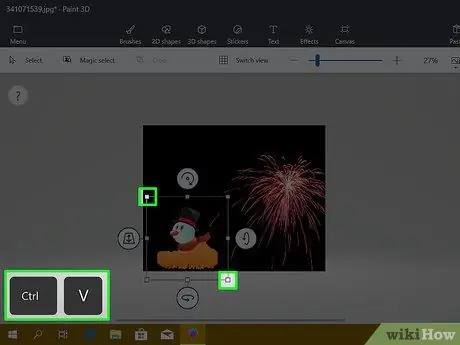
Step 17. Add the original image on the background
If the background image is already opened, press Ctrl+V keys to paste the copied part of the original image into the background.
If necessary, you can resize the original image by clicking and dragging one of its corners outward or inward
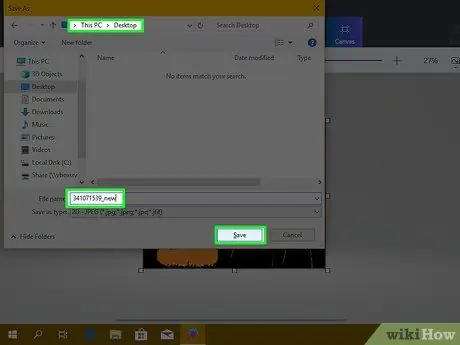
Step 18. Save the image
Do the following to save the project as an image file:
- Click icon Menu in the form of a folder in the upper left corner.
- Click Save as.
- Click Image.
- Name the image, then select a save location (for example Desktop).
- Click Save.


