- Author Jason Gerald [email protected].
- Public 2024-01-19 22:11.
- Last modified 2025-01-23 12:04.
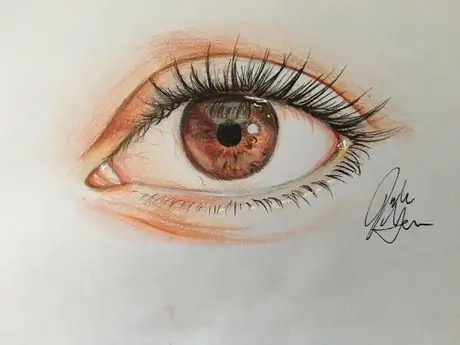
Do you want to draw eyes with colored pencils? Drawing eyes is fun, both doodles and as realistic as possible. Once you are good at sketching with an ordinary pencil, it will be more fun if you try to add color to the image.
Step
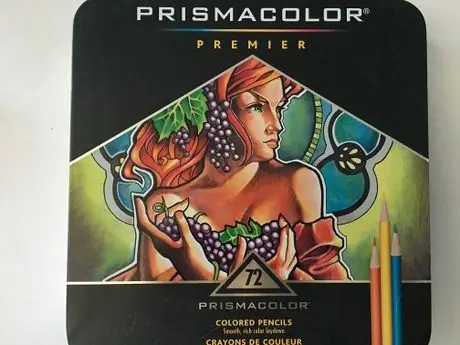
Step 1. Before starting to draw, choose the brand of colored pencils to use
You can use any brand, but it's best to choose a pencil with a finer stroke to make the drawing more unified. One good brand is Prismacolor Premier, as in the image above.
Step 2. Find a reference photo
It will be easier for you to choose the correct color if you have a reference photo. Photos will also help in creating eye shapes and gradations of shadows.
You can use photos of your own eyes or from the internet
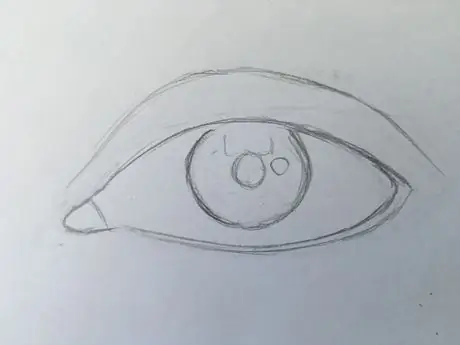
Step 3. Draw the outline of the eye using a regular pencil
Pay attention to the size of the tear ducts and the waterline as they are both important for making the eyes look realistic. In addition, pay attention to the point of gleam or the point of reflection of light in the eye. You'll need to draw this area so you know that it shouldn't be colored later. If you plan on working on it again later with something like a white gel pen, just outline the largest circle.
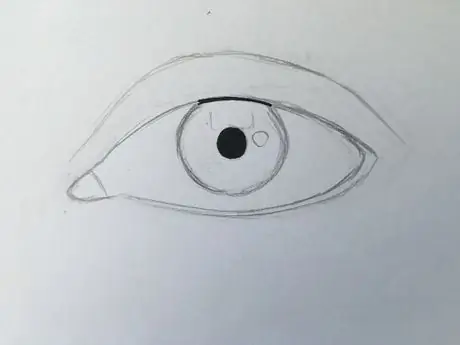
Step 4. With a black marker or pen, color the pupil of the eye and any dark areas with black, such as the top of the iris
Don't draw eyelashes just yet, you can do that later
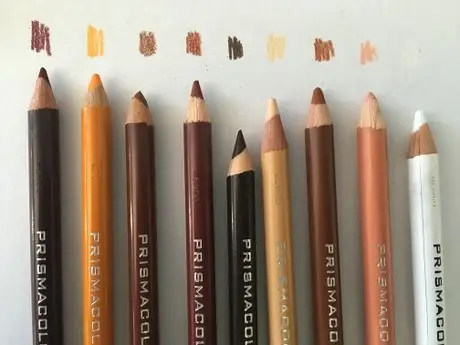
Step 5. Choose what color you will use
Try it on before using it, to make sure the color matches the reference photo.
- A white pencil will help unify the area if you make a mistake.
- Don't draw the pencil too sharply as the tip will break easily.
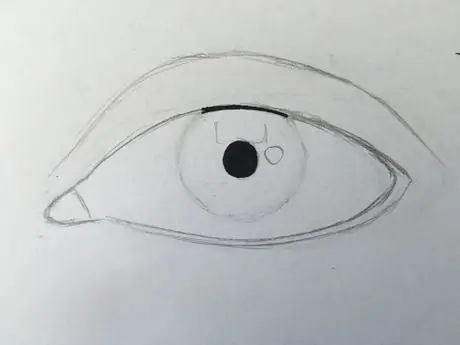
Step 6. Erase the outline of the iris until it is not too obvious so that the graphite pencil strokes do not mix with the colored pencils
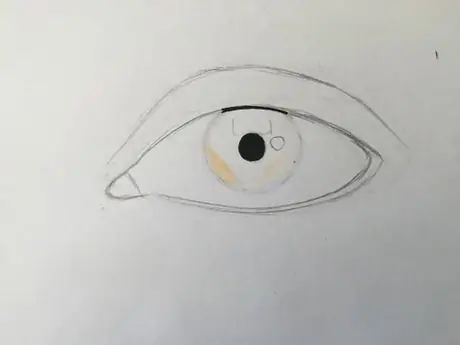
Step 7. With the lightest color, color the lightest areas in the photo
Don't color the sparkle of the eye.
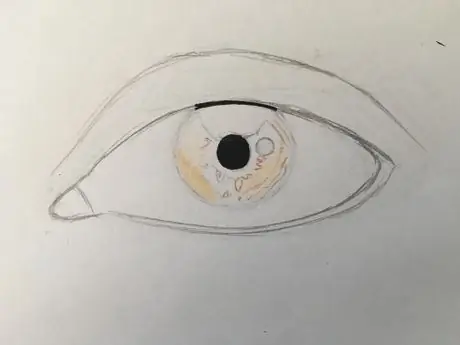
Step 8. Color all the lightest areas, add some detail to the dark areas
Remember, it's easier to draw with dark colors than light.
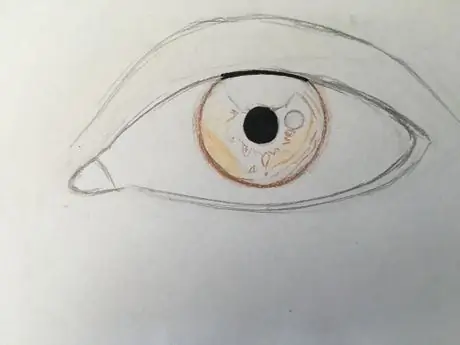
Step 9. With a darker color, draw the outline of the iris
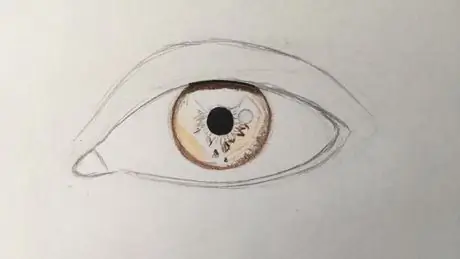
Step 10. Color the darkest part of the iris
The top of the iris is one of the darkest parts, as are some of the details on the iris.
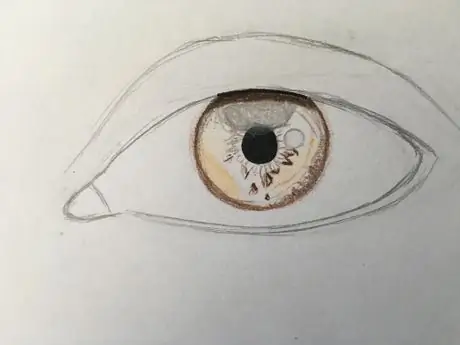
Step 11. If the eye shimmer area in the photo is not solid white, draw it in the exact same color
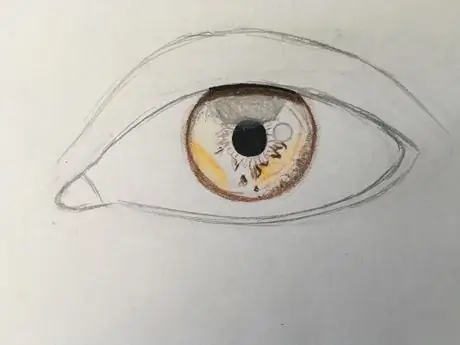
Step 12. Add more intense color if necessary
Be careful not to overdo it. Adding color is definitely easier than removing it.
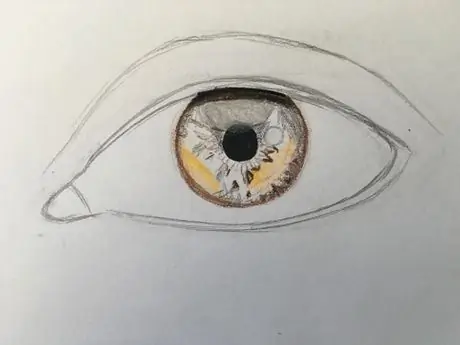
Step 13. With a black pencil, draw textures on thin slices
The texture will be a reference for you later, which part of the iris is deeper.
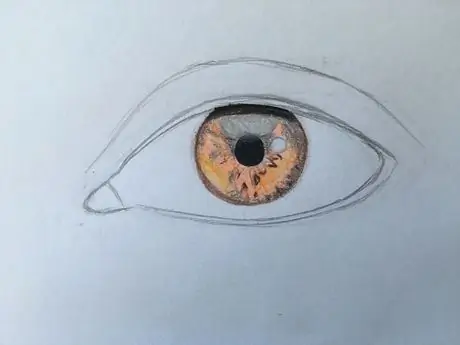
Step 14. Coat the iris with a base color
This color will be the color that appears most dominant in the iris, such as orange, light brown, or blue. Don't choose a dark color.
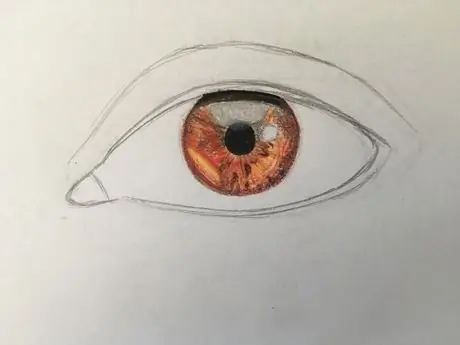
Step 15. Layer in a more intense color to complete the base color
If you previously used orange, choose a lighter orange or even red (which you should use with care).
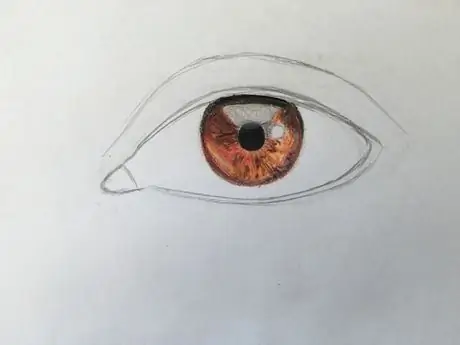
Step 16. Add more dark areas around the iris, especially at the top
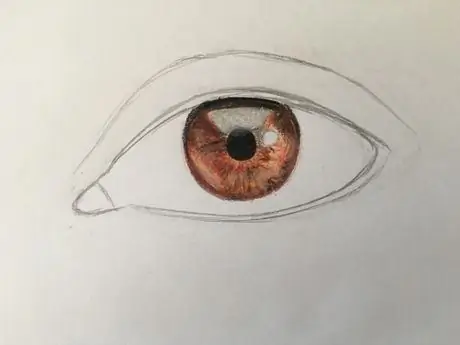
Step 17. Add white color to the center of the iris, which is the circle around the pupil
This will make the eyes appear more 3D.
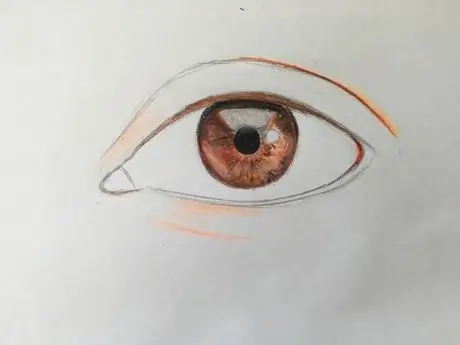
Step 18. With a medium color, draw the darkest areas of the skin
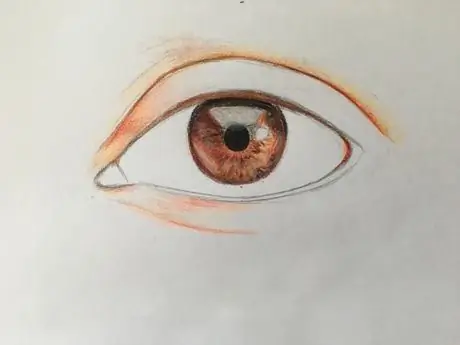
Step 19. Continue coloring the eyes in several layers and darken the color
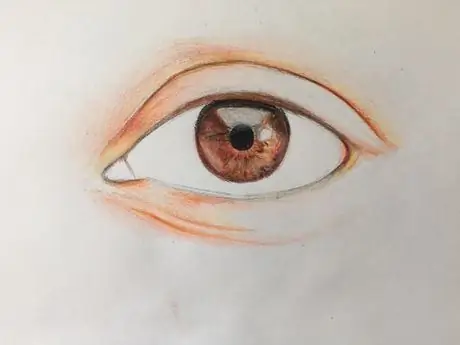
Step 20. Add shadows on the crease of the eye and on the other areas that have the most darkness
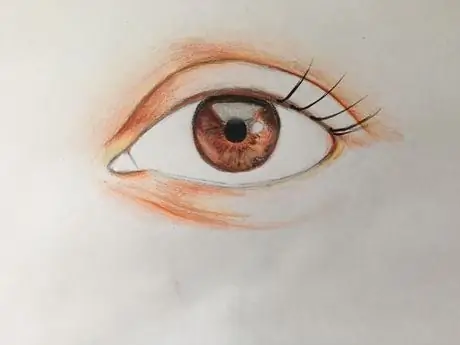
Step 21. Add eyelashes
It's easier to use a black marker or felt-tip pen, but you can also use colored pencils. Draw a curved shape, not straight. Take a look at the reference photo to see how it bends under the waterline.
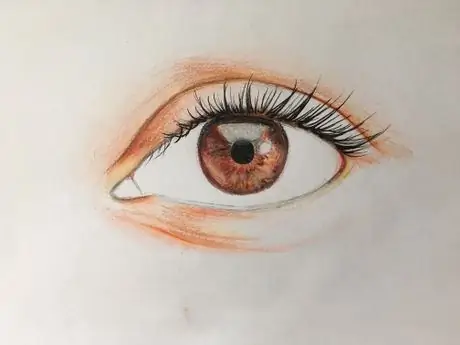
Step 22. Finish drawing the upper lashes, making sure the angles match the ones in the photo and make sure they vary in length
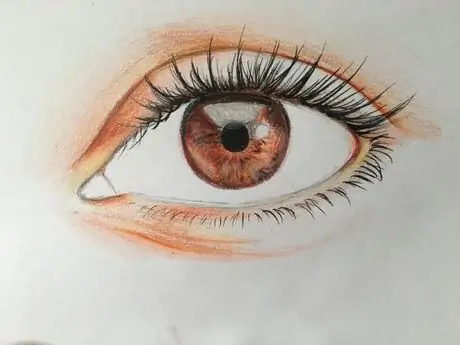
Step 23. Add a line to the lower lashes, drawing right at the edge of the waterline
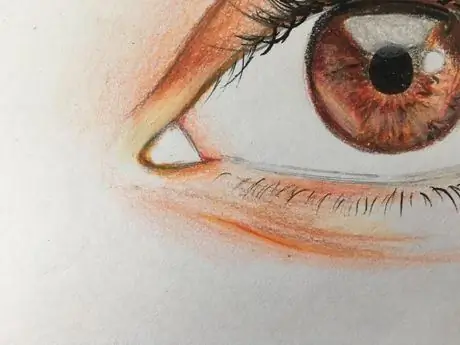
Step 24. Darken the inner corner of the white eye
For photos with cooler light, use grays. For photos with warmer light, use pink.
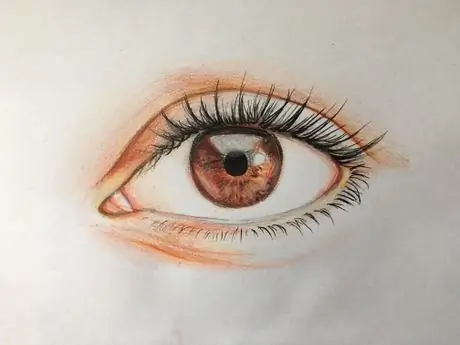
Step 25. Color the tear glands, paying attention to the lines and shadows in the reference photo to help you make the image more realistic
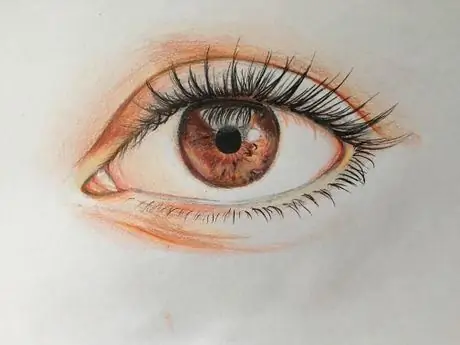
Step 26. Add shadows to the whites of the eyes
You can also add reflection or shadow to the eyelashes.
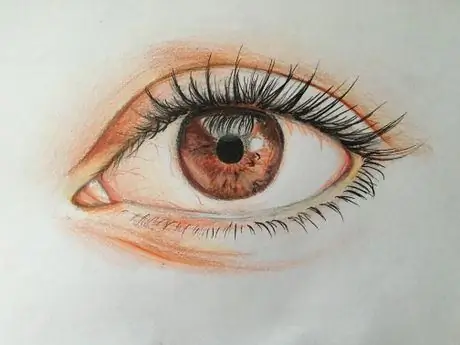
Step 27. With a dark red or purple pencil, draw thin blood vessels
Don't make it too thick as it will make the image unrealistic. Pay attention to the reference photo, where the blood vessels are most clearly visible.
