- Author Jason Gerald [email protected].
- Public 2024-01-02 02:28.
- Last modified 2025-01-23 12:04.
Mail merge is a common function in Office programs to fit one document for multiple recipients. You can organize and combine all types of documents, including envelopes, labels, form letters, emails, faxes and numbered coupons. Read the steps below to find out how to use Mail merge on a computer.
Step
Method 1 of 3: Preparation
Step 1. Build a data file
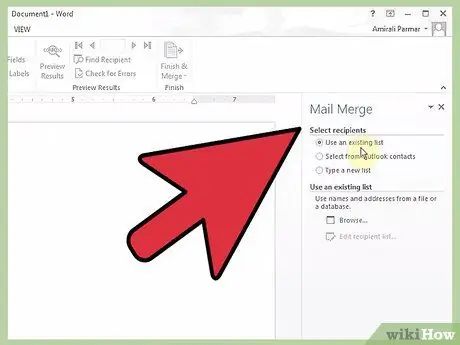
The data can be spreadsheet files (worksheets), database files, or even text documents in an appropriate format. The worksheet files are the most frequently used; This guide assumes you are using a worksheet.
-
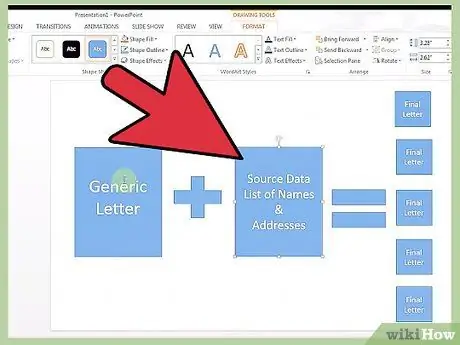
The file data must include all the information that will change on each copy. For example, if you are writing a form letter, the file will include the names and possibly the addresses of all the people you want to write to.
Enter an information in each cell along the line, so that each type of information (first name, last name, honorific, and so on) is in its own column
-
Create reasonable column names. Mail merge reads the data in each column, and assumes that the first entry in each column of information is the common name for that type of information, so use a name that makes sense.
For example, start the first name field by typing "first name," then write all the first names below it. When you are asked to enter a column of data in a letter, you will see "first name" as an option and immediately remember what is in that column
- Microsoft Office users who use Outlook as a means of sending email can use the Outlook address book as a data file, if they wish.
Step 2. Save the data file
Save the file so you can find it easily. Give it a name that will be easy for you to remember.
Step 3. Write your main document
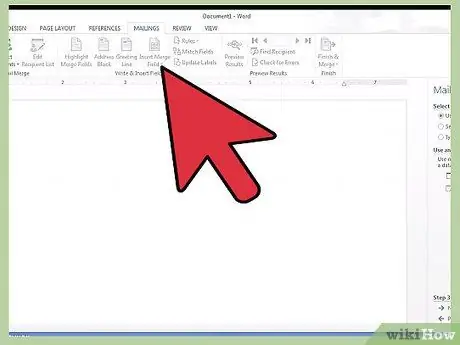
This document will include information in it. For example, if you are writing a form letter, the main document is the letter. Each item to be mail merged contents (such as name) is currently left blank.
Method 2 of 3: Mail Merge in MS Office
Step 1. Open the Mail merge task pane
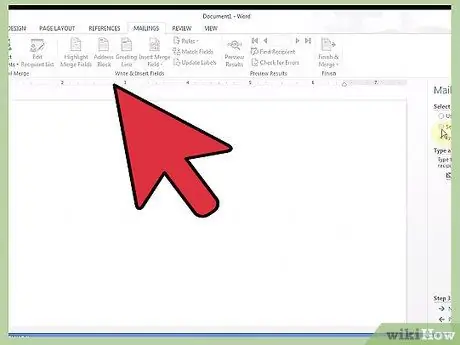
From the main document, click the pane to open it. If you don't see it, go to the Tools menu and select Mail merge from the list.
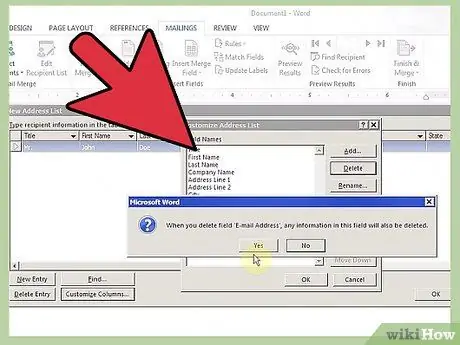
Step 2. Answer the questions asked by MS Office
The Mail merge feature in Office includes several steps designed to make it easier for you to combine files more intelligently and accurately.
- Start by selecting the type of document you are writing. Click whichever fits best, then click Next.
- Select the starting document you want to use. If you follow these steps, you can select use this document. Click Next.
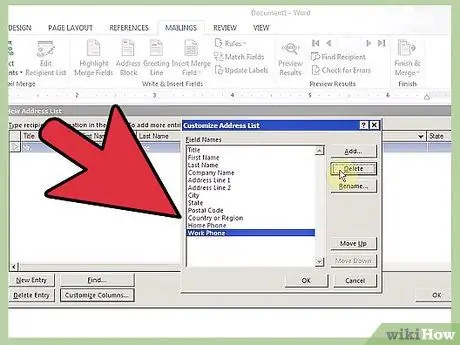
Step 3. Select the files to be merged
This is the data file that you created earlier. Select the appropriate radio button and then click Next to locate the file and link it to the main document.
If you want to use the Outlook address book, click that option
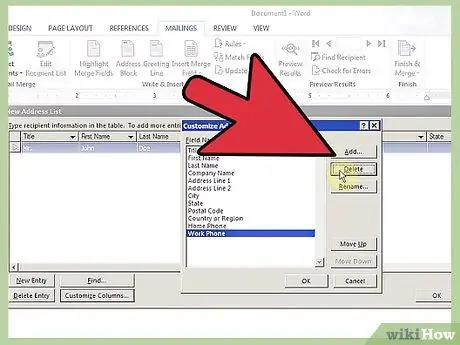
Step 4. Choose what data to use
Office allows you to select or deselect the rows of information you want. You can select the items of information in the data file that you want to be merged into the main document, so that the data file will be more useful later if you use it for different things. Once satisfied, click Next.
Data can be sorted by clicking on the column headings in each column. This can be useful if you want to quickly search through a lot of information
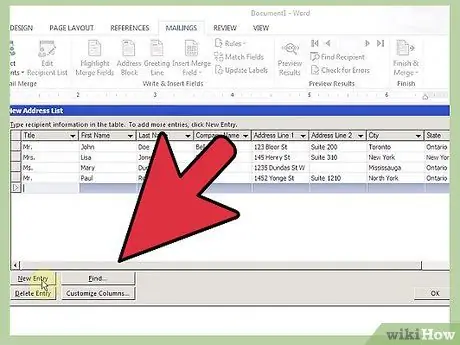
Step 5. Enter the data fields
On the next page of the task pane, you will be prompted to write a document if you have not already done so, and will be presented with various options for inserting data from the file into the document.
-
Enter a column of data by placing the cursor in that column of data, and then clicking the appropriate button on the taskbar to insert it there.
You can delete misplaced or duplicate data fields by pressing the Delete key, just like regular letters or numbers
-
The preset options will change slightly depending on the type of document you select. Office does its best to fill in the appropriate information from the data you provide. For example, if you're writing a business form letter, you might see an option to insert an address block that includes the first and last name and the full address of each recipient neatly arranged across multiple lines.
- Some preset options will open additional windows for you to fill in the appropriate information. It's all more or less straightforward and easy to understand.
- If you use the preset options and cannot find the appropriate information, click the Match Fields button to define your own data column name that matches the default name. For example, you can specify the "Surname" category in a data file to populate the "Last Name" data in the address block.
- To use your own column, click more options. You will be able to see the names you gave to each column and use them instead.
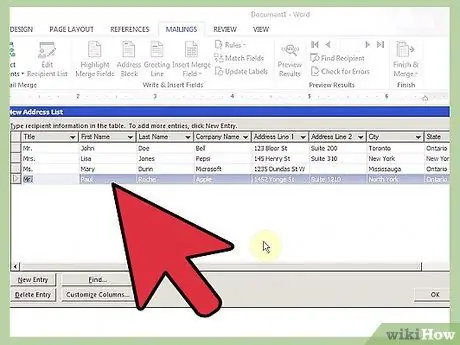
Step 6. Check the mail
Mail merge won't display specific information in the columns that you apply to the main document until you print it, but Office does offer a preview function that allows you to check and make sure that the information that appears will match the columns you want in the document. Please use them until you are satisfied with the order shown.
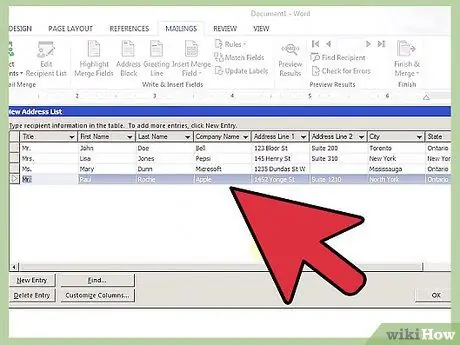
Step 7. Complete the merge
The final screen of the mail merge task pane will let you know that everything is in order, and ready to print your document. Each set of information will appear in per printed document, and the program will print as many copies of the information set as there are.
If you want to edit specific letters yourself, you can also do so from this taskbar screen by first clicking "edit individual letters"
Method 3 of 3: Mail Merge on OpenOffice.org
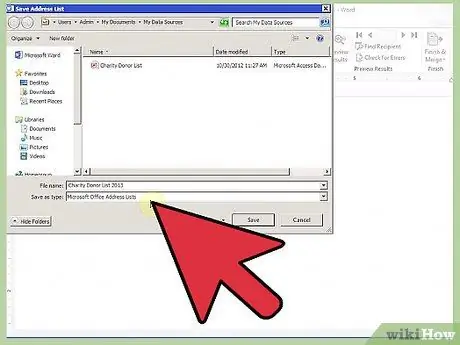
Step 1. Create a database
Step 2. Enter the data fields
You've now linked your information to a database that OpenOffice.org can understand, and using the database to merge mail is easy as long as you know where to look.
- From the Insert menu, select fields, then other… from the submenu. Alternatively, you can press Ctrl+F2.
- In the window that appears, click the Database tab.
-
Click the Browse button at the bottom right of the window and find the database file you just created.
Once selected, the database will appear in a list titled database selection on the right side of the window
- From the list of types on the left side of the window, select mail merge fields.
- Click the "+" next to your database, and a worksheet file will appear below it. Click "+" beside him, and you'll see the name of the data column that you selected when you created the worksheet.
-
Select which column of data you want to insert, then click Insert to place the column of data into the main document.
- Remember to place the cursor where you want the column of data to be before clicking Insert, otherwise you will have to move it to the correct position.
- Just like in Office, text fields are treated as alphanumeric characters in the main document. You can move it using the space bar and delete it with the Delete key.
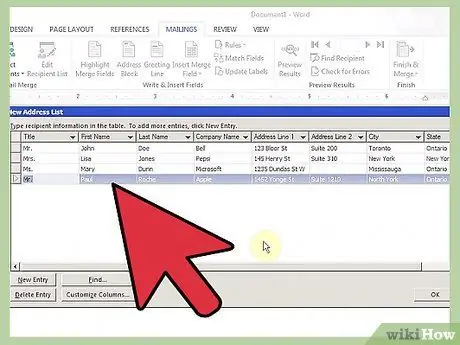
Step 3. Complete the merge
Check each data column placement. Once done, print your main document. Mail merge will print one copy for each set of entries in the file merged into the document.
Tips
- Word processing programs usually have templates that you can use to create the main document.
- Be sure to break down the columns into the most specific keywords. For example, you can use nicknames (Mr., Mrs., Miss), first name and last name for names. Use three separate columns for the name with one type of data column in each column.


