- Author Jason Gerald gerald@how-what-advice.com.
- Public 2023-12-16 10:50.
- Last modified 2025-01-23 12:04.
Audacity is a free program for editing audio. This program is very capable if you know how to make the most of its features. One common use of Audacity is to combine multiple song files into one. This feature is especially useful for creating song mixes because you can adjust the fade between songs. Once you understand how Audacity works, in no time you can produce professional sound mixes.
Step
Part 1 of 3: Adding Tracks

Step 1. Download and install Audacity
Audacity is a free program for editing audio. You can download this program from audacityteam.org. The Audacity website will detect the operating system you are using and automatically provide a suitable installer. If your operating system is not detected properly, click the “All Audacity Downloads” link and then download the version suitable for your operating system..
Run the installer once you've finished downloading it, then follow the prompts to install Audacity. If you download from the official website, you don't have to worry that you will install adware

Step 2. Download and install the LAME MP3 encoder
This software is required if you want Audacity to be able to export the finished file as an MP3.
- Visit the LAME page at lame.buanzo.org/#lamewindl.
- Download and run the proper installer for your operating system. If Windows warns that the source is unknown, you can safely continue the installation.
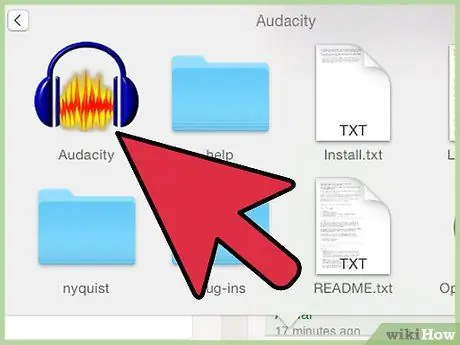
Step 3. Launch Audacity
When you start Audacity, you will be greeted with a new, empty project.
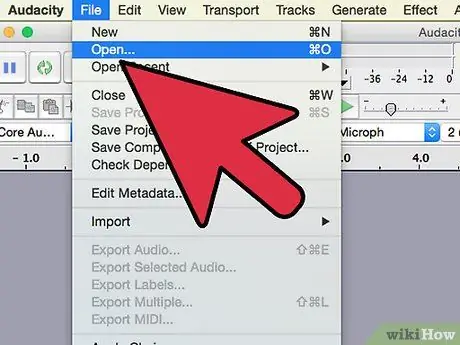
Step 4. Open the songs you want to merge
Click “File” → “Open” then browse to the first song you want to include. Repeat for each song you want to add.
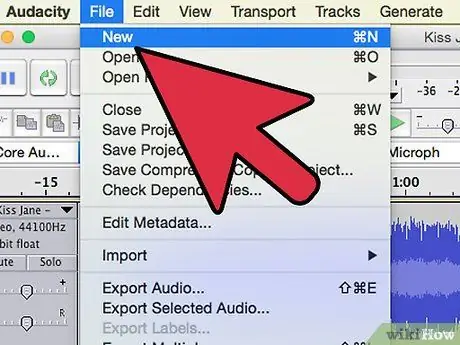
Step 5. Start with a new project
Click "File" → "New" to create a new blank project. You will use this new project to merge all the files so that the original files do not change.
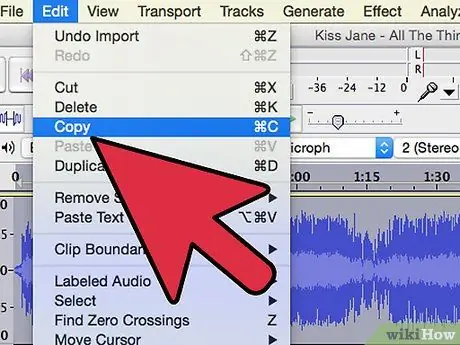
Step 6. Copy the first song
Select the window containing the song you want as the starting song. Press Ctrl + A (Windows/Linux) or Command + A (Mac) to select the entire song. You can also click "Edit" → "Select All". Press Ctrl/Command + C to copy the selected track, or click "Edit" → "Copy".
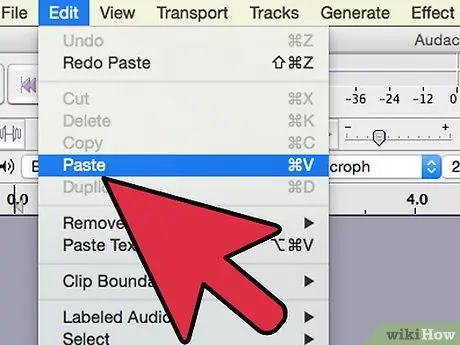
Step 7. Paste the song into the new project
Highlight the new blank project and then press Ctrl/Command + V to paste the copied track. You'll see the track appear in the Audacity window.
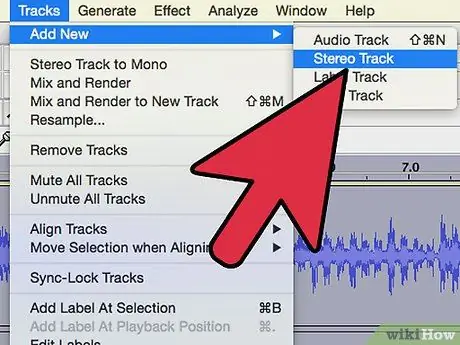
Step 8. Add a second audio track to the new project
Click "Tracks" → "Add New" → "Stereo Track". This will create a second blank track below the first track you pasted.
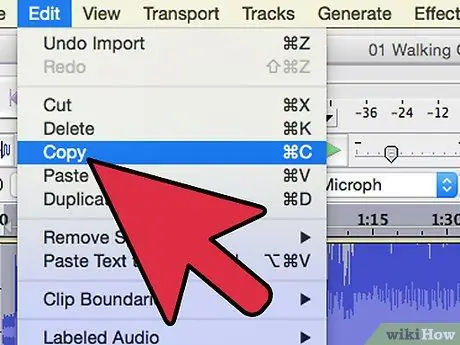
Step 9. Copy the second song
After creating a new audio track, open the window for the second track and repeat the selection and copying process.
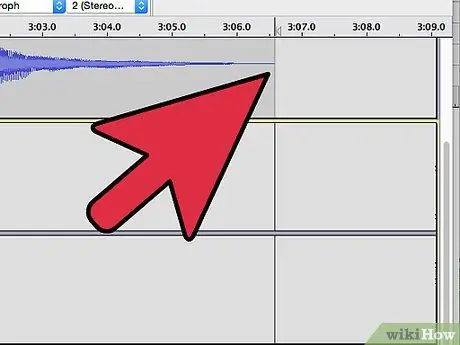
Step 10. Move the cursor to the end of the track in the new project
Scroll right in the new project to find the end of the first track you pasted. Click a dot on the new, empty audio track at the end where there is no wave, which indicates silence.
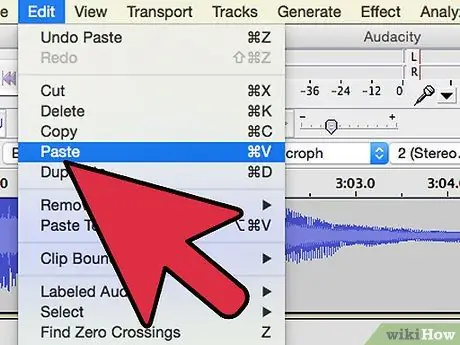
Step 11. Paste the second track
After placing the cursor on the new audio track at the end of the first track, press Ctrl/Command + V to paste the second track. Your new project will now have the first track at the top of the audio track, and the second track at the bottom of it. The second song starts when the first song ends.
Repeat this process for each additional track you want to combine, creating a new stereo audio track for each track. Make the window full screen so you can see the project better
Part 2 of 3: Final Touches
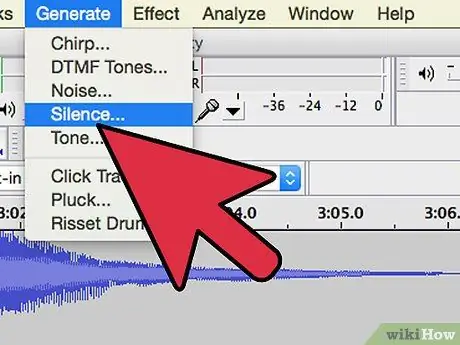
Step 1. Insert silence between tracks
You can use the Silence Generator tool to insert silence if your tracks jump too fast from one to the next. Place your cursor at the point between songs, where you want to insert silence.
- Click "Generate" → "Silence" to open Silence Generator.
- Change the value for how much silence you want to add. On many CDs, the silence between tracks is two seconds. Click “OK” to generate the length of silence you set at the location where you placed the cursor.
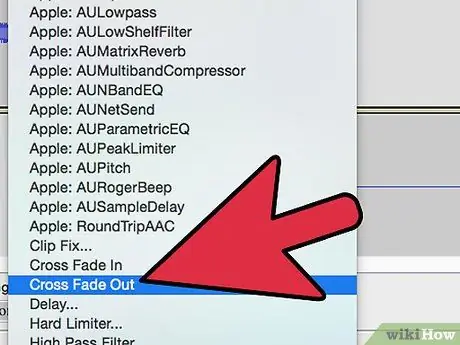
Step 2. Add fades between tracks
You can blend songs from one another by using the Cross Fade In and Cross Fade Out effects. This takes a bit of experimentation to get it right for your songs. Whenever you are not satisfied with the changes you made, press Ctrl/Command + Z to undo the last changes.
- Select the part of the song you want to fade out gradually. Use the mouse to select the last few seconds of a song.
- Click "Effects" → "Cross Fade Out". You'll see the sound waves adjust as the effect is applied to your selection.
- Click the Play button to replay the selected part. If you are not satisfied with the discharge, cancel the order.
- Select the first few seconds of the next track. Click "Effects" → "Cross Fade In".
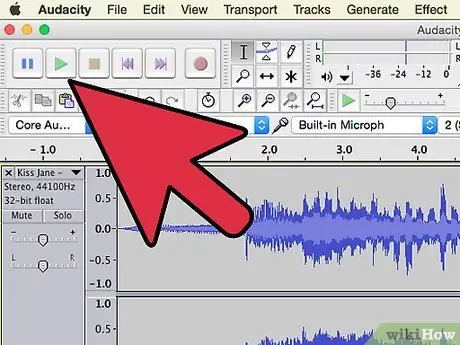
Step 3. Listen to the whole project
Before finishing your project, try to listen to the whole thing to make sure that everything is going well. Make sure that nothing is selected, then click the Play button to listen in its entirety. You can then go back and make adjustments to distance and pitch based on what you hear.
Part 3 of 3: Exporting Files
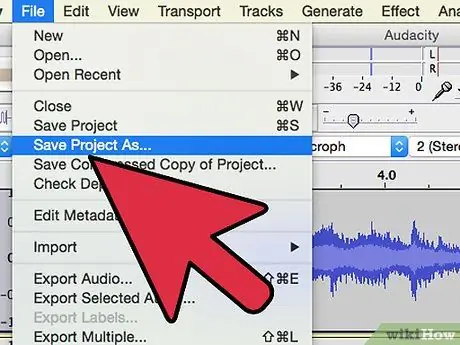
Step 1. Save a copy of your project
Click "File" → "Save Project As" to save your new project for future editing. You can't play this version anywhere, but this step allows you to go back and make more changes later if you want.
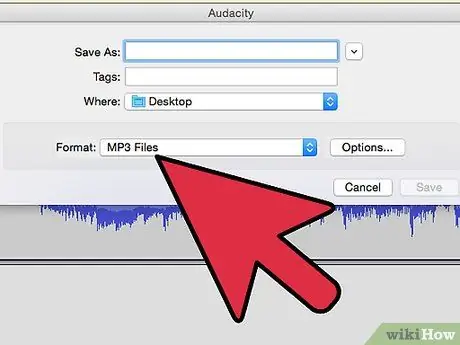
Step 2. Click "File" → "Export Audio"
Select "MP3 files" from the "Save as type" drop down menu.
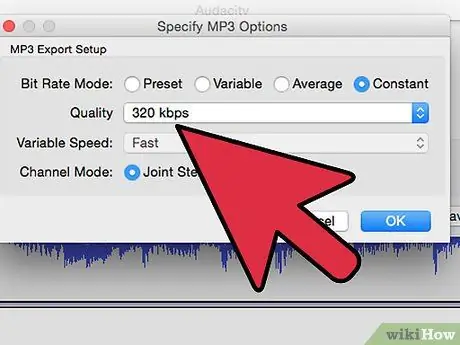
Step 3. Click the button
Options… then select quality setting. A higher bit number will result in better quality but a larger file size. 320 kbps is the closest you can get to the original quality of the file.
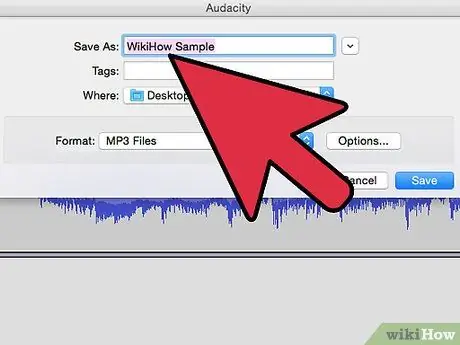
Step 4. Give the new file a name and select where you want to export it
Click Save when you are satisfied.
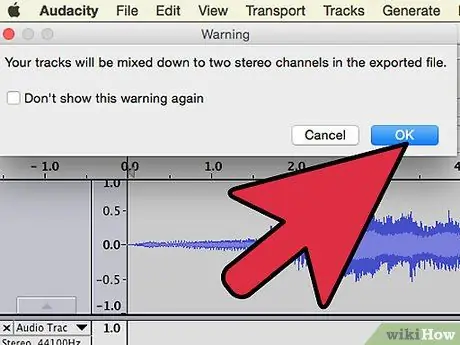
Step 5. Click
OK when notified that your tracks will be merged. Basically this step will aggregate all of your additional tracks so that they will all be on one stereo track.
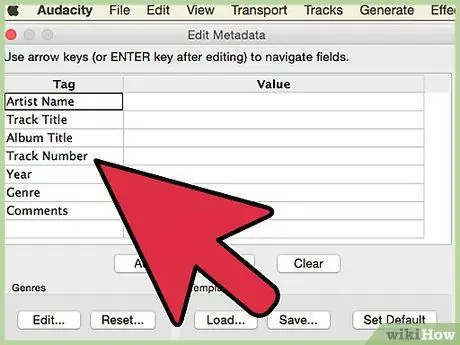
Step 6. Include any metadata to be saved as well
You can enter Artist name, song name, etc., or leave everything blank. Click OK when everything is done.
Step 7. Wait until the export process is complete
The time it takes varies depending on how many songs you mix.


