- Author Jason Gerald gerald@how-what-advice.com.
- Public 2023-12-16 10:50.
- Last modified 2025-01-23 12:04.
With all kinds of music and videos circulating on the internet, how do we keep track of what we like? That's the function of playlists. Each multimedia program or music provider provides the facility to create a list of favorite music or videos. You can organize by genre of music, artist, mood, or whatever you like. Follow the guide below to learn how to create a playlist.
Step
Method 1 of 6: Creating Playlists in iTunes
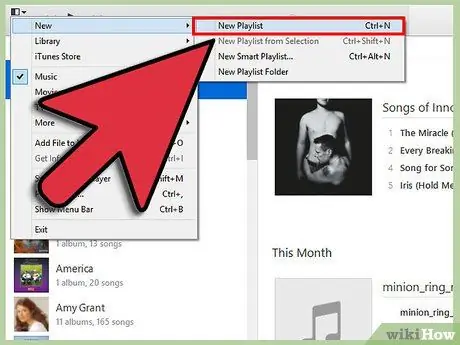
Step 1. Create a new playlist
A playlist is a list of songs from a library of songs that interest you in some way. For example, you might want to create a new playlist for a party at home or a playlist that plays while driving. Playlists can contain as many songs as you want.
- Click File and select New > Playlist.
- Name the playlist something easy to remember.
- Add songs to the playlist by dragging the song from the song library to the playlist name in the left menu, or by right clicking on the song and selecting Add to Playlist. You can also add an existing playlist to a new playlist.
- While you're planning a playlist of songs for your wedding, make sure you pick a good song to dance to too!
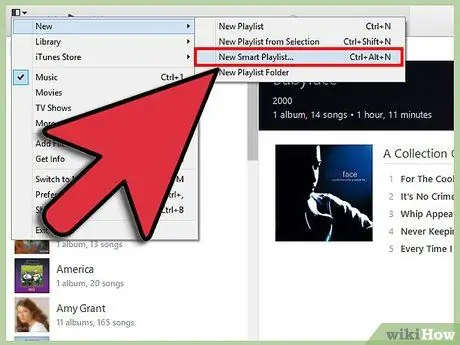
Step 2. Create a smart playlist
Smart playlists use user-defined modifications to create playlists automatically. For example, you might create a smart playlist containing only popular Jazz songs from the era before 1955, or a playlist containing songs with a BPM higher than 100 that you added to your song library last year.
- Mix and match these settings to create custom-built playlists.
- You can also make settings not to add certain songs to playlists. For example, you can create a rule about which songs can or cannot be added from certain genres of music.
- The number of songs in the smart playlist can be limited, or the length of the song can be unlimited.
- Smart playlists can be updated any time you add new files to iTunes and if they match your playlist settings. Enable “Live updating” to perform that function.
- You can use the BPM filter to create the perfect mix of music for your workout.
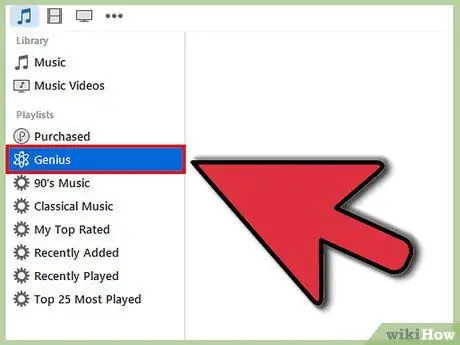
Step 3. Create a smart playlist
A smart playlist uses song information to create a playlist containing similar songs that are added automatically based on the songs you select. hover over a song in your song library and click the arrow button. Select Create Genius Playlist. A new playlist will appear in the left menu with a Genisu icon next to it.
- You can get new songs for the same smart playlist by clicking the Refresh button.
- You can adjust the number of songs in the playlist by clicking the down arrow button next to the number of songs and entering a new number.
Method 2 of 6: Creating a Playlist in Window Media Player
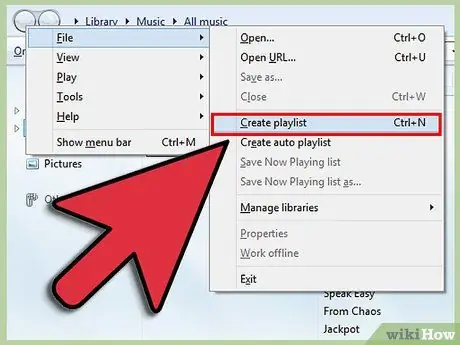
Step 1. Click File and select “Create playlist”
A new playlist will appear under the playlist category in the left navigation menu.
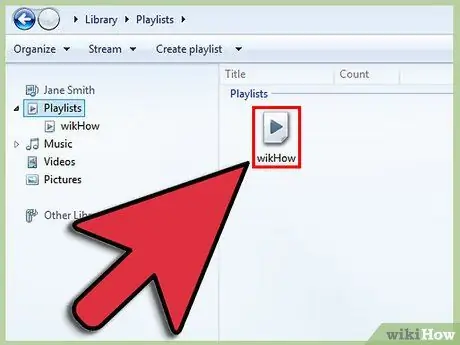
Step 2. Name your playlist
When you create a new playlist, its name is automatically highlighted, so you can create any name you want.
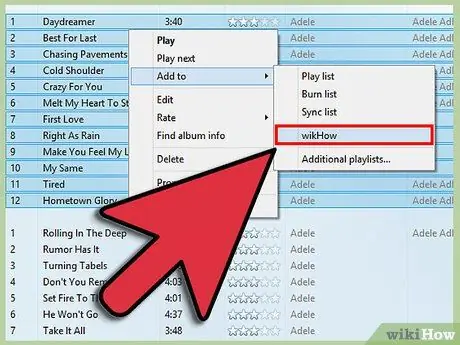
Step 3. Add files to the newly created palylist
Now that the playlist has been named, it's time to add some new songs! Search in your song library and drag the song you want to the playlist icon. New songs will be added to the bottom of the playlist.
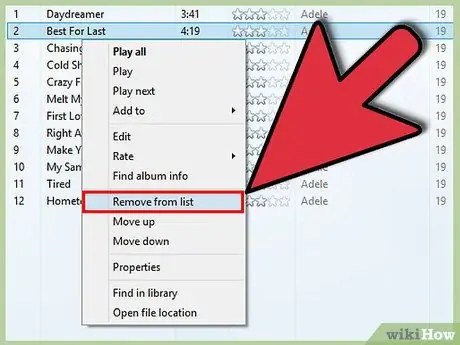
Step 4. Organize your playlist
Click on the playlist to see a list of all available songs. You can click and drag songs in the playlist to rearrange the playlist to your liking.
Method 3 of 6: Creating a Playlist on Spotify
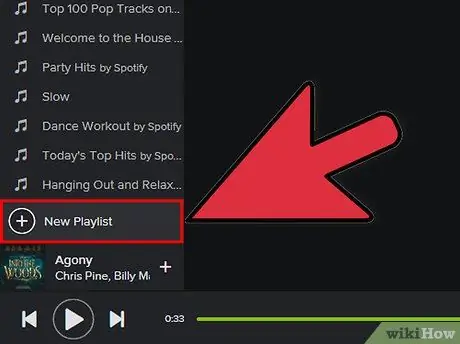
Step 1. Click File and select “New Playlist”
A new playlist will appear in the left navigation menu.
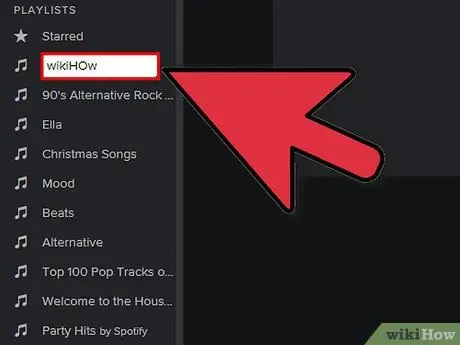
Step 2. Name the newly created playlist
When you create a playlist, its name is automatically highlighted, so you can name it however you want.
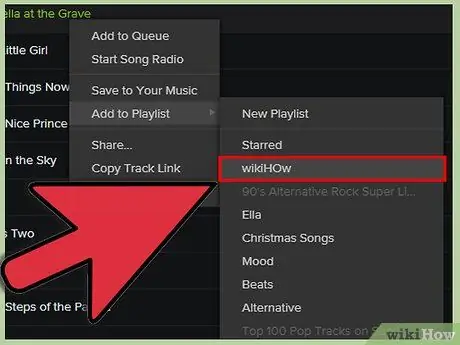
Step 3. Add music to your new playlist
The great thing about Spotify playlists is that you can add songs from the Spotify song library, then share that playlist with your friends. Use Spotify's search function to find any song, artist, or album that's on your mind. The song must be available on Spotify for you to add it to your playlist.
Click and drag the files you want to the playlist icon
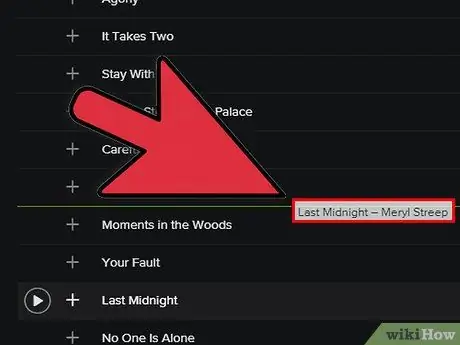
Step 4. Organize your playlist
Any new songs you add will be placed at the bottom of the playlist. You can click and drag the songs in the playlist and create the order you want.
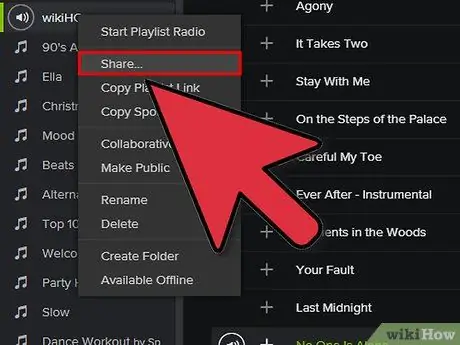
Step 5. Share your playlist
With Spotify you can share your playlist with anyone and they can listen to it with the Spotify program. To share your playlist, right-click on the playlist and select Share. You can share it to Facebook, Tumblr, and Twitter.
Method 4 of 6: Creating a Playlist on Google Music
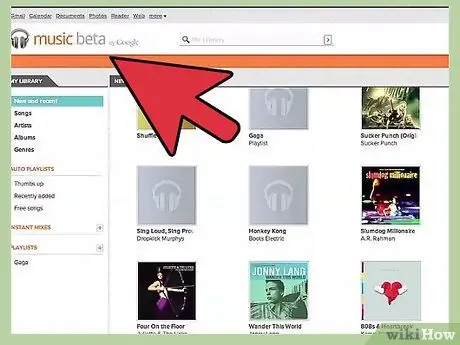
Step 1. Click the “+” icon next to the playlist
A new window will open, where you can name the playlist and create a description for it. By default, your playlist will be named after the date it was created. Click the Create Playlist button when you're done.
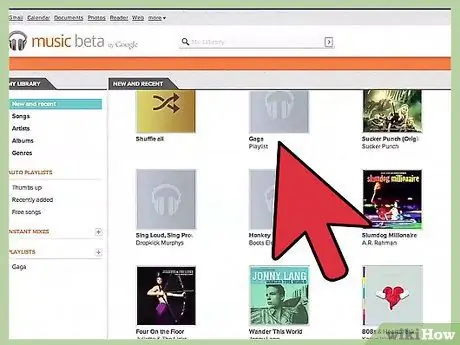
Step 2. Find the music you want to add to your playlist
If you're an All-Access subscriber, you can add any music that's in your Google song library. If you're not an All-Access subscriber, you can add songs you've purchased or upload them to your personal song library.
Click and drag the song you want to add to the playlist in the left navigation menu
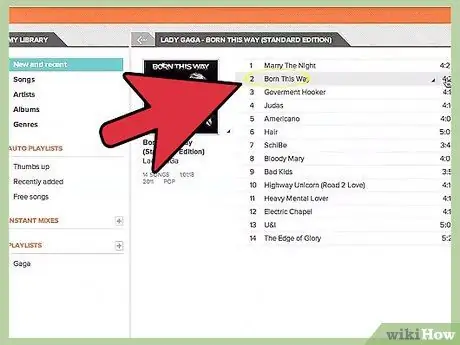
Step 3. Organize your playlist
Click and drag songs in your playlist to arrange the songs in the order you want. You can also merge playlists by clicking the menu button that appears when you hover over the playlist name, and selecting “Add playlist to playlist”.
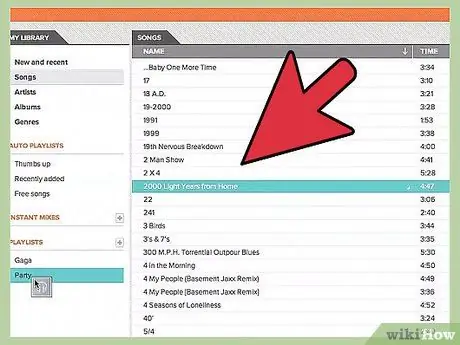
Step 4. Shuffle (shuffle the order in which songs are played) in your playlist
Select the playlist you want, then click the “Shuffle playlist” button above the playlist. Your playlist will start playing automatically, and will be shuffled.
Method 5 of 6: Creating a Playlist on Youtube
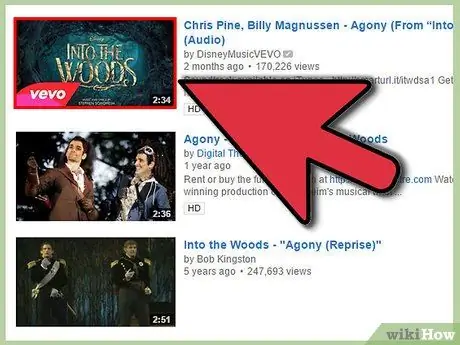
Step 1. Open a video that you want to add to the playlist
To create a new playlist, you need to load the videos you want to add.
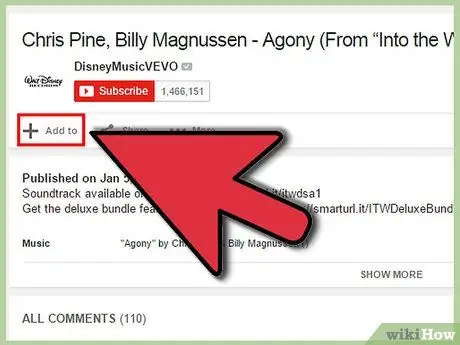
Step 2. Click the “Add to” tab
It's located in the same section as the Like, About, and Share tabs.
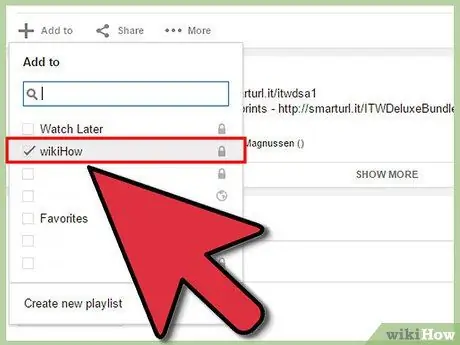
Step 3. Select your playlist
If you've ever set a video as a favorite to watch later, you'll see this playlist as an option. You can also write the name of the new palylist to which the video will be added.
- When creating a new playlist, you have the option of making the playlist Public, Private, or Unlisted. Public playlists can be seen and searched by everyone, while private playlists are only available to certain users set by you. Unlisted playlists can be accessed by anyone who has a direct URL to the playlist.
- You can add new videos to the very top of the playlist rather than the bottom by checking the box above the playlist options.
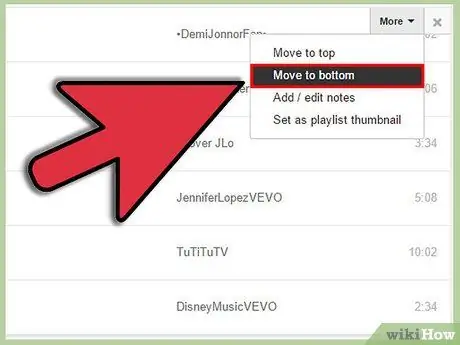
Step 4. Organize your playlist
Once you have a playlist with several videos in it, you may have the urge to reorder the videos. Click the playlist button in the left navigation menu, then click the playlist you want to organize.
- Once you've opened that playlist, click the “Edit playlist” button at the top of the page.
- Click and drag the tabs to the left of each playlist entry to change the order.
Method 6 of 6: Creating a Playlist in Windows Media Center
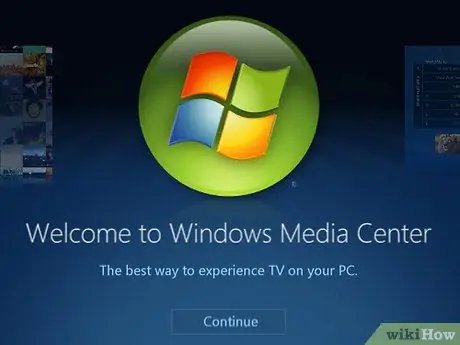
Step 1. Run the Windows Media Center application
If this is your first time using Windows Media Center, you will need to wait a while until the program finishes creating a song library from the song files on your computer.
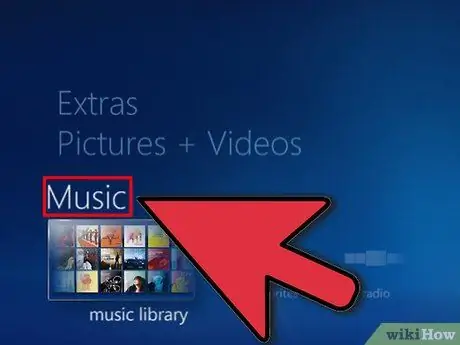
Step 2. Use the scroll button on the mouse to move up or down until the music selection is highlighted and click Music Library
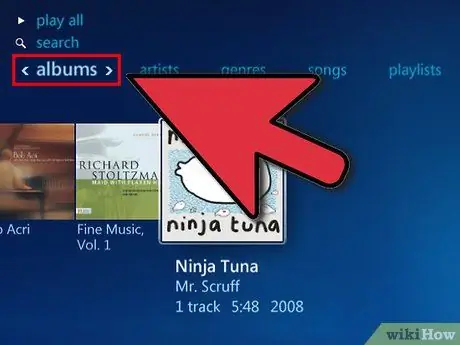
Step 3. Click on Albums, Artists, Genres, or one of the other sorting options for your music files
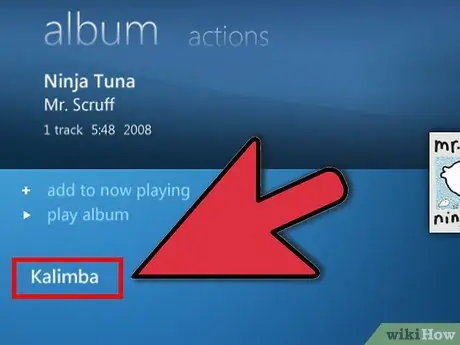
Step 4. Select the first song you want to play in the Media Player playlist by clicking on the song title
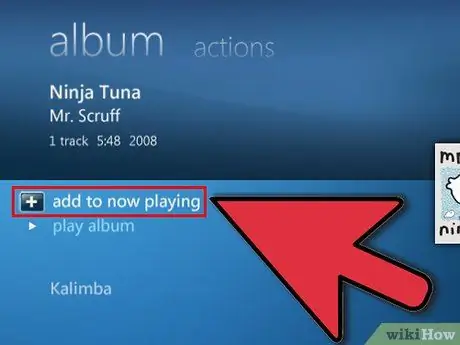
Step 5. Click "Add to Queue" in the list of options
The song will be playing soon. You can click the Pause button if you prefer to wait until the playlist is complete
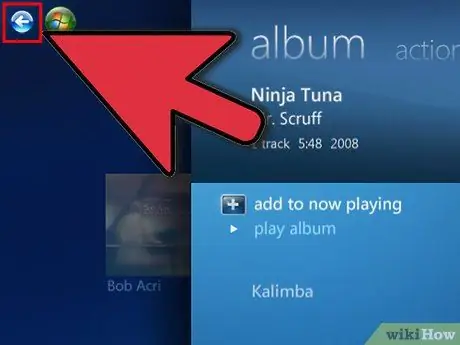
Step 6. Use the back arrow button in the upper left corner of the window to return to your music library
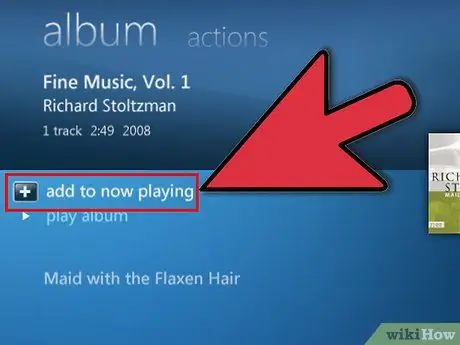
Step 7. Click next song in your Media Player playlist and add it to queue
Repeat until you have finished selecting the songs you want to add to the playlist.
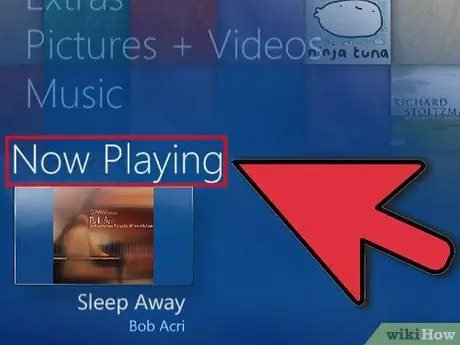
Step 8. Use the back button to return to the main screen of Windows Media Center and click on "Now Playing + Queue
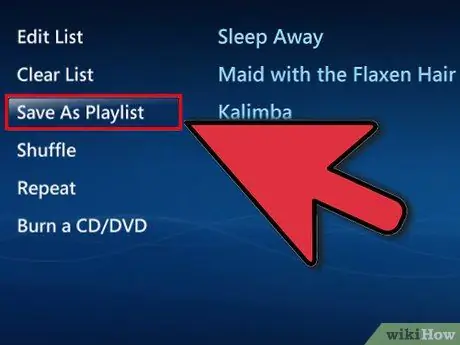
Step 9. Click "View Queue," then click "Save as Playlist
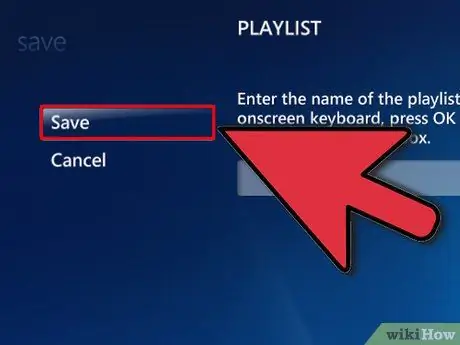
Step 10. Enter a descriptive name for your Media Center playlist and click "Save
"


