- Author Jason Gerald gerald@how-what-advice.com.
- Public 2024-01-19 22:11.
- Last modified 2025-01-23 12:04.
Maybe you've changed, or the music you liked 10 years ago doesn't sound cool anymore. Whatever the reason, Apple allows you to remove “stale” playlists from the iTunes music menu. To back up playlists before deleting them, refer to the "Backing Up Playlists" method in this article.
Step
Method 1 of 5: Deleting Playlists from iTunes 12 and Newer Versions
You can find out which version of iTunes you are running by clicking the “Help” menu at the top of the screen and selecting “About iTunes”.
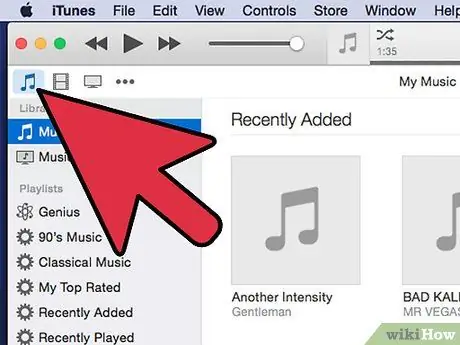
Step 1. Click the musical note icon in the top left corner of the screen
Once clicked, the iTunes view will change to the music view (“Music”) which shows all the playlists you have created, as well as the playlists provided by Apple by default.
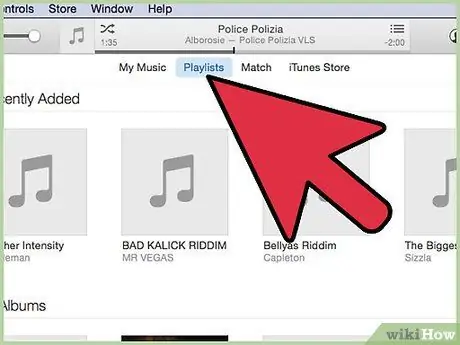
Step 2. Click the playlist you want to delete
iTunes sorts the lists on one side of the screen. Click the playlist you want to delete to mark it and display the songs that are loaded.
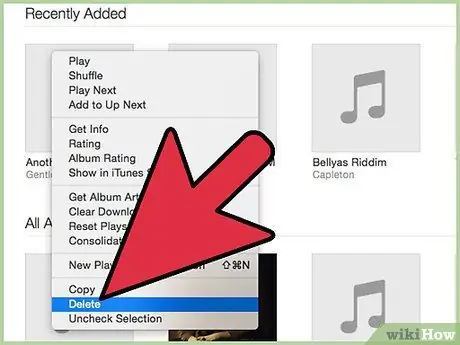
Step 3. Right-click the playlist and select “Delete”
If your keyboard has a Delete button, you can delete a playlist by clicking on the list and pressing the Delete button. iTunes will ask you to confirm deleting the list. Do not worry! Deleting a playlist will not remove the loaded songs from your computer. This means you can re-add the songs to other playlists.
If the mouse has only one button, hold down the Control key (sometimes labeled Ctrl) and click the playlist instead of right-clicking on a two-button mouse
Method 2 of 5: Deleting Playlists from iTunes 11 and Older Versions
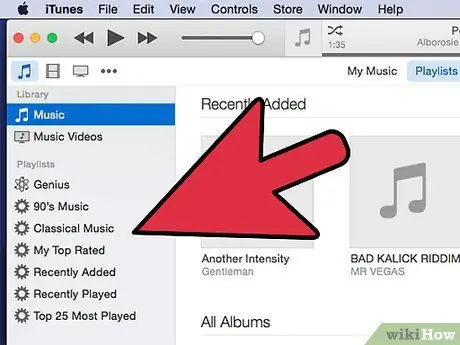
Step 1. Locate the playlist you want to delete on the left side of the screen
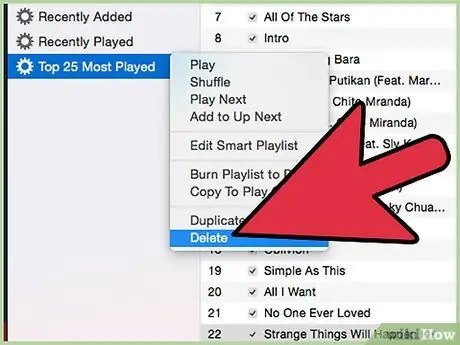
Step 2. Click the list you want to delete, then right-click and select "Delete"
Alternatively, you can press the “Delete” button on your keyboard after selecting the playlist you want to delete. Don't forget to hold down the Control key and click the list if you're using a single-button mouse.
Method 3 of 5: Deleting Playlists on iPod
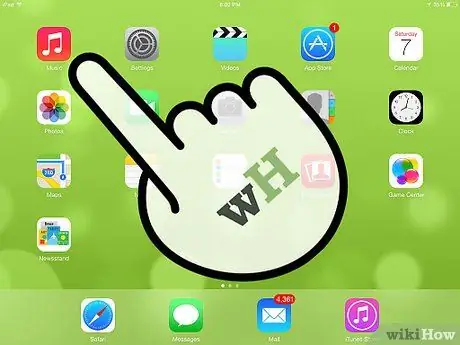
Step 1. Open the Music app on the iPod
You can delete playlists from iPod without connecting the device to a computer and manipulating music content through iTunes. The Music app is marked by a musical note icon in an orange box.
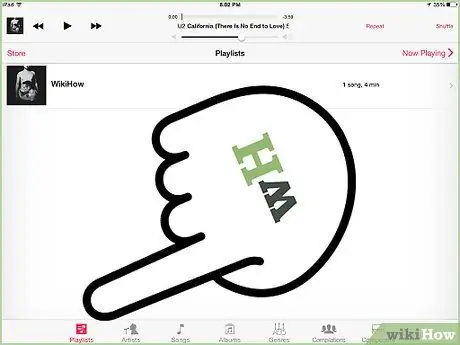
Step 2. Go to the “Playlists” tab
At the bottom of the screen, you can see categories such as “Radio”, “Artists”, “Songs”, “More”, and “Playlists”. Touch the “Playlists” tab to view the lists stored on the iPod.
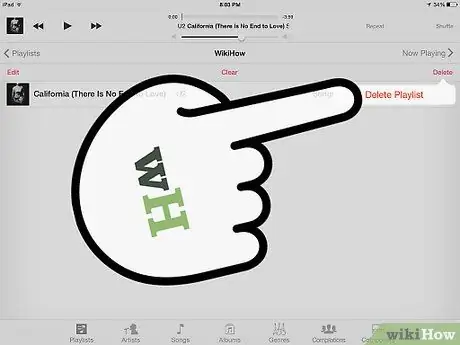
Step 3. Touch “Edit”, then select the list you want to delete
Deleting a playlist on an iPod will not remove the same list from iTunes so you can re-sync the list to your iPod if you want to listen to the list in the future.
Method 4 of 5: Removing Songs from Playlist
You don't need to delete a whole playlist if you just want to get rid of a few songs.
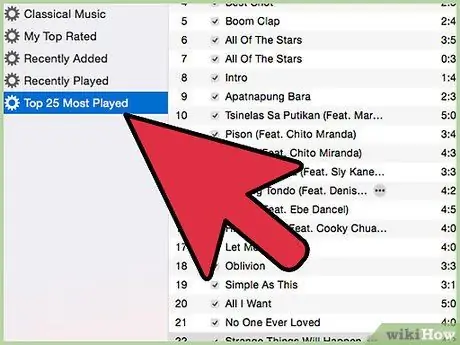
Step 1. Click a playlist to display its contents
iTunes sorts the songs in the list alphabetically. If you want to display songs by a specific artist or album, click the “Artist” or “Album by Artist” tab.
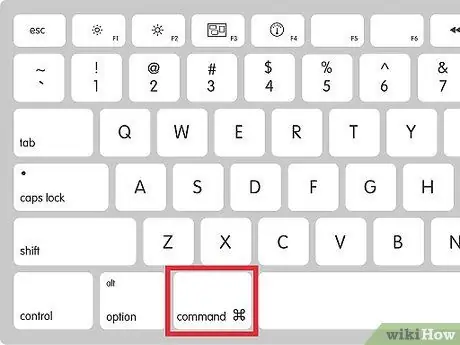
Step 2. While holding down Control on PC or Command on Mac, click the songs you want to delete
Hold down the appropriate button so you can select more than one song at a time. If you need to scroll through the list to select songs on the top or bottom row of the list, release the button, scroll through the list, and hold down the button again before clicking another song.
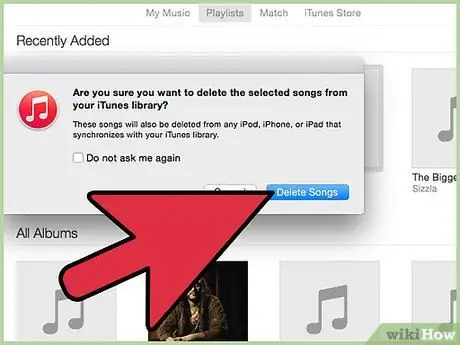
Step 3. Delete the song by pressing the “Delete” button
Again, this deletion will not permanently delete the same song files on your computer. You can re-add the songs to other playlists whenever you want.
Method 5 of 5: Backing Up Playlists
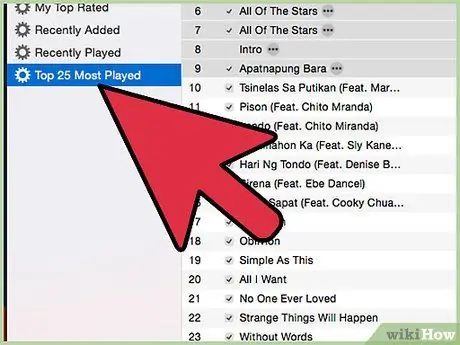
Step 1. Click the playlist you want to back up
iTunes provides a comprehensive list of context commands that allow you to duplicate, back up, and restore playlists. You can find these commands by right-clicking the list. Other commands can be accessed via the “File” menu.
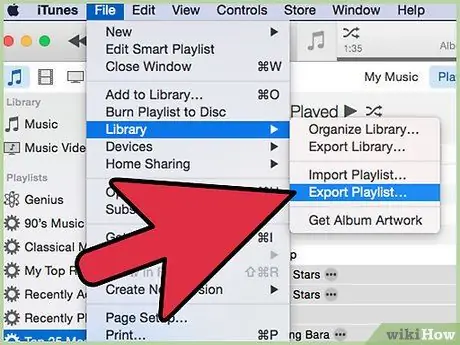
Step 2. Back up the playlist by clicking on the menu “File” → “Library” → “Export Playlist”
Playlist export generates a text file containing all the songs stored in the list (not backing up the existing song files). Think of exporting a playlist as when you jot down items in the kitchen: you only write a list of items that are in the kitchen, and not move items.
Remember the exported playlist storage directory. You need the file if/when you want to restore the list
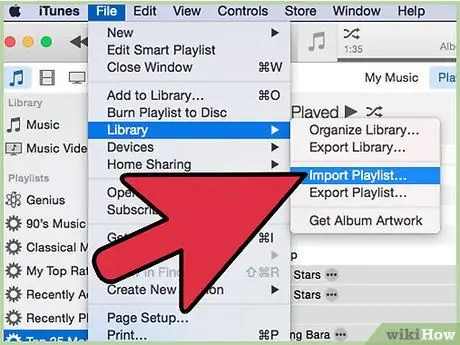
Step 3. Restore the list by clicking on the menu “File” → “Library” → “Import Playlist”
Navigate iTunes to the directory where the exported playlist is saved. Select the list, then click “Open” or press the “Enter” key.


