- Author Jason Gerald [email protected].
- Public 2024-01-15 08:07.
- Last modified 2025-01-23 12:04.
When you save photos to your phone or computer, they are usually saved as-j.webp
Step
Method 1 of 5: On Windows Computer
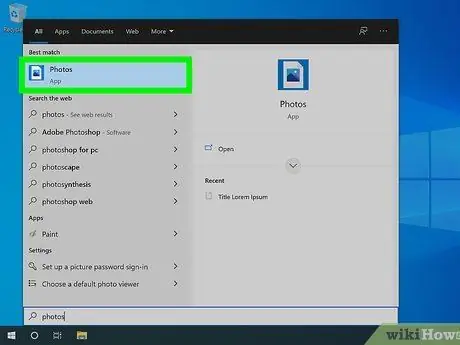
Step 1. Open the desired photo in the Photos app
You can open it by double-clicking the photo.
- If you don't see " Photos " in the upper-left corner of an open window, it's possible that the photo was opened in a different app. Close the window, right-click the photo you want to open, select " Open with, and click " Photos ”.
- Do you want to add multiple photos to one PDF file? Click " See all photos ” in the upper left corner of the window, select “ Select ” in the top right corner, and click each photo you want to include.
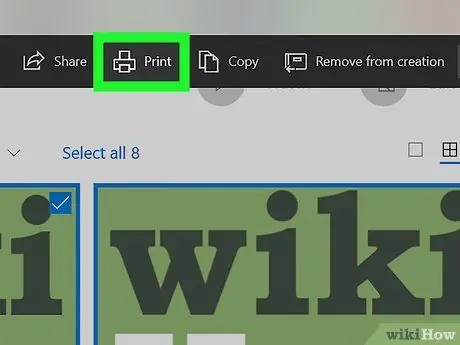
Step 2. Click the "Print" icon
This printer icon is in the upper-right corner of the window.
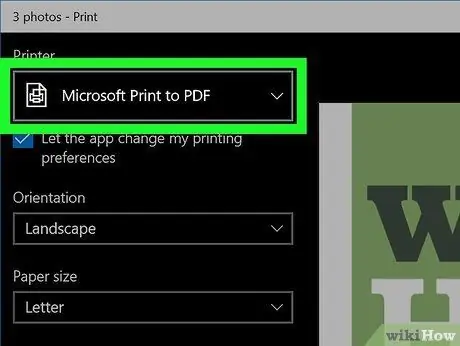
Step 3. Select Microsoft Print to PDF from the “Printer” drop-down menu
It's in the top-left corner of the window.
If you select multiple photos, each photo will be added to a separate page in the file. To see what each page looks like, click the arrow icon above the preview window in the right pane
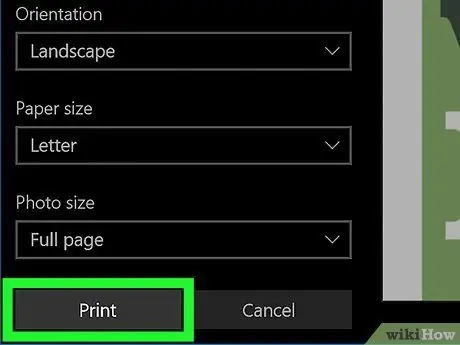
Step 4. Click the Print button
It's at the bottom of the menu. A file browsing window will appear.
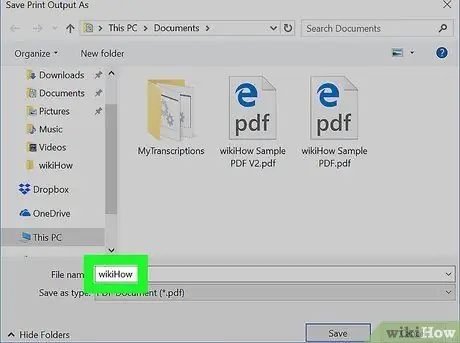
Step 5. Enter a name for the PDF file
Type whatever name you want to use for the PDF document into the " File name " field at the bottom of the window. Try using a relevant name so you can easily find the file later.
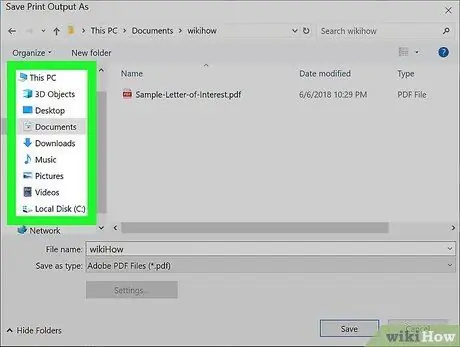
Step 6. Select a file storage location
Click the folder you want to make the PDF document storage directory in on the left side of the window. Make sure you choose a folder that is easy to find and access when needed.
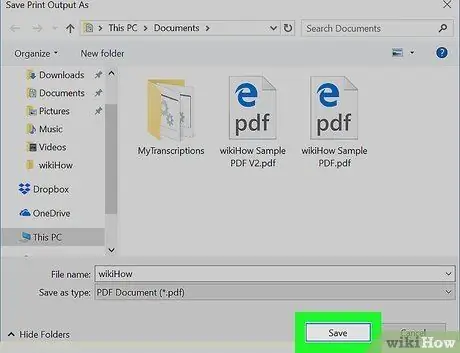
Step 7. Click Save
It's in the lower-right corner of the window. The photo is now saved as a PDF document.
If you select multiple photos, all the selected photos will be included in the file
Method 2 of 5: On Mac Computer
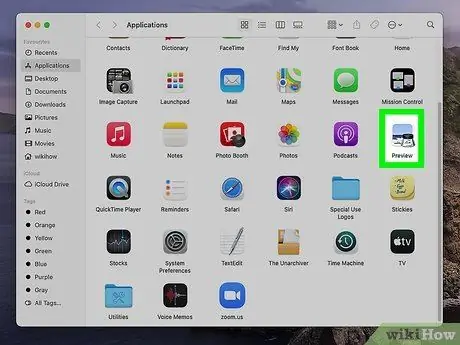
Step 1. Open Preview on Mac computer
You can find this application in your computer's Dock or “Applications” folder, and/or by searching for it in Spotlight using the keyword “Preview”.
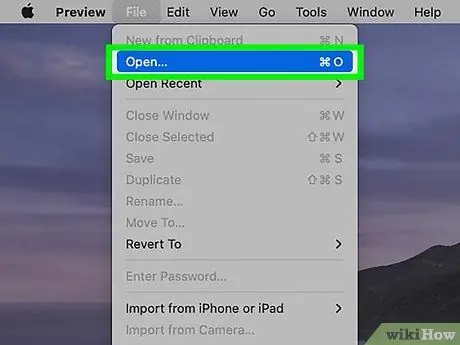
Step 2. Click the File menu and select Open
It's in the menu bar in the top-left corner of the screen.
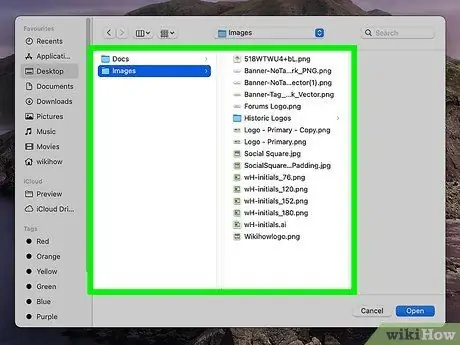
Step 3. Select the image you want to convert
If you only need to convert one image, click the image once to select it. To select more than one image at a time, hold down the “ Command ” while clicking each image name.
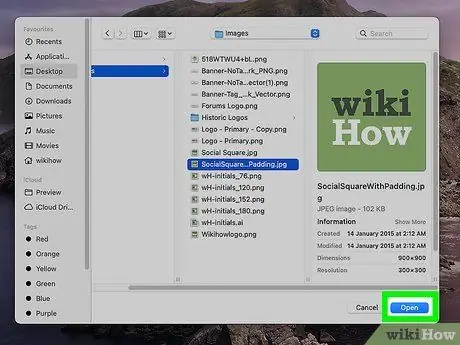
Step 4. Click the Open button
It's at the bottom of the window.
If you've selected multiple images and want to rearrange their order, you can do so at this point by dragging the photos up or down on the left sidebar
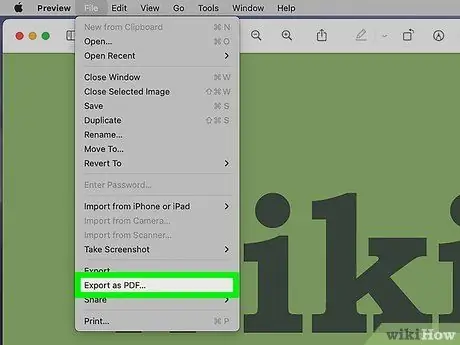
Step 5. Click the File menu and select Export as PDF
This option is at the bottom of the “File” menu.
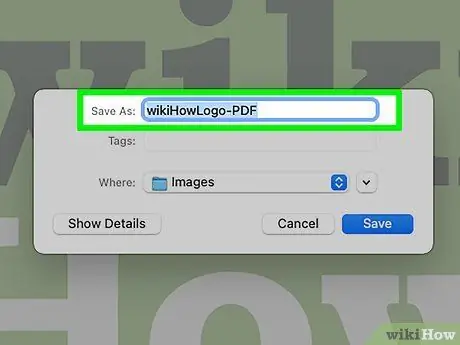
Step 6. Enter a name for the PDF file
Type whatever name you want for the PDF document into the " Save As " field at the top of the window. Try using a relevant name so you can easily find the file later.
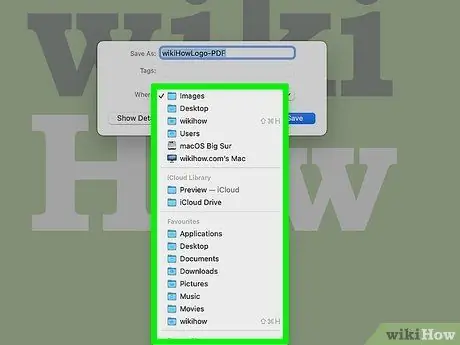
Step 7. Select the location to save the file from the " Where " drop-down menu
Select a folder (eg Desktop ”) which you want to make the PDF document storage directory.
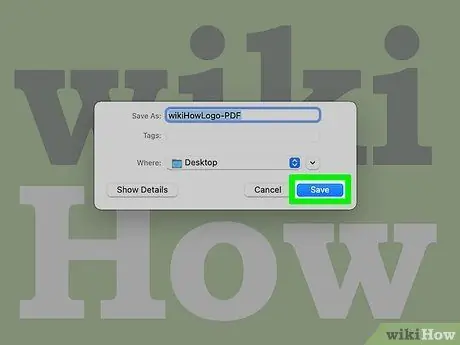
Step 8. Click the Save button
It's at the bottom of the window. The selected photo will be saved as a PDF file.
If you select multiple photos, they will all be included in the same PDF file (on separate pages)
Method 3 of 5: On iPhone/iPad
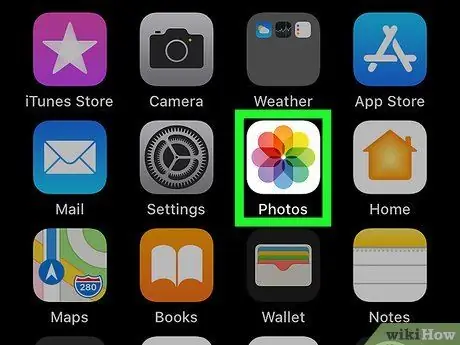
Step 1. Open Photos app on iPhone
The app is marked by a colorful flower icon labeled "Photos" which appears on the home screen or in the device's app library.
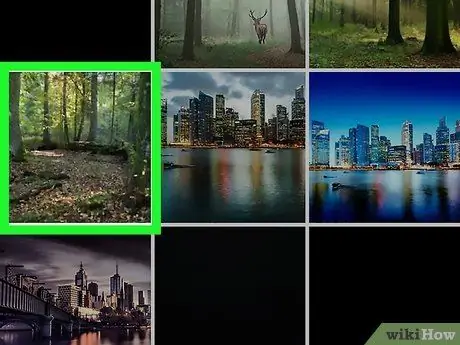
Step 2. Touch and hold the photo you want to convert
The context menu will expand afterwards.
If you want to convert multiple photos at once into one PDF file, tap “ Select ” in the upper-right corner of the screen, select the photos you want to include, and tap the “Share” icon in the lower-left corner of the screen. The photos will appear in the final PDF file in the order they were in the Photos app.
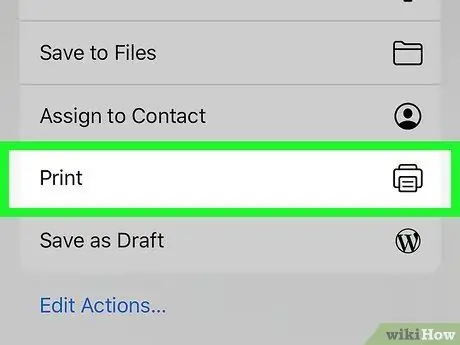
Step 3. Touch Print on the menu
This option is at the bottom of the menu. The “Printer Options” page will be displayed after that.
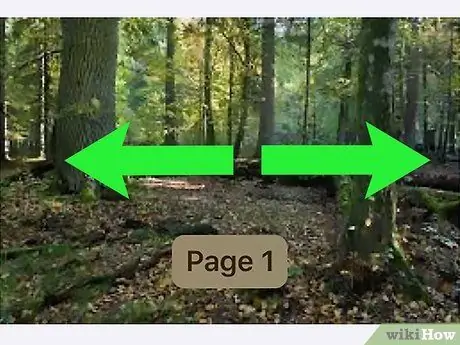
Step 4. Zoom out the photo preview
Place two fingers in the center of the photo preview window and quickly drag them in opposite directions, as when you zoom out of content. The larger version of the photo will be displayed.
If you selected multiple photos, perform this step on the first photo preview you see
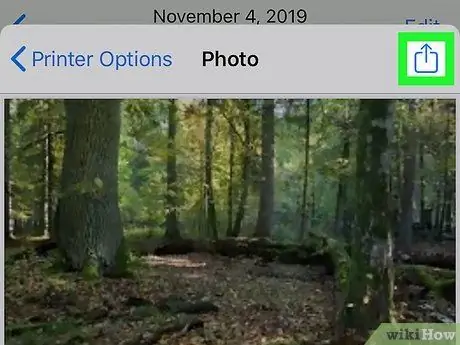
Step 5. Touch the “Share” icon
This icon looks like a box with an arrow pointing up and appears in the upper right corner of the screen. The menu containing the sharing options will be expanded. At the top of this menu, you can see the option " PDF Document " just below " Photo ".
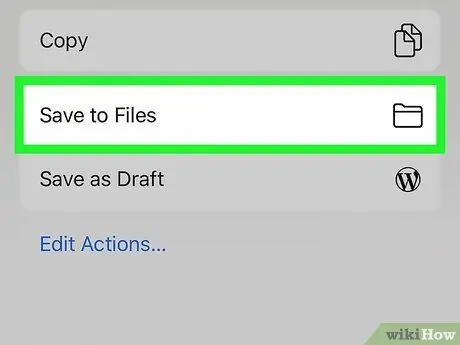
Step 6. Touch Save to Files
You may need to drag the menu upwards to see these options. Now, you will be asked to specify where to save the PDF document.
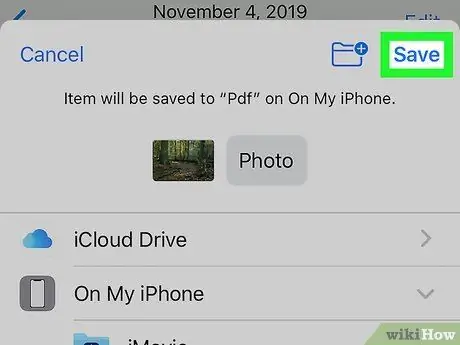
Step 7. Select a save location and touch Save
For example, if you want to save a PDF document to iCloud Drive, select that option, then click a subfolder if you want. After specifying the storage location, touch “ Save ” in the upper right corner of the screen to save the PDF document.
Method 4 of 5: On Android Devices
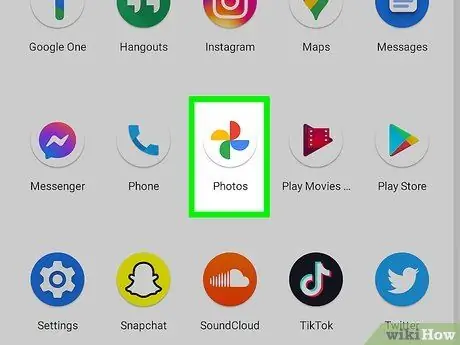
Step 1. Open Google Photos
If you have the Google Photos app on your Android device, you can use it to easily convert photo files, including JPEGs, into PDF format.
Google Photos is included as a default app on most Android devices. If you don't have Google Photos on your device, you can download it from the Play Store for free
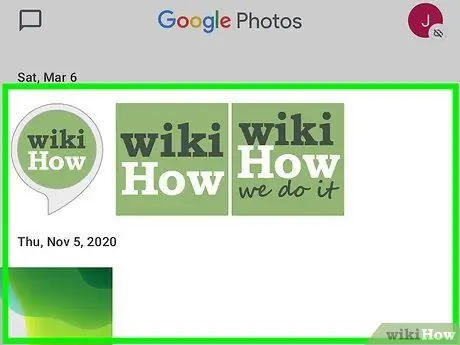
Step 2. Touch the photo you want to convert
A large version of the photo will be displayed.

Step 3. Touch the three-dot menu icon
It's in the upper-right corner of the screen.
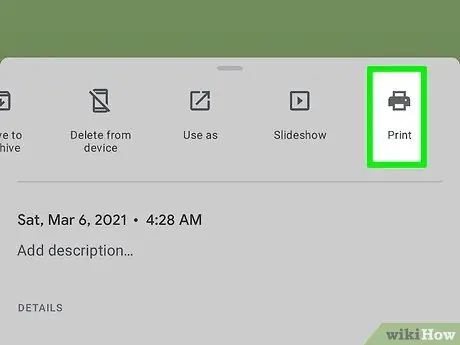
Step 4. Touch Print on the menu
The “Print” dialog window will open.
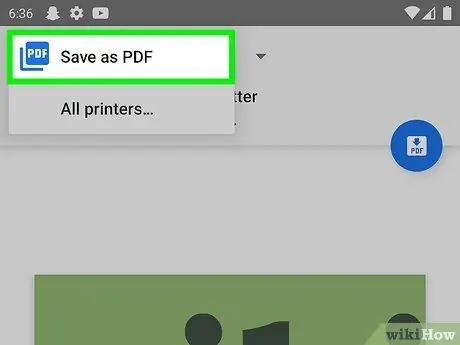
Step 5. Select Save as PDF from the "Select a Printer" menu
It's in the top-left corner of the screen.
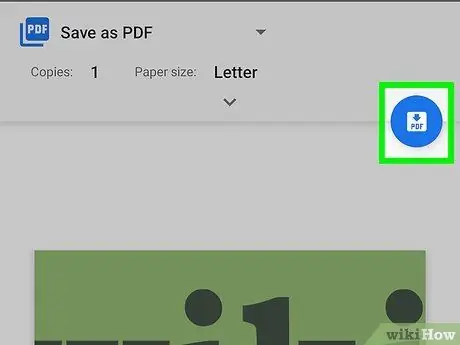
Step 6. Touch the PDF icon
This icon is green and labeled " PDF ", and appears in the upper right corner of the screen. You will be asked to enter a file name after that.
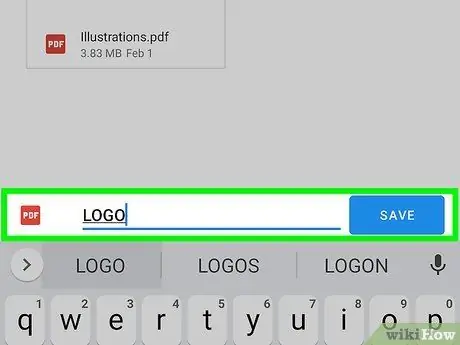
Step 7. Give the file a name and touch Save
Enter a name that you can easily remember later. After that, the PDF file will be saved to your Android device.
You can repeat these steps for other PDF files that need to be saved
Method 5 of 5: Via Adobe.com
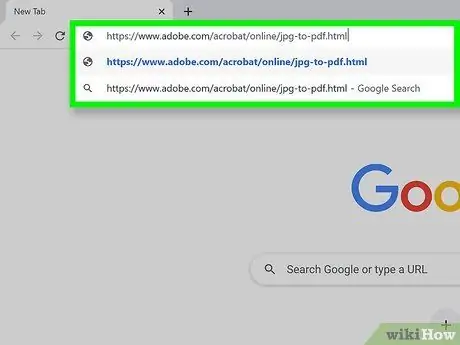
Step 1. Visit https://www.adobe.com/acrobat/online/jpg-to-pdf.html via a web browser
You can use Adobe's web-based JPG-to-PDF converter service to convert images on your computer, phone, or tablet.
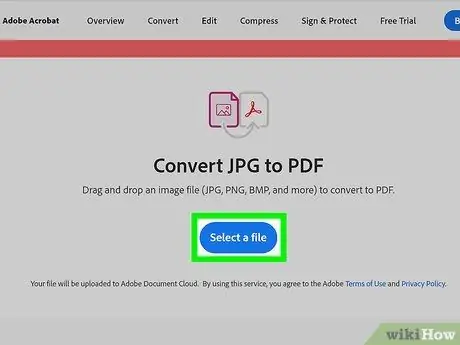
Step 2. Click Select a file
It's a blue button in the middle of the page.
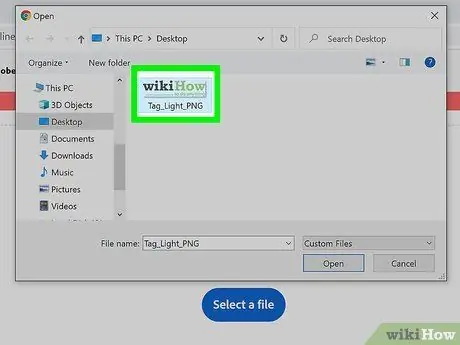
Step 3. Select the image you want to convert and click Open
The image will be uploaded and converted into a PDF document.
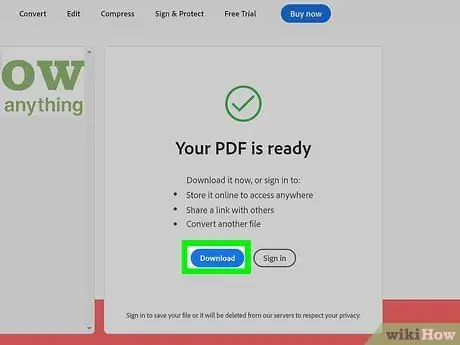
Step 4. Click Download to save the PDF document
The file will be downloaded to the computer.


