- Author Jason Gerald [email protected].
- Public 2024-01-11 03:37.
- Last modified 2025-01-23 12:04.
Link2SD is an Android app that lets you move apps, games, and other data to another partition of your SD card. To use Link2SD, you will need to have root access on your Android device, create an additional partition on the SD card, and download Link2SD from the Google Play Store.
Step
Method 1 of 3: Getting Root Access on Android
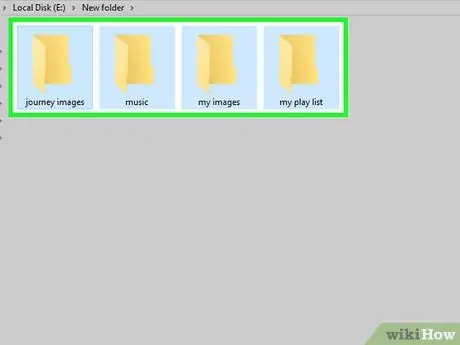
Step 1. Back up personal data on your Android phone to a computer, Google account, or other storage service
In order to gain root access, you may be required to wipe all data on the phone.
Avoid copying data to SD card, as Link2SD will ask you to format and delete data on SD card
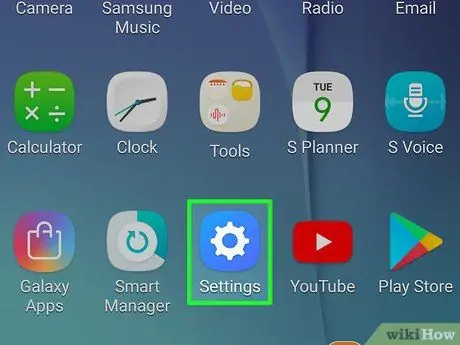
Step 2. Tap Settings > About Phone.
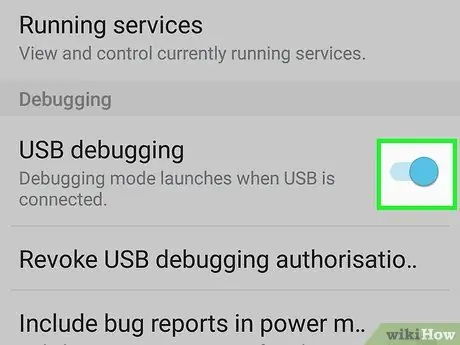
Step 3. Tap Developer Options, then tick the USB debugging option.
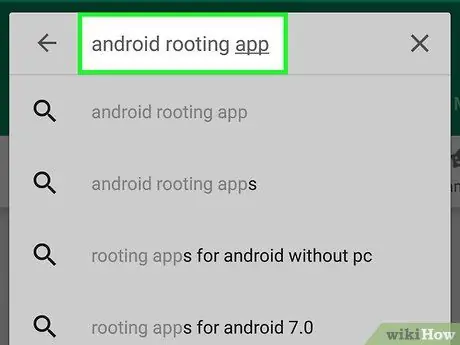
Step 4. Download and install a third-party root application that is compatible with your Android phone, for example Towelroot or Kingo
Both options are compatible with almost all Android phones.
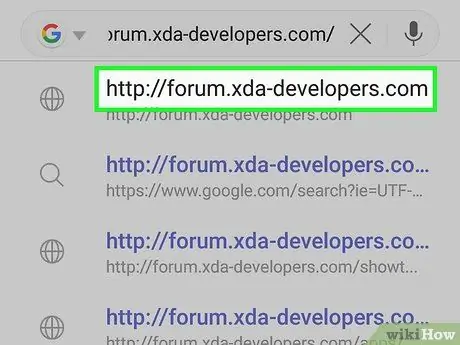
Step 5. Follow the app guide to get root access on Android device
This rooting process varies, depending on the brand and type of phone. Once done, you will find the Superuser app in your phone's Apps directory, as a sign that the rooting process was successful.
Visit XDA Developers at https://forum.xda-developers.com/ to find the rooting files for your Android phone
Method 2 of 3: Creating a New Partition
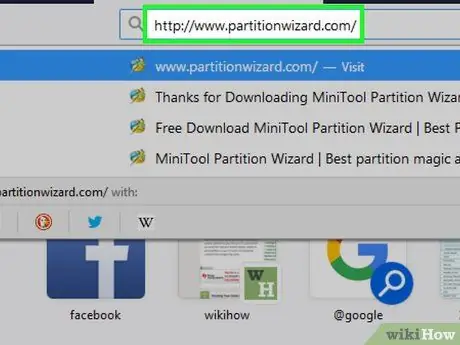
Step 1. Download MiniTool Partition Wizard at https://www.partitionwizard.com/, then install the application on your computer
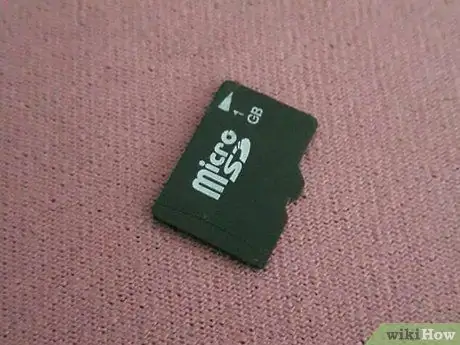
Step 2. Insert the SD card of the Android phone into the SD reader or adapter
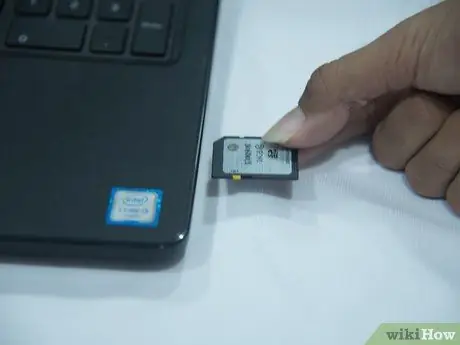
Step 3. Insert the SD card reader into an empty USB port on the computer
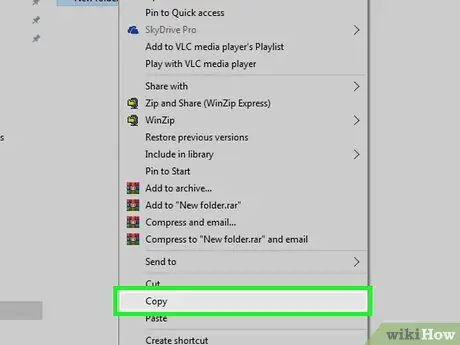
Step 4. Move or copy the files you want to save from the SD card to the computer
Link2SD will erase all data on your SD card.
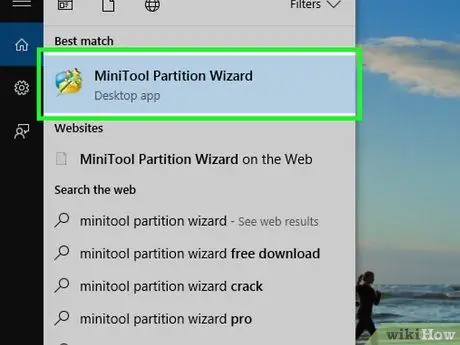
Step 5. Open MiniTool Partition Wizard on your computer
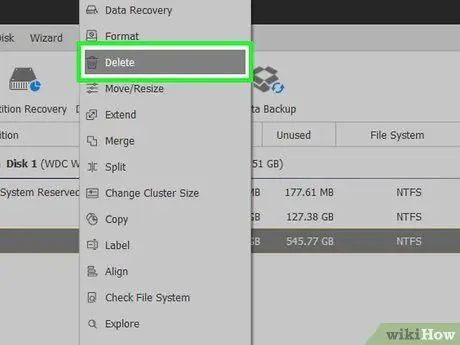
Step 6. Right-click your SD card at the bottom of the MiniTool Partition Wizard window, then select “Delete
”
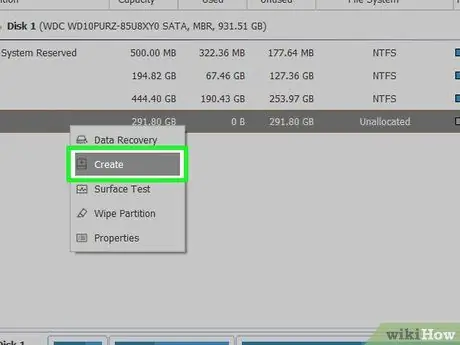
Step 7. Right-click your SD card again, then click Create New. The Create New Partition window will appear.
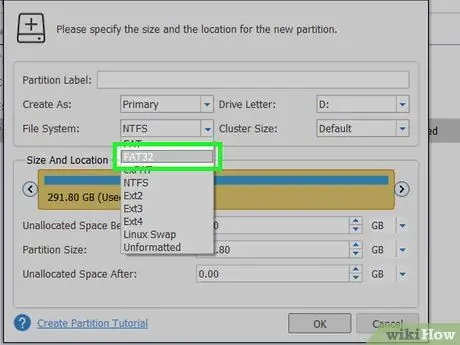
Step 8. Select “FAT32” from the “File System” menu
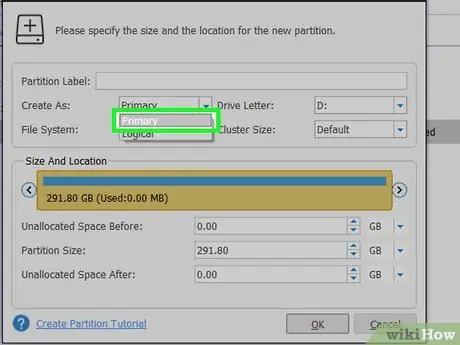
Step 9. Select “Primary” from the “Create as” menu
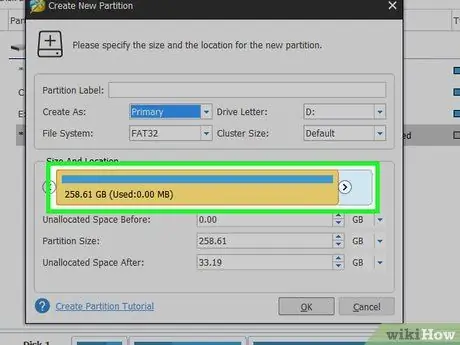
Step 10. Enter the partition size you want, then click OK
This new partition is the primary partition of your SD card.
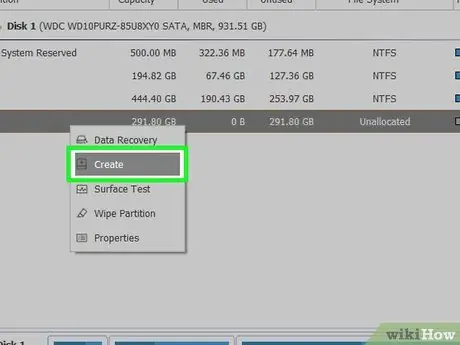
Step 11. Right-click your SD card at the bottom of the MiniTool Partition Wizard window, then select “Create New
”
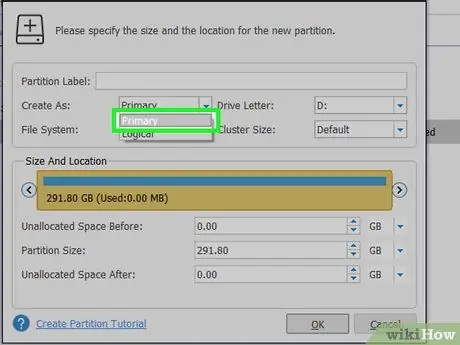
Step 12. Make sure the “Primary” option in the “Create as” menu is selected
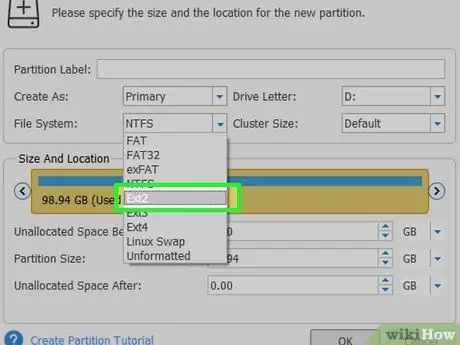
Step 13. Select the "Ext2" option from the "File System" menu
This new partition is the second partition on the SD card, which will house apps and games.
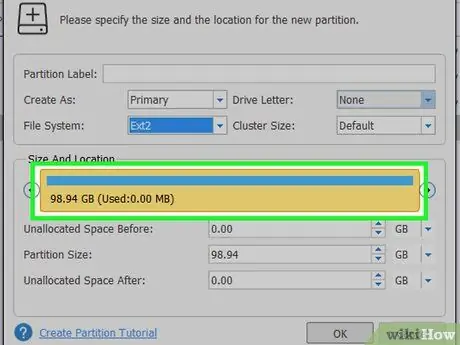
Step 14. Enter the desired partition size, then click “OK
”
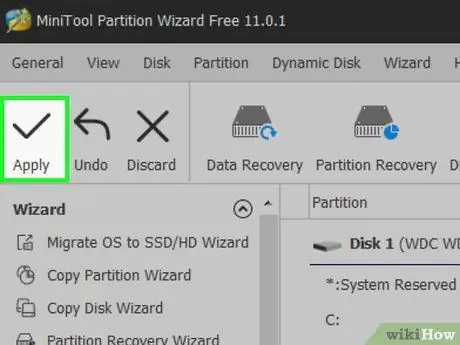
Step 15. Click "Apply" at the top of the MiniTool Partition Wizard window
Your SD card will now be partitioned.
Method 3 of 3: Using Link2SD
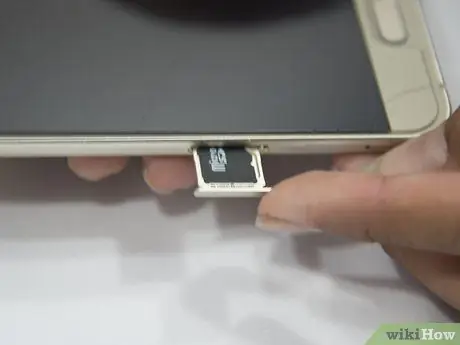
Step 1. Reinsert the SD card into the Android phone
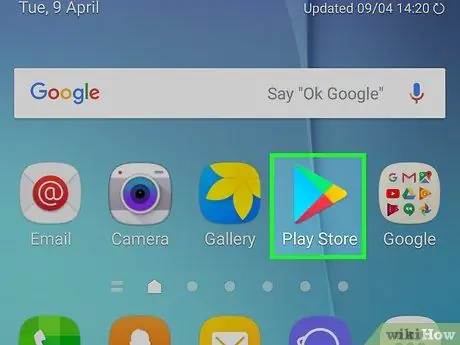
Step 2. Turn on the phone, then open the Google Play Store
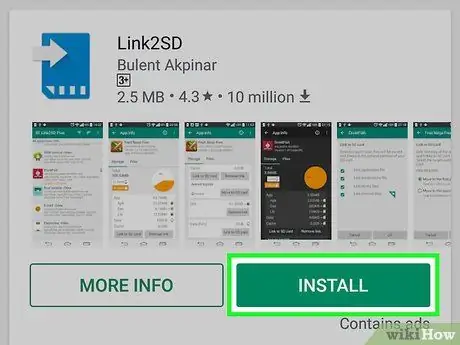
Step 3. Find and install Link2SD
If you are using a computer, you can download and install Link2SD to your phone at
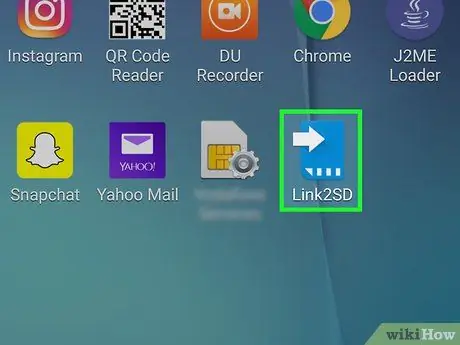
Step 4. Once the installation is complete, open Link2SD on your Android phone
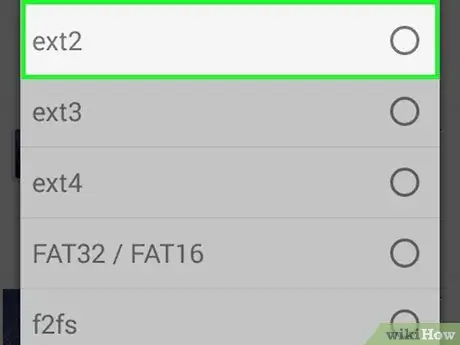
Step 5. Tap on “ext2,” then “OK
”
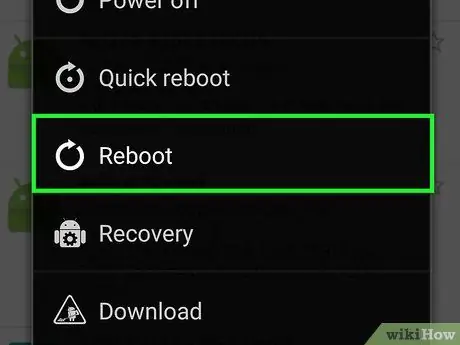
Step 6. When prompted, restart the phone, then reopen Link2SD
