- Author Jason Gerald gerald@how-what-advice.com.
- Public 2023-12-16 10:50.
- Last modified 2025-06-01 06:05.
By creating a Minecraft server on a Mac, you can connect to the server through other computers on the same network. With a few adjustments to the network settings, you can connect devices from any part of the world to the created server.
Step
Part 1 of 3: Creating a Server
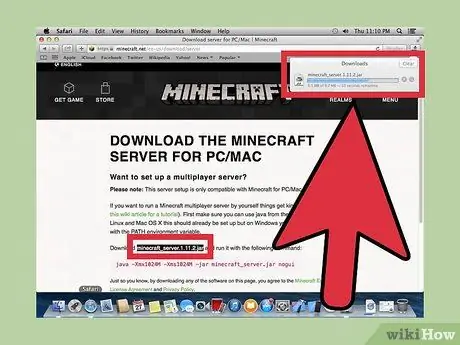
Step 1. Download the Minecraft server file
To create a server, you'll need a few files from the Minecraft website:
- Visit https://minecraft.net/en/download/server via Safari.
- Download the JAR file for the server program.
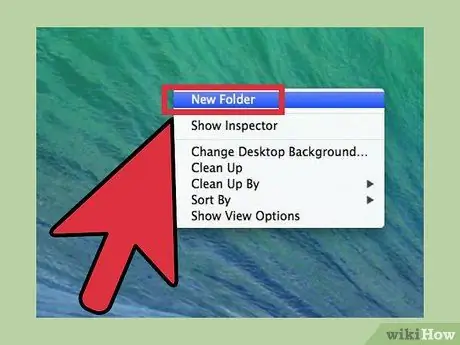
Step 2. Create a new folder for the file server
This folder will be the server program folder. You can place it in an easily accessible directory, such as the desktop. You can also name the server with any label, such as "Minecraft Server".
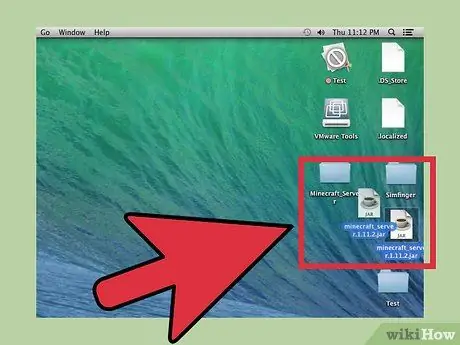
Step 3. Drag the downloaded JAR file to a new folder
When running the file, the folder will be filled with various configuration files for the new server. For now, drag the downloaded server JAR file to a new folder.
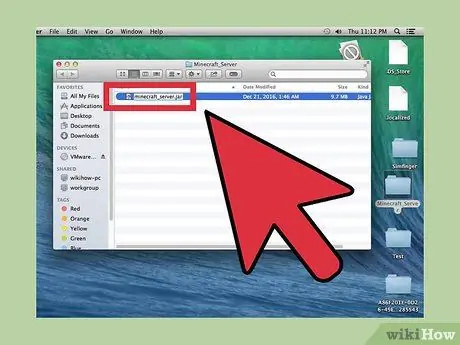
Step 4. Rename the file to "minecraft_server.jar
" Remove the version number at the end of the file name. By deleting it, it will be easier for you to run server commands going forward.
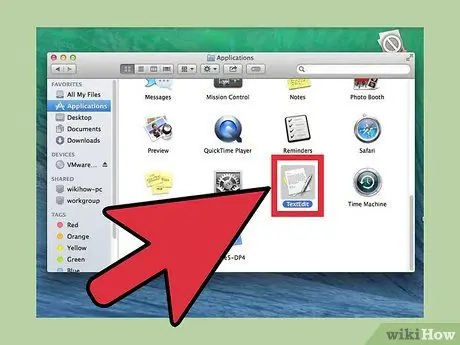
Step 5. Run the TextEdit application
You can find this application in the “Applications” folder. From the desktop, click the “Go” menu and select “Applications“.
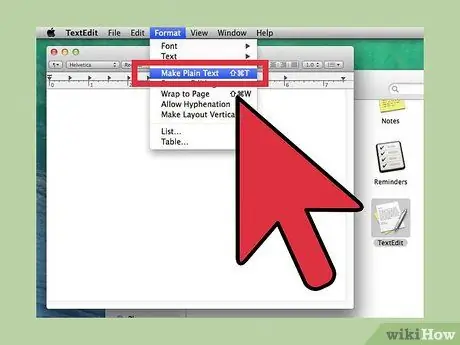
Step 6. Click the "Format" menu and select "Plain Text"
The new document will be converted to a plain text document.
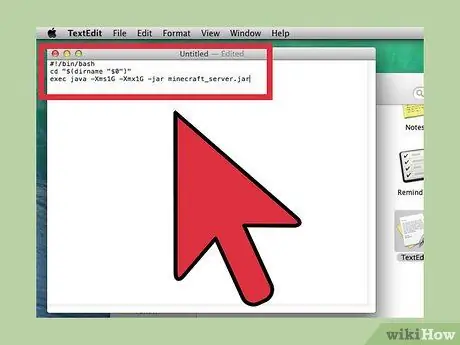
Step 7. Paste the following command in the text file
This series of commands is used to run the server. You can replace -Xms1G -Xmx1G with -Xms2G -Xmx2G to increase server RAM from 1 GB to 2 GB:
#!/bin/bash cd "$(dirname "$0")" exec java -Xms1G -Xmx1G -jar minecraft_server.jar
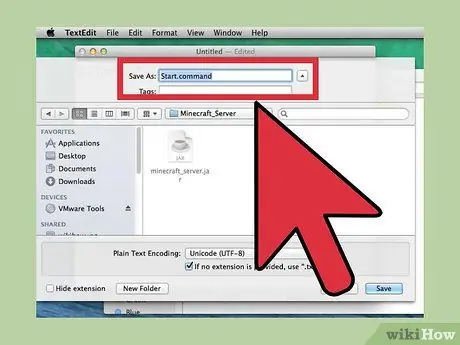
Step 8. Save the file as
start.command in the same folder as the JAR file storage folder.
Select " Save " from the TextEdit menu and save the file in the same directory as the server file previously downloaded from the Minecraft website.
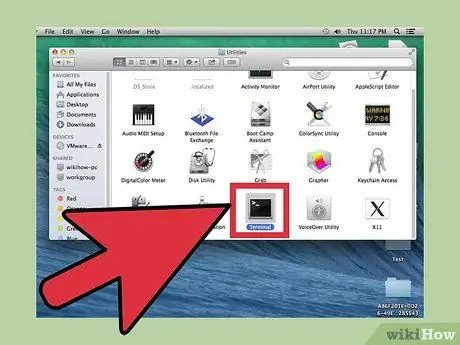
Step 9. Open Terminal
You can find this application in the “Utilities” folder. From the desktop, click the “Go” menu and select “Utilities“.
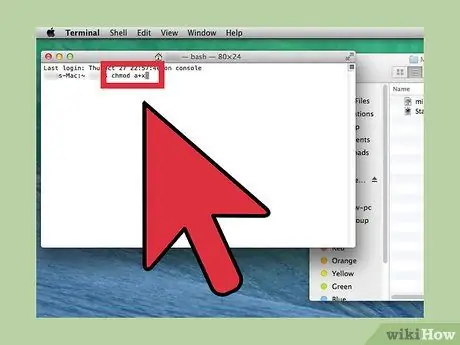
Step 10. Type in
chmod a+x on the Terminal window.
Make sure you insert a single space after the a+x entry.
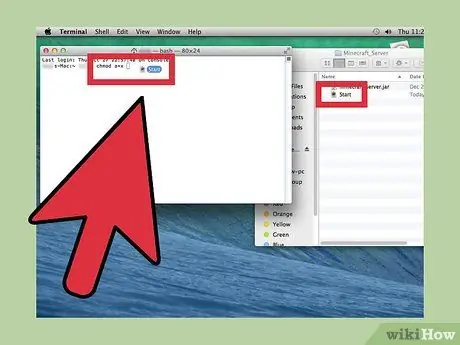
Step 11. Drag and drop the
start.command to the Terminal window.
The address or link to the file will be added at the end of the chmod a+x command.
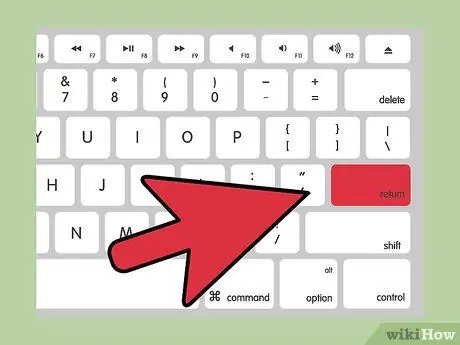
Step 12. Press Return key to run the command
The permissions of the start.command file will be changed so that you can start the server.
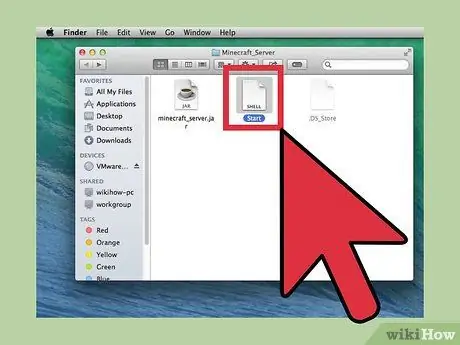
Step 13. Double-click the
start.command to run it.
After that, the server will run. You will see some error messages, but they are only displayed when the server is first started. The server will create some files in the original folder.
The server will stop automatically after the first run
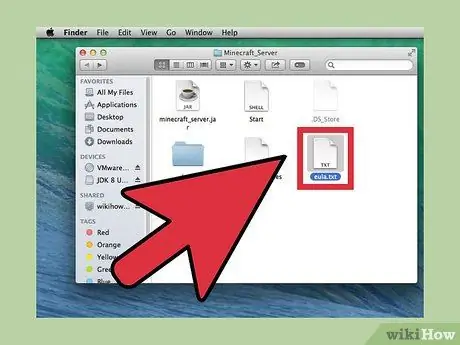
Step 14. Open the "EULA.txt" file created in the folder
You will need to make changes to this file before you can proceed to the next step.
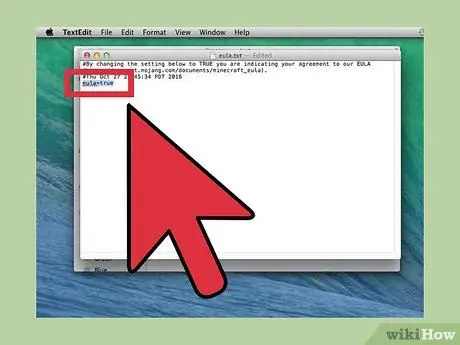
Step 15. Change the line “eula=false” to “eula=true”
This line indicates that you have agreed to the terms of use of the Minecraft server program. Save changes and close the file afterwards.
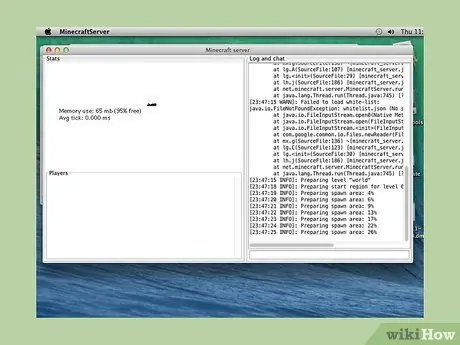
Step 16. Double-click the back file
start.command.
The backup server will start and the server command line will be displayed. Additional files will be downloaded and a server world will be created. This process takes a few moments.
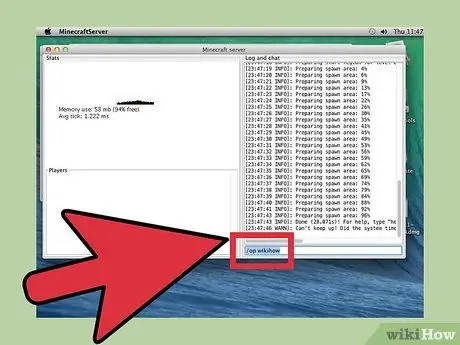
Step 17. Type /op into the server command line
Replace with your Minecraft username. This line gives you administrator rights when your Minecraft account connects to the server.
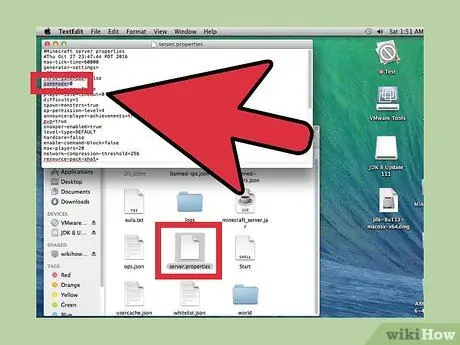
Step 18. Make changes to the server properties by editing the
server.properties.
Double-click the file and select TextEdit when prompted to specify a program to open it. You can change the entry value to change how the server works, but be aware that incorrect entries can cause server malfunctions. You need to restart the server after making the changes.
- The gamemode entry allows you to select a mode 0 - “Survival”, 1 - “Creative”, 2 - “Adventure”, 3 - “Spectator”.
- You can change the seed-level entry to include the seed you want to use.
Part 2 of 3: Connecting a Computer to a Server Through a Local Area Network (LAN)
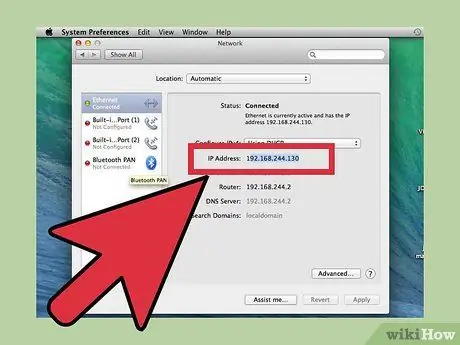
Step 1. Specify the local IP address of the server
When you want to connect other computers on the same network to the server, you need to know the IP address of the server.
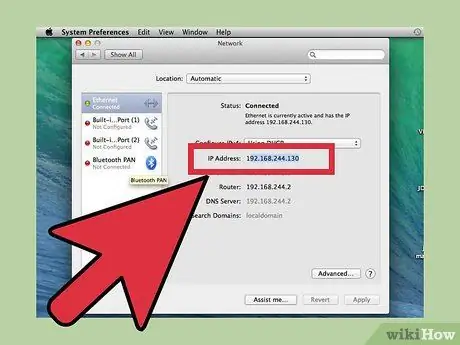
- On a Mac running a Minecraft server, click the Apple menu, select " System Preferences ", then click " Network ".
- Select a network connection and pay attention to the "IP Address" entry. Note the address in the entry.
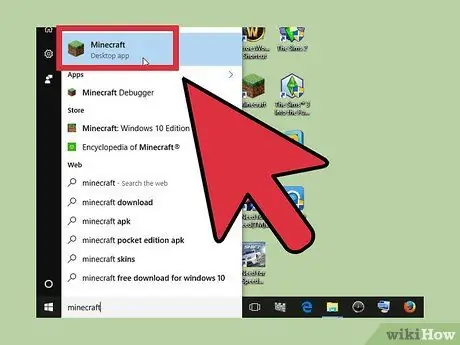
Step 2. Open Minecraft on another computer connected to the same network
You do not need to forward ports or change other advanced settings as long as the computer is connected to the same local network as the server computer. If the computer server is strong enough, you can run Minecraft at the same time, although this step is not recommended on most computers.
If you want to invite friends to join the server over the internet, read the next method
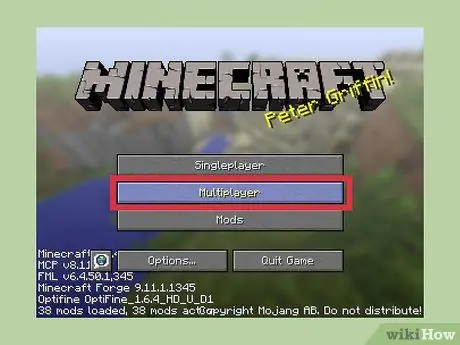
Step 3. Select " Multiplayer " on the second computer
The computer will immediately scan for available games. It's possible that you won't see the server that's been created right away, even if it's already active.
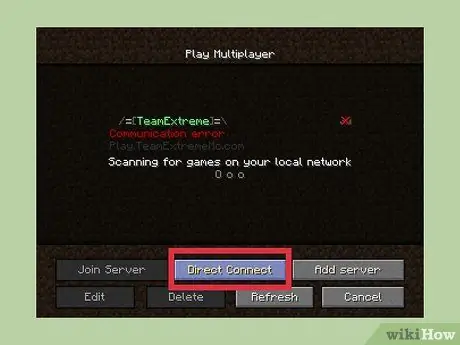
Step 4. Click the "Direct Connect" button
A new window will open and you can enter the server address.
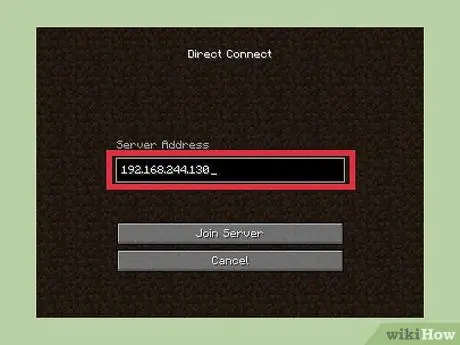
Step 5. Type in the local IP address of the server
After entering the address, the computer will immediately connect to the server and the game will load. If you can't connect, make sure both computers are on the same network.
- Multiple computers can connect to the same server using that address as long as they are on the same local network.
- If you are playing on a server computer (main computer), type localhost instead of the server IP address.
Part 3 of 3: Connecting a Computer to a Server Over the Internet
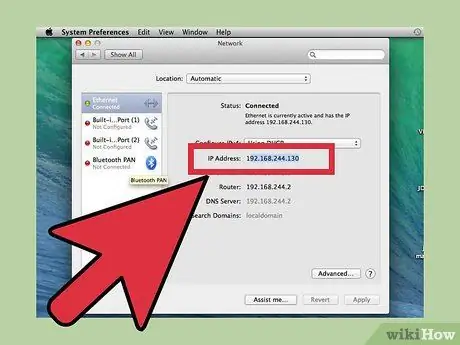
Step 1. Find the local IP address of the server
You need this address to forward ports so that others can connect to the server.
- Click the Apple menu on the server Mac computer and select "System Preferences".
- Click the "Network" option and select an active connection.
- Take note of the "IP Address" line.
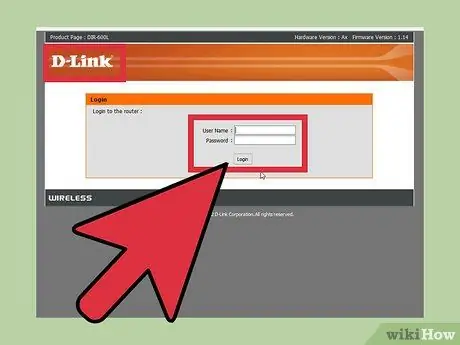
Step 2. Go to the router configuration page
In order for other people to connect to your server over the internet, you need to configure your router to accept incoming connections. Access the router settings page. If you are using a router such as Netgear or Belkin, you can access the configuration page from a web browser. If you are using an Apple AirPort router, use the AirPort Utility app from the “Utilities” folder.
Read the article on how to access the router for more information to go to the router configuration page
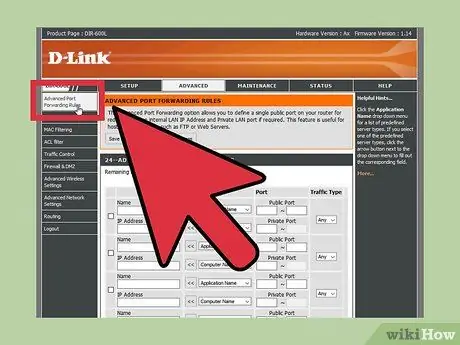
Step 3. Open the “Port Forwarding” segment
The location of this setting will be different for each router. Usually, you can find this segment in the WAN or “Advanced” section. This segment may be labeled "Applications and Gaming" or "Virtual Servers".
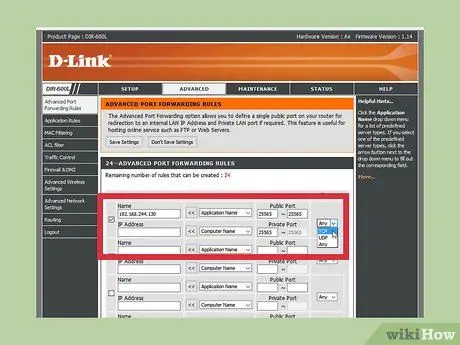
Step 4. Open TCP port 25565 server IP address
Enter the server IP address in the address field, then type 25565 in the “Port” field. Make sure you select "TCP" as the protocol. Save changes when you're done.
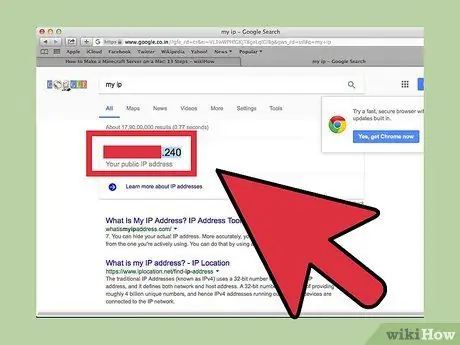
Step 5. Find out the computer's public IP address
Your friends will need to enter this address in order to connect to your Minecraft server. The quickest way to find out a public IP address is to open Google on the server computer's web browser and type "my IP". Your public IP address will appear at the top of the search results.
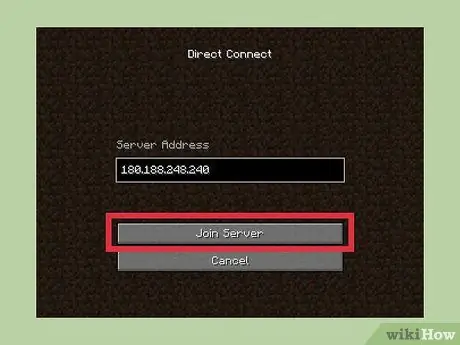
Step 6. Enter the server's public IP address on the “Direct Connect” menu on another computer
Once the server is accessible via the internet, your friends can connect their computers to the server by opening the “Multiplayer” menu in Minecraft, clicking on “Direct Connect “, and entering the server address.
Step 7. Check the server's public and local addresses periodically
Each time it restarts, the computer will get a new local IP address from the router. When this happens, you need to change the port forwarding rules to take effect on the new address. Otherwise, no one can connect to the server via internet. In addition, the internet service provider may change your public IP address which needs to be entered every time a friend wants to connect his computer to your server.


