- Author Jason Gerald gerald@how-what-advice.com.
- Public 2023-12-16 10:50.
- Last modified 2025-01-23 12:04.
Calligraphy (which means "beautiful writing" in Greek) is the art of decorative handwriting. Calligraphy has been practiced for thousands of years by various cultures. Although in the past it was more often used for religious purposes, today calligraphy has been used for various purposes. If you want to learn about this beautiful art, then read the following article.
Step
Method 1 of 3: Calligraphy Writing
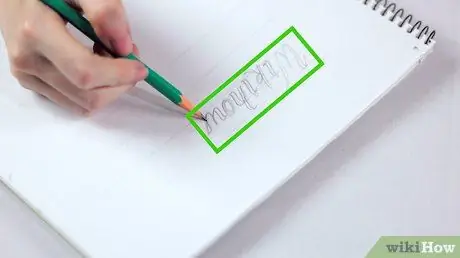
Step 1. Outline or sketch the general shape and placement of letters
If desired, draw an outline where you want the letter to be written. You can only create basic lines or line positions for each letter. If you want more detail, you can design an entire page before starting.
Use a ruler to make precise spacing between letters and look at the preferred style references so you can copy the general styles of the letters
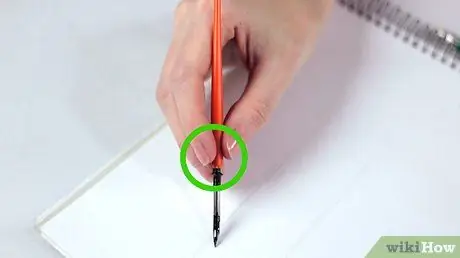
Step 2. Hold the stationery properly
Calligraphy brushes are held differently than pens. The brush is also held differently depending on whether you write Western or Eastern calligraphy. Holding the tool the right way will help you write the letters correctly.
- For Eastern calligraphy, hold the brush almost straight with the first three fingers of your right hand if you're right-handed. The closer your grip is to the bristles, the more defined the line will be. In this style, the elbow position should be high enough and the hand stable. Move the brush with just your finger.
- For Western calligraphy using a brush, hold the brush in the same way as you would a normal paint brush. Using a brush for Western calligraphy, instead of using a pen, will make the letters more round and supple.
- For Western or Arabic calligraphy, hold the pen at a fixed angle of 30 to 60 degrees with the tip of the nib away from you, held up and tilted slightly to the left (assuming right-handed). When the wide part of the nib is parallel to the paper, thicker lines are produced, and when they are perpendicular, thinner lines are produced. Feather pens work the same way.
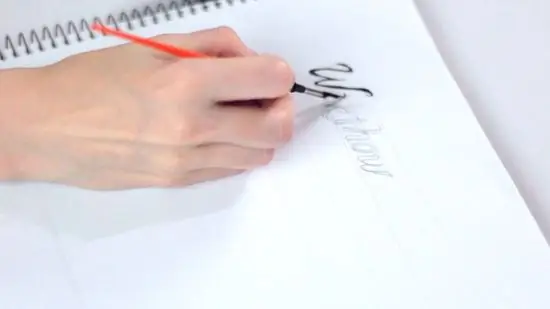
Step 3. Create letters
Form letters on paper. Pay attention to the way you hold the stationery. Use varying line thicknesses to create nice letter shapes. Keep your finger and hand movements steady and proportional.
- Don't move the pen too slowly. This will result in too much ink on the paper and will create muddy and uneven lines.
- Let the ink dry before touching the letters. Make sure that your wrist does not touch the paper, as this can cause the ink to smudge.
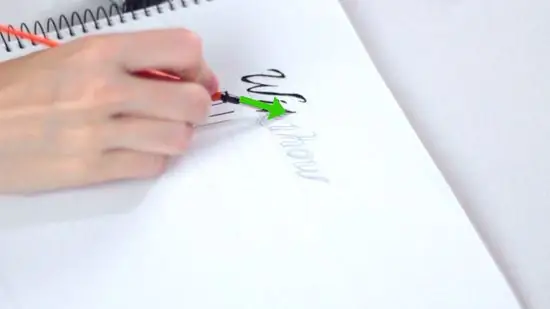
Step 4. Use pressure to limit the width of the line
Of course you'll want to use a variety of line widths to give your letters a calligraphic look. This can be done by controlling the angle of the writing instrument, but often it is controlled by pressure. Press down a little harder for a few moments to get thicker lines and use a very light touch to create very thin lines like strands of hair.
Different nibs or nibs will also help in creating different line thicknesses. The nibs are different and certain nibs are better for certain writing styles than others
Step 5. Use the correct sequence of movements
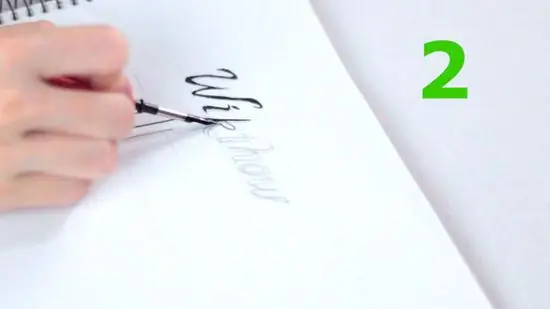
Each letter or symbol will consist of several different parts. The parts are written in one complete movement so called scribbles. The order in which you scribble will have an effect on the letters you write, so be careful.
- The stroke order will be different for different types of calligraphy. The best way to know how to do this is to read a calligraphy book. A trick for Western calligraphy at its core is to use the same strokes as normal writing (eg, vertical lines, then horizontal).
- The sequence of scribbles not only ensures that the parts are connected correctly and evenly, but also often has important philosophical meaning!
Step 6. Protect the paper surface
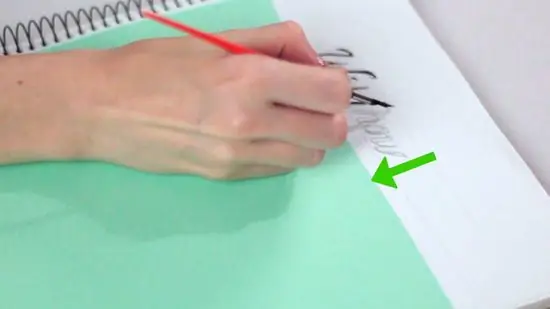
You should make sure that the paper you are writing on is not smudged. This requires planning. Write in such a way that your hands don't touch the wet ink. You should also protect the paper from anything that might stick to your hands, such as grease. You can place an extra sheet of paper under where your hands are to help protect the paper you're writing on.
Step 7. Add decorations
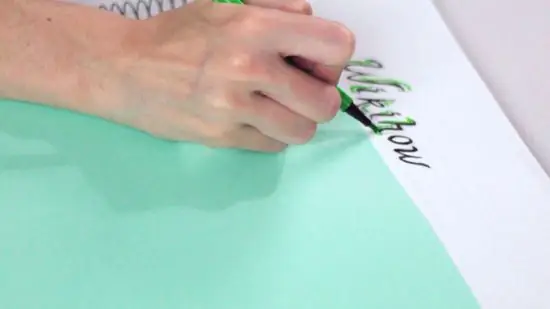
Once the ink dries, you can add decorations and details. This can be an illustration, color, or gold embellishment. All of these will make your writing stand out and give it more character and appeal.
Method 2 of 3: Practice Perfecting Skills
Step 1. Practice freely
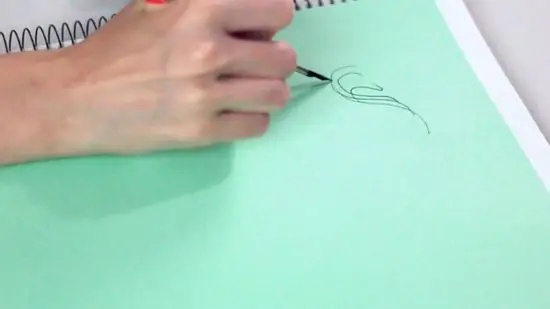
You can practice writing using any tool on any available paper. The most important thing is that you benefit from a steady hand and an understanding of how to vary the width of the writing line. Practicing freely will get you experience quickly and easily as it can be done anywhere with minimal ingredients and a little bit of planning.
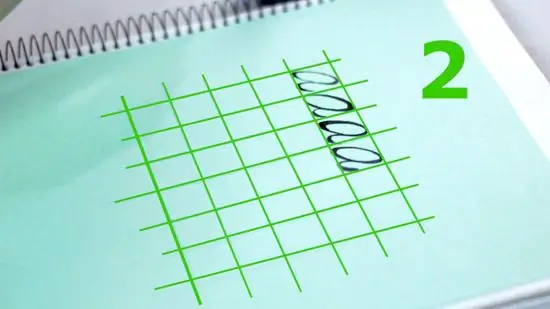
Step 2. Use help with checkerboard lines
If you want to practice a little more formal, set up a checkerboard line to practice on. Draw the outline of the squares lightly with a pencil, with the squares being about 2.5 centimeters long and about 2.5 centimeters wide. Fill in each line with the same letter you want to practice until your scribble is even and looks clean.
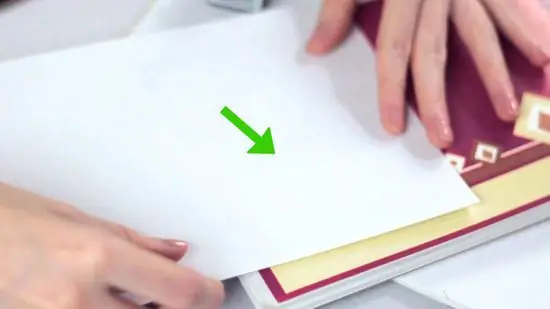
Step 3. Trace the doodle from someone else's work
You can also learn by trying to recreate other people's work. Look for calligraphy pictures, either from the Internet or calligraphy books, and cover the pictures with tracing paper. Write on tracing paper, trying to recreate the scribbles from the original drawing. If you intend to use ink, be careful not to let the ink penetrate the tracing paper and make preparations beforehand.
Since there may be problems with ink penetrating the tracing paper, always try to use a cheap photocopy or printout of the work you are tracing. This will prevent you from destroying the original image
Method 3 of 3: Mastering the Art of Calligraphy
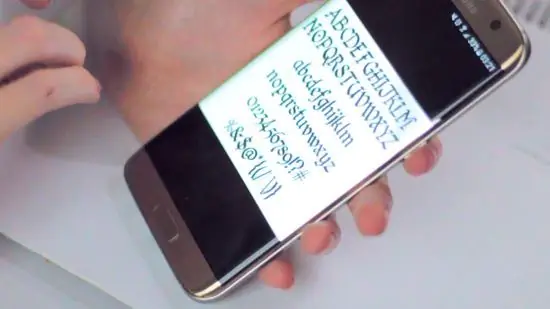
Step 1. Decide on the right style for you
There are several types of calligraphy according to the calligraphy traditions that exist in various parts of the world. You have to decide which one is suitable based on what you like and why you want to learn calligraphy.
- Western calligraphy is a style familiar to most English-speaking people. This style appeared at the same time as the creation of Latin script. This style is most commonly seen in the Bible and illustrated texts, often accompanied by pictures.
- Eastern calligraphy is a decorative writing style from Japan, China, or Korea. As a common and respected practice in Eastern countries, calligraphy is usually used to write poetry and is added to paintings and other works of art.
- Arabic calligraphy is usually a religious art form, which is common in the Islamic world. Muslims believe that making art that depicts the real thing is morally wrong (because it insults God). Calligraphy as the main art form of culture emerged as a reaction to this.
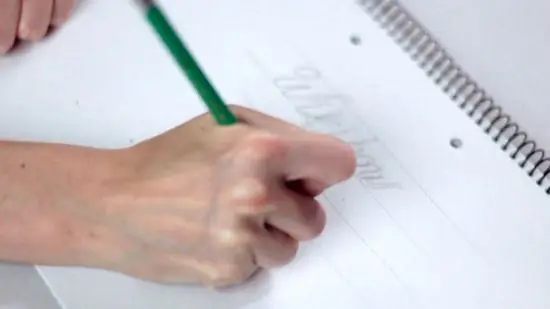
Step 2. Sketch your idea
Before starting a new piece of writing, it's a good idea to sketch out an idea. Think about what you want to write and where to write it. Think about the space you want to fill and how you will fill it. Make some quick, small drawings (using a regular pen or pencil on blank paper) to help you create the final drawing.
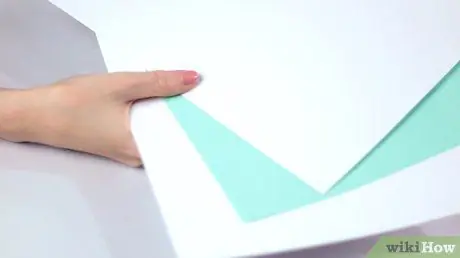
Step 3. Use the best drawing paper
You need paper for drawing. This paper can be in the form of general printing paper or quality calligraphy paper. Use whatever material suits you. Paper can be purchased from office supply stores, bookstores, and others.
- We recommend that you choose a paper that is smooth. This is to avoid the stationery pulling the paper or being deflected by the paper. Do not use paper that is oily or waxy. This kind of paper will prevent the paper from absorbing the ink. Of course you don't want to use paper that makes the ink stagnate but rather dries quickly.
- Look for paper that is marked "acid free" (made from a material with a neutral pH) and is suitable for long-term storage. This will ensure that the text does not get damaged quickly. It's also a good idea to look for "special" paper, which is paper that has been designed to prevent ink from pooling.
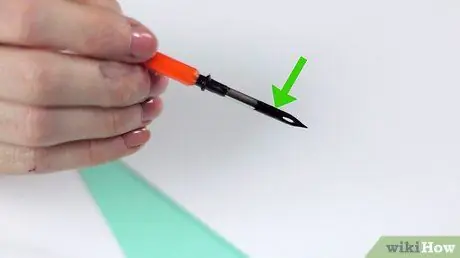
Step 4. Find the right stationery
You need equipment to write calligraphy. While technically you can write calligraphy with any type of writing instrument, there are certain types of writing instruments that are considered better than others. However, which stationery you will use depends on the type of calligraphy being done and what stationery feels best for you.
- A dip pen is a pen that is dipped in ink. This pen consists of a pen handle made of wood, plastic or bone and a metal nib (the pointed part that will come into contact with the paper). The nib is dipped in the ink and the ink will be stored in the nib. This type of pen is most commonly used for writing Arabic and Western calligraphy although it can also be used for writing Eastern calligraphy.
- The pen is similar to a dip pen but draws ink from the pouch that is inside the pen. Although this ink sometimes needs to be replaced or refilled, you don't need to dip the pen in the ink as with a dip pen.
- Brushes, most commonly used in writing Eastern calligraphy as well as Western calligraphy, come in various sizes, but are usually the same shape. The brush is dipped in ink, using the pressure and direction of the author's movements to form variations of the line.
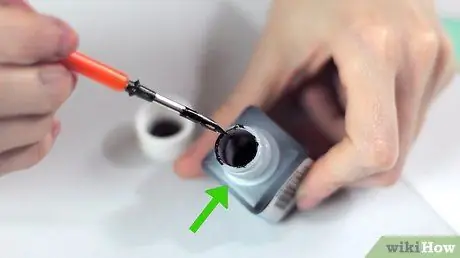
Step 5. Use the best ink for your style
You need ink to write. There are many types of ink. Which ink you choose will in part depend on the stationery you are using. Ink has a variety of colors, but black is the most common color used in all calligraphy styles. Use whatever color you like.
- Ink bars, which also require inkstones, are solid ink sticks that must be rubbed and mixed with a small amount of water to form ink before they can be used for writing. This type of ink is a good choice for calligraphy because it can create different levels of color from the same ink, depending on how it is mixed. You can find ink sticks at specialty stores that sell items related to Asian culture, or look online.
- Bottled ink is the most commonly used ink for writing calligraphy. This ink is packaged in a small bottle and the stationery will be dipped in it. Indian ink is the most common type of bottled ink used in calligraphy. This ink can be purchased at the Gramedia store.
- Pen ink is a special type of dye-based ink used for ballpoint pens. This type of pen must use pen ink because other types of ink will clog the pen. Pen ink is packaged in filled ink bags, which are placed inside the pen, or packaged in ink bottles that you must fill yourself.
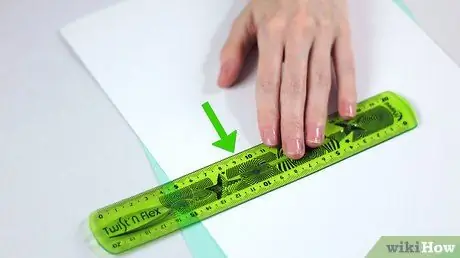
Step 6. Use a ruler or other guiding tool to give it a professional look
You may want to make your own guide lines, to make sure your writing is straight. It's also possible that you want to write across curved or circular lines and need references. Rulers and other guiding tools can help create professional-looking, even writing.
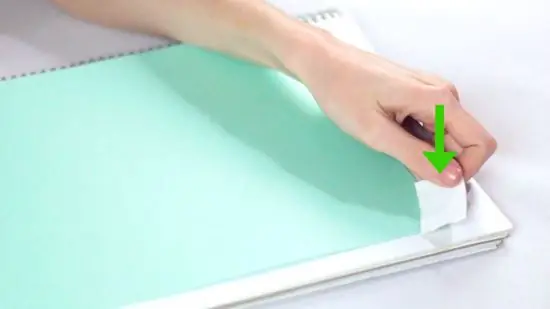
Step 7. Use adhesive tape or weights to reduce frustration
You may want to use adhesive tape or weights to hold the paper in position while writing. This will prevent the paper from tilting or shifting when you write on it. You can also use tongs or a drawing board.


