- Author Jason Gerald gerald@how-what-advice.com.
- Public 2024-01-19 22:11.
- Last modified 2025-01-23 12:04.
Teaching children how to draw usually involves monitoring a child's progress and providing new exploration methods. For children who are less than five years old, parents only provide time, place, tools, and support for learning to draw. At a later age, you can teach your child new skills, such as drawing from observation, practicing perspective, and drawing according to proportions. Try not to force the child to change his style or approach, and don't offer criticism or correction. Rather, support, monitor, and ask open-minded questions that will help your child channel his artistic spirit and imagine more details and possibilities.
Step
Method 1 of 3: Teaching 15 Months to 5 Years Old Children
Step 1. Make drawing sessions part of your child's routine
Include art activities into your child's playtime. If necessary, prepare a drawing space so it doesn't fall apart. Attach the paper to be drawn to the table using masking tape, and choose an old shirt as a “drawing uniform”. This step will help the child focus on the drawing movement, without having to bother holding and fixing the drawing paper. Buy thick crayons and markers that are washable and easy to grip.
- Children will start drawing from doodles. By the age of 2, the scribbling will begin to be more controlled and repetitive, and the child will hold the crayon between the thumb and forefinger for a more accurate drawing.
- Offer a variety of art materials at this age. Don't just focus on tools: kids can draw by tracing in the sand, or shaping clay and sticking it on the page. Purchase washable paint, non-toxic clay, chalk, child-safe scissors, and a variety of paper types and store them in an easily accessible place.
Step 2. Try not to dictate
Children develop basic motor skills with each doodle. They also develop creativity, discovery, and self-expression. This small child does not need instruction or appreciation. Sit with the child while drawing, talk to him, but do not teach.
Resist the temptation to correct. Small children can paint the grass purple, or make the house too small. If corrected, the child's confidence can be hurt and you interfere with his natural self-learning process

Step 3. Make observations
Instead of praising or correcting a child's work, comment on the process, not the product. While the child is drawing, say “a lot of circles you made! There's a small circle inside the big circle" or "you like using orange and green crayons, don't you?" Say what you like about the picture, for example, “Mommy loves the sun, it's huge!” or “There are so many colors of leaves, Papa loves it!”
Step 4. Ask open-ended questions
Try not to ask “What is this?” when the child shows the picture. Instead, say "try to tell your picture." If the child is excited to tell the picture, ask more questions. The child may begin to add details when asked a question. When children draw representational artwork, they often imagine the story along with the pictures. If you ask child to tell more details, he will be encouraged to add it.
For example, if you ask "What does this girl smell like?" the child will likely add a nose. If you ask “is the dog lonely at night?” he could add some more animals. This interaction encourages children's imagination, storytelling, and drawing skills
Step 5. Make art a means of processing emotions
If your child is experiencing strong emotions, give them paper, markers, paper, or clay. If the child is whining, persuade him to make an angry picture. If he's sad, ask him to draw a sad picture. Art can help children process intense emotions that are too complex for them to put into words. Giving your child some creative activity that he is good at can help him gain some kind of control over his emotions.
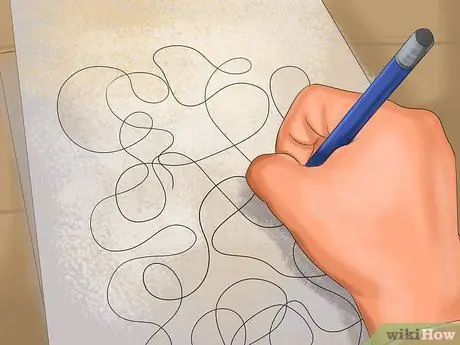
Step 6. Identify the child's first writing
At about 2 -3 years, children will begin to draw zigzag or squiggly lines to represent words. This is the child's first step in learning to write. As they grow, these doodles will get more complex. Children can start from a mixture of short and long strokes, or write letter-like shapes mixed with the original letters. This picture indicates that the child begins to understand that writing is a way of communicating.
- Your child will tell you the "meaning" of certain scribbles, or ask you to read them aloud. Confirm the meaning of the scribbles that are read to you, and ask for help reading others.
- Let the child use the writing he made. Take it to the post office to have it mailed (with accompanying notes) to a sibling, Santa, or himself.
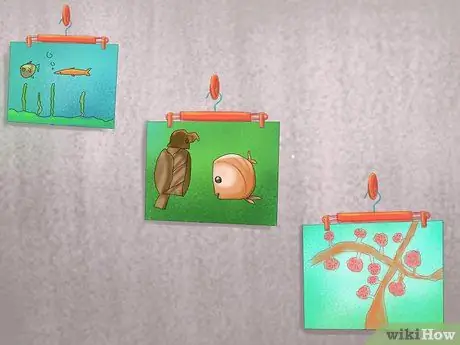
Step 7. Display and save the child image
Displaying children's artwork is one way to show that the images are interesting and important. Instead of complimenting every image, post it somewhere. You don't have to display every child's picture; Have your child choose an image to display, or create a “rotational gallery” that changes every week or month. Keep a portfolio of each child's drawings so you can observe their progress.
The child's practice progress is more important than the resulting image. Displaying pictures should not replace providing support for the development of children's drawings
Method 2 of 3: Teaching 5-8 Year Olds
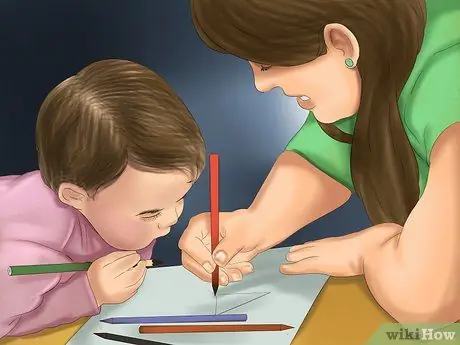
Step 1. Teach children to practice observation
At the age of about 5 years, you can already teach how to draw from real life. This step is done by teaching children how to draw from the appearance of objects, instead of their knowledge and imagination. To start the exercise, teach the child to think of the drawing as an exercise. Tell him that he is learning a new type of drawing that takes a lot of practice, and that he can practice as much as he wants.
- Give him a pencil and a few sheets of paper, and ask him to gently reduce the use of the eraser. Tell the child that they can start drawing as much as they want, and erase the wrong lines when they're done.
- Do not force this way of drawing on children. If a child is forced to learn this new stage, he or she can become discouraged and reluctant to learn.
- Emphasize other types of drawing: storytelling and imagination based on pictures, abstract or emotional images.
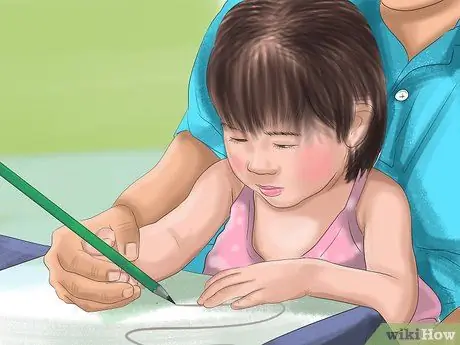
Step 2. Train the child to draw a new object
At about 5-6 years of age, children develop schematics, or ways of drawing objects. Instead of teaching your child to look at "familiar" objects, such as houses, pets, or trees, let him choose something that has never been drawn. This prevents him from relying on habits from previous experiences, while preventing him from getting frustrated at being forced to “forget” something he felt he had mastered.
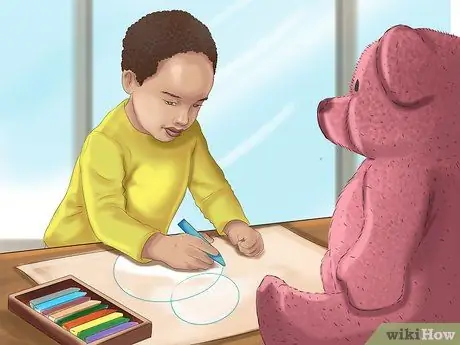
Step 3. Train the child to observe shapes
Explain that the child will draw an object from one side. Ask the child to sit where he is going to draw, and trace the edges of the object with his finger according to what the child sees. Then, have your child trace it in the air. Children can do this with their fingers or a pencil.
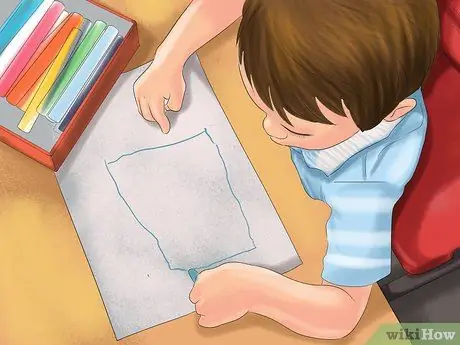
Step 4. Draw without looking down
Encourage the child to draw while the eyes are fixed on the object being drawn. Try placing a square sheet of paper on the pencil, above the grip points so your child can't see the strokes. Have your child practice making lines first and drawing each part of the shape separately.
- After practicing drawing lines, let the child draw all the shapes. Save the child's practice sheet for future use or for reference.
- Ask the child to practice drawing without looking down.
- Ask the child to draw and only look down when finished drawing the line. Let your child check on his progress, but encourage him to look down as little as possible.
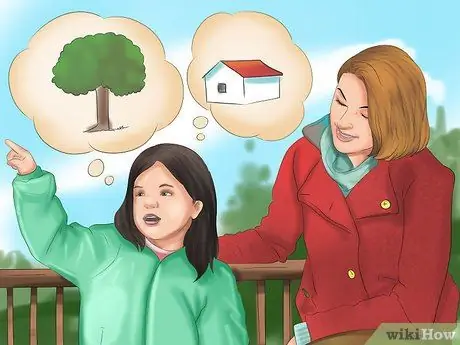
Step 5. Monitor and ask the child to practice it
Ask open-ended questions like all children, but ask what he saw, not what he imagined. Try asking “where on the object is brighter? Which one is darker?” "Where is the curved part of the line?" Praise the lines and angles it draws correctly, and encourage it to discover more details.
- Say "I see you made a big indentation in the flower stem and shadowed the texture into the ground. Now, is there a small part at the end of the stem? Where does this part start and stop?"
- Try not to show your drawing, or draw on the child's paper. Naturally, children do learn by imitation, but this does not help in learning to draw.
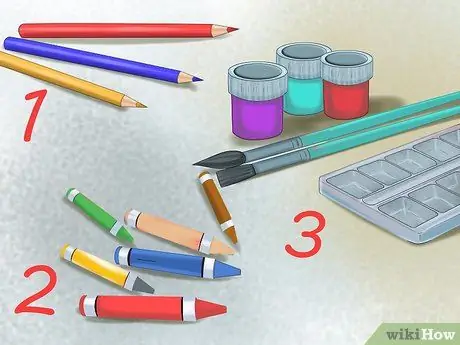
Step 6. Focus on one medium at a time
Offer practice opportunities to children through a variety of media. Children between 5-8 years old can want to draw with a pencil so they can focus on shading and contours. Show your child a variety of drawing tools and let him experiment. Suggested phases: first draw with a pencil, then with watercolors.
Step 7. Create a book
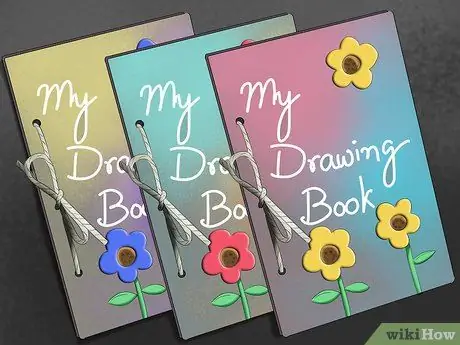
Children aged between 5-8 years like to make stories according to the pictures. They may be interested in creating a series of pictures that tell a longer story. Support the child to draw and write a booklet. Help them make books using a stapler or needle and thread. If the book is "published", put it on the shelf with the other books.
Method 3 of 3: Teaching 9 -11 Years Old
Step 1. Focus on the spatial problem
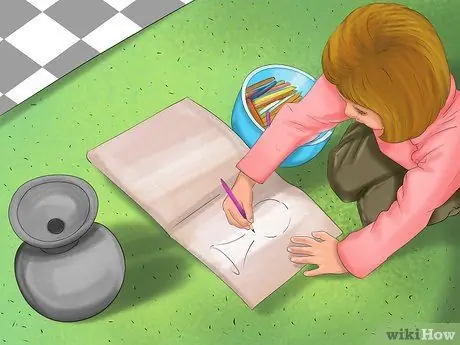
Preteens will be very interested in perspective drawing, foreshortening, and other spatial information. They'll start drawing horizontal lines, overlapping objects, and adjusting details. Give a series of spatial exercises to the child, for example drawing objects from three different angles. Arrange geometric shapes in neutral colors close to each other so your child can learn how to create shadows.
Let the child arrange objects and draw them
Step 2. Teach proportions through portraiture (portrait photography)
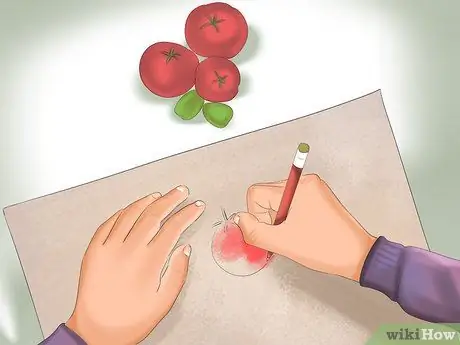
Basic anatomical proportions are one of the hardest things to learn. People tend to see heads that are bigger than they should be, and eyes that are bigger and higher in the face. Teach your child the basic anatomical proportions of the face, then give them a mirror and ask them to draw a picture of themselves. Let him pose in turns and make a quick sketch.
Step 3. Anticipate a crisis of confidence
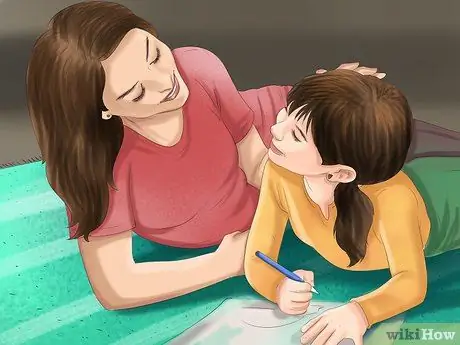
At about 9 years of age, children have a strong desire to draw realistically. They get frustrated if the drawing doesn't look “right”, and feel that they are not good at drawing. To overcome this crisis, make it clear that drawing is a skill that takes practice. Say that the frustration the child feels is because he has leveled up. If your child doesn't think he's good at drawing, say it's because he's seeing things he hasn't seen before.
- Children around 11 years old can want to give up drawing. Teach them age-appropriate skills and encourage them to try other methods to keep the child motivated.
- Expand the concept of children's art. One way to prevent a decline in a child's artistic practice is to teach other forms. Drawing abstracts, comics, or designs can regenerate a child's confidence who is stuck in realism.
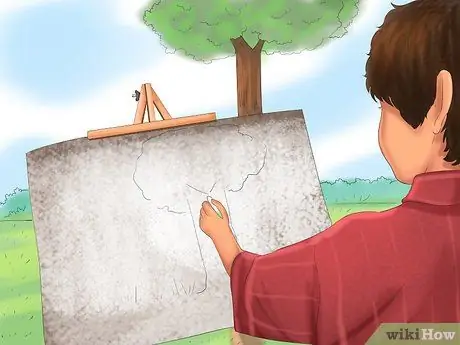
Step 4. Provide an observation challenge
A child who has been observing shapes and trying to draw realistically for some time is ready to forget some of what he has learned. Take the child to look at the tree, or give him a piece of wood, and explain that you will observe all the colors in the trunk. Challenge yourself to draw a tree without using brown, and mix different colors of markers to get the real wood color.


