- Author Jason Gerald gerald@how-what-advice.com.
- Public 2023-12-16 10:50.
- Last modified 2025-01-23 12:04.
The face is a basic part of the human anatomy, and displays a wide range of emotions. The human face is generally the most important point in an image, and the slightest mistake can convey the wrong message. Drawing faces properly is a big step on your journey to become a true artist.
Step
Method 1 of 3: Mature Woman Face
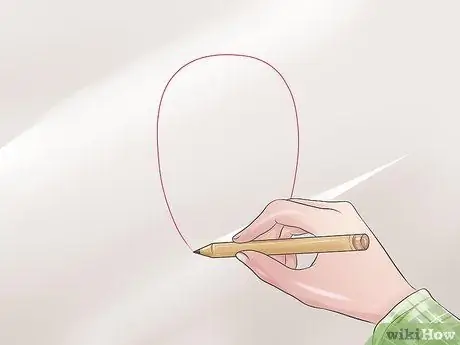
Step 1. Draw the outline of the face
The head is never circular, the shape of the head is oval, like an egg. So, sketch an oval shape that tapers off at the bottom.
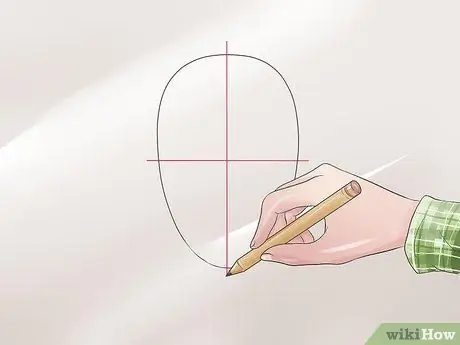
Step 2. Draw a dividing line
The easiest way to draw a face is to use dividing lines to map the parts of the face. First of all, draw a line in the center of the oval that you have created. Then, divide these two images once again, this time horizontally.
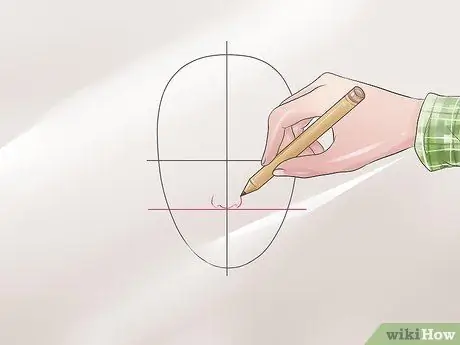
Step 3. Draw the nose
Divide the lower half of the image again with another horizontal line. The point where this line meets the vertical line is where you should draw the nose. Draw the base of the nose and make nostrils on both sides.
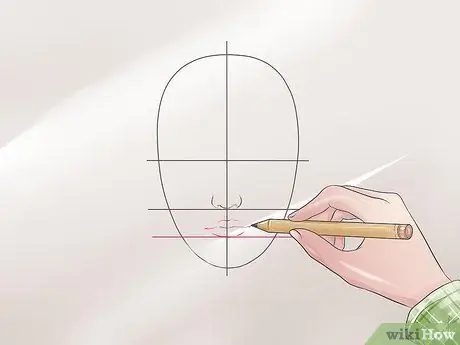
Step 4. Draw the mouth
Divide the lower half of the image again. The base of the lips will lie on the dividing line you just created. Draw a line where the lips meet and draw the top of the lips. Then, fill in the base of the lips.
Step 5. Draw the eyes
-
Draw two large circles to create the eyes on the main horizontal line. This circle will become the eye socket. The top of this circle is the eyebrows and the bottom is the cheekbones.

Draw a Face Step 5Bullet1 -
Draw the eyeball in the center of the eye socket.

Draw a Face Step 5Bullet2 -
You need to learn to draw eye shapes. Eyes are shaped like almonds, so keep this in mind when drawing them (eyes come in many shapes and sizes, and you need to recognize their shape). As a general guide, the distance between the two eyes is equal to the width of the eye.

Draw a Face Step 5Bullet3 -
Inside the iris, the color center of the eye, draw the pupil, which is the darkest part of the eye. Fill most of it with black, and leave a little white. With the pencil pointing horizontally, draw a shadow at the base. Vary the shadows from medium and light within the iris, using short, tight lines from the tip of the pupil to the white of the eye. Draw lighter in some areas for a fun effect. Draw the eyebrows on it. Then follow the next instructions to draw the lower part of the eye:

Draw a Face Step 5Bullet4 -
Draw the upper part of the eyelid over the almond shape. The base of the eyelid is just above the iris and covers a bit of the area above it.

Draw a Face Step 5Bullet5
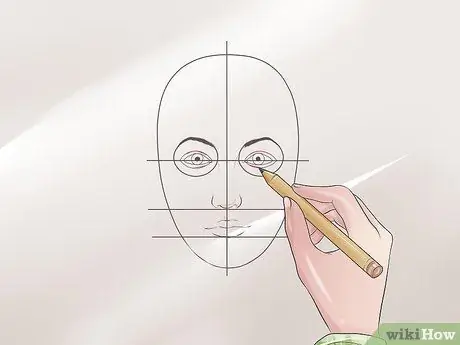
Step 6. Shadow under the eyes
Now, apply shadows under the eyes and where the eyes and nose meet to define the eye sockets. To create a tired look, add shadows and sharp lines at a certain angle under the eyelids.
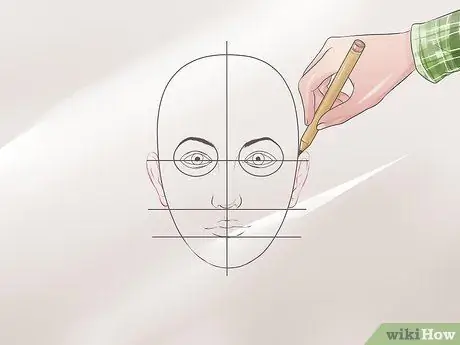
Step 7. Draw the ears
The base of the ear should be in line with the base of the nose, while the top should be in line with the eyebrows. Remember that the ears should be flush with the sides of the head.
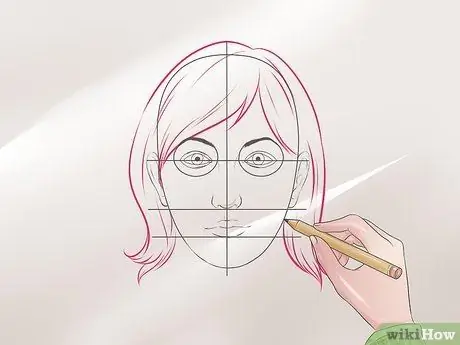
Step 8. Draw the hair
Make sure that you draw the nose from the point of the parting outwards.
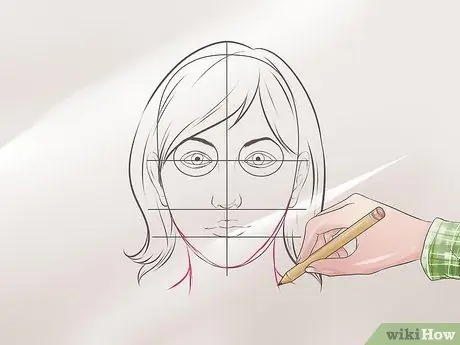
Step 9. Draw the neck
The neck is a larger part of the body than you imagine. Draw two lines from where the bottom horizontal point meets the edge of the face.
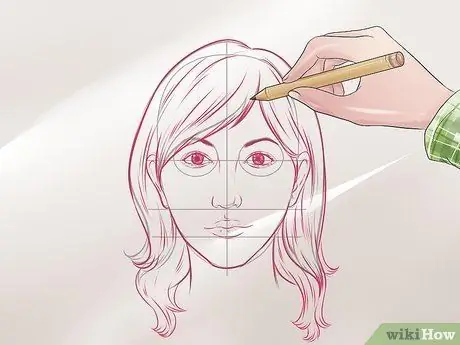
Step 10. Draw other details
Shadow under the nose and emphasize the chin. Give an expression line around the mouth and shadow in the corners. Then, emphasize the bridge of the nose. The clearer you make these details, the older your image will look.
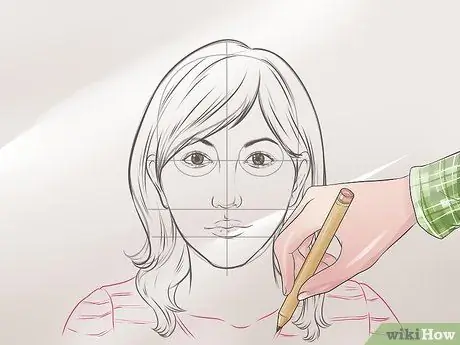
Step 11. You may want to draw a face with a certain style of clothing
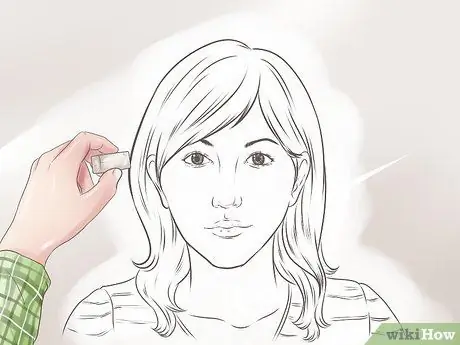
Step 12. Clean your image
Use the eraser to remove the guide lines.
Method 2 of 3: Teenage Woman Face
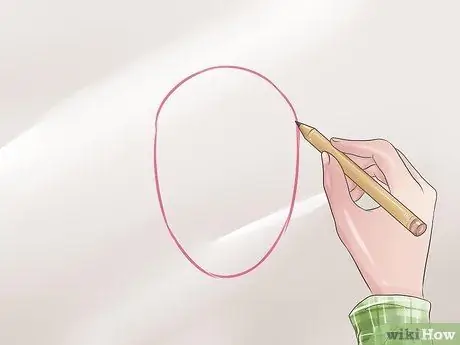
Step 1. Draw the shape of the head you want
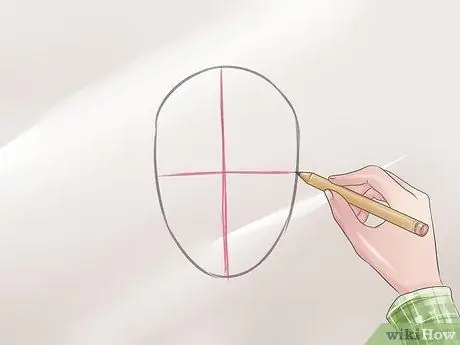
Step 2. Draw a line to define the center of the face and the position of the eyes
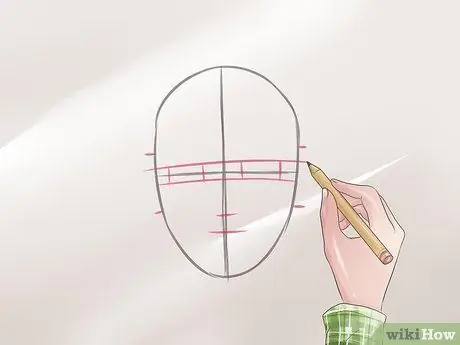
Step 3. Sketch the lines to determine the width, length, and location of the eyes, nose, mouth, and ears
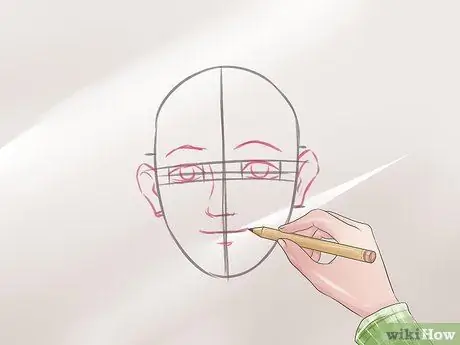
Step 4. Sketch the shape and appearance of the eyes, mouth, nose, ears and eyebrows
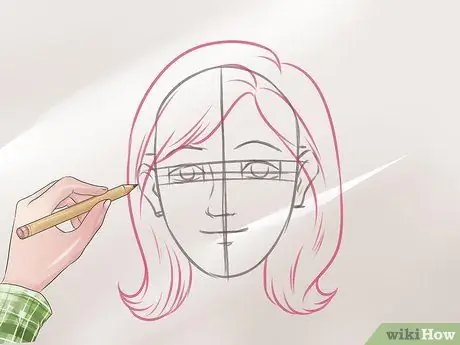
Step 5. Sketch the hair and neck shapes
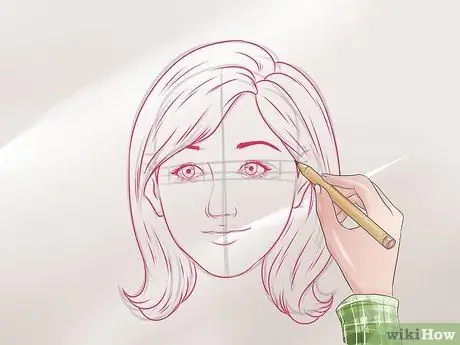
Step 6. Use a drawing tool with a pointed tip to add subtle details to the face
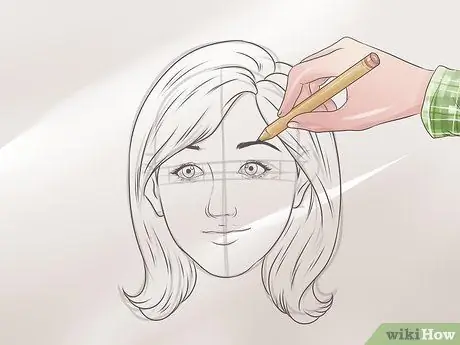
Step 7. Draw the outline using the sketch as your guide
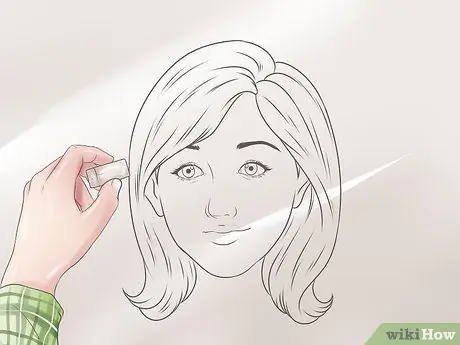
Step 8. Erase the sketch lines so that your drawing is clean
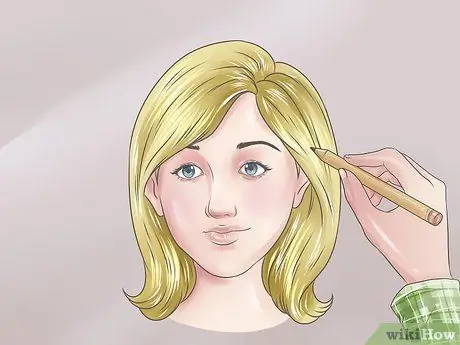
Step 9. Color and give your image a shadow look
Method 3 of 3: Male Face
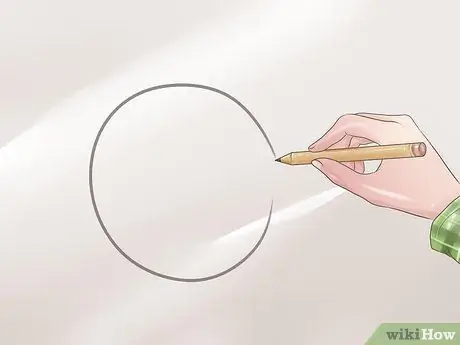
Step 1. Draw a thin image
Sketch a circle.
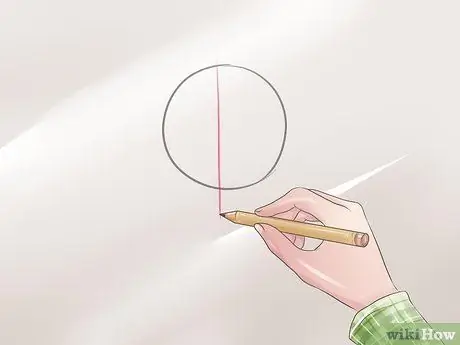
Step 2. Draw a line in the middle, starting at the top of the circle and ending at the chin place
(This line determines that the face image will point forward).
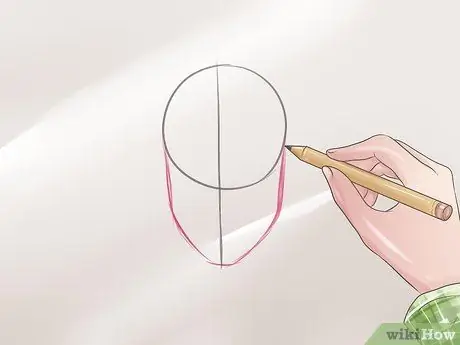
Step 3. Sketch the lines to define the shape of the cheeks, jawline and chin
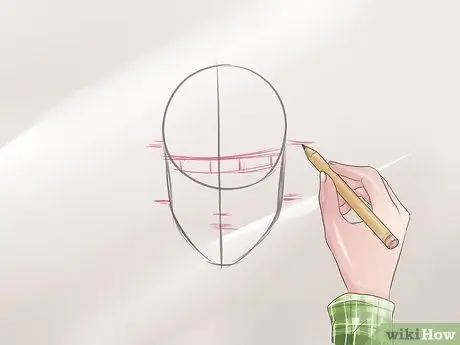
Step 4. Make a sketch to determine the width, length and location of the eyes, nose, mouth and ears
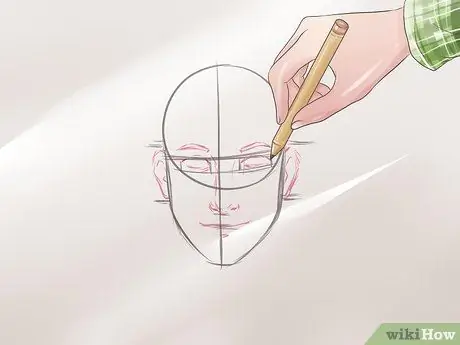
Step 5. Sketch the shape and appearance of the eyes, nose, mouth, ears and eyebrows
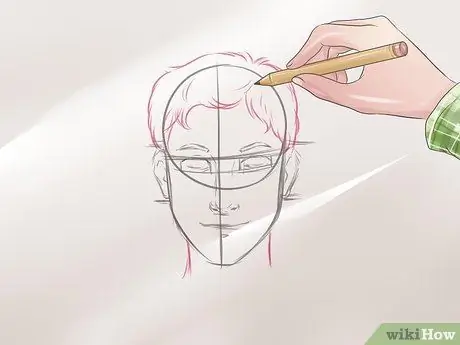
Step 6. Sketch the shape of the hair and neck
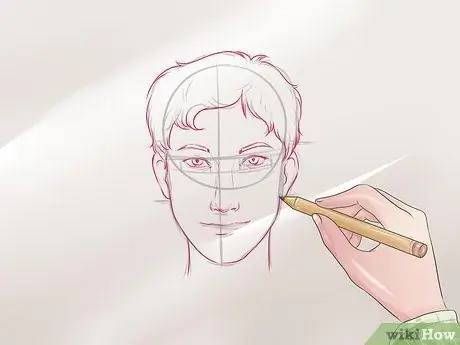
Step 7. Use the pointed drawing tool to add subtle details to the face
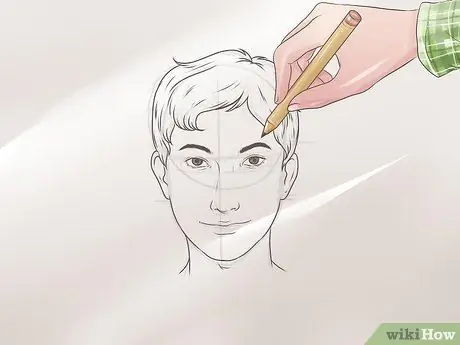
Step 8. Draw the outline of the face using the sketch as a guide
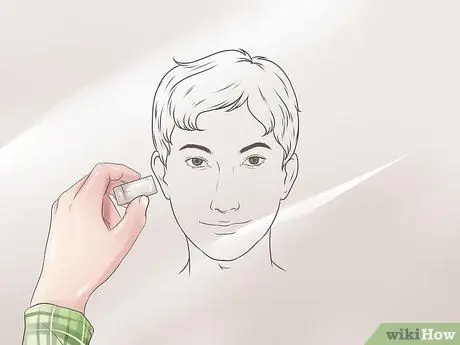
Step 9. Erase the sketch lines to produce a clean image
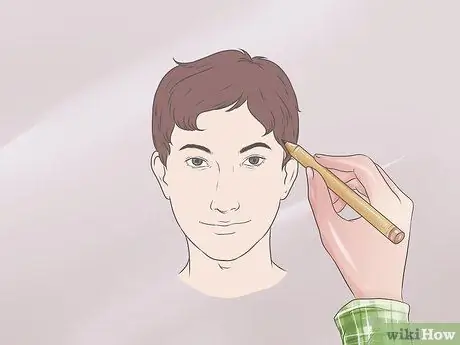
Step 10. Color your image
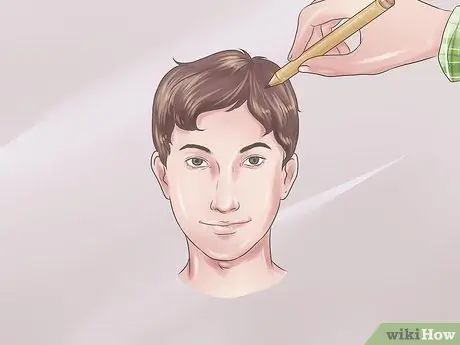
Step 11. Alternatively, add shadows to the face image if needed
Tips
- You don't need to draw a face that is exactly the same as the actual face. Try drawing faces in your own style, as the guides are just the basics of the face drawing technique.
- The pencil is your best friend in this process. Collect pencils of different colors, as these are great for beginning artists. Pencil lines can be erased. Take advantage of this advantage.
- Don't spend too much time on details that are too specific, such as symmetry and proper proportions. This will all cost you time.
- Add your own creative touch to this piece of art, and ignite your inspiration.
- If you want to make your face style more realistic, add a little shadow to the eyes to make them appear more alive and convey certain emotions.
- You can't go wrong if you draw using your personal imagination.


