- Author Jason Gerald gerald@how-what-advice.com.
- Public 2024-01-19 22:11.
- Last modified 2025-01-23 12:04.
This article teaches you how to clean your computer's optical mouse. An optical mouse has a light at its base that detects a change in position to move the cursor. You need to clean your optical mouse at least once a month to prevent problems such as stuttering, unmoving cursor, and annoying clicking.
Step
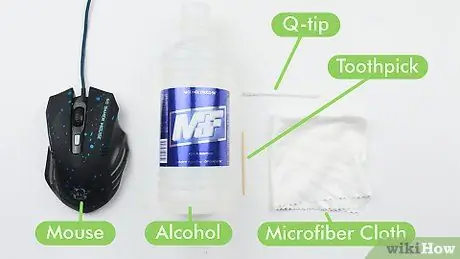
Step 1. Prepare the equipment
You will need the following supplies to clean an optical mouse:
- Cotton swab or microfiber cloth to clean oil deposits from the mouse. If possible, use a microfiber cloth as it won't leave threads, unlike cotton swabs.
- Isopropyl alcohol to clean and sanitize the mouse. Do not use a different cleaning agent (eg Windex) if it does not have isopropyl alcohol. Better replace it with water.
- Clean and dry cloth to clean the dust and dry the mouse.
- Toothpick to clean dust and other debris in the crevices on the mouse.
- Screwdriver to open the top of the mouse. Check the mouse manual or the model number online for specific procedures for disassembling the mouse.
- Clamp. Optional, but helps if you want to clean certain sensitive areas of your mouse. (eg mouse motherboard).
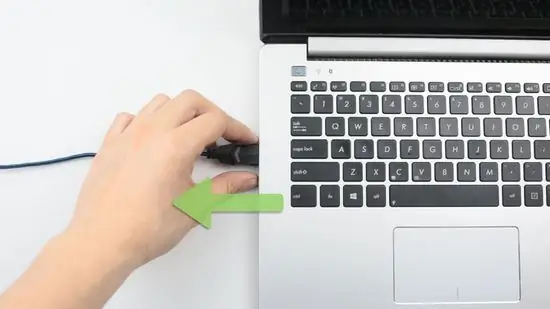
Step 2. Disconnect the optical mouse from the computer
This way, the mouse won't electrocute you if its electrical components are accidentally touched. In addition, it also prevents a short circuit in case the mouse is exposed to water.
If the mouse is on battery, remove it before continuing
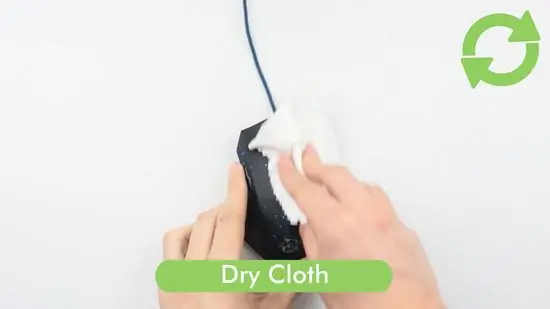
Step 3. Wipe the entire mouse with a dry cloth
This will remove dust and excess oil from the outside of the mouse. You can also moisten the cloth with water if your mouse is very sticky and dusty.
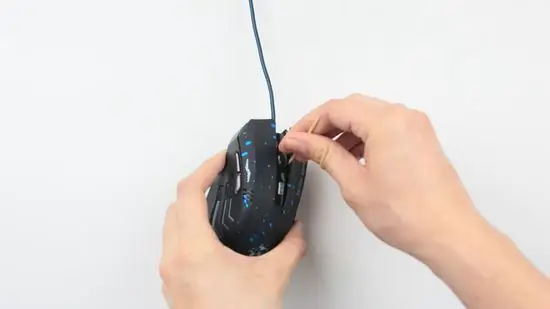
Step 4. Run a toothpick in the crevices of the mouse body
In this way, oil deposits that cause interference will be cleaned.
For example, run a toothpick under the button to remove grit that prevents the mouse from clicking completely
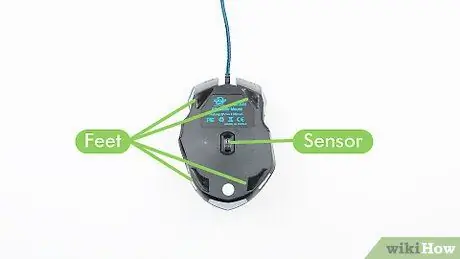
Step 5. Turn the mouse over
You should be able to see some of the following:
- Foot These are small rubber pads on each corner or underside of the mouse.
- Sensor in the form of a red or green light covered with plastic or glass.
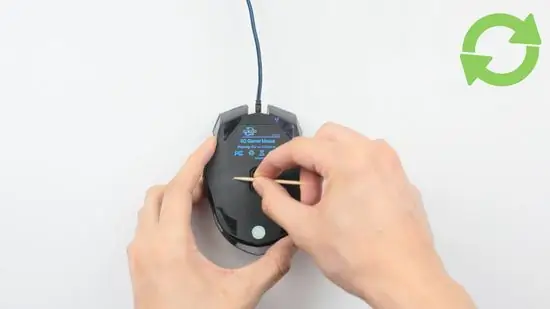
Step 6. Pry out the remaining residue
Use a toothpick to remove any residue left behind after the initial cleaning.
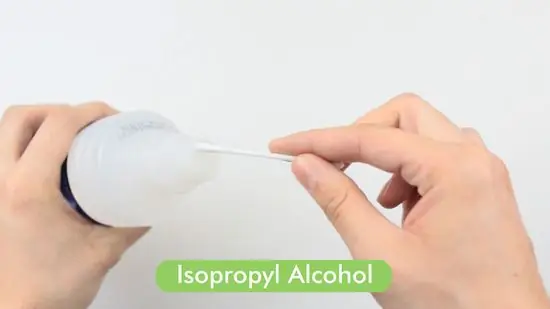
Step 7. Dip a cotton swab or cloth in isopropyl alcohol
Use it to wipe the dirty parts of your mouse.
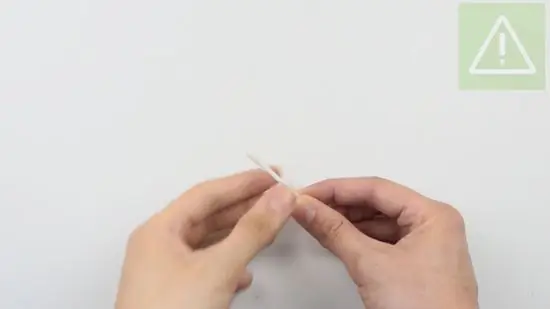
Step 8. Squeeze the remaining alcohol from the cotton swab or cloth
Your cleaning kit should be damp, but not drenched and dripping.
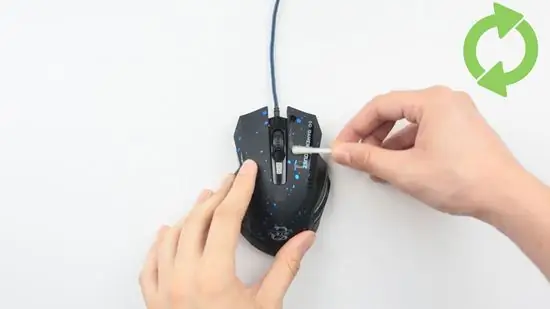
Step 9. Pat on all the dusty and oily areas, including:
- Mouse feet
- Mouse side
- All crevices were cleaned with a toothpick.
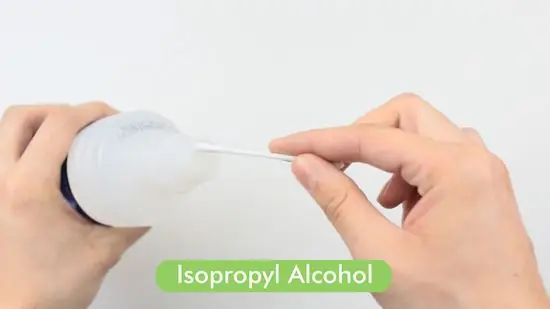
Step 10. Wet a cotton swab or clean cloth with rubbing alcohol
You should use clean tools when switching from one component to another.
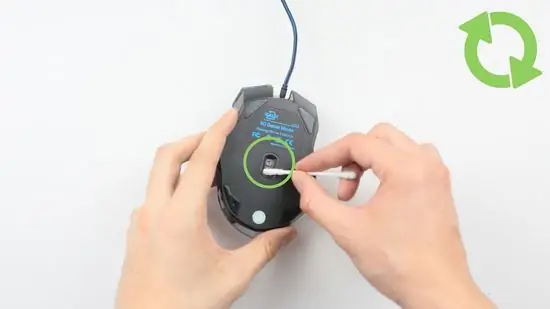
Step 11. Gently wipe the mouse sensor
Do not press hard on the sensor. Instead, wipe with the tip of a cotton swab or the corner of a microfiber cloth. This will clean any residue or particles that interfere with the mouse's performance.
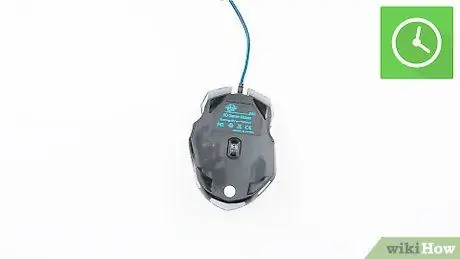
Step 12. Allow the alcohol to dry
Isopropyl alcohol evaporates and dries completely in 2 minutes. Once that's done, you can use a cotton swab or a dry microfiber cloth to wipe off any excess alcohol.
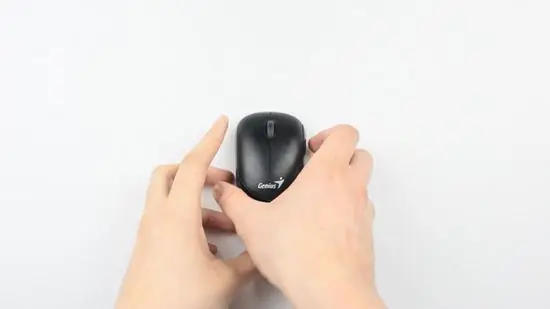
Step 13. Release the top of the mouse
This step will vary depending on your mouse model. Some mice have a top that can come off just by pulling, and some have screws that you have to unscrew. Refer to the mouse manual or model number online to determine how to disassemble the mouse.
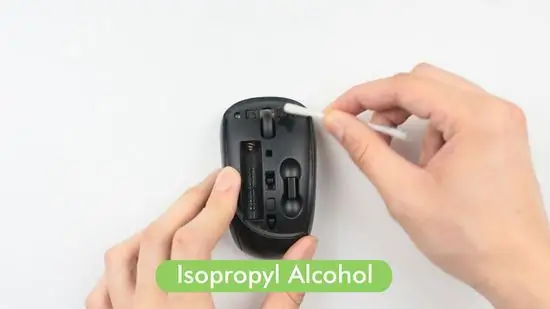
Step 14. Wipe the alcohol with a cotton swab or clean cloth, then wipe the bottom of the button
The inner surface on the top of the mouse can easily collect skin cells, food debris, dust, hair, and many other elements. So, clean it thoroughly so that the mouse functions properly.
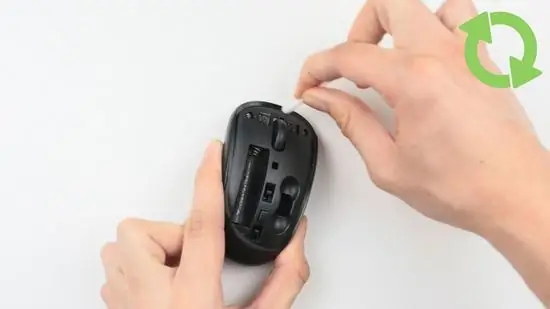
Step 15. Clean all foreign objects from the inside of the mouse
You're likely to find hair or small debris in the following locations:
- Mouse wheel
- Top of the motherboard (use clamp)
- The front of the mouse body
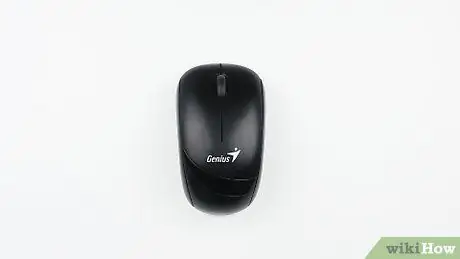
Step 16. Reassemble your mouse once it's dry
Reattach all parts of the mouse after letting it sit for 5-10 minutes, then do a final check. Your mouse should be clean by now.
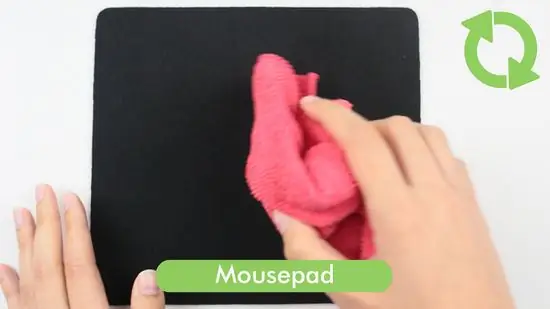
Step 17. Clean the mouse pad (mousepad).
No matter how clean your mouse is, if the mat is dirty, it will still not function properly. Clean the mouse pad by wiping it with a damp cloth, or a roller or floss brush to remove hair and dust.
If you don't have a yarn roller, you'll need to wipe down the mouse pad later to prevent sticky residue from building up
Tips
- If you have a cheap optical mouse that won't click and move properly, it's best to buy a new one.
- If you're using an expensive mouse (such as a Razer), it's best to take it to an authorized service center instead of disassembling it yourself. Expensive mice have a more complicated interior than cheap mice.


