- Author Jason Gerald gerald@how-what-advice.com.
- Public 2023-12-16 10:50.
- Last modified 2025-01-23 12:04.
You don't have to spend money to block certain sites on the network. Just use the router settings page to block unencrypted sites. If you want to block encrypted sites, use a free service like OpenDNS.
Step
Method 1 of 2: Using the Router Block Function

Step 1. Check the encryption status of the site you want to block by visiting the site
If you see a padlock icon in the address bar, the site is encrypted. Most home routers cannot block access to encrypted sites (which use the https:// protocol). If you need to block encrypted sites, read the next steps.
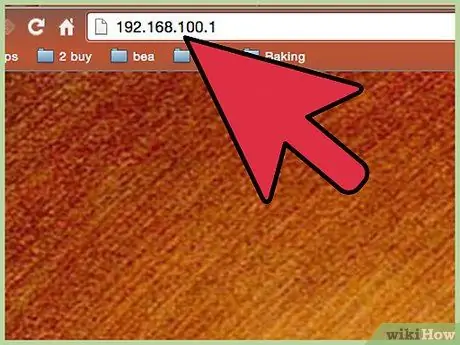
Step 2. Go to the router configuration page
If the site you want to block isn't encrypted, you can generally block it through your router's built-in features. Access the router configuration page through a computer connected to the network. The following are commonly used router configuration addresses:
- Linksys -
- D-Link/Netgear -
- Belkin -
- ASUS -
- AT&T U-verse -
- Comcast -
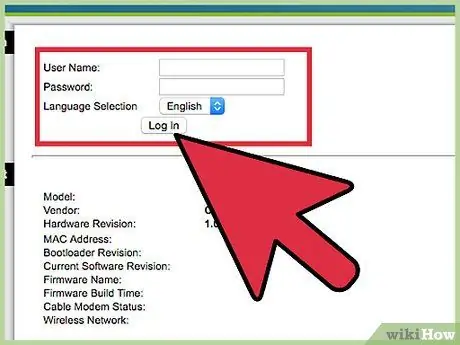
Step 3. Enter the router username and password
If you never change the information, enter the default information. Generally, you can log in to the router's configuration page with the username "admin", without a password. However, check your router's manual if you don't know your router's default username and password.
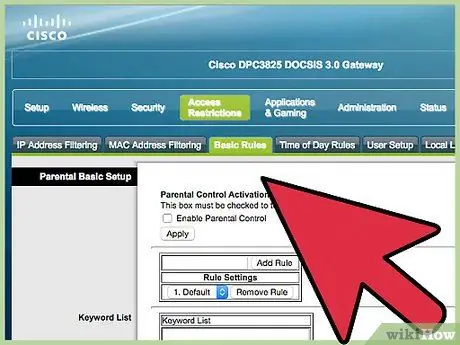
Step 4. Find the URL Filtering or Blocking option
The location of these options varies depending on the type of router. You may be able to find it in the Firewall or Security menu.
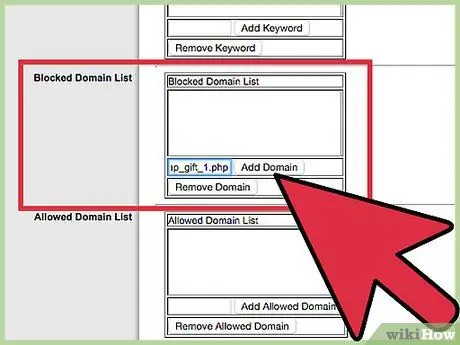
Step 5. Add the URLs that you will block one by one
However, this way, you can't block https:// sites so this feature is now deprecated. For complete protection, read the next steps.
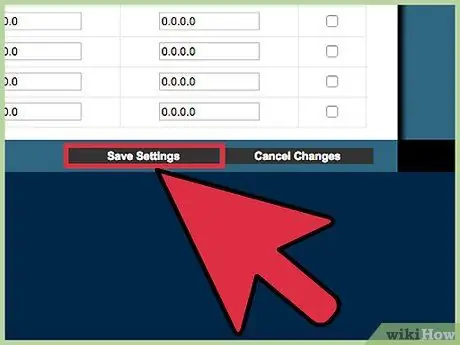
Step 6. Save changes by clicking Save or Apply
The router will apply the settings and restart. Wait for 1-2 minutes until the process is complete.

Step 7. After saving changes, try visiting the site you blocked to test the blocking
If you can still access the site, it may be encrypted. You'll need to use a service like OpenDNS to block these sites. How to use OpenDNS will be explained in the next step.
Method 2 of 2: Blocking Encrypted Sites with OpenDNS
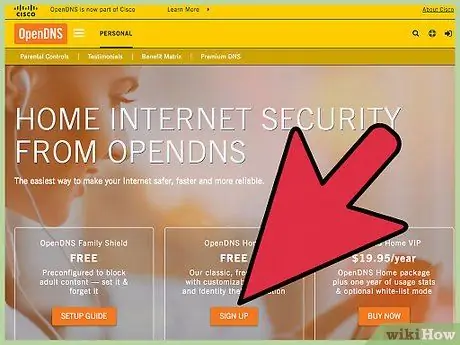
Step 1. Create an OpenDNS Home account for free
If you need to block certain sites on your network, you can try the OpenDNS block feature, instead of blocking sites via your router. Now, more and more sites are using https:// encryption so they can no longer be blocked by home routers. Fortunately, OpenDNS can block the site for all users on your network.
Create an OpenDNS account for free at opendns.com/home-internet-security/
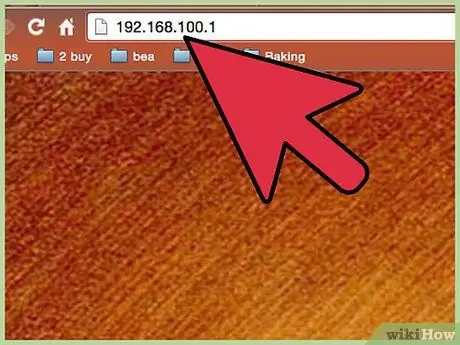
Step 2. Go to the router configuration page
You'll need to point the router to the OpenDNS DNS address, which will take care of blocking the site. Access the router configuration page through a computer connected to the network. The following are commonly used router configuration addresses:
- Linksys -
- D-Link/Netgear -
- Belkin -
- ASUS -
- AT&T U-verse -
- Comcast -
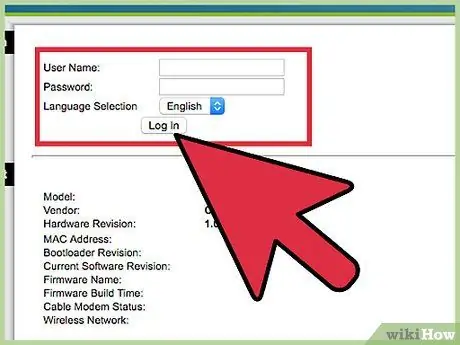
Step 3. Enter the router username and password
If you never change the information, enter the default information. Generally, you can log into the router's configuration page with the username "admin", without a password. However, check your router's manual if you don't know your router's default username and password.
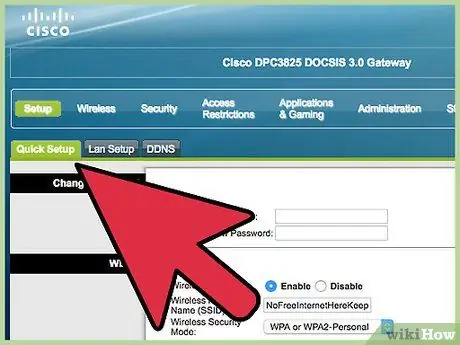
Step 4. Find the WAN or Internet option
The location of these options varies depending on the type of router. You may be able to find it in the Basic Setup menu.
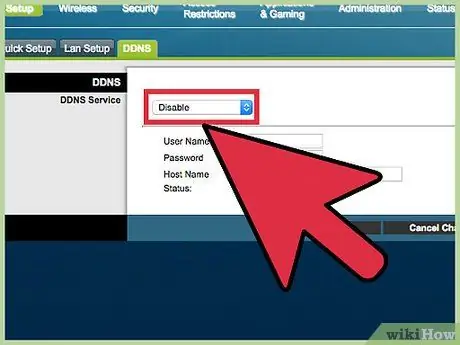
Step 5. Disable the automatic DNS feature
On most routers, you will need to disable this feature before you can enter another DNS address.
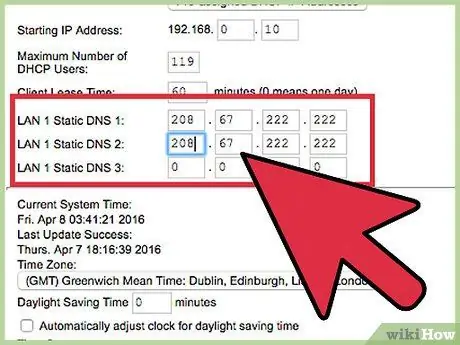
Step 6. Enter the OpenDNS DNS address in the two fields provided on the screen
The OpenDNS DNS addresses are:
- 208.67.222.222
- 208.67.220.220
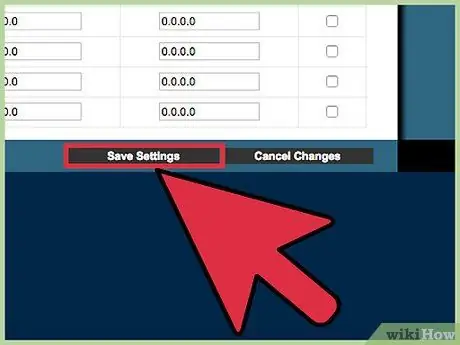
Step 7. Save changes by clicking Save or Apply
The router will apply the settings and restart. Wait for 1-2 minutes until the process is complete.
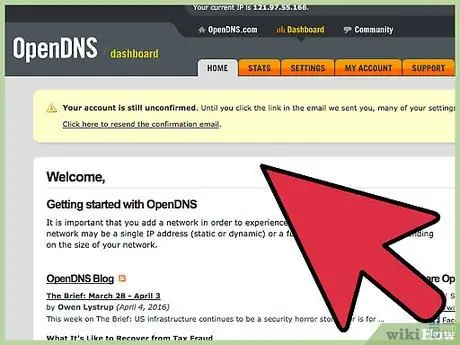
Step 8. Visit opendns.com, and log in with your account
You will be taken to the OpenDNS dashboard.
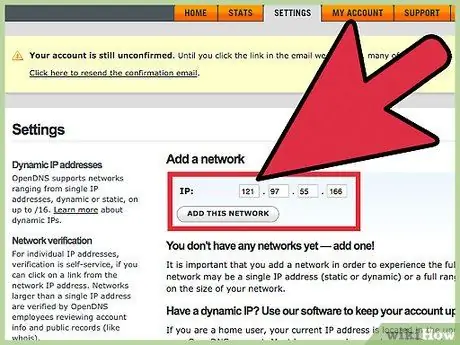
Step 9. Click the Settings tab, then enter the IP address of your home network in the Add a network field
You can see this IP address at the top of the dashboard. After entering the IP address, OpenDNS will be able to "read" your network traffic and apply blocking.
Confirm your network by clicking on a specific link. This link will be sent to the email address you used to register for OpenDNS
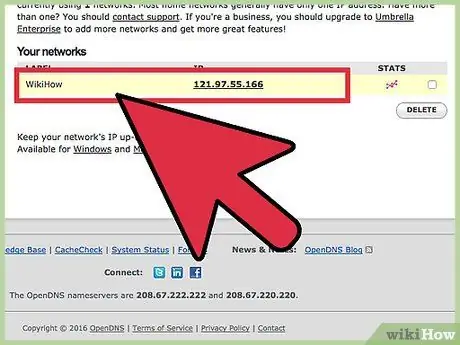
Step 10. Open the Web Content Filtering option on the Settings tab to select what content you want to block
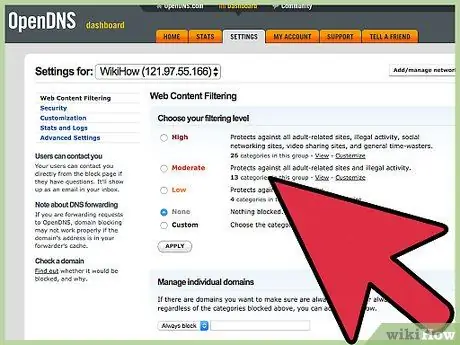
Step 11. Select the block level on the screen if desired
You can choose between Low Security, Medium Security, and High Security. This block level is very useful if you want to block a lot of sites. The block list of each level is updated regularly by OpenDNS.
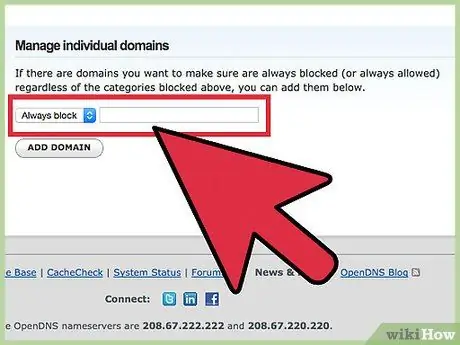
Step 12. Add the sites you want to block to the Manage individual domains list
You can block multiple sites at once. Make sure you select the Always block option.
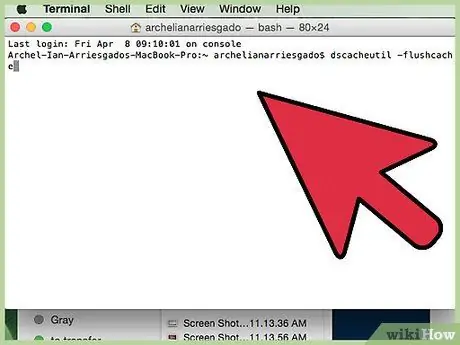
Step 13. Refresh DNS cache to apply the update
The DNS cache will update automatically on every device connected to the network, but you can do this manually if needed by following these steps:
- Windows - Press Win+R and enter ipconfig /flushdns to refresh DNS cache. After that, you can test the blocking.
- Mac - Open Terminal from the Utilities folder and enter the command dscacheutil -flushcache to refresh the DNS cache. After that, restart the DNS service with the command sudo killall -HUP mDNSResponder. You may be asked to enter an administrator password.
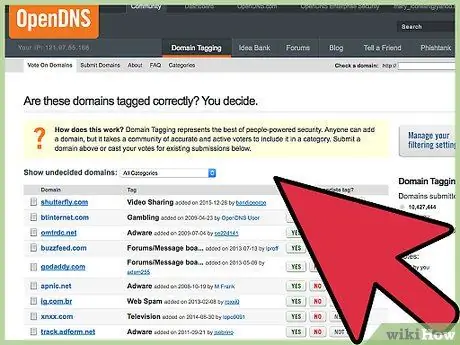
Step 14. After saving changes, try visiting the site you blocked to test the blocking
If you set it up correctly, you will see the OpenDNS Site Blocked page.


