- Author Jason Gerald gerald@how-what-advice.com.
- Public 2024-01-15 08:07.
- Last modified 2025-01-23 12:04.
This wikiHow teaches you how to protect photos on your Samsung Galaxy device using a pattern lock, PIN, or password.
Step
Part 1 of 2: Creating a Locked Folder

Step 1. Open the Galaxy device settings menu (“Settings”)
To find the menu, drag the notification bar downwards, then tap the gear icon in the upper-right corner of the screen.
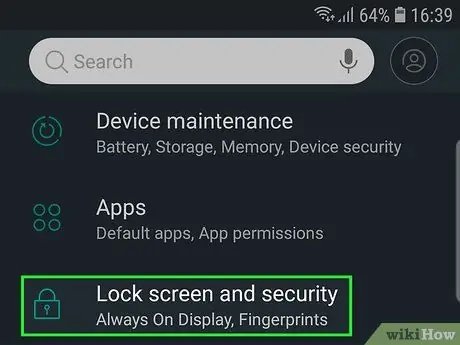
Step 2. Swipe the screen and touch Lock screen and security
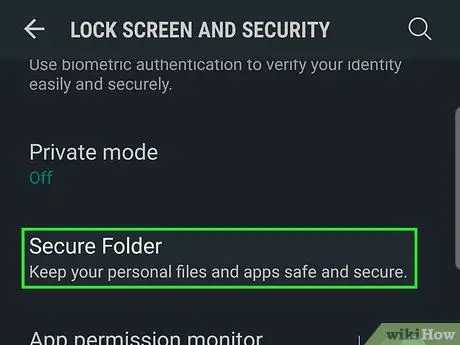
Step 3. Touch Secure Folder

Step 4. Touch “NEXT” to continue

Step 5. Touch Start
Now you can set up a new locked folder.
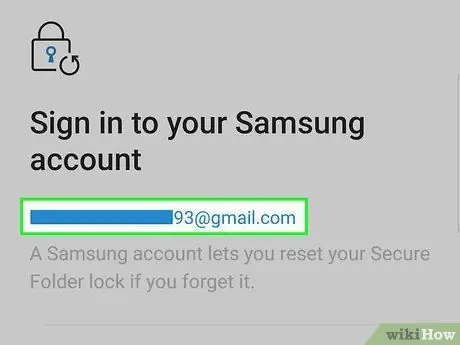
Step 6. Sign in to your Samsung account
Once logged in, you can see a tutorial that explains the function of the feature.
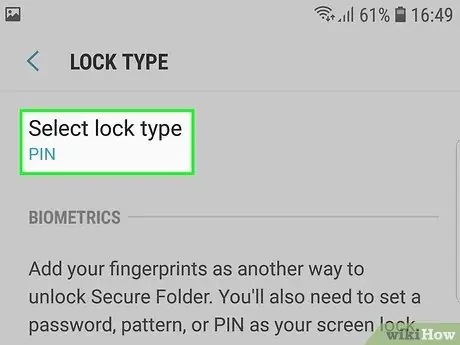
Step 7. Select the lock type and touch Next
Choose PIN ” to set a 4-digit numeric code, “ Pattern ” to draw pattern lock with finger,” Password ” to create an alphanumeric password, “ Fingerprint ” to use the device's fingerprint reader, or “ Iris ” to scan the eye (if supported).
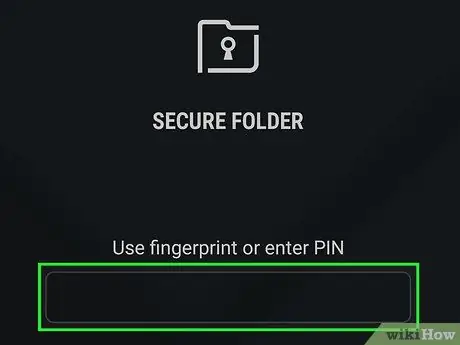
Step 8. Create a PIN, pattern lock, or other lock option
You will need to repeat the entry twice to confirm its accuracy.
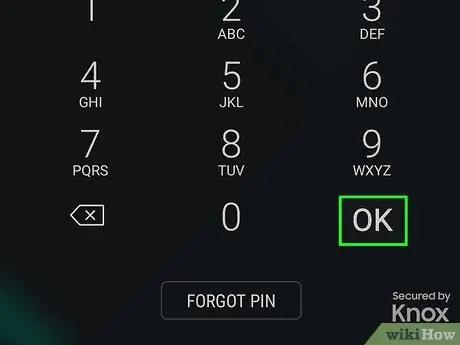
Step 9. Touch OK
The new secured folder will be displayed on the screen. Now it's time for you to protect the photos by adding them to the new folder.
Part 2 of 2: Adding Photos to Locked Folder

Step 1. Press the “Home” button
It's in the bottom center of the screen. After that, you will be taken back to the home screen of the device.
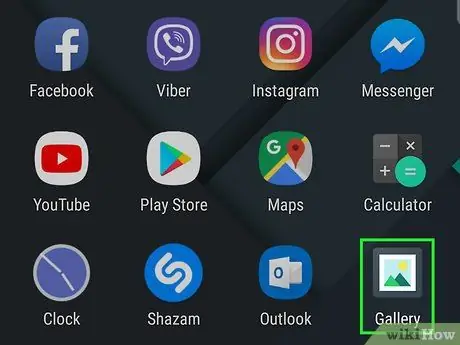
Step 2. Open the Gallery app
This app is in the app drawer/page or home screen of the device.
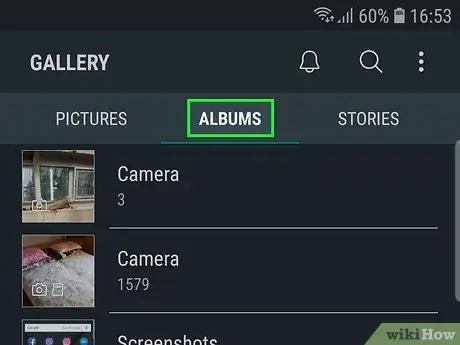
Step 3. Touch the Albums tab
This tab displays a list of photo folders stored on the Galaxy device.
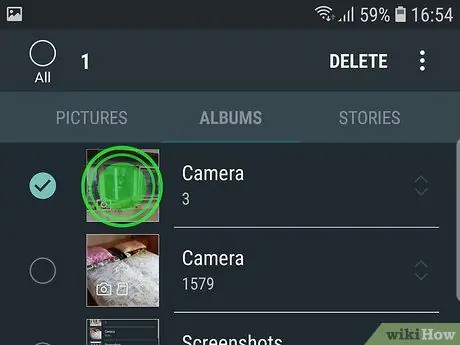
Step 4. Touch and hold the folder you want to protect
After that, the folder will be selected.
If you want to protect individual photos, touch the tab “ Pictures ” at the top of the screen, then touch and hold the desired photo.
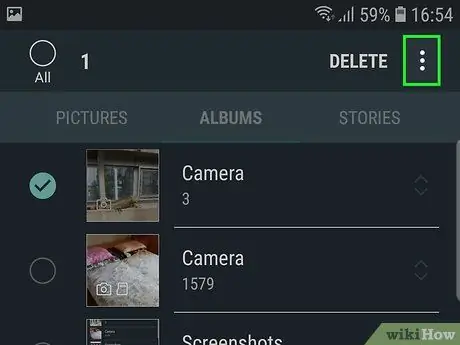
Step 5. Touch
It's in the upper-right corner of the screen.
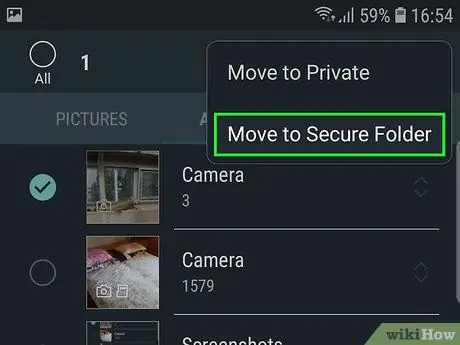
Step 6. Touch Move to Secure Folder
You will be asked to enter security details.
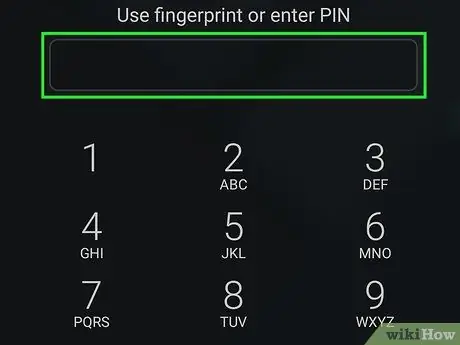
Step 7. Enter your PIN, pattern lock or other lock options
Once the security details are verified successfully, the selected album or photo will be moved to a folder.
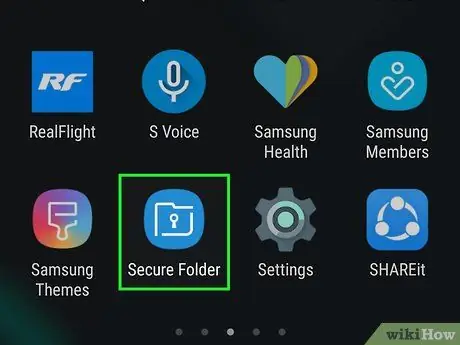
Step 8. Open the Secure Folder application to review the protected files
You can find this app icon on the page/app drawer. Once executed, you will need to re-enter the security information to review the files in it. No one can access this photo without a PIN, password or other security entry.


