- Author Jason Gerald gerald@how-what-advice.com.
- Public 2023-12-16 10:50.
- Last modified 2025-01-23 12:04.
We cherish special events by taking pictures and collecting keepsakes to remember them. But often these things, if not lost, are left stored in the phone or computer, or put in a drawer or box somewhere. Starting a scrapbook is a creative way to protect and store those mementos. Collect photos and special keepsakes, and follow these tips to help you get started with scrapbooking.
Step
Preparing Your Scrapbook
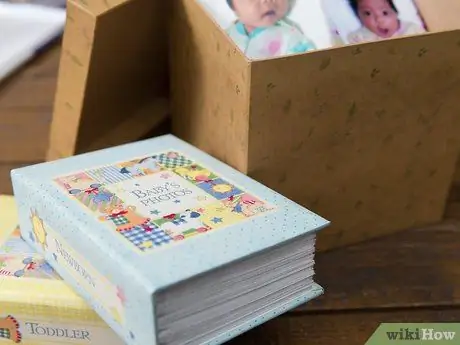
Step 1. Decide why you want to scrapbook
Do you have a pile of photos in your drawer that you want to turn into something? Does your iPhone now have thousands of photos of your child? Do you want to celebrate your wedding anniversary by showing your favorite memories? Or do you just want to create a masterpiece to satisfy hidden creativity? Find out why you want to start scrapbooking and what you want to do with it.
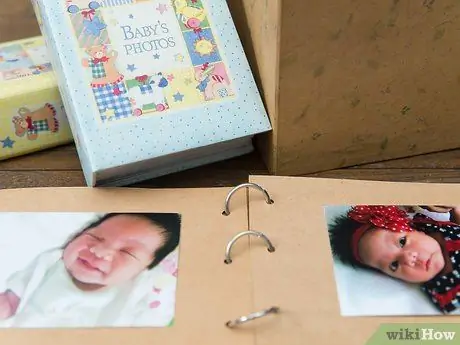
Step 2. Decide how you want to organize your scrapbook
Once you've figured out why you want to scrapbook, you should also determine how best to present your idea. Your scrapbook can focus on one specific theme. Your scrapbook can also feature a story. Or it can also show an event in chronological order.
- Say you are exploring Europe for the first time, and come back with hundreds of photos. You can choose to create a scrapbook showing each city you visit. European cities can be your theme.
- Maybe on the way you get lost and meet a group of locals who decide to show you the best places in their city, including inviting you to a private gathering. You can create your scrapbook around that adventure, which means your scrapbook will feature a story.
- Or maybe you don't want to miss any memories of your trip on a scrapbook. You can organize and pair photos in chronological order.
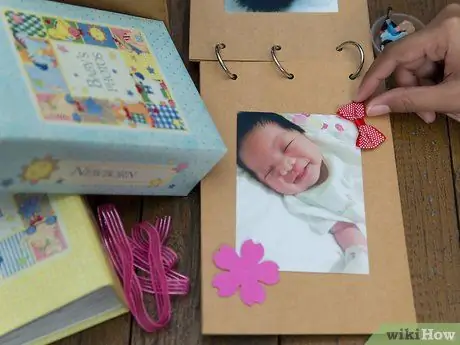
Step 3. Decide how you want to build your scrapbook
You can scrapbook the old way: with your hands; or you can also create them digitally using software on your computer. Make your choice by asking yourself these questions:
- Which method is easiest for you?
- Which method did you enjoy the most?
- Would you like to be able to hold onto your scrapbook once you've finished it?
- Would you like to give your friends or family a copy of your scrapbook?
- Do you want to avoid the mess that happens when you scrapbook by hand? Or do you enjoy hands-on craft activities?
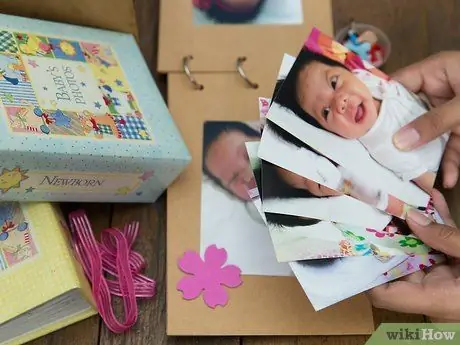
Step 4. Gather your photos and collect them in groups
Separate the photos that you plan to use in a scrapbook. If you're making a bound scrapbook, print the photos if you haven't already printed them. Organize your photos by theme, chronological order, or by the story you want to tell. If your photos are on your computer, you can easily organize them by moving them into separate folders. If your photos are on a smartphone, first move them to a computer, and then separate them into folders.
Method 1 of 2: Creating a Scrapbook Volume
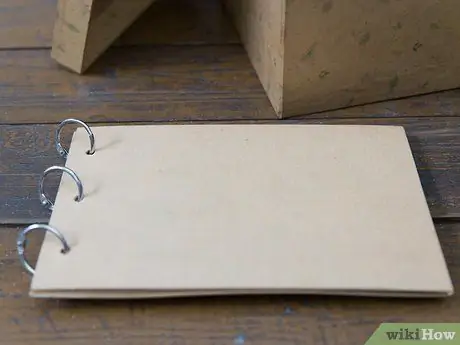
Step 1. Choose the size of your scrapbook
When choosing albums for scrapbooks, you have several sizes at your disposal. Size 12x12 is the standard rated size. Other sizes include 8.5x11, 8x8, and several different mini album sizes.
- The size you choose is based on the size and number of photos you have, the results you expect on your scrapbook, as well as the scope of work you are comfortable with.
- If you bought a stock album from a scrapbooking set, then a 12x12 album will have more material for you to use.
- If you don't want to make a large piece and if you want to finish your scrapbook faster, choose an 8x8 size.
- A mini album is perfect for creating small masterpieces and storing photos of several events, such as a baby shower.
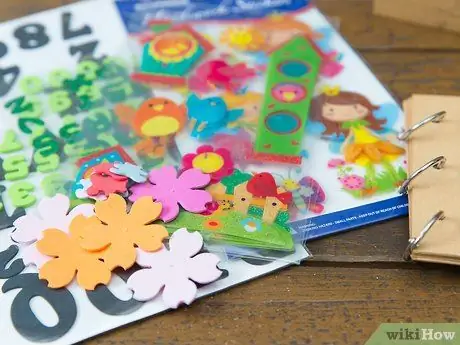
Step 2. Gather your design materials
You can buy your scrapbook in a set of scrapbooking tools. This is especially helpful if this is your first time making a scrapbook. Most of the materials for designing it are included in the kit, such as patterned paper, ribbons, stencil designs, and decorative words.
- Here's a general list of the main ingredients you'll need: an album with acid-free and lignin-free pages, a page protector to protect your photos from getting grease on your fingers, photo-friendly glue, pigment ink ballpoint pens in your choice of colors you, and scissors.
- If design materials are already included in your scrapbook trap, the paper color and type of design you choose will depend on the purpose for which you are scrapbooking. The material you use to celebrate the birth of your son will be different from the material you use to celebrate your daughter's fifth birthday.
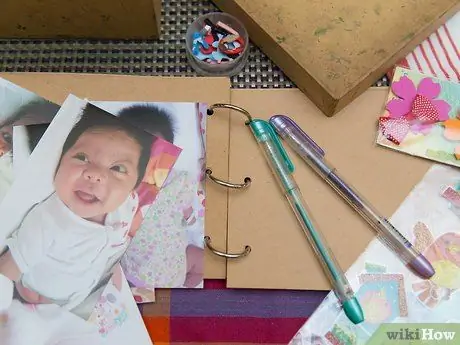
Step 3. Plan your layout
Before starting, it may be helpful to plan out where your scrapbook will be. Since you already know which photos you're going to use and basically how you want to group them, you can create four or six common layout sketches to include in your scrapbook.
- Your layout will indicate how you want your photos to be placed on the page. Some pages can contain only one photo, sometimes two or three, while others may contain collages of several photos.
- Take a piece of paper and draw the layout you want to use. Include spaces where you will add embellishments and/or handwriting or print. If you're having trouble with this step, arranging the photos directly on the table might help.
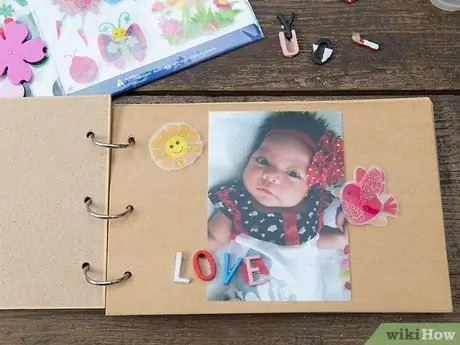
Step 4. Start combining the pages
With your layout ideas you can start placing the pages. If your scrapbook doesn't have a background that has an image printed on each page, you may need to cut and paste printed paper for the background of each page. Once the background has been set, you can start arranging the photos into place, using your layout as a guide.
- Don't start gluing until you feel confident in the place. You may need to crop some of the photos a bit if they won't fit on the page.
- Once your photos are installed and pasted, you can add decorations, such as stickers or pictures, or special quotes and text messages.
- To create a wedding scrapbook, you can include a Bible verse that was read at your wedding blessing.
- If you're scrapbooking all of your kids, include comments about the dates and/or locations of some of the photos.
- You can include elegant embellishments, such as pictures of swirling flowers or tendrils. Images of stars can also fill the empty corners of some pages.
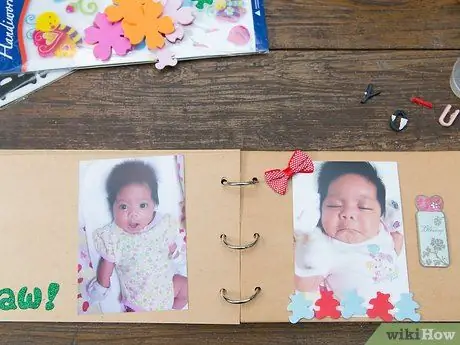
Step 5. Fill each page on your scrapbook to completion
Work on your scrapbook until all the photos have been included and decorated, or until you feel like you're done.
Method 2 of 2: Creating a Digital Scrapbook
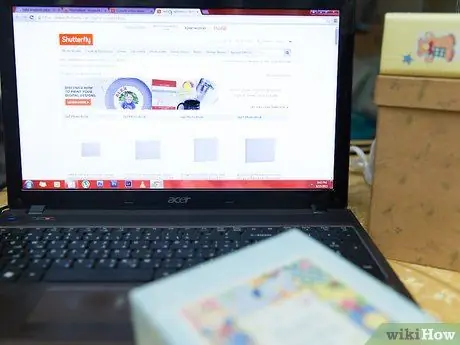
Step 1. Decide what software you will use
If you are more tech savvy than arts and crafts, then starting a scrapbook with a computer could be your best bet. Also if you have a lot of photos stored on your computer or phone, then this method might be the simplest for you.
- There are several programs available that will allow you to create digital scrapbooks. You can do a quick internet search to find these programs. There may be a fee for the program you choose. Because of this, some programs allow you to try out the product before using it. This will help you determine which digital scrapbooking program is best for you.
- Each program tends to have different steps for doing things. The instructions below are generalizable to any program.
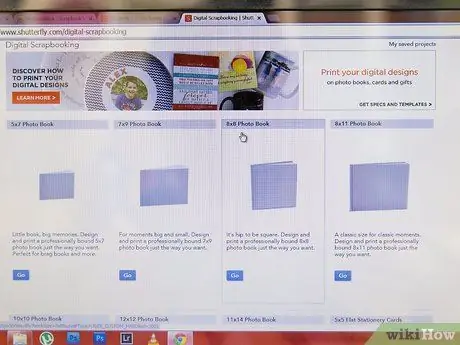
Step 2. Start a scrapbook
Once you have selected the program, you can start working on your scrapbook. Start the program then click “New” to start a scrapbook. The document may be given a generic name, such as “Untitled,” so feel free to give it a name that refers to your work, such as “Sam's First Birthday Scrapbook.”
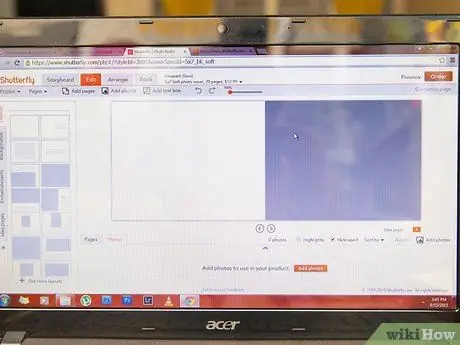
Step 3. Determine the size of your scrapbook
Similar to starting a bound scrapbook, you'll need to determine the size of your digital scrapbook. You can determine the size by the number of photos you plan to use, or by what looks beautiful to you. You can also go with the physical scrapbook size and choose a standard size, such as 12x12, 8.5x11, 8x8, or a very small size.
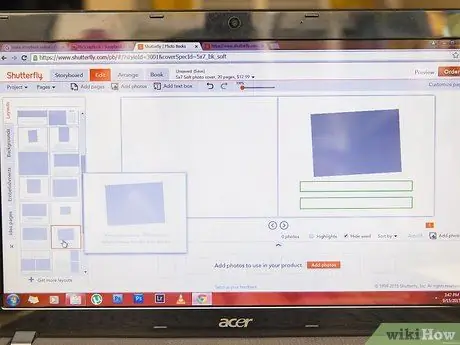
Step 4. Create the layout
Before you begin, you should have a general idea of how you will put the photos on the scrapbook. If you've grouped the photos at a planning level, then you should already know which photos you're going to put on each page. Now that you've determined the size of your scrapbook, take a piece of paper and sketch 4 to 6 different layouts, or rearrange some of your photos on a blank computer screen to determine what looks best.
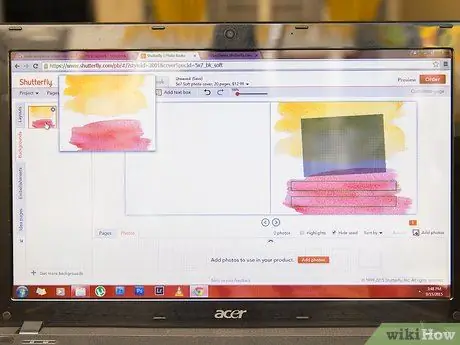
Step 5. Define a background for your front cover and pages
Unlike a physical scrapbook, you are not limited by the amount of material available in your scrapbooking kit or by what you purchased when designing your scrapbook.
- You can define the background for each page by selecting it from the available options in the program. Choose a background you like and drag it on your layout, or click “apply.” You can choose a different background on each page or use the same background on each page.
- You will have to work on your scrapbook in order, starting with the front cover and continuing from page to page. However, depending on the program you're using you may be able to insert a new page before or after an existing page, which can allow you to work on your scrapbook without going in sequence.
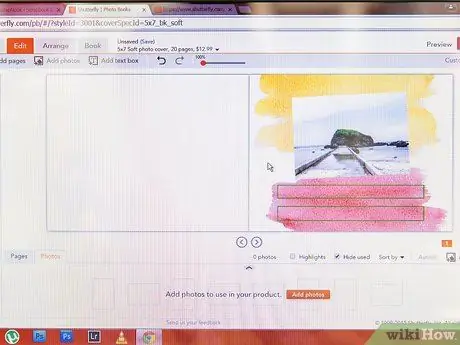
Step 6. Import your photos to start merging the pages
Select and upload your photos for each page, and arrange them into any layout design you like. Click the “file” button to find options for uploading photos. Depending on the program you use, there may be a photo icon for you to click on and access your photos without clicking the “file” button. Use your mouse to move the image into position. You can also adjust the size of your image, making it bigger or smaller, if needed.
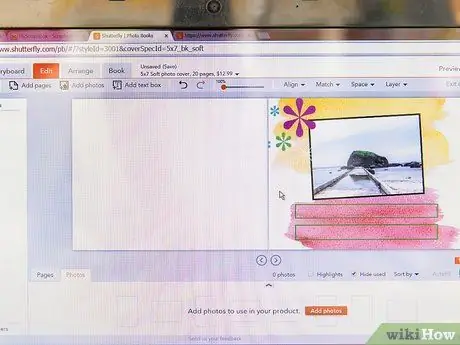
Step 7. Decorate your page
Once the photos are installed, you can play with your software's embellishment features to add embellishments. You can also add frames to your photos, insert design elements, and decorative words to create the arrangement you want.
- If, for example, you are creating a scrapbook to celebrate your daughter's first birthday, you can add photos of her favorite animal or toy, you can include a sweet message for her to read as she grows up, or you can include a picture of the birthday cake.
- If you want to reminisce about your trip to Africa, include decorative images such as airplanes, maps, and special quotes about the trip or safari.
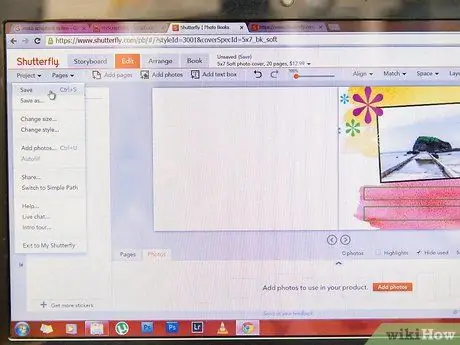
Step 8. Save your scrapbook
When you have finished decorating your scrapbook, save it. You can prepare it for printing, or you can email it to your friends and family.
Tips
- Choose ready-made prints and scrapbook backgrounds if you need help decorating your binding scrapbook or digital scrapbook.
- You don't need to put all your photos in a scrapbook, only the most important ones.
- Print your photos with a matte lamination to prevent fingerprint smudges.
Warning
- Be careful when using scissors.
- Make sure you keep your digital scrapbook and photos in more than one place in case your computer breaks down or you lose the electronics that hold it.
Things You May Need
- Acid-free, lignin-free albums or scrapbooking
- Patterned paper
- Acid-free glue or tape
- Paper cutter
- Scissors
- Pigma ink ballpoint pen in the color of your choice
- page protector


