- Author Jason Gerald gerald@how-what-advice.com.
- Public 2023-12-16 10:50.
- Last modified 2025-01-23 12:04.
Bubble letters are easy and fun to make. Draw regular bubble letters by writing letters with a pencil and drawing outlines around them. Then, add detail to the bubble letters by creating shadows, color gradients, or patterns. Bubble letters will look great on cards, posters, flyers, and even school projects.
Step
Method 1 of 2: Draw Plain Bubble Letters
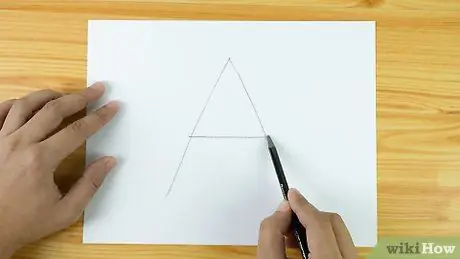
Step 1. Draw lowercase or uppercase letters using a pencil
You are free to choose the letters to draw. Ideally, try to start with a simple letter, such as "A," but you can also apply the same technique to lowercase letters. The letters that are made do not have to be perfect because this only acts as a guide which will later be deleted.
Once you get used to drawing bubble letters, these guide letters don't need to be drawn anymore
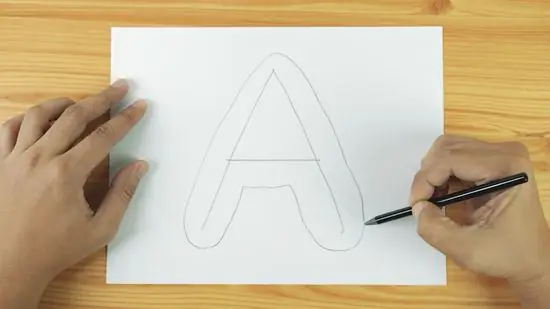
Step 2. Draw an outline around the letters with blunt lines
Trace around the outer edges of the letters with a pencil, and leave an equal distance between the initial letter and the new outline on all sides of the letter. Make sure to dull the edges and corners so that your bubble lettering looks smooth, and not checkered.
You can draw as many outlines as you want, until you find the thickness you like
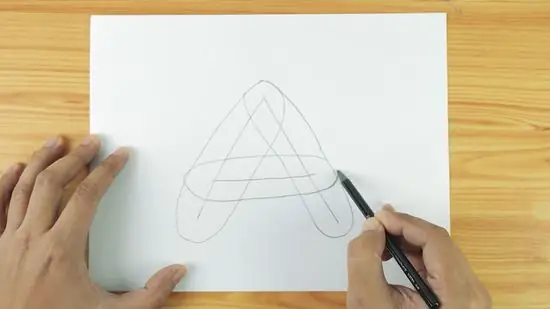
Step 3. Draw an oval on each letter line, alternatively
If drawing outlines around letters is too difficult for you, try creating an oval for each line in the letter. For straight lines, for example in the letter “A”, you can simply draw one oval per line. For curved lines, for example in the letter “C”, you will need to make several ovals to wrap around the entire line.
- Try different thicknesses of the oval to determine what suits your taste. You can even make ovals so wide they touch each other.
- The ovals will overlap, but that's okay because you'll be erasing the interior lines.
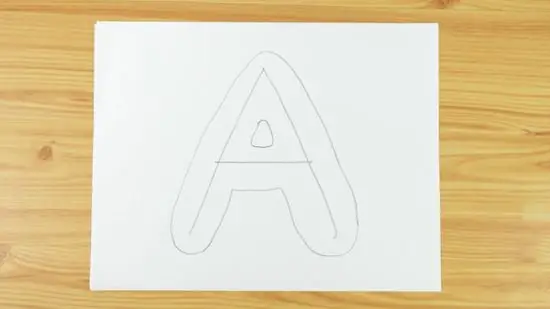
Step 4. Draw small circles or triangles in the letter holes
For example, for the letter “B”, you could draw two small circles, one in each hole in the letter. For the letter "e", only need one circle in the upper hole of the letter. For the letter A, you can use the triangle in the upper center of the letter.
You can shadow small triangles and circles or leave them exposed
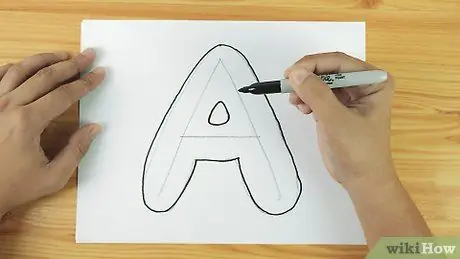
Step 5. Outline the shape of the letters using a pen or marker
Make sure you don't bold the interior lines or overlap them. For example, if you're writing the letter "F," don't overwrite the line where the short line overlaps the long vertical line. Similarly, when drawing the letter “x”, the part where the two lines intersect should be blank, and you only trace the outside with a pen.
- The lines from the pencil are only made as guides and should be erased later.
- You are free to accentuate curves and adjust the outline of the letters.
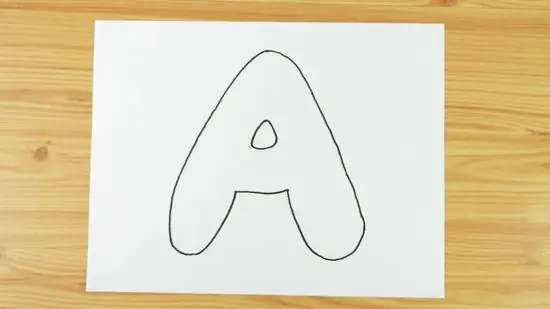
Step 6. Erase all pencil strokes
Make sure you delete all pencil marks on the inside so they are no longer visible. When you've removed these guide lines, all that's left is the bubble letters.
Sweep the eraser dust off while you work so as not to further disturb the image
Method 2 of 2: Adding Bubble Lettering Details
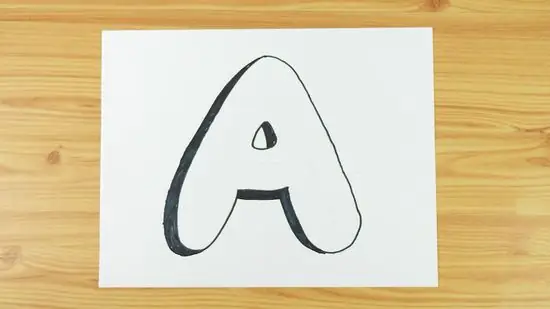
Step 1. Draw a shadow on one side of the letter
Apply a black border along one side of the letter using a pen or marker so that it looks like it's shading. Make sure the direction the shadow falls is consistent across all the letters. Don't forget to put shadows in the small holes of the letters.
Imagine the light source is in one part of the image page. For example, if your light source is at the top left of the page, the shadow will fall to the bottom right of the letter
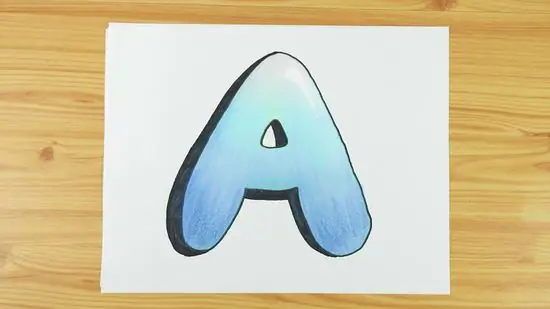
Step 2. Apply a color gradient to the inside of the letters using colored pencils or markers
For example, if your light source is coming from above, apply dark blue on the bottom area of the letter, and light blue on the top area. You can also use two different colors, for example red for the bottom area and yellow for the top area.
Channel your creativity when using color; use as many different colors in one letter as possible
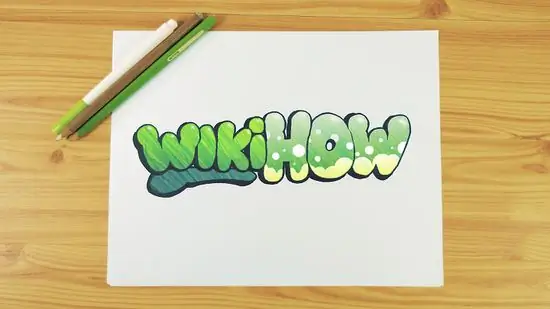
Step 3. Color the letters with a fun pattern as an alternative
You are free to fill the bubble letters with whatever you want. Try polka dots, zebra prints, stripes, spirals, stars, hearts, or zigzags. Experiment with different colors and find the best design for you.
- You can also use one pattern for all the letters and get a more cohesive look.
- Use colored pencils, markers, crayons, or other tools to color the bubble letters.
Tips
- Draw pencil lines lightly so they are easy to erase.
- Experiment with drawing bubble letters close together so they touch each other, or putting some space between them, and see which style suits your taste best.
- If you use a gel pen or ink that can smudge, wait for it to dry before touch it.
- Try adding dots to the letters to create another type of graffiti font.
- Practice before actually drawing bubble letters.


