- Author Jason Gerald [email protected].
- Public 2023-12-16 10:50.
- Last modified 2025-01-23 12:04.
The human head is easier to draw in a profile position or from the side. Here's a tutorial on how to draw a human head with a half-profile and full-profile perspective. Follow this tutorial if you want to know how.
Step
Method 1 of 2: Head Facing Forward
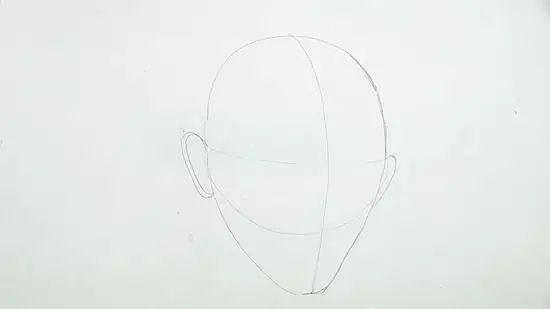
Step 1. Start by drawing three oval shapes, one large and two smaller ovals to the left and right of the large oval
Also add thin guide lines, such as a vertical line and two horizontal lines as a guide for drawing the subject's eyes and mouth.
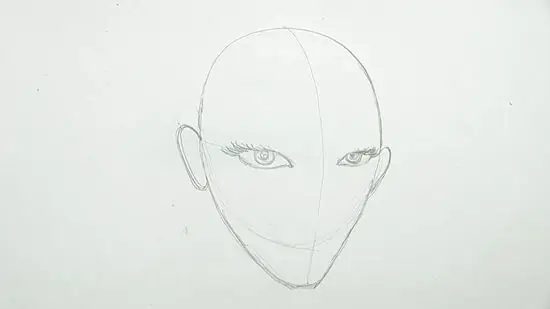
Step 2. With the first guide line, draw a pair of eyes
For the eyes, draw a pointed oval shape with a circle in the middle. Also add curly eyelashes because the subject we draw this time is a woman.
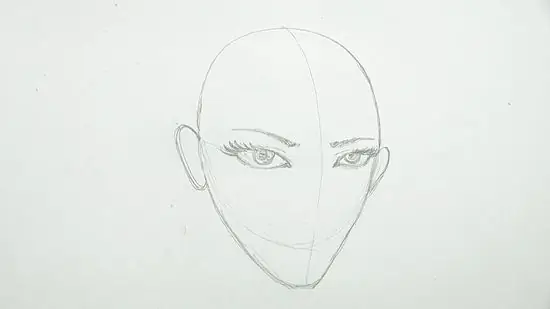
Step 3. Now, add a pair of beautifully curved eyebrows and a line for the eyelids
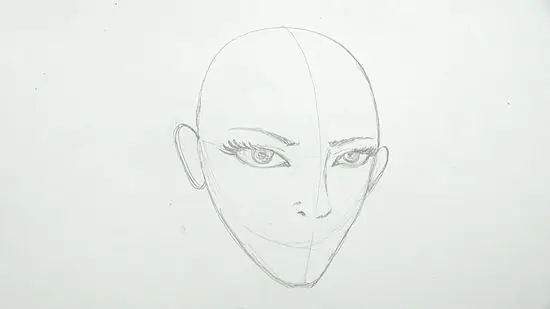
Step 4. In the center of the face, along the vertical guide lines, draw the subject's nose
When drawing the nose, draw broken lines to create a sharp effect.
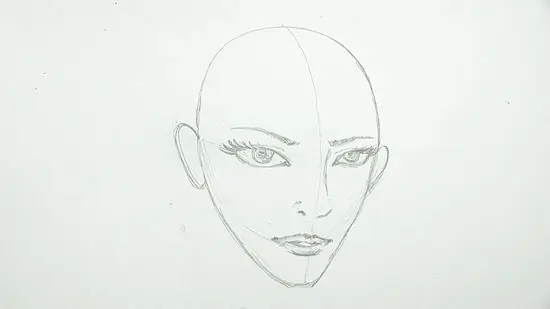
Step 5. Draw the lips on the second horizontal guide line
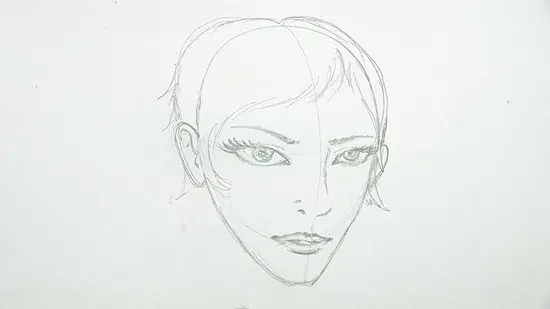
Step 6. Finally, draw the hair and squiggly lines on the left ear
Finished.
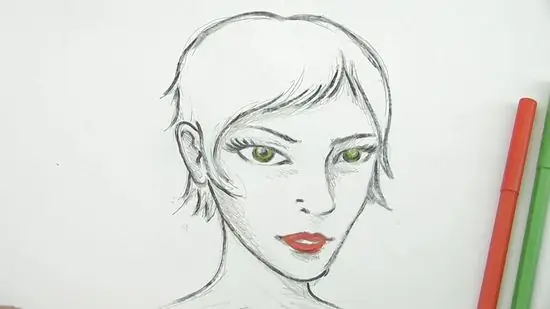
Step 7. Define the outline of your drawing with a black pen or marker, then add shadows (dark parts) to the image using a charcoal pencil or regular pencil
Color the image minimally on the lips and eyes only.
Method 2 of 2: Human Head Profile
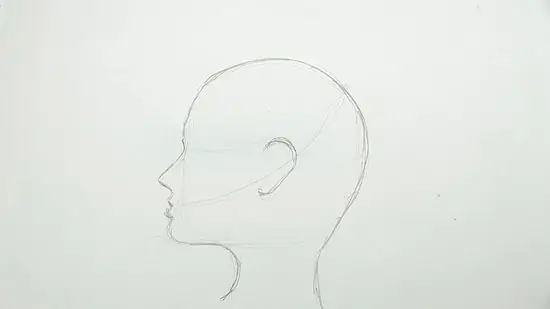
Step 1. Next is to draw the profile of the human head
Begin this step by drawing a hairless human head, the contours of the nose, and the subject's lips. Also draw the shape of the ears.
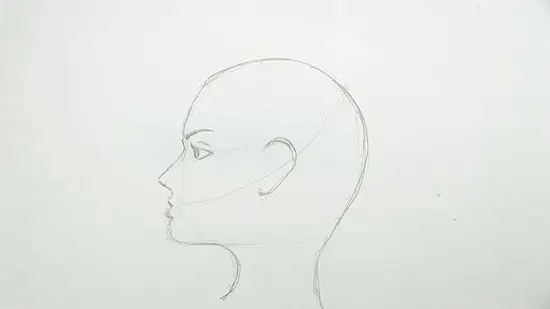
Step 2. Draw the subject's eyes, i.e. one eye and one eyebrow
To draw the eyes, first make a triangle.
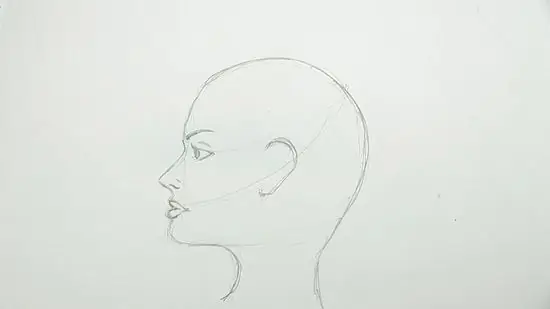
Step 3. Draw the subject's nose and mouth
Draw the subject's lips imitating the shape of a heart, but horizontally.
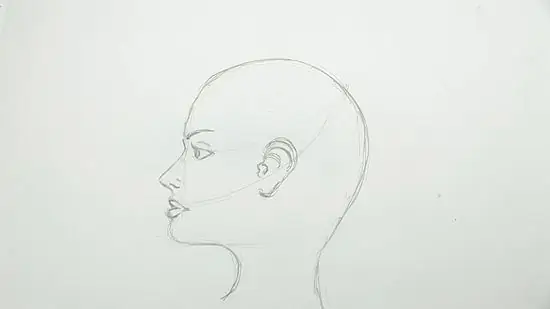
Step 4. After that, draw the details of the subject's ears with squiggly lines
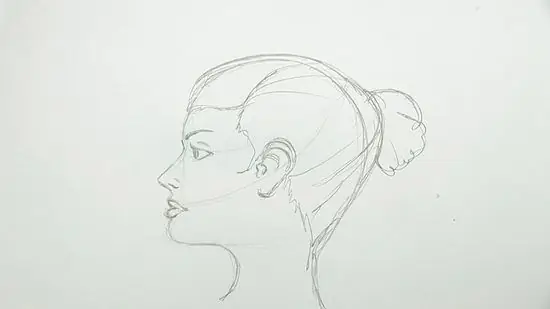
Step 5. Finally, draw a sketch of the hair and bun
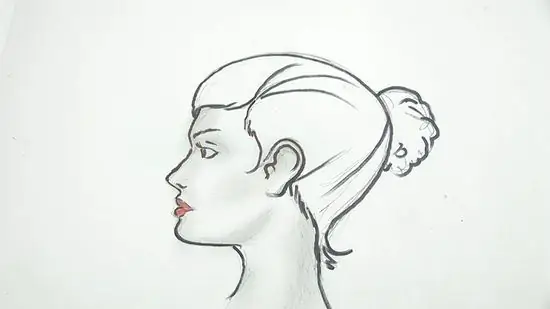
Step 6. Color the image
Your second image is complete. Emphasize the outline of the image with a black pen or marker, then add shadows (dark parts) to the image and color the image in a minimalist way.
Tips
- The proportion of the head from the front view should be such that the eyes can fit in the available space.
- Don't forget to add shadows (dark parts). Light and dark can make even an ugly picture quite realistic. It will not be able to turn it into perfect, but at least it can help improve the appearance of the image.
- Photos can also help, but you have to pay attention to everything. Pay attention to small details, such as the slope of the bridge of the nose and the distance between the eyes. Good pictures come from good observations.
- If you make a mistake, don't be upset. Try again and take it easy.
- Think back to your early studies and think of ways to improve the picture.
- If you're having trouble making your face shape symmetrical, draw it upside down like an egg, not a head. This method really works, lo!
- Draw with light strokes. You can bold the outline once the drawing is complete and you are happy with the result. If the pencil strokes are too thick, you'll have a hard time erasing the parts you don't like. However, don't worry too much about this problem. If you worry too much, you might even make the picture look ugly.
- Tutorials like this are great, but don't limit your creativity. Draw what you “see” from your own point of view, not the way the tutorial dictates. This tutorial is just a suggestion, especially for those who want to know the most basic proportions for drawing a human head. Follow your instincts!
- You can also partially fade the image by lightly rubbing the image with an eraser.
- When drawing the head, wait until the drawing is completely finished, then erase all the guide lines.
Warning
- Artists believe that there is no such thing as “wrong” when drawing. Minor mistakes can add character if blended well into the overall image.
- Always use a pencil, not a pen, because you can't erase pen scribbles if you make a mistake.


