- Author Jason Gerald gerald@how-what-advice.com.
- Public 2024-01-19 22:11.
- Last modified 2025-01-23 12:04.
If you don't have time to head to the spa and get a pampering mud mask treatment, you can do it yourself at home. All you need is a mud mask, time and water to rinse off the skin. Mud masks can moisturize, cleanse, and tighten the pores of the delicate facial skin. Once you try it, the mud mask will become one of your favorite beauty routines!
Step
Part 1 of 2: Using Mud Mask on Face
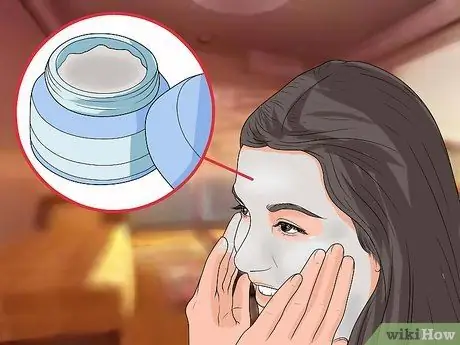
Step 1. Take a sufficient amount of mud mask
Use your middle and ring fingers to pick up the mask. Start with a small amount of mask first (about the size of a coin). If you want to apply a thick layer on the face, take more mud.
Keep in mind that it's easier to add a mask if you feel it's lacking instead of removing or lifting the excess
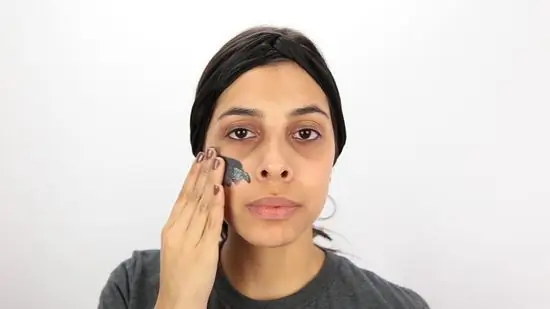
Step 2. Spread the mud mask on the face
Apply the mud on the cheekbones first and carefully, smooth it all over the cheeks, forehead, temples, chin and nose. You can apply a thin layer for a mud mask treatment that is quicker and easier to rinse off.
If you apply a fairly thick layer, you can leave it on your skin longer because the mask won't dry out as quickly as it sits on your face
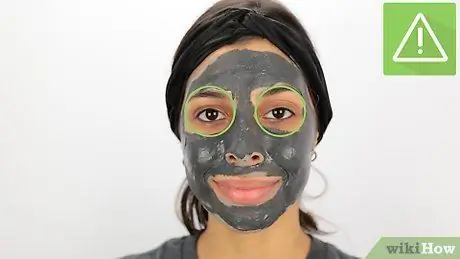
Step 3. Do not apply the mask to the area around the eyes
You can layer the mask all over your face, but avoid using it in the area around the eyes. The skin around the eyes is very thin and vulnerable. If you apply a mask to these areas, there is a chance that the mask will get into your eyes, especially when you are rinsing your face and removing any remaining mask. Stand in front of a mirror while applying the mask so you can easily avoid the area around your eyes.
Make sure you cover any areas that are stained or blotchy. However, smooth the mask carefully so that the skin does not get irritated
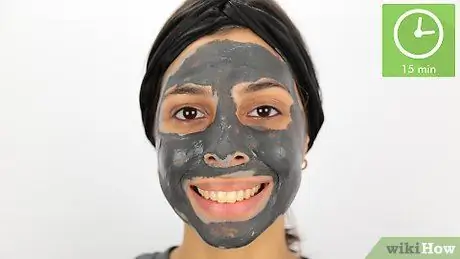
Step 4. Wait for 15 minutes
After the mask is applied to the face, leave it on for 15 minutes or until the mud dries.
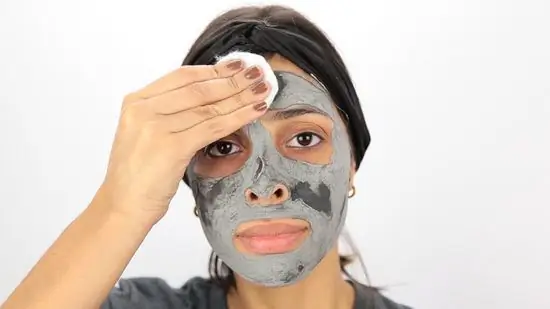
Step 5. Rinse face to remove the mask
Take a clean cotton cloth and soak it in warm water. Squeeze the cloth and rub it on your face to remove the mud. Rinse and wring out the cloth before using it to rinse your face.
- Be careful when rinsing your face. If you rub the cloth too hard, you can actually damage your skin.
- If you have trouble removing the remaining mask, soak a cloth in hot water and place it on your face for about 30 seconds. After that, use the cloth again to wipe your face and remove the rest of the mask.
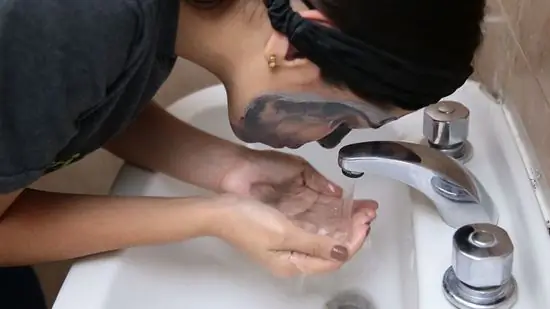
Step 6. Rinse face
After most of the mud has been removed, rinse your face with warm water. This step helps remove the remaining mask that is still attached.
Do not use hot or cold water. Its use can make the skin "shock" or dry
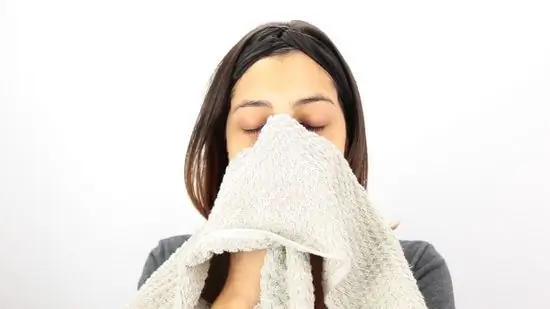
Step 7. Pat the towel on your skin to dry your face
Prepare a clean and soft washcloth, then pat it on your face to dry the skin. Do not rub the cloth against the skin as this may damage or irritate sensitive skin.
Part 2 of 2: Using Mud Masks Effectively
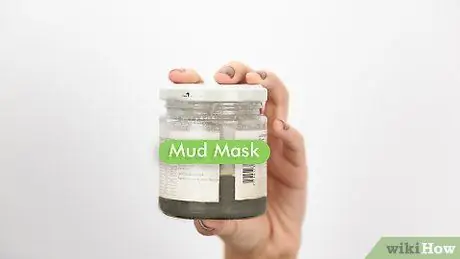
Step 1. Select the mask product you want to use
There is a large selection of mud masks available. Read the description on the label to find a product that suits your skin type. Look for masks with specific functions or benefits according to skin type. As an example:
- For dry skin, look for masks that are moisturizing and contain moisturizing oils.
- For skin that is prone to blemishes or spots, choose a clay mask that can reduce oil and get rid of acne.
- For sensitive skin, choose products that contain minerals to reduce inflammation.
- For combination skin, try using two types of masks on different parts of the face according to skin type.

Step 2. Tie your hair back
If you have long hair, tie it into a ponytail. This way, your hair won't fall in front of your face or stick to the mud when you apply the mask.
If your hair gets mud, simply wet the affected area with a damp cloth to remove the mud
Step 3. Clean or steam the skin
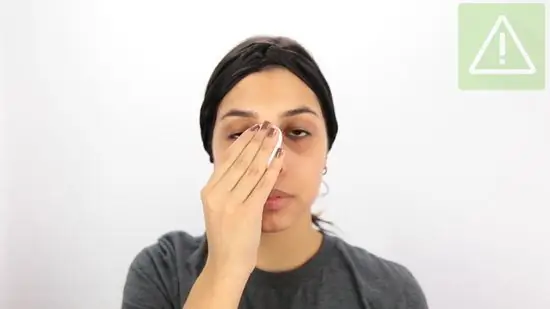
It's a good idea to remove the remaining oil and dirt from the skin before applying the mud mask. Thus, the mask can stick to the skin easily. Wash and dry your skin, or steam your face first.
Steaming is the right step to open the skin pores. Thus, the mud mask can go further into the skin

Step 4. Use facial oil or moisturizer
Pour a few drops of the oil into your palms, then rub your palms together. Gently pat the face so that the oil is evenly distributed throughout the skin. You can follow these steps before using a mud mask as masks can dry out your skin.
Reapply facial oil or moisturizer after the mask treatment to moisturize the skin
Step 5. Limit the use of mud masks
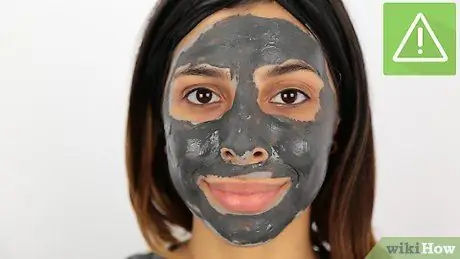
If used properly, mud masks can lighten skin tone. However, since mud masks can dry out your skin, it's best not to use them more than once a week. If you have oily skin, you can use a mud mask (maximum) twice a week to control oil production on the skin.


