- Author Jason Gerald gerald@how-what-advice.com.
- Public 2023-12-16 10:50.
- Last modified 2025-01-23 12:04.
Whether you're just looking to save money or are looking for a gluten-free alternative to regular flour, making your own rice flour is a simple solution. Use household appliances you have at home, such as a blender to grind a lot of rice at once, or a coffee grinder to make a little flour. If you want to make rice flour more often, consider purchasing a special flour-making machine. That way, you can make your own rice flour!
Step
Method 1 of 3: Using Blender
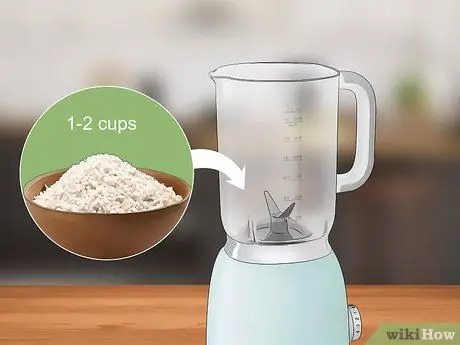
Step 1. Put 1-2 cups (250-500 ml) of rice in the blender at a time
Do not let the blender clog because it is full of rice. Adding the rice little by little allows the blender blades to work more efficiently and grind the rice better.
- As an estimate, 1 cup of rice will yield about 1 1/2 cups (350 ml) of rice flour.
- You can use either white or brown rice, as long as it's raw and uncooked.
White Rice vs Brown Rice
Better for baking bread/cakes: Brown rice
This rice has a slightly nutty and sweet taste.
Cheaper: White rice
Brown rice is considered a premium product so the price is more expensive.
More nutritious: Brown rice
This rice still has the epidermis which is no longer present in white rice. This coating makes brown rice richer in protein and fiber.
More durable: White rice
The oil content in brown rice makes it spoil faster.
Lighter: White rice
Brown rice tends to be denser, resulting in heavier bread/cakes.
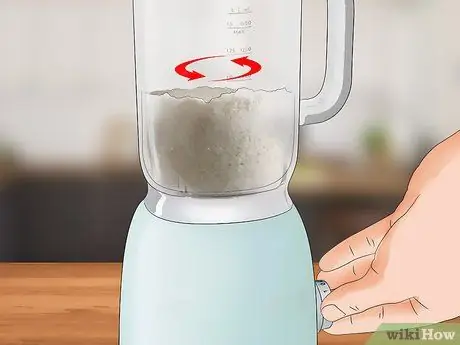
Step 2. Close the blender and puree the rice until it forms a fine powder
Run the blender on the highest speed for best results. Rice flour should be smooth and should not be lumpy.
- The process of refining the rice is heavy for the blender blade. If you plan on making a fair amount of rice flour, buy a higher quality blender blade that is stronger.
- The finer the flour produced, the more suitable it is for use in cake/bread recipes and other recipes.
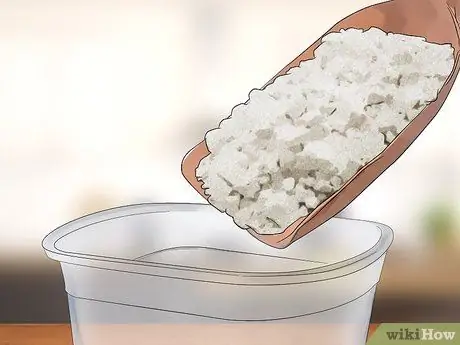
Step 3. Transfer flour to an airtight container and seal tightly
Air that enters the container that is not tightly closed can make the flour spoil faster. You can use plastic containers, glass containers, or jars.
If you are using a plastic bag with clips, blow out all the air inside before closing it tightly
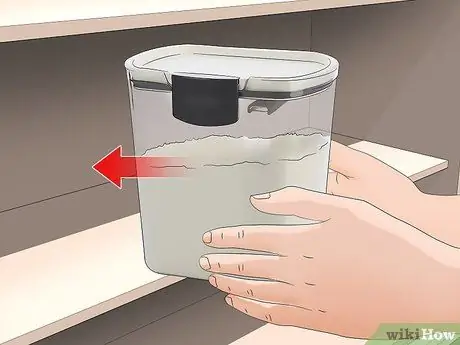
Step 4. Store rice flour in the kitchen for a maximum of 1 year until it is ready to use
Although it can be stored for a long time, rice flour tends to go rancid or musty after 1 year. Discard the flour if it starts to smell bad or has mildew.
- To find out which flour to throw away, use a permanent marker or sticker label to note the expiration date, which is 1 year after manufacture. If you have several types of flour in your kitchen, you may want to include "rice flour" on the label as well.
- Storing flour in the refrigerator or freezer will help make it last longer.
Method 2 of 3: Using a Coffee Grinder

Step 1. Clean the coffee grounds from the appliance if necessary
Don't let your rice flour taste like coffee! Use a scouring brush or small spatula to remove the coffee grounds from around the grinder blades.
- Never put your fingers around this knife, and always unplug it from the power source before cleaning.
- An old paint brush or toothbrush can also be used to clean hard-to-reach crevices.
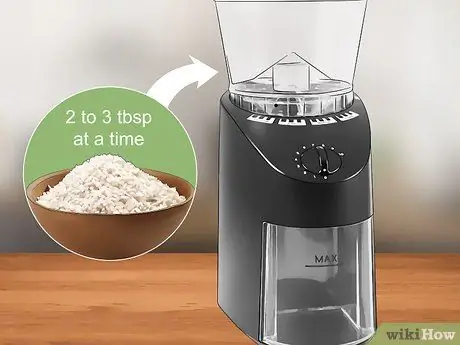
Step 2. Put 2-3 tablespoons (30-45 ml) of rice in the coffee grinder at a time
A coffee grinder will turn the grains of rice into a fine powder. It's a good idea to grind the rice a little at a time so it doesn't clog or overwork the coffee grinder.
- If the coffee grinder gets hot, unplug it from the power source and let it cool for a few minutes before continuing.
- You may need to grind the rice twice if it is still coarse after grinding it once. Old coffee grinders or dull blades usually don't grind rice efficiently.
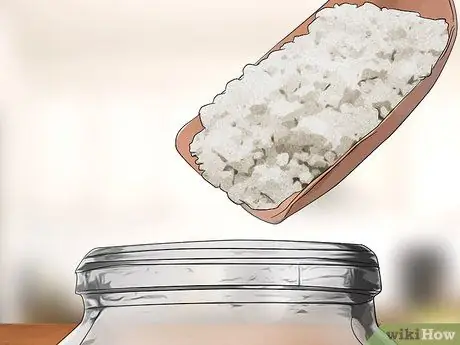
Step 3. Pour the rice flour into an airtight container and close the lid tightly
While you're making rice flour, transfer the resulting flour after each grind to a plastic bag or container. Once you are completely finished grinding, close the container tightly to keep the flour fresh.
Glass containers with lids or clip pockets are more suitable for use than regular containers
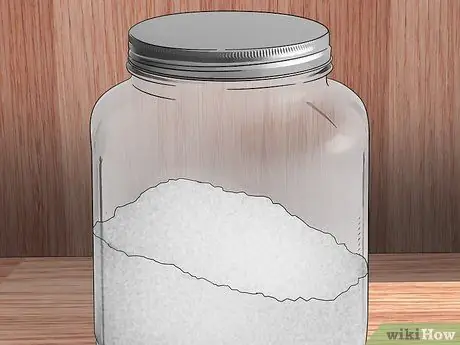
Step 4. Store flour in a cool and dry place for up to 1 year
Keep the flour container in the pantry or pantry cupboard, for example, until it's ready to use. Discard flour if it smells rancid.
- If you don't want to forget the expiration date of your flour, use a permanent marker or sticker to record the date the flour was made.
- You can also store flour in the refrigerator or freezer to make it last longer.
Method 3 of 3: Using a Flour Making Machine
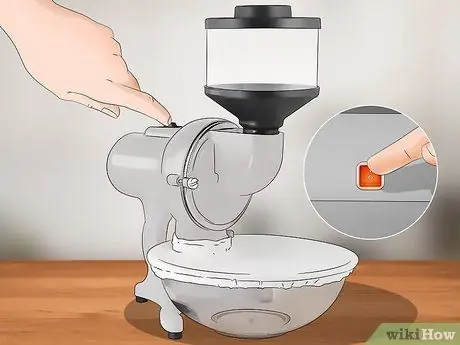
Step 1. Press the highest setting button then start the machine
In some types of flour machines, the highest setting option may be labeled pastry. Slide the engine lever until it turns on after you set it.
- This setting determines how coarse or fine the flour is. A lower setting will result in a coarser powder.
- Always start the machine before adding rice.
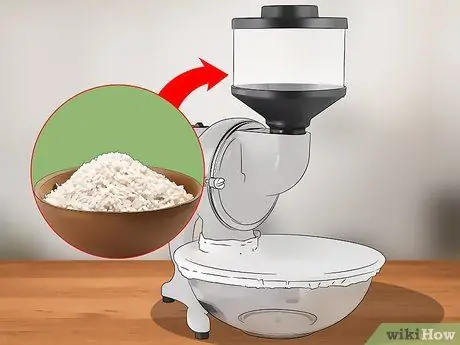
Step 2. Pour the rice into the machine's inlet funnel to grind it
The rice that enters the funnel will automatically be mashed and the resulting flour will enter the container. If necessary, use a spoon or other tool to push the rice into the center of the machine's inlet to speed up this process.
If the flour isn't as smooth as you'd like it to be, pour it back through the funnel
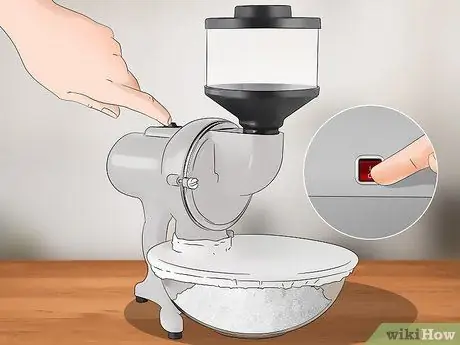
Step 3. Turn off the machine after you grind the whole rice
A sign that the grinding process is complete is the machine making a high-pitched sound. Slide the lever of the machine to the off position to stop the grinding process.
You can leave the machine running for 5 seconds after you're done to make sure there's no rice left in it
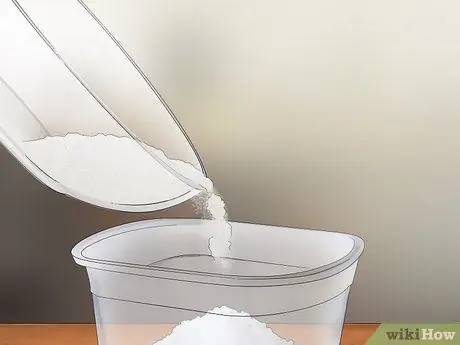
Step 4. Remove the holding container from the machine and pour the resulting flour into the storage container
This receptacle should be easy to remove from the machine. Once the rice flour has been transferred to an airtight container, close the lid tightly by pressing the lid until it crackles or crinkles into place.
- To avoid wasting flour, scrape any excess flour on the sides of the container so that it passes into the storage container with a spoon.
- Clip pockets are also suitable as an alternative to storage containers.
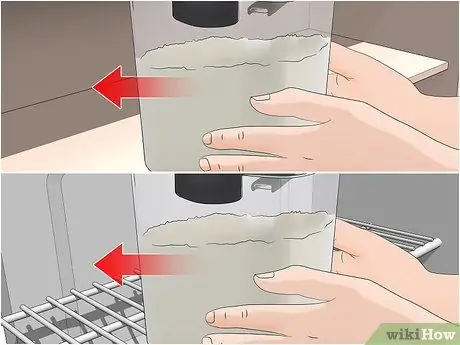
Step 5. Store flour in the pantry, refrigerator, or freezer for up to 1 year
After 1 year, the flour may lose some of its taste and smell musty. Discard the flour if it starts to get moldy.
- Flour is best stored in a cool, dark place. Look for a dry area too.
- To prevent flour from spoiling faster, the refrigerator or freezer is the safest choice for storage.
- Mark the flour storage container or bag with a permanent marker or sticker label if you want to remember the expiration date. Write the contents of the container ("rice flour") along with the expiration date.


