- Author Jason Gerald gerald@how-what-advice.com.
- Public 2023-12-16 10:50.
- Last modified 2025-01-23 12:04.
So you want to draw a monkey that is cute and easy to draw. Here are some steps that can help you.
Step
Method 1 of 3: Cartoon Monkey
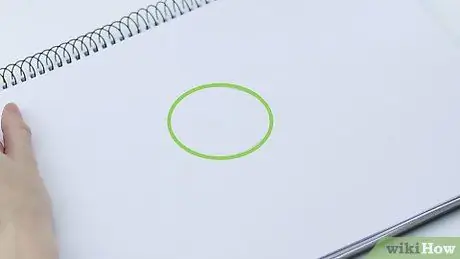
Step 1. Draw a circle
This will be your monkey head
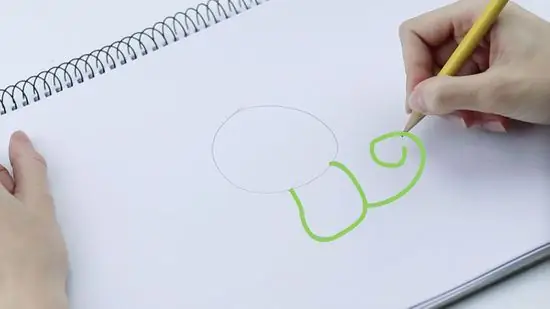
Step 2. Draw the body and tail
- For the body, draw the letter “U” under the circle. Tend to make the letter U a little smaller than the head.
- Add a long, swirling tail.
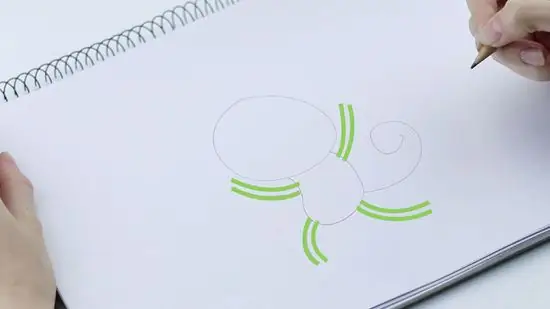
Step 3. Add the legs
- Draw 2 'arms' on the upper body and 2 more legs on the lower body.
- His arms and legs need not necessarily be in proportion to his body; make it a little long it's ok. It depends on the artist's preference.
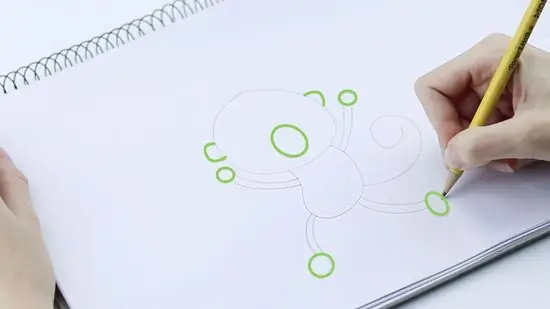
Step 4. Add ears, muzzle, hands and feet
- Draw two ovals on either side of the head to form the ears. Add another oval at the bottom of the head for the muzzle.
- For the hands, just draw a small circle.
- For the legs, draw a longer oval.
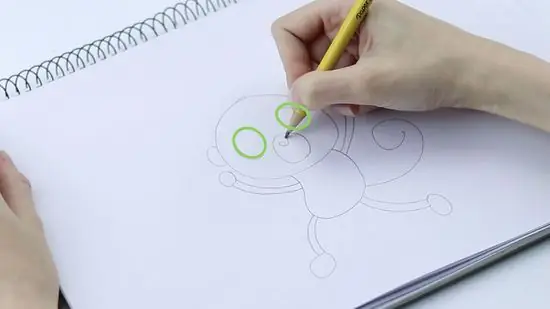
Step 5. Add the eyes and nostrils
- Draw a small heart shape at the top of the muzzle for the nostrils.
- Draw two circles for the eyes, make it slightly raised it's ok. Again, it depends on the artist's preference.
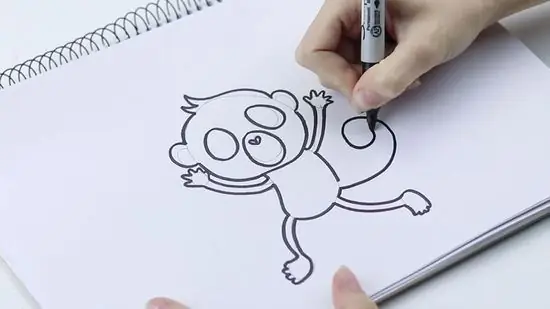
Step 6. Draw a line over the pencil sketch with a pen
After drawing the outline, always remember to erase the pencil sketch to keep the drawing neat
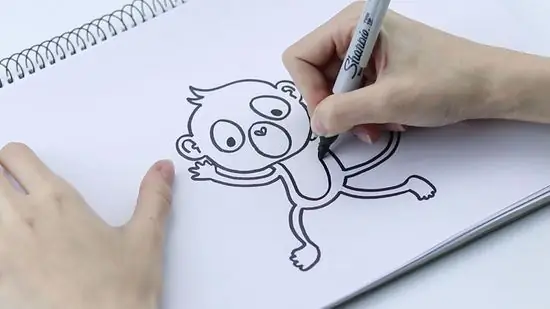
Step 7. Erase the pencil lines and add details
Add stripes for the ears and belly
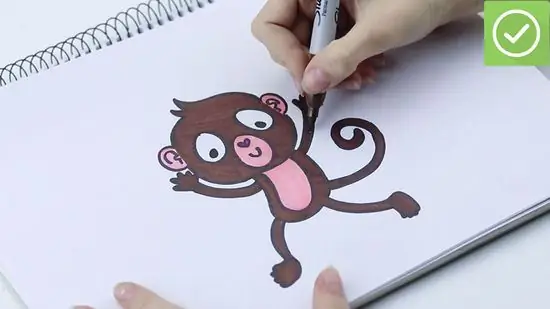
Step 8. Color the monkey
Method 2 of 3: Realistic Monkey Face
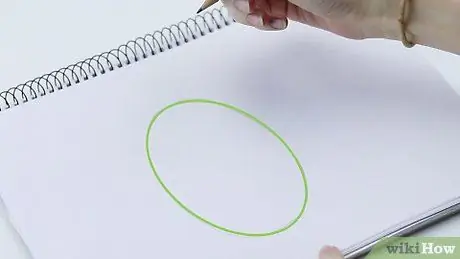
Step 1. Draw a large round oval
Make sure you use a pencil to sketch the design so you can erase it afterwards to make it neat
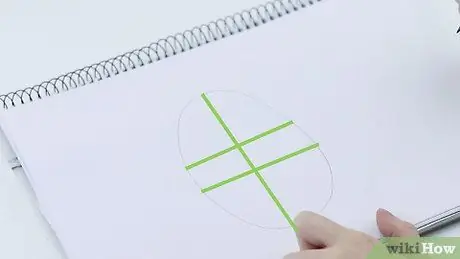
Step 2. Add guide lines for the face
- Draw a vertical line in the middle of the head so you know the center of the face.
- Draw a horizontal line in the middle of the face. After that, add another line that is slightly higher than the first horizontal line. They should be parallel and form a figure that looks like a rectangle.
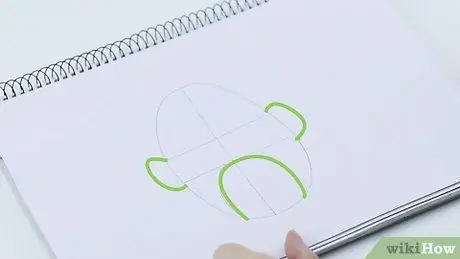
Step 3. Add the ears and muzzle
- At the end of the 'rectangle', add two curved lines facing each other. These will be his ears.
- Draw a large circle from the base of the face to the bottom side of the parallel line.
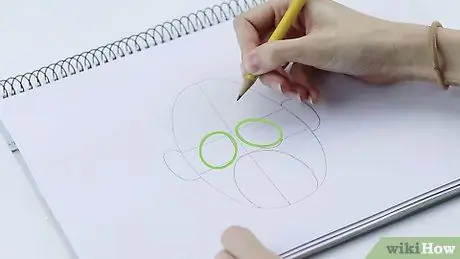
Step 4. Add two circles
Draw two overlapping tear-shaped circles with parallel lines. Slightly tilted to the middle
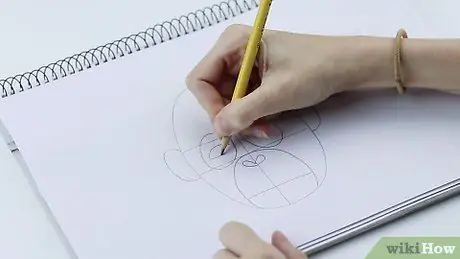
Step 5. Draw the details of the face
- Add a horizontal line 1/3 of the way from the bottom of the muzzle. This will be your guide to the mouth.
- Add two tear-shaped figures on opposite sides of the mouth. They should be connected to the bottom center. It looks like a stretched heart.
- For the eyes, draw an almond-shaped figure in the middle of the parallel lines.
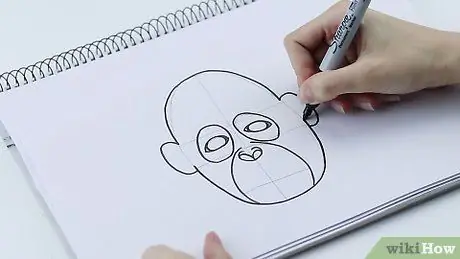
Step 6. Using a pen, draw on top of your sketch
- Remember the lines and overlapping parts that must be hidden.
- The line drawing may not look perfect and crisp but it should look neat when the pencil is erased.
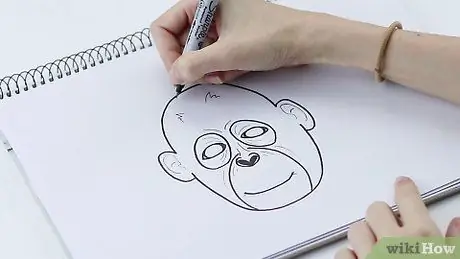
Step 7. Erase pencil marks and add details
- You can add details like feathers and stripes to the skin.
- Try to add more if needed. Don't be afraid to add more lines than necessary. Monkey skin is very wrinkled and their fur tends to be very coarse and hairy.
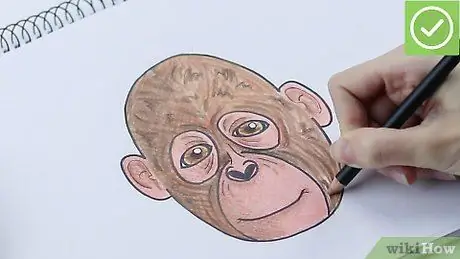
Step 8. Color your monkey
Method 3 of 3: Monkey Style Sketch
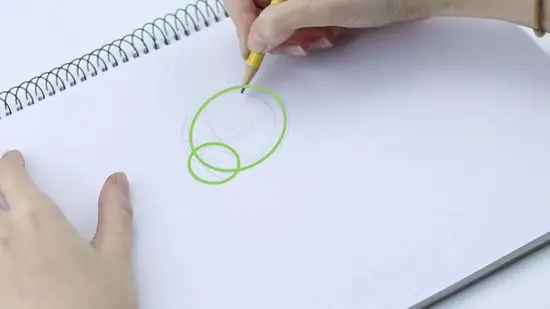
Step 1. Draw two circles, a small one for your monkey's mouth and a large one for its head
Sketch the guide lines for his facial features.
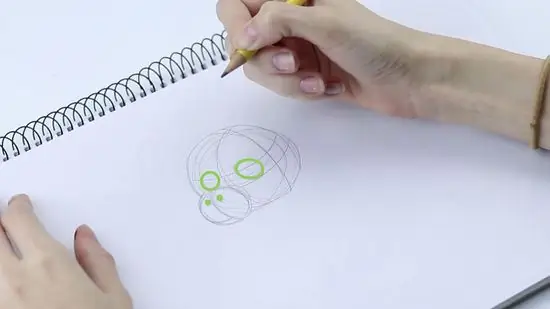
Step 2. Draw two circles for the eyes, and add two more for the nose
Don't draw the mouth too close to the nose: you can make it big or small depending on your preference.
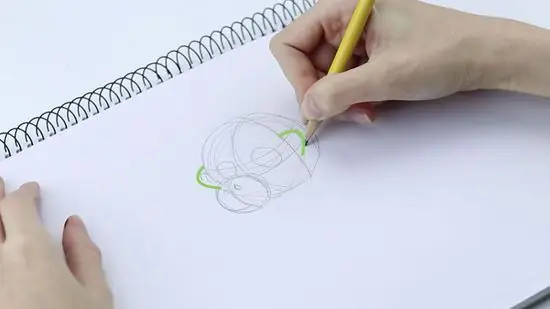
Step 3. Draw two ovals for the ears
Make it detailed if you want, or just draw another curved line in it.
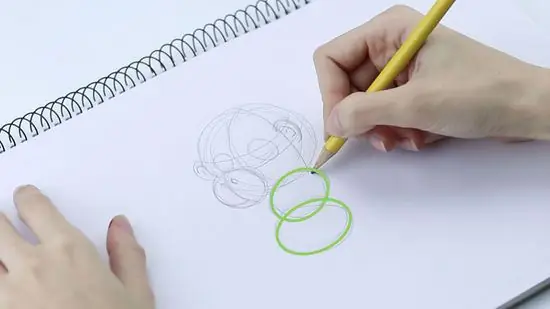
Step 4. Draw a circle and an oval for the body, and another one inside
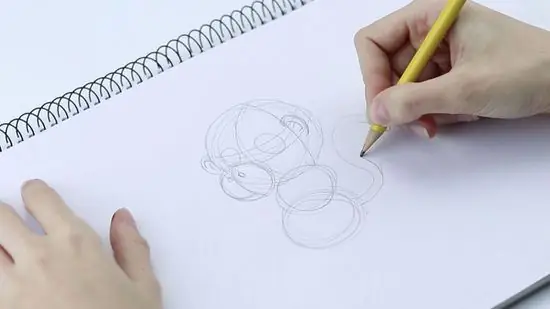
Step 5. Give it a long tail
Curl it like the tail shown in the picture, or curl it around the branch so that your monkey looks like it's hanging from a tree.
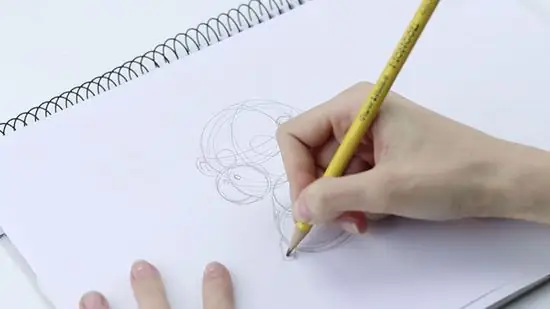
Step 6. Draw the hands
Make them long, maybe as long as the body. You can also make it a little fatter to make it look sweeter.
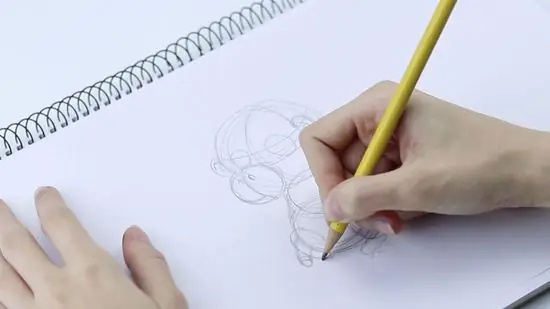
Step 7. Draw the legs much smaller and shorter than the hands
Monkeys don't need their feet as much as their hands, because they spend their lives swinging around using their arms and tail instead of their feet.
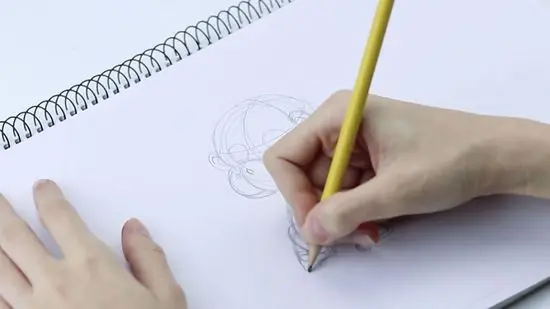
Step 8. His hands and feet are very similar to ours
The difference is that the palm is slightly longer if you want to make it a bit more realistic. Otherwise, just draw a circle and an oval for the radius.
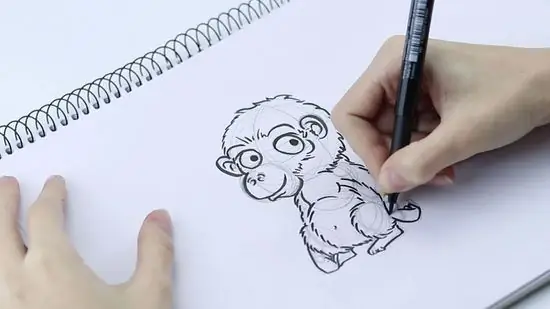
Step 9. Add details
If you want to add feathers, you should do so now.
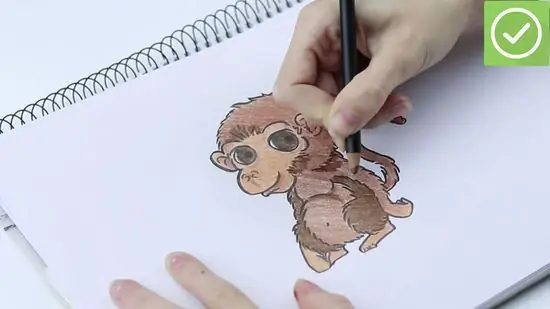
Step 10. Outline and color your monkey
Add gradations/shadows if you wish, mostly mainly using whatever color was used for the fur.
Tips
- Draw thin in pencil so you can erase mistakes easily.
- Trace the monkey with a black pencil or sharp marker.
- Practice makes perfect!
- If you want to use markers or watercolors to color your drawing, use relatively thick paper and line your pencil darker before doing so.


