- Author Jason Gerald gerald@how-what-advice.com.
- Public 2024-01-19 22:11.
- Last modified 2025-01-23 12:04.
By rooting your Android device, you can get various benefits, such as getting more memory space, installing customized programs, running special applications, and much more. If you want to root your Android device without using a computer, you can do so using the Framaroot or Universal AndRoot apps specially made for Android.
Step
Method 1 of 2: Using Framaroot
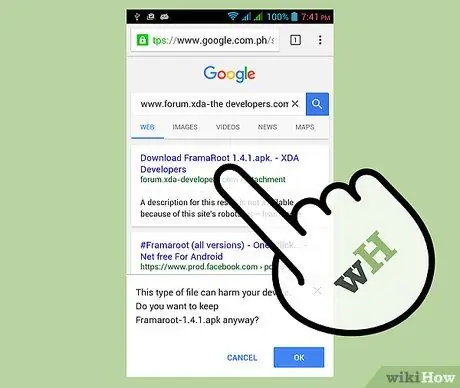
Step 1. Click on the following link to download the Framaroot.apk file onto your device:
www.forum.xda-developers.com/attachment.php?attachmentid=1952450&d=1368232060. The Framaroot app is not available in the Google Play Store.

Step 2. Tap "Menu", then tap "Settings" once the.apk file is finished downloading
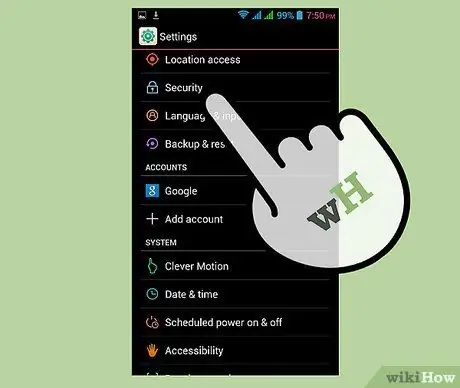
Step 3. Tap "Security", then check the box next to "Unknown sources"
If the "Unknown sources" option doesn't appear under Security, try looking for it in the Application section
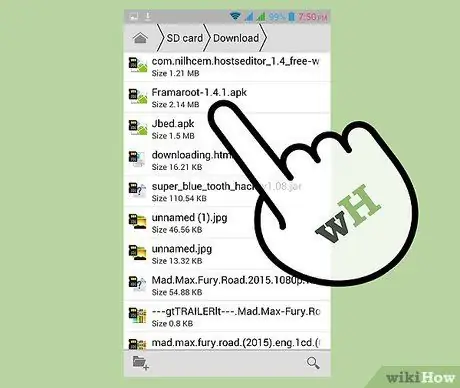
Step 4. Open any file manager on your device and navigate to the directory where the.apk file is saved
If there is no file manager program installed on the device, launch the Google Play Store and download the file manager program of your choice, such as ES File Explorer File Manager created by the ES APP Group
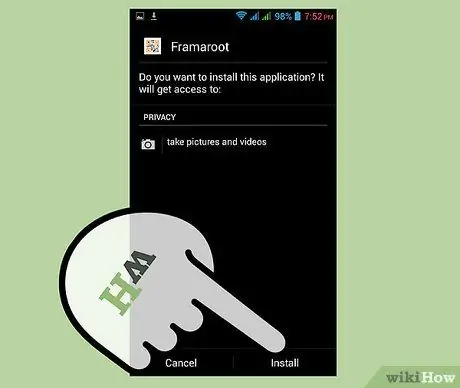
Step 5. Tap the.apk file, then tap "Install"
Android will start the installation process.
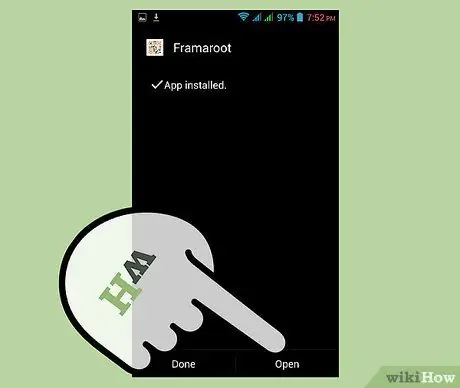
Step 6. Tap "Open" once Framaroot is finished installing
The Framaroot application will launch.

Step 7. Select "Install SuperUser" from the drop-down menu at the top
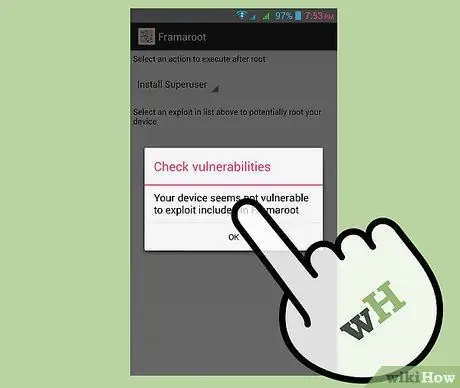
Step 8. Tap Frodo, Sam, or Aragorn on the list of options displayed
If a "failed" message appears after you've made your selection, tap another name until a "success" message appears. The phone is successfully rooted if the message "success" is displayed on the screen.
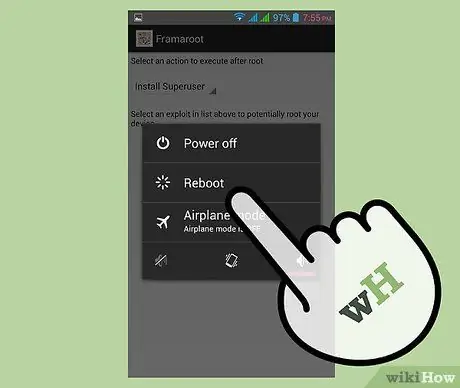
Step 9. Press the power button on the Android device, then select the "Restart" option
Now your Android device is rooted and ready to use.
Method 2 of 2: Using Universal AndRoot

Step 1. Click the following link to download the AndRoot.apk file onto your device:
www.forum.xda-developers.com/attachment.php?attachmentid=391774&d=1283202114. Universal AndRoot program is not available in the Google Play Store.

Step 2. Tap "Menu", then tap "Settings" once the.apk file is finished downloading
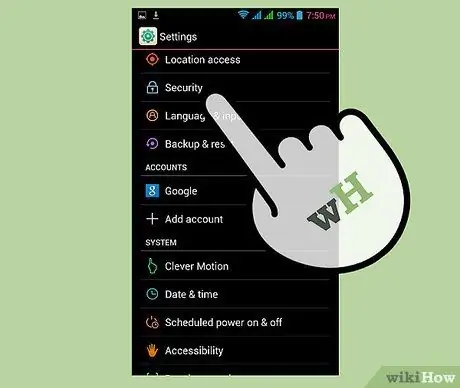
Step 3. Tap "Security", then check the box next to "Unknown sources"
If the "Unknown sources" option doesn't appear under Security, try looking for it in the Application section

Step 4. Open any file manager program on your device and navigate to the directory where the Universal AndRoot.apk file is stored
If there is no file manager program installed on your device, launch the Google Play Store and download the file manager program of your choice. Some examples of the best file manager programs for Android are ES File manager, Astro Cloud File Manager, and Solid Explorer
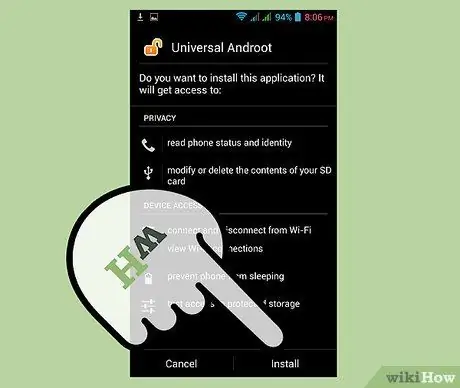
Step 5. Tap the.apk file, then tap "Install"
Android will start the installation process.
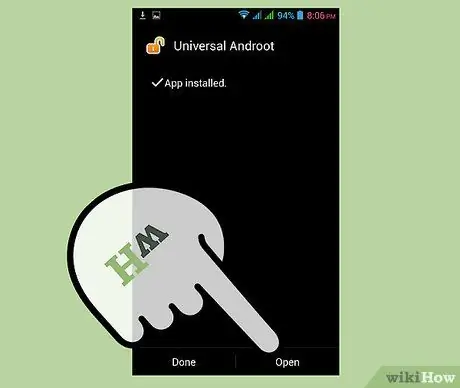
Step 6. Tap "Open" after Universal AndRoot finishes installing
The Universal AndRoot app will launch.
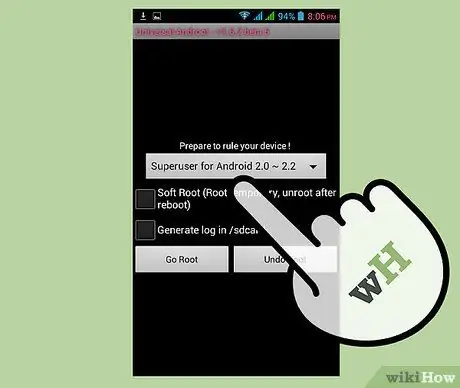
Step 7. Tap the drop-down menu, then select your Android firmware version
If you don't know your device's firmware version, go to Settings", then tap "About"
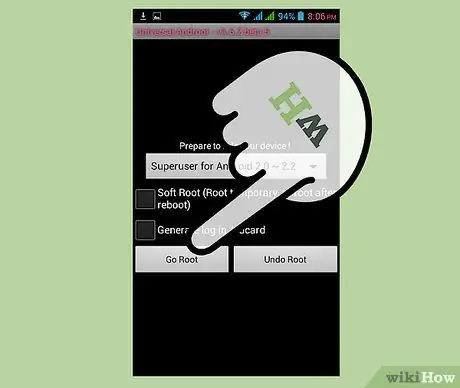
Step 8. Tap on "Root"
Android will start the root process.
Check the box next to "Temporary root" before tapping "Root" if you are more comfortable with checking if the root procedure works first. This option allows you to unroot the device by turning it back on when the root process fails

Step 9. Wait until the message "Your device is rooted" is displayed on the screen
Your Android device has successfully gone through the root process.


