- Author Jason Gerald [email protected].
- Public 2024-01-19 22:11.
- Last modified 2025-01-23 12:04.
You can export HD quality iMovie videos, either into files or to services like YouTube, as long as the original video you're using is HD quality. When exporting, you can choose between three HD resolutions for the video to export as it should.
Step
Method 1 of 2: macOS
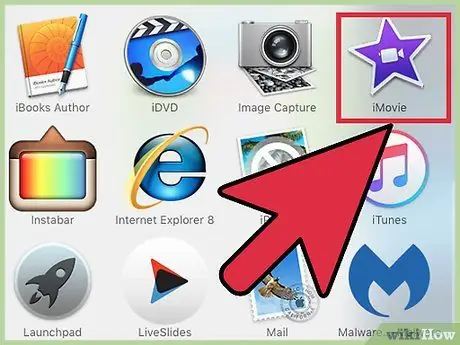
Step 1. Open iMovie
Use this step if you want to export HD videos to a specific folder on your Mac. Once the video is exported, you can open and watch it at any time.
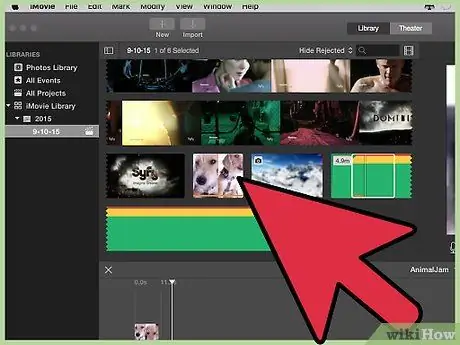
Step 2. Click the video you want to export in the “Libraries” panel
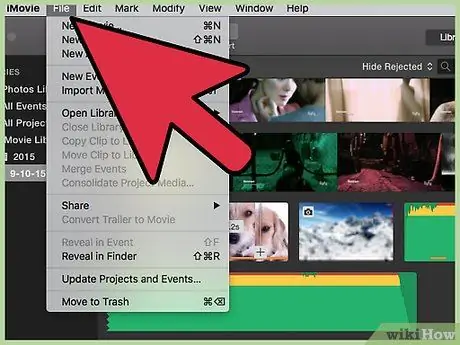
Step 3. Click the File menu at the top of the screen
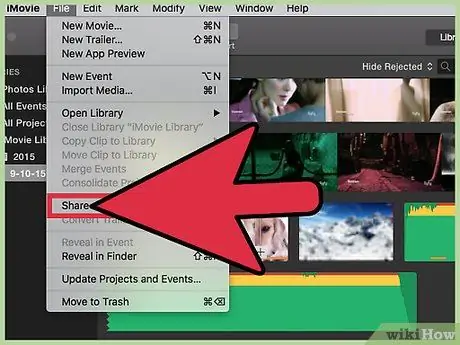
Step 4. Click Share
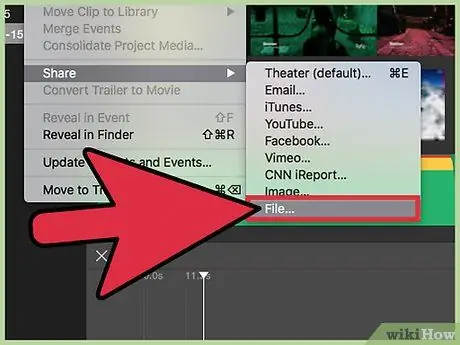
Step 5. Select File… on the Share menu
If you want to share the video directly to a specific site, click on the site's name (e.g. Facebook, YouTube, Vimeo, etc.)
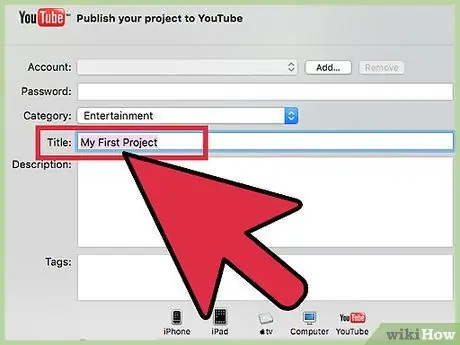
Step 6. Enter the name of the video in the text box
If you want to share the video to the site, the text will be the title of the movie
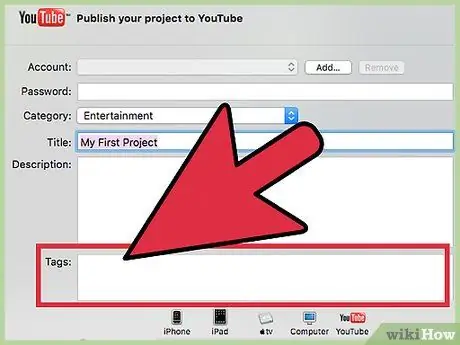
Step 7. Enter the tag in the Tags field
If you want to share your video to YouTube or Vimeo, this tag will make it easier for other users to find your video.
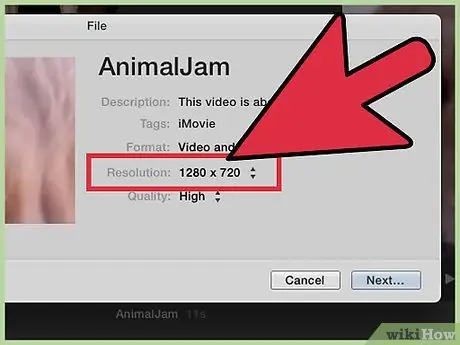
Step 8. Click the "Resolution" menu to select a resolution
To export HD quality videos, you can choose a resolution of 720p, 1080p, or 4K. However, not all resolution options are available as you cannot convert low quality videos to HD.
- "720p" is HD video with a resolution of 1280 x 720. Choose this resolution to create high-quality videos that are easy to upload and don't take up storage space.
- "1080p" is HD video with a resolution of 1920 x 1080. 1080p video quality is five times better than 720p. However, the video file will be larger, and the uploading process will take longer than 720p.
- "4K" is Ultra High Definition (UHD) video with a resolution of 4096 x 2160. This video is of much better quality than 1080p. Because of this, the file will be larger in size, and the uploading process will take much longer.
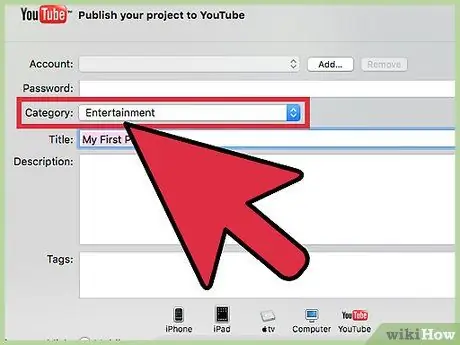
Step 9. Set other parameters if you want to upload videos to the site
If you are exporting a video to a file, you can skip this step.
- Click the "Categories" menu to select a YouTube category.
- Click the "Viewable to" or "Privacy" option to set video privacy.
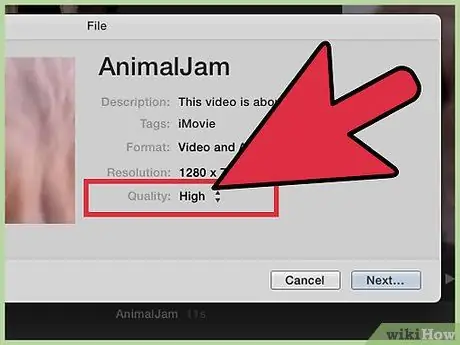
Step 10. Click the "Quality" menu to set the video quality
You won't see this option if you share the video to the site. To see how the quality options affect the file size, click the option to view file size under Preview.
- The "High" option will produce the best possible file without inflating the size.
- The "Best" option will generate the file with ProRes so the result is professional quality. Unfortunately, the file size will be very large.
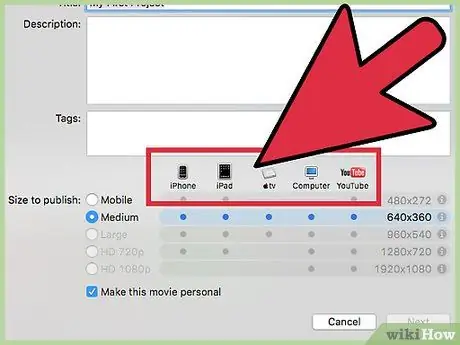
Step 11. Click the "Compress" menu to select a compression level
This option will only appear when you export a video to a file.
- Select the “Faster” option if you are concerned about file size. Even if the quality of the exported file is not very good, at least it will be of higher quality than the SD (standard definition) file.
- Select the "Better Quality" option if you want the best video and audio quality and don't care about file size.
Step 12. Click Next
If you choose to share your video on a site, you will be asked to enter account information for that site. Follow the on-screen prompts to sign in and complete the upload. Once the video is uploaded, you'll see a "Share Successful" message
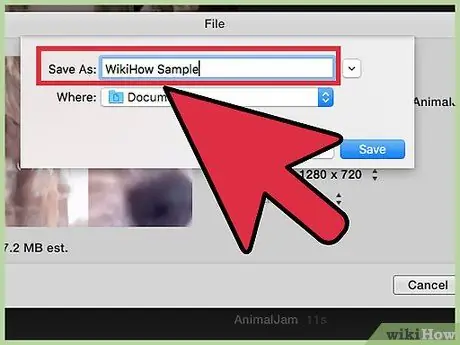
Step 13. Enter the name of the video in the "Save As" field
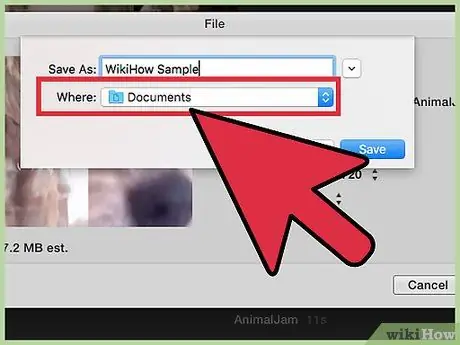
Step 14. Select the folder where the file is saved
Save the file in an easy-to-remember place, such as your documents folder or desktop. That way, you'll be able to upload them to YouTube, or burn them to DVD more easily.
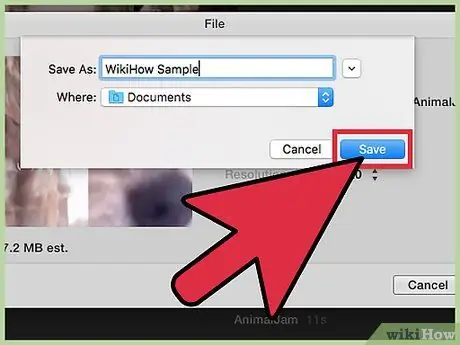
Step 15. Click "Save"
After a few moments, you will see the HD version of the video in the folder you selected.
Now that the video is saved as an HD file, you can upload it to sites like Facebook, LinkedIn, Google Drive, Dropbox, and other sites that accept high-quality videos
Method 2 of 2: iOS

Step 1. Open iMovie on your iPhone or iPad
If you're editing a project, tap Done in the upper-left corner of the screen, then follow step 4

Step 2. Tap Videos at the top of the screen

Step 3. Tap the video you want to share

Step 4. Tap the square-shaped "Share" button with the up arrow at the bottom of the screen
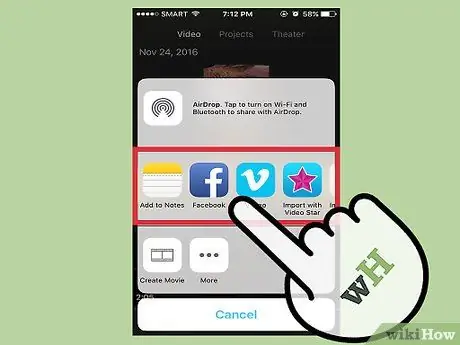
Step 5. Tap the sharing method
You can select the application to share the video, or the storage location.
- For example, if you want to share a video to Facebook, tap the Facebook icon.
- If you want to save the video file to your iPhone or iPad, tap "Save Video". You can still share the video file at a later date.

Step 6. If you choose to share the video to an app like Facebook or YouTube, enter your account information as prompted on the screen
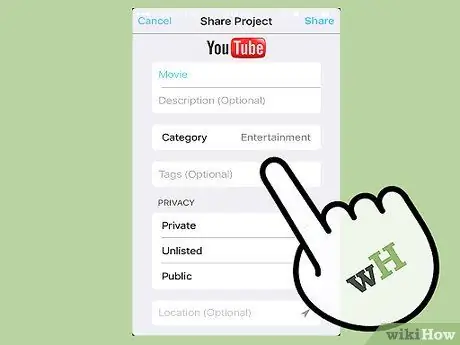
Step 7. Choose HD resolution
You can choose a resolution of 4K (Ultra HD), 1080P (HD), or 720P (HD). However, not all apps or services support large HD videos so you may not see some of the options.
- "720p" is HD video with a resolution of 1280 x 720. Choose this resolution to create high-quality videos that are easy to upload and don't take up storage space.
- "1080p" is HD video with a resolution of 1920 x 1080. 1080p video quality is five times better than 720p. However, the video file will be larger, and the uploading process will take longer than 720p.
- "4K" is Ultra High Definition (UHD) video with a resolution of 4096 x 2160. This video is of much better quality than 1080p. Because of this, the file will be larger in size, and the uploading process will take much longer.


