- Author Jason Gerald gerald@how-what-advice.com.
- Public 2023-12-16 10:50.
- Last modified 2025-01-23 12:04.
A collage is a work of art that can be made from various materials, such as paper, newsprint, photos, ribbons or other objects pasted on a background, such as plain paper. Collages can also be created with physical materials or electronic images pasted on a digital background. “Collage” comes from the French word “coller” which means “glue”, and is a fun way to experiment with different materials to get a stunning finish. This article provides examples of the many possibilities that can be created, which are only limited by your creativity and imagination.
Step
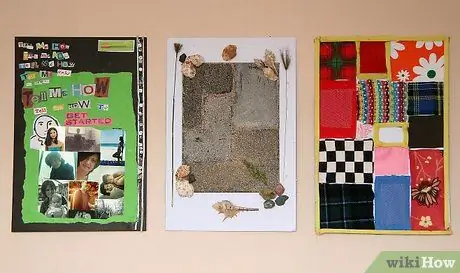
Step 1. Choose your collage style
By definition, collages are made of several different parts. These parts can be any kind of object, such as paper, thread, cloth, stamps, magazine cutouts, plastic, raffia, tinfoil, labels, bottle caps, matches, cork, natural materials (tree bark, leaves, seeds, eggshells, tree branches, etc.), buttons, etc. You can choose a medium such as paper or cloth, or a classic combination such as paper, buttons, and foil.
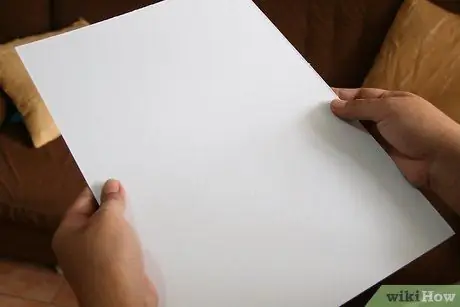
Step 2. Choose a suitable background
Paper or cardboard are common background choices, but you can also choose any material that suits you. For example, the background can be blotting paper, cardboard, cloth such as a piece of burlap (sack cloth), newsprint, old book cover, wood, smooth bark, plastic, etc. As long as the surface is usable and objects can be attached to it, The material can be used to make collages.
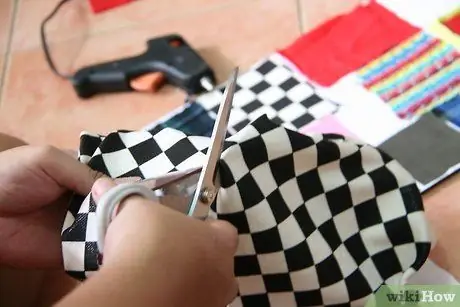
Step 3. Collect and save materials to make a collage at a later date
As you become more proficient and enthusiastic about making collages, you'll start to dabble in all sorts of other materials. Have a special box to store collage materials.
Method 1 of 7: Paper Collage
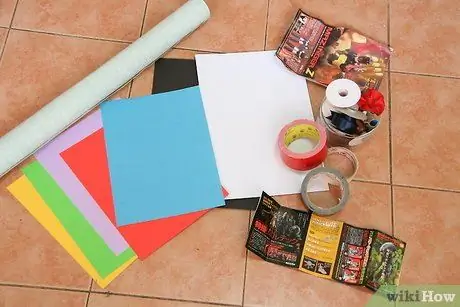
Step 1. Gather the materials needed to make a collage
Here are the materials that can be used:
- Use cardboard, copy paper, paper bags, tissue paper, patterned paper, handmade paper, etc.. The paper used can be soft or hard, or a combination of both.
- Use magazine pieces or newsprint. Fashion or news magazines have pictures that are great for collages. Newsprint can add interesting texture to a collage, but the ink can sometimes smudge.
- Look for pieces of old wallpaper. You may have leftovers in your closet, or you can buy small pieces at a wallpaper shop.
- Use foil and different adhesives. Use foil from the kitchen, or colored adhesive.
- Use photos. Cutting out images from old photos can give a collage a retro feel. However, make sure that you don't cut out the only photo that might still be useful later on.
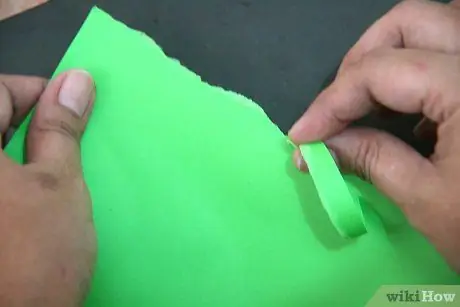
Step 2. Fold, cut or tear the paper into different shapes
You can use scissors or a craft knife to make different shapes. Otherwise, you can roughly tear off the ends of the strips of paper to give them a random texture or shape.
- Cut out the entire image, recognizable parts, or just enough, to create the texture, color, or feel you want.
- To make words, cut out letters from their sources with different fonts.
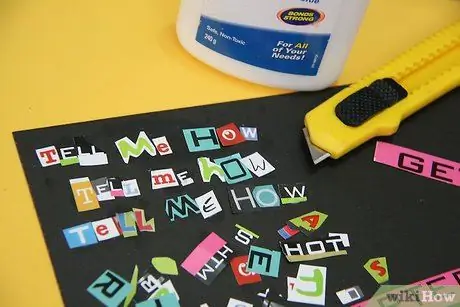
Step 3. Come up with a theme
You may already have a theme, or maybe it just occurred to you while you were gathering materials. Either way, make your collage based on the main idea or image.
Step 4. Consider adding ornaments
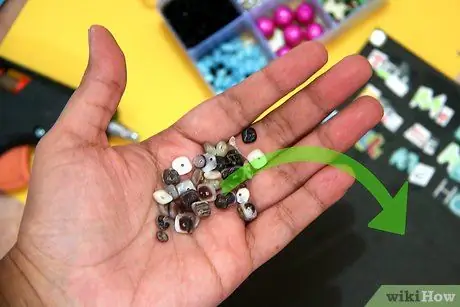
While not essential, ornaments can make a collage even better by adding depth, interest, and sparkle. Use ribbon, beads, string, feathers or fabric in a paper collage. Find these items around the house, or buy them from a craft store.
Step 5. Decide what to paste in your collage
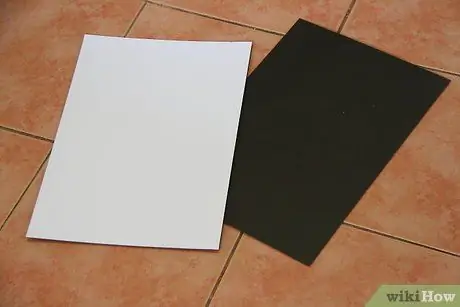
You can use a piece of paper, cardboard or a piece of cardboard, for example. Whatever you choose, make sure it's strong enough to withstand multiple layers of weight and easy to display.
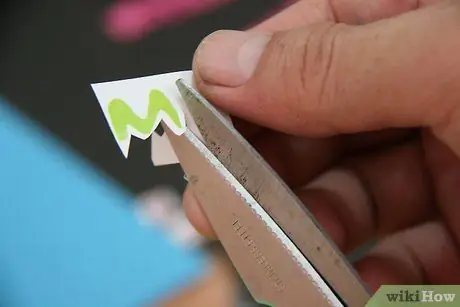
Step 6. Collect all the pieces before pasting
Although it's optional, it's a good idea to try everything you're going to put in your collage first. Spread all the ingredients to design the collage before making it. Place it on a wide surface such as a table or floor. Arrange the objects, starting from the background and working your way up to the front. This can give you an idea of what the final result will look like before sticking it. If you want to remember exactly, just take a photo of the results of the experiment. Some collage theme ideas for example are:
- Land view or sea view
- Fractal
- A photo of a person, such as a pop singer or someone wearing a nice outfit or headpiece, like a tiara
- Characters from newspapers, use the classic method, which is to use people in newspapers and then design them into collages
- Animals, for example, use small paper or postage stamps to make animal shapes such as cats, crocodiles or bees. Draw the shape of the animal first on the paper and then fill in the blanks by pasting the paper inside the lines
- The best mosaic or combination; Mosaic can follow a certain shape or can be a jumbled pattern.
- Alphabet: cut letters out of paper and make an alphabet or words in a collage
- One shape pattern, such as circle, square, etc. Repeated single-shape patterns are also effective for making collages.
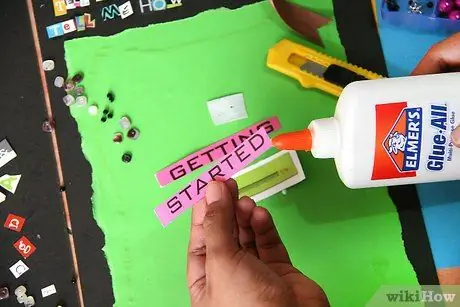
Step 7. Glue the collage with glue
Starting at the background and working your way up, glue the collage pieces to the base. Use plain white glue, glue stick or rubber, and work it out just fine.
- Try to arrange the collage in one piece that you find striking or interesting.
- Keep in mind that not all pieces need to be glued evenly. You can squeeze or fold to get a different texture.

Step 8. Let the collage dry
The collage now contains multiple layers of glue. Allow sufficient time for it to dry.
- For a small collage, about an hour will suffice.
- For large collages, you'll need to let them sit overnight or use a fan on a very slow blow.
Method 2 of 7: Digital Collage
Digital collages are a great way to showcase your photos and share them with friends and loved ones!
Step 1. Add photos
-
Take from a computer, take from a social network, or search the internet for photos that can be included in your collage.

Make a Collage Step 12Bullet1 -
Once collected, select the photos you like, then add them to your collage.

Make a Collage Step 12Bullet2
Step 2. Beautify your collage
-
Choose a collage shape.

Make a Collage Step 13Bullet1 - To adjust the photo display manually, uncheck the "lock alignment" box. If you want the photos to be auto-arranged, leave that box checked.
-
To pan a photo, click and drag the image to a position you like.

Make a Collage Step 13Bullet3 -
Use filters, outlines, backgrounds and/or titles on collages.

Make a Collage Step 13Bullet4 -
Before:

Collage1 -
After:

Collage2
Step 3. Share/save your photo collage
-
Once you've set up your digital collage display to your liking, share it with friends or save it directly to your computer.

Make a Collage Step 14Bullet1
Method 3 of 7: Fabric Collage
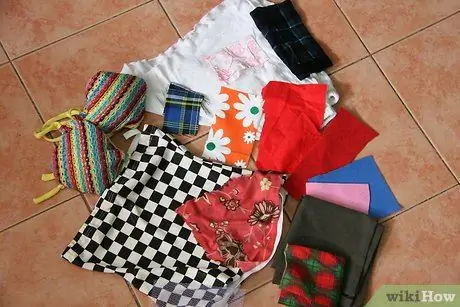
Step 1. Gather the pieces of fabric that will be used to make the collage
Look at old clothes in the wardrobe, or look for fabrics at bargain stores or craft stores. Some examples of other fabrics that can be used are:
- The remaining pieces of fabric from the seams
- The cut of the fabric design you like
- Cuts from clothes you liked in the past (perfect for reminiscing about childhood clothes)
- cotton cloth
- Specialty fabrics such as tulle, organdy, silk, satin, etc..
- Yarn, wool, woven yarn, rope, ribbon, lace, mosquito nets, etc..
- Sewing embellishments such as buttons, sequins, sewing patches, etc..
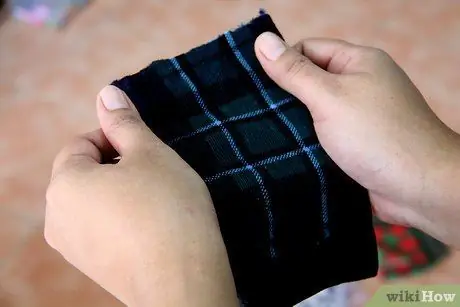
Step 2. Check the texture
Fabrics tend to have a variety of textures and thicknesses, so you should combine these differences to create the best collage look.
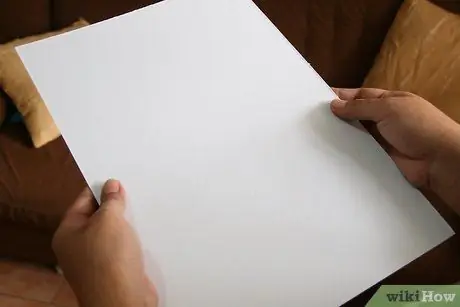
Step 3. Choose the right background
There are some background suggestions as described above, but keep in mind that fabric will adhere to the paper differently, so not all types of fabric will work. Do an experiment before you apply the fabric to the background, to make sure that the fabric will not shift. Some ideas for backdrops include: other wide fabrics, unused wall hangers, unused clothes, paper or cardboard, used items like old dolls, lampshades etc..
Use a clear glue that is suitable for the fabric and background you are using
Step 4. Draw a design on paper by drawing it
For design ideas, see the suggestions for making paper collages above. Once you have a design, match it to the texture and color of the fabric piece.
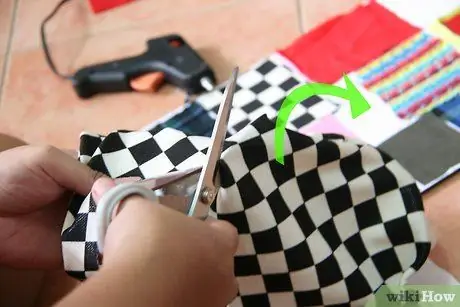
Step 5. Cut and arrange the fabric according to your design
It doesn't matter if you stick one piece on top of another, be brave.
- Think of texture when you make the impression of an object, animal or face. For example, use wool or heavy cloth to make the sheep's body, or use spun yarn to make hair around the face.
- Wool yarn, rope or spun yarn can be wound in a spiral to make flowers, sun or moon, faces, etc.
- Buttons and sequins are a great choice for all kinds of image creations, such as flowers, eyes on faces or animal shapes.
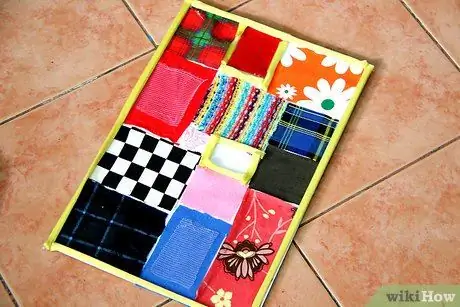
Step 6. Let it dry, then display your collage
Method 4 of 7: Sand Collage
Sand is an excellent collage material and a great choice for children.
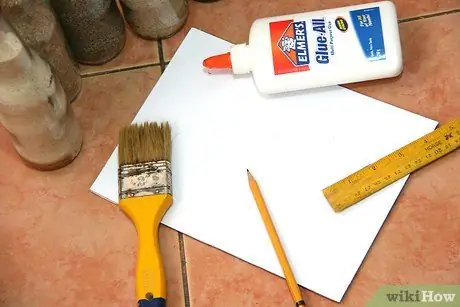
Step 1. Gather the required materials
You only need a background in the form of a sheet of paper or cardboard, clear glue, sand, a pencil and a glue brush.
Step 2. Draw the design you like on paper
Simple designs are better for kids. Let them draw whatever they like.
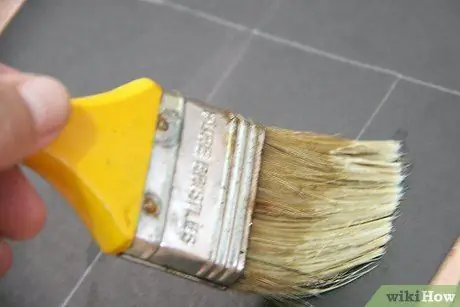
Step 3. Follow the outline or the inside of the line with glue, using a glue brush
If the existing design is too complex or large, do this a little at a time so you can stick to the wet glue.
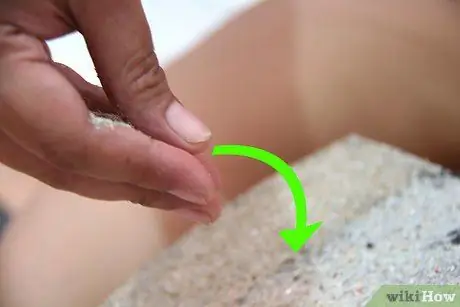
Step 4. Sprinkle sand over the glue
This can be done using your hands or a small paper cup.
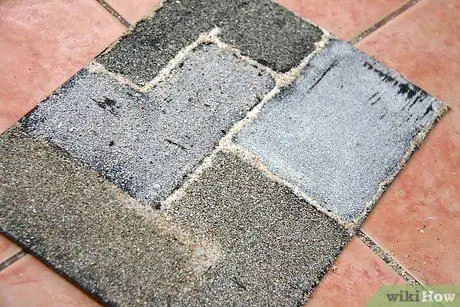
Step 5. When you're done, pour in any excess sand
The adhering sand will form the shape of a collage design.
Method 5 of 7: Natural Collage
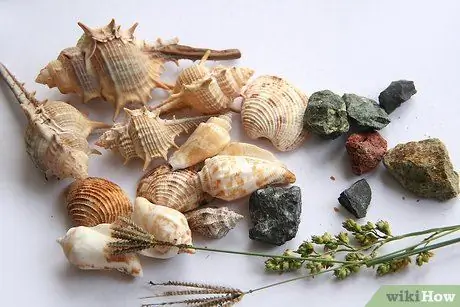
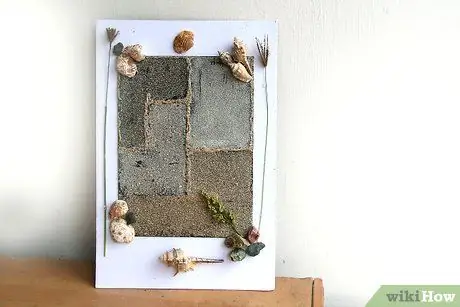
Step 1. Find objects that are typical of nature
This collage is perfect for making after you have hiked or hiked in nature while collecting objects along the way. Items suitable for her include:
- Shells (in the form of fragments or whole) or dead insect bodies that have dried up
- flowers (dried and then used)
- dry grass
- leaf
- seeds and nuts
- coconut shell
- straw
- other ingredients.
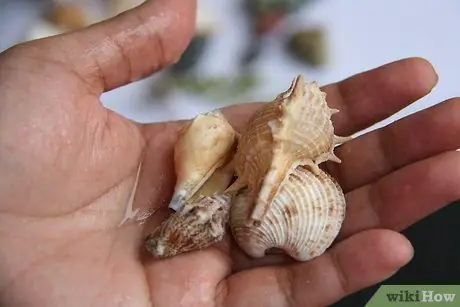
Step 2. Ensure that these items are dry before use
Otherwise, it will rot or mold on the collage.
Step 3. Choose a suitable background
Paper, smooth bark, cardboard, cardboard, etc.. are great choices for backgrounds.
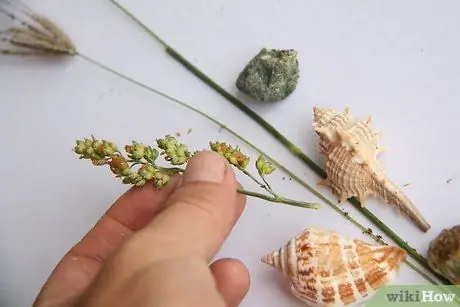
Step 4. Design your collage
You can create natural landscapes, such as arranging dried flowers like those in nature, or clumps of dry grass. Or you can also create land or sea views using these objects.
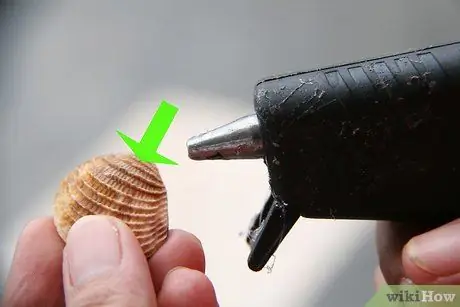
Step 5. Glue the objects in position with glue
Use clear glue. Double check that the objects are sticking well to the background.
If you want to preserve the plant material you use in your collage, create a "protective layer". Dissolve the PVA glue with a little water. Apply this mixture all over the paper, creating a protective layer for the paper. Arrange the ingredients on the coated paper. Brush all the ingredients with the same layer. You should cover each side of the plant material. Once dry, this coat will protect the plant material for years and give the collage a glossy look. Keep in mind that this can damage the finer plant material, so be careful
Step 6. Let it dry
Display the finished collage, or take a photo of it and share it online.
Method 6 of 7: Electronic Collage
Step 1. Choose a photo program that is easy to use
You can modify photos with various software, depending on your computer and your budget. Opt for a simple photo-editing program, unless you're already skilled at using the more difficult versions, so that you can develop your collage skills.
Step 2. Develop a theme
You may already have a theme, or it may have just occurred to you when you were gathering materials. Whatever the theme, create your collage based on ideas, pictures or patterns. Having a theme can make it easier for you to find photos and images.
Step 3. Gather suitable materials
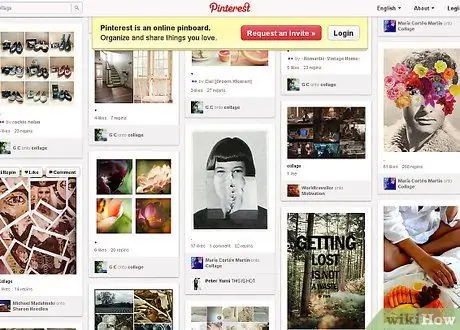
Search the internet for images and fonts that you think will fit in the collage. Or, you can search for old photos, fabrics, magazines or other things you used to make paper collages. Use images that inspire you.
Visit "Pinterest" for inspiration. Check out themed photos you like, like cakes, horses, race cars, beautiful people, you name it
Step 4. Edit the image as necessary
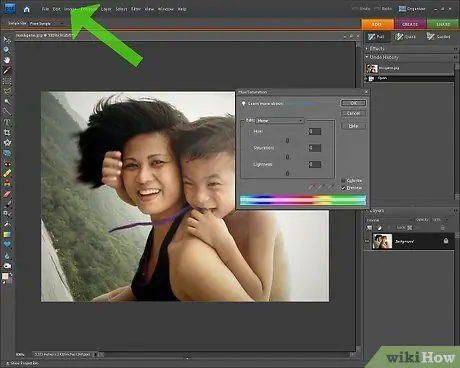
Shape and color your pictures to be interesting using a photo editing program to crop and shade them. Don't push the contours too much, just do what's best for your design.
In addition, you can change the transparency, clarity, pattern and other qualities that the photo editing program allows
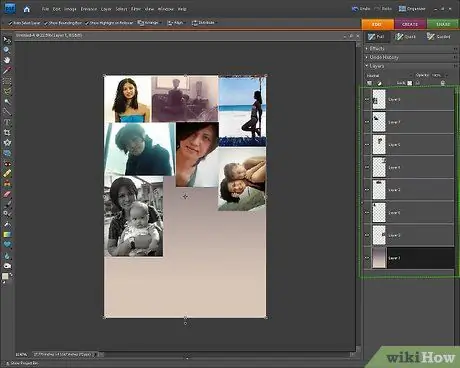
Step 5. Make multiple layers
Start creating your collage in multiple layers. Start at the bottom with a digital background, then work your way up.
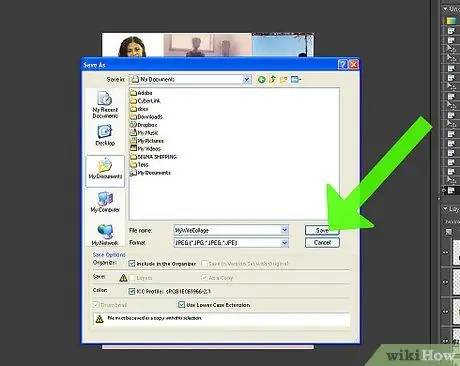
Step 6. Save often
Click the "save" button ("save") in case the program crashes. Do not let you lose all your hard work.
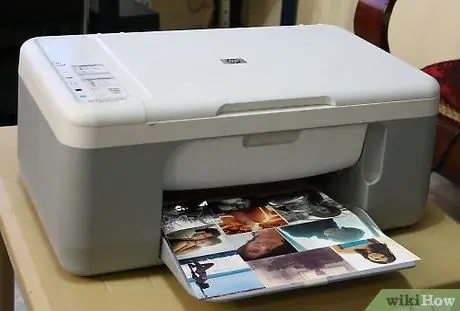
Step 7. Print the collage
This step is optional, and you can do it if you want to hang it on a wall, etc. Select the type of paper you want to print the collage on. You can choose glossy or faded paper. Either way, the paper should fit into the overall theme and fit into its final use.
Method 7 of 7: Display Collages
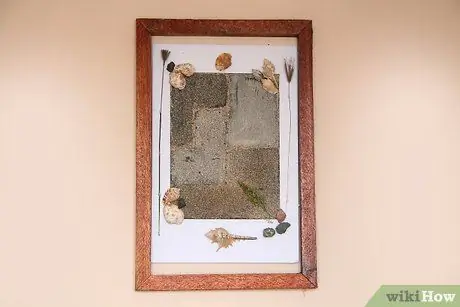
Step 1. Think about how you want the collage to be displayed
There are several options, such as:
- Hang it on the wall
- Frame it with cardboard or a wooden frame, then hang it or lean it on a bookshelf
- Take a photo and then share it on the internet (if the collage is not digital)
- Share digital collages on the internet. Use photo and craft sites and social media pages to showcase your hard work
- Think of ways to incorporate collages into your collection of other arts or crafts projects, for example by varnishing them onto wardrobe panels, placing them in wooden boxes or sewing them onto clothes.
Tips
- If the material on the collage doesn't stick well after gluing, you can smear it with a diluted glue mixture (about 3 parts water and 1 part glue) over the entire collage when you're done to "seale" the entire layer.
- Use your creativity!
- Make a collage the way you want it yourself. Don't be afraid to get creative with different techniques or drawings, because you'll actually learn by doing it.
- You can also combine paper and digital images by printing the edited image and then loading it onto a sheet of paper or other collage style.
- The back of the collage should match the back of the object you created on the front.
Warning
- It's best to avoid using "Gorilla" glue, tacky glue, or hot glue on collages if you're working with paper. These glues won't work like regular white glue, glue sticks or rubber glue. Ask your local handicraft seller if you are not sure about this.
- Work to make a collage on a sheet of newsprint, so your workplace won't be spilled/splattered with glue.
- Always be careful when using scissors. Supervise small children when cutting.


