- Author Jason Gerald gerald@how-what-advice.com.
- Public 2024-01-19 22:11.
- Last modified 2025-01-23 12:04.
Transferring photos to a wooden surface with Mod Podge glue is a bit tricky. However, with the right technique, you can do it. There are two ways, namely gluing the photo directly onto the wood surface, or using Mod Podge to transfer the photo onto the wood surface. Once you know the basics of this method, you can make all sorts of special gifts and souvenirs.
Step
Method 1 of 2: Gluing Photos to Wood with Mod Podge
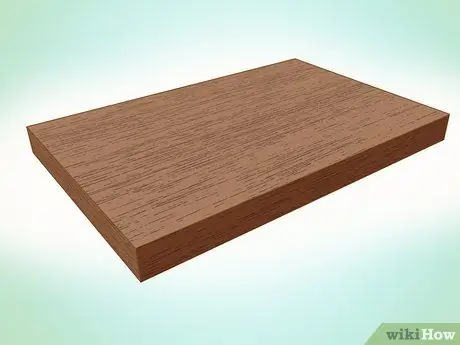
Step 1. Select an object made of wood that will be attached to the photo
Choose something with a flat surface, such as a block of wood or plank slats. You can even use a wooden jewelry box, as long as the lid is flat and smooth.
You can find many plain wood items in the woodworking section of any arts and crafts store
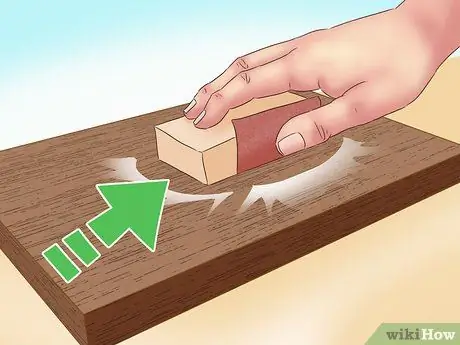
Step 2. Sand the wood if necessary
Most wooden items from craft stores will have a smooth surface, but may have jagged edges. Sand the area until smooth with medium to fine grit sandpaper. Sand in the direction of the grain of the wood, not against it. To ensure a smooth surface, you can wipe the wood with a stocking. If the stockings don't get caught in the small fiber chips, it means the wood is ready to be used.
For a more professional touch, sand the edges and corners of the block or plank slats. Sanding this will give it a smoother look
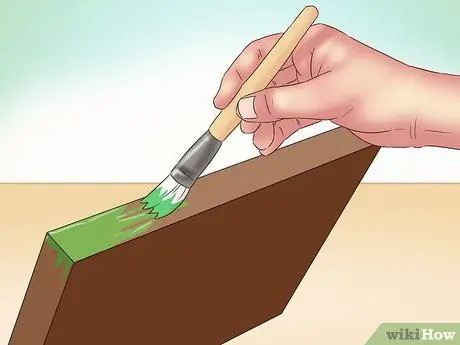
Step 3. Paint the edges of the wood, if desired
If you transfer the photo to a wooden board, the edges will be visible. You can make a nicer finish by applying two coats of acrylic paint to the edges of the board. Allow the first coat to dry before applying the second coat. Allow the paint to dry completely before you continue, which is about 20 minutes.
- Use an acrylic paint color that matches the photo.
- Also paint the front of the board. So, if you accidentally crop the photo too small, the raw wood will not be visible.
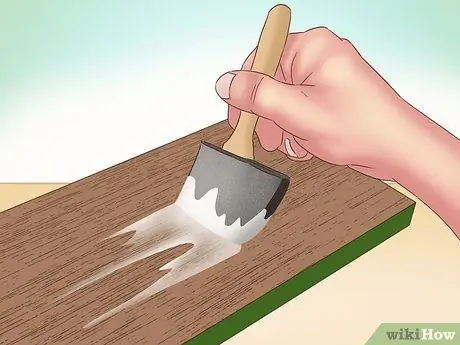
Step 4. Apply a coat of Mod Podge to the wood surface
If you want to apply multiple photos to multiple sides of an object (e.g., a block of wood), select one side first. You can apply Mod Podge with a wide, flat paint brush or with a foam brush. Make sure the Mod Podge is applied thickly and evenly.
Mod Podge has several different cover layers. Choose the one you like the most: matte, glossy (glossy), or satin
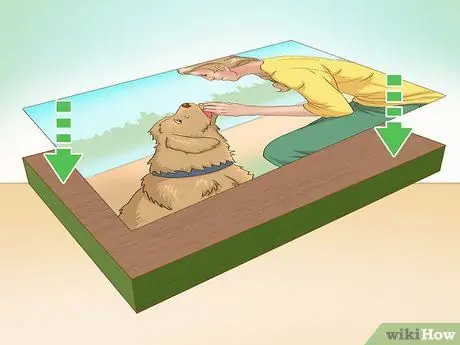
Step 5. Press the photo onto the wood surface
Place the photo face up on a wooden surface. Slide until the position is correct, then press. Slowly, smooth out wrinkles and air bubbles. Do it from the center out.
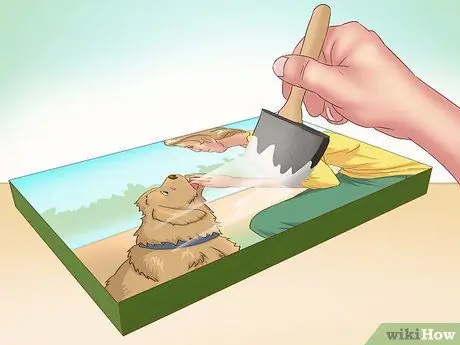
Step 6. Coat the photo with a light layer of Mod Podge
Do it from one side to the other. Use neat, straight, horizontal brush strokes.
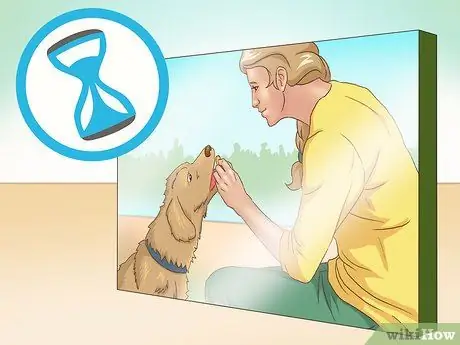
Step 7. Allow the Mod Podge to dry before applying the next coat
Allow the first coat to dry for 15 to 20 minutes. Apply a second layer using the same technique as before. This time, do it from top to bottom with brush strokes vertically. Brush strokes like this will give you a canvas-like texture.
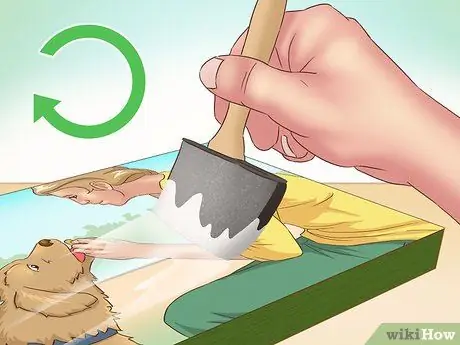
Step 8. Allow the Mod Podge to dry completely before working on the next side
If you're making photo blocks, use the same technique to apply Mod Podge to the photo on the other side, one at a time. If you're painting the edges of the board, apply Mod Podge to the paint to cover it.
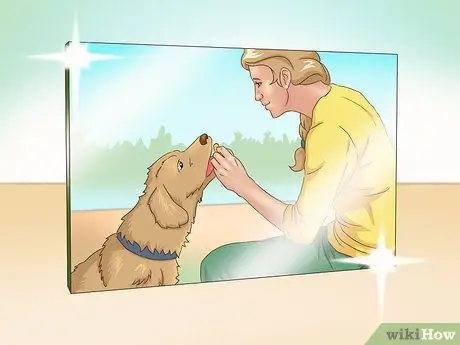
Step 9. Allow the Mod Podge to dry and solidify
Besides taking time to dry, Mod Podge also usually takes time to solidify. So, check the label on the bottle to find out. If you use Mod Podged before it solidifies, the surface will become sticky and sticky.
Method 2 of 2: Transferring Photos to Wood
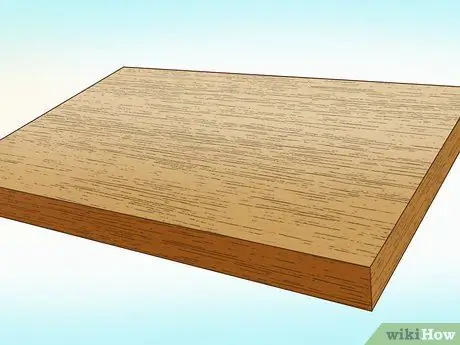
Step 1. Choose a suitable wood
Wooden planks are a great choice for this project, as are wooden discs with the bark still attached. If the surface has a rough finish, smooth it with medium grit sandpaper to a fine grit. That way, the photo transfer process will be easier.
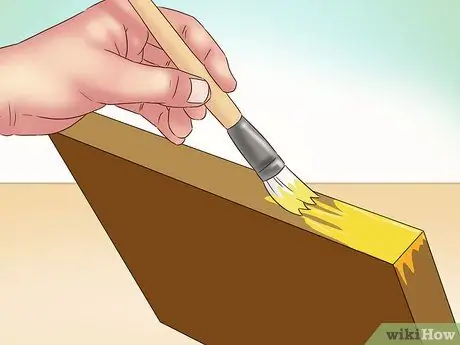
Step 2. Paint the edges of the wood, if desired
Since you're only transferring the photo to one side of the wood, the rough edges will still be visible. You can leave it alone for a rustic and old-fashioned look, or you can paint it with 1 to 3 coats of acrylic paint for a prettier touch.
Allow the first coat of acrylic paint to dry before applying the second coat
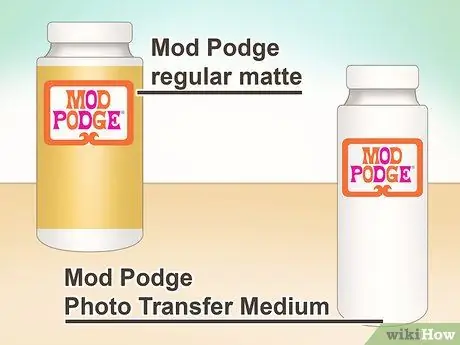
Step 3. Select the Mod Podge type
If you want the photo to be opaque (not see-through) and the wood grain to be invisible, use Mod Podge Photo Transfer Medium. If you want the photo to be transparent and the wood grain to be visible, use a regular matte Mod Podge.
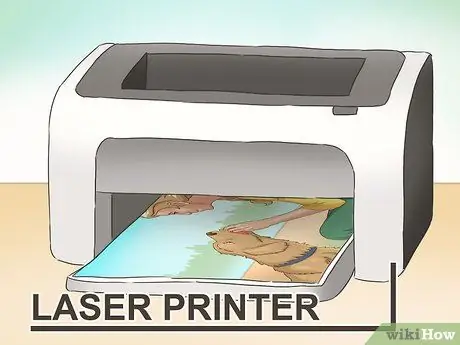
Step 4. Print photos using a laser printer and plain paper. Do not use an ink jet printer or photo paper because it will fail. You should use a laser printer and regular printer paper. If you don't have a laser printer, just use a laser copier.
- Your photo will turn upside down. If this bothers you, create a mirror version first using a photo editing program.
- If the image you want to transfer has a white border, it's best to just crop it, especially if it's a photo.
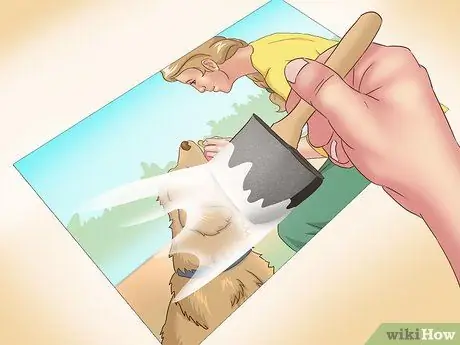
Step 5. Apply a thick layer of your chosen Mod Podge onto the surface of the photo
You can use a wide brush with a flat surface or a foam brush. Make sure Mod Podge is applied to the front of the photo, not the back. In addition, apply Mod Podge in large and thick quantities.
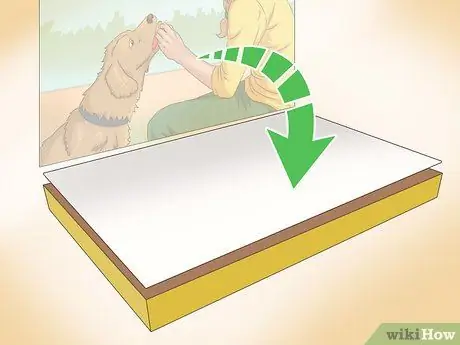
Step 6. Place the photo face down on a wooden surface
Align the entire back of the photo with the edges of a credit card or other hard object. Do it from the center out. Use a damp cloth to wipe any melted Mod Podge out from under the photo.
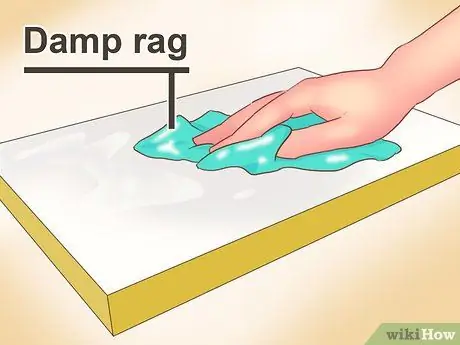
Step 7. Let the photo dry, then wet the back with a damp cloth
Let the photo and wood dry for 24 hours. Once dry, cover the back of the photo with a damp cloth. You are ready for the next step once the paper gets wet. This step only takes about 5 minutes.
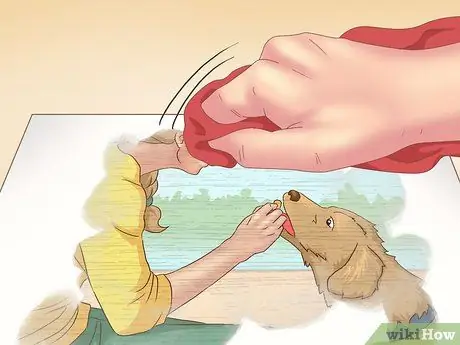
Step 8. Scrub the paper until it peels off the wood
You can do this with your fingers or with a damp cloth or sponge. Rub gently and in a circular motion. If you rub too hard, the photo may peel off too.
- Rinsing the wood under running water will help remove any clumps of paper.
- If there is still paper residue, allow the wood to dry, then repeat the above process.
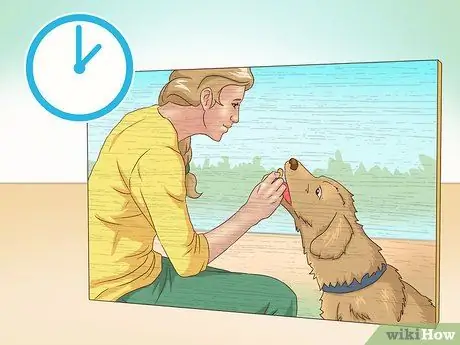
Step 9. Allow the wood to dry
The time it takes is approximately 1 hour. Once dry, you can move on to the next stage. You can also make a photo look old by lightly scraping the edges with sandpaper.
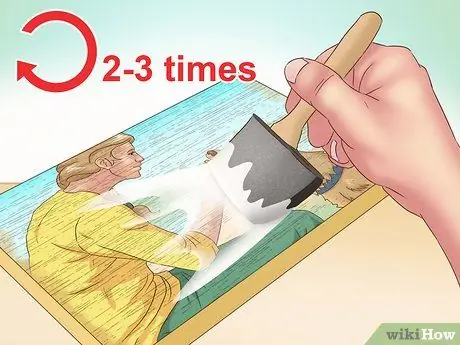
Step 10. Apply 2 to 3 coats of regular Mod Podge
Apply Mod Podge all the way to the edges of the photo and onto the wood surface. This will help seal the photo better. Leave the first coat for 15-20 minutes to dry before applying the next coat. Allow the second layer to dry and if necessary, add a third layer.
- At this stage, you can use Mod Podge with different finishes such as glossy or satin.
- Alternatively, you can seal the transferred photo with a clear acrylic covering.
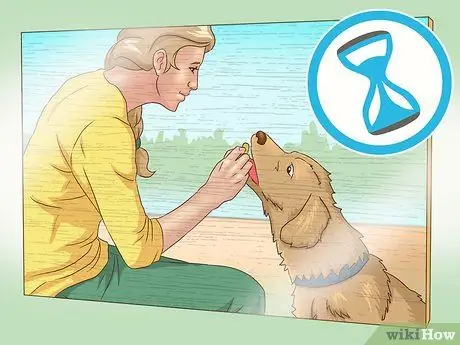
Step 11. Allow the Mod Podge to dry completely
Mod Podge usually takes some time to solidify. So, check the label to be sure. Once the Mod is dry and solid, the wood is ready to use. Be patient! If the wood is used before it is dry and solid, the Mod Podge may turn sticky.
For this method, it is not recommended that you transfer photos to multiple wooden surfaces at once. If exposed to water and wet, Mod Podge may melt
Tips
- If you don't like your current Mod Podge finish, just let it dry, then apply a different kind of Mod Podge on top.
- You can find a lot of plain wood at craft and art stores.
- Choose a memorable photo, then gift the result as a keepsake.
- Be patient. Give each layer of Mod Podge time to dry before applying the next coat. Otherwise, Mod Podge can get sticky.


