- Author Jason Gerald gerald@how-what-advice.com.
- Public 2023-12-16 10:50.
- Last modified 2025-01-23 12:04.
One of the benefits of the Android operating system is the flexibility and ease of features and applications. One of the features of Android is being able to back up your phone's SMS to your email account. With SMS Backup+, you can not only save and restore SMS to and from emails, but also view SMS in the form of conversation threads in your inbox.
Step
Method 1 of 2: Saving Text Messages with Gmail
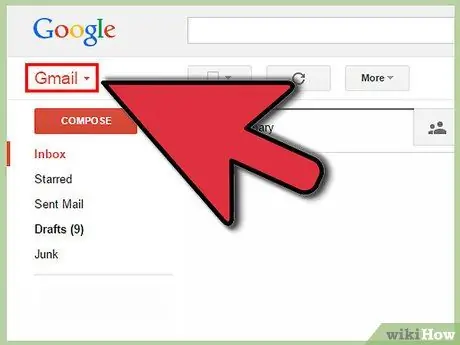
Step 1. Open Gmail in your web browser
SMS Backup+ is not only unique in that it backs up your SMS, but also sends them all to your email account as easy-to-read email threads (most other similar backup apps save SMS as hard-to-read coded files). This method is easiest to do with a Gmail account. Create a Gmail account if you don't have one, then sign in to your Gmail account in a web browser.
If you don't like using Gmail, you can have the Gmail email sent to an email address of your choice. More advanced users can set SMS Backup+ to work at any email address that uses an IMAP server
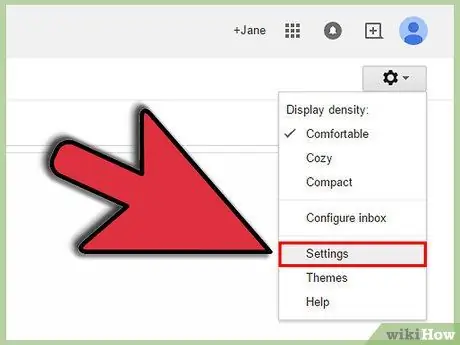
Step 2. Open Gmail settings
To work with Gmail, SMS Backup+ requires you to enable a setting named "IMAP" in Gmail. IMAP access basically allows outside programs and applications to make and receive changes from your email account. Click the gear icon in the area on the top right (below your profile picture and notifications) and select "Settings" from the drop-down menu.
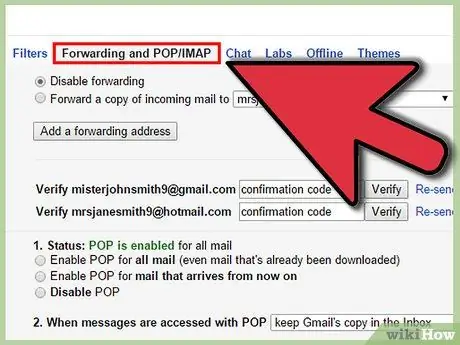
Step 3. Open Forwarding and POP/IMAP settings
Click "Forwarding and POP/IMAP settings" from the menu at the top of the Gmail settings page.
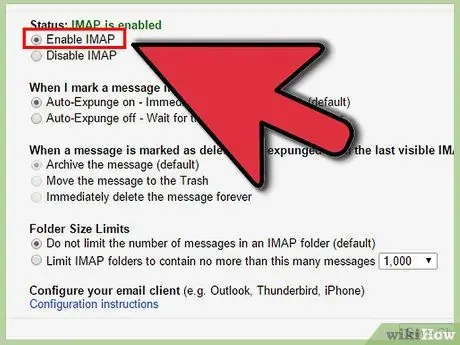
Step 4. Enable IMAP
Look for the IMAP Access section on the Forwarding and POP/IMAP settings page. Make sure the circle to the left of "Enable IMAP" is selected.
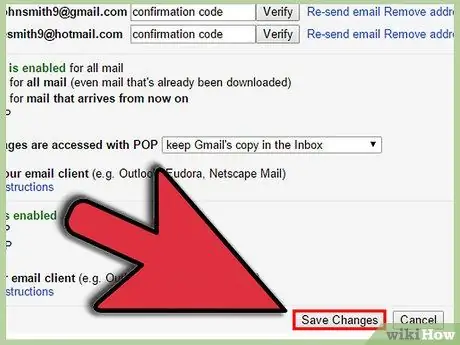
Step 5. Save changes
Make sure you scroll to the bottom of this settings page and click Save Changes.
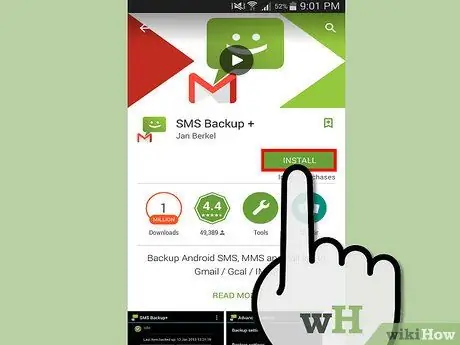
Step 6. Download and install SMS Backup+ from Google Play Store
Go to Google Play Store and search for SMS Backup+ to install this app. The correct app displays its developer name i.e. "Jan Berkel" below the app name.
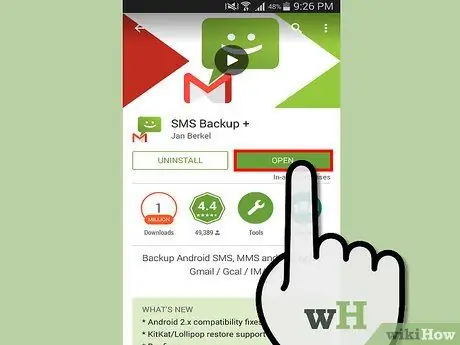
Step 7. Connect SMS Backup+ to your Gmail account
Open this app and tap Connect (it is the first option under Backup and Restore). Select your Gmail account from the list of existing accounts. Your device will ask for permission so this app can access your Google account. Tap Grant Access. If your account doesn't appear, add it by doing the following:
- Open the Settings app on your phone.
- Look for the Accounts section under Settings.
- Tap " Add account " in the Accounts section.
- Tap Google on the page that appears.
- Tap Existing on the Add a Google Account page.
- Log in using your Gmail account name and password.
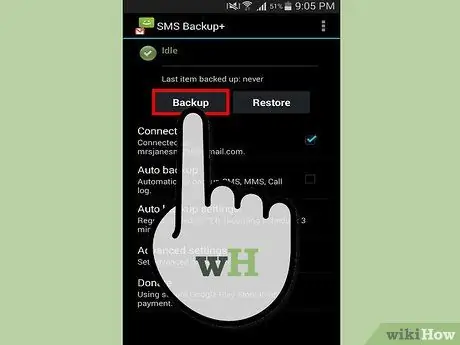
Step 8. Backup your SMS
Tap Backup to back up all your SMS. This process can take a few minutes or more, depending on the number of messages being backed up. The progress of the app will show in this app itself as well as in the notification area of the phone.
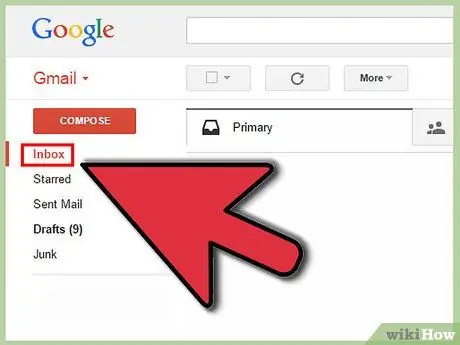
Step 9. View the SMS that have been backed up in Gmail
Open Gmail from your web browser and click on the SMS label. Backups made by this app are sent to your Gmail inbox and labeled "SMS". Look for SMS labels in Gmail's left pane and click, or type label:SMS into Gmail's search box and press Enter.
If you use an email client to view Gmail such as Outlook or Thunderbird, or you forward your Gmail emails to another email account, the saved SMS will appear there
Method 2 of 2: Saving Text Messages Without Gmail
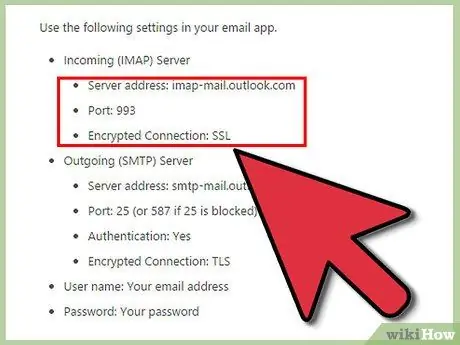
Step 1. Find your email server address and port number
While using a Gmail account to store and view SMS would be much easier, more advanced users can set up the backup app to work with any email provider as long as it uses IMAP to send and receive email. IMAP access essentially allows your external programs and applications to make and receive changes from your email account. IMAP server and port numbers can be found by doing an internet search (look for something like Hotmail IMAP settings or Comcast IMAP settings). If you use an email client such as Outlook, Thunderbird, or Apple Mail, this information can also be found in your Account Settings in the " Incoming mail server " column.
- Common IMAP server names are imap-mail.outlook.com for Microsoft-based email addresses and imap.mail.yahoo.com.
- Most IMAP servers use socket number 993.
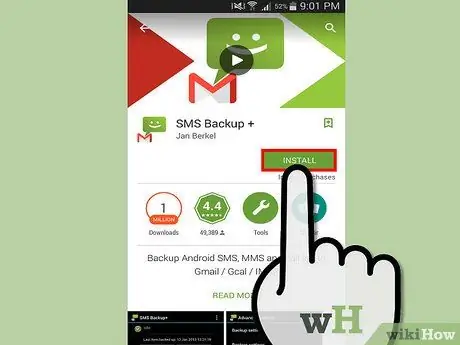
Step 2. Download and install SMS Backup+ from Google Play Store
SMS Backup+ is not only unique in that it backs up your SMS, but also sends them all to your email account as easy-to-read email threads (most other similar backup apps save SMS as hard-to-read coded files). Open the Google Play Store and search for SMS Backup+ to find the installation file for the app. The correct application displays the name of the developer which is "Jan Berkel" below the application name.
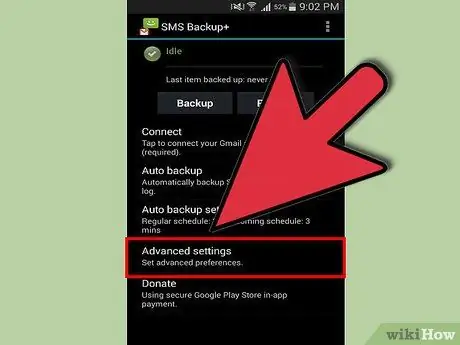
Step 3. Open Advanced settings
Open the app and tap on “Advanced settings” near the bottom.
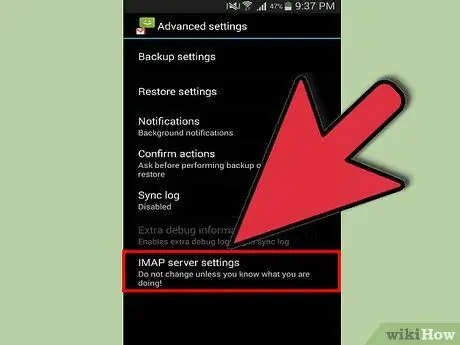
Step 4. Open IMAP server settings
Tap on IMAP server settings which is the last option.
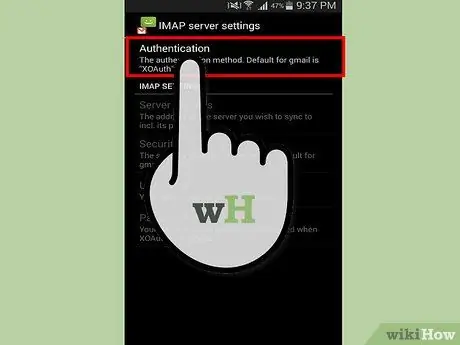
Step 5. Tap on Authentication and select Plain text
This option allows you to enter email settings other than Google.
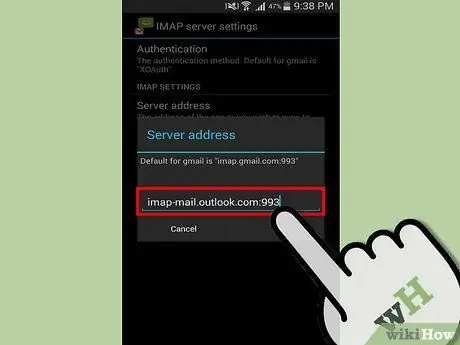
Step 6. Tap Server address
Enter the IMAP settings you found earlier in this format: address:socketnumber. For example: imap-mail.outlook.com:993. Tap OK when done.
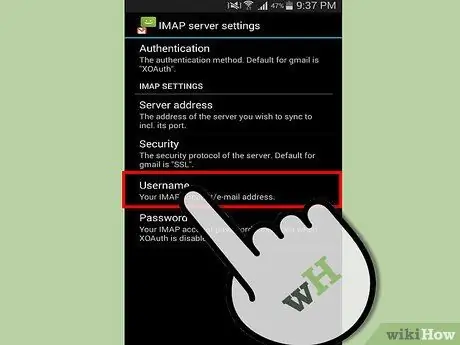
Step 7. Tap "Your IMAP account/e-mail address"
Enter your email address here, then tap OK.
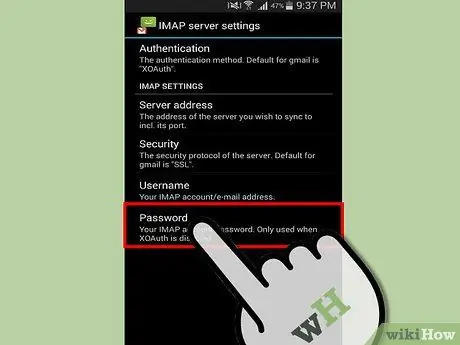
Step 8. Tap Password
Enter your email password here, then tap OK.
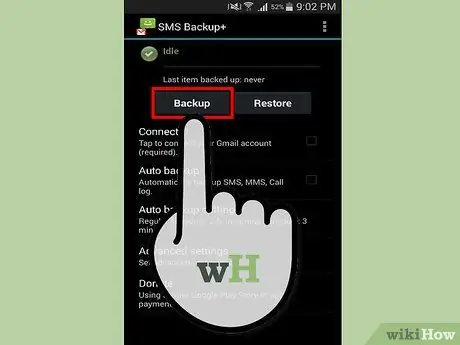
Step 9. Backup your SMS
Tap Backup to back up all your SMS. This process can take a few minutes or more, depending on the number of messages being backed up. The progress of the application will appear in this application itself and also in the notification area of the phone.
If an "Unknown certificate" error message appears during the process, go back to IMAP server settings and tap Security, then tap "SSL (option/trust all)"
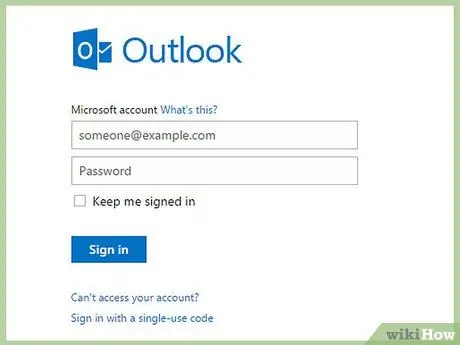
Step 10. View the SMS that have been backed up in your email account in the directory labeled "SMS"
You can also search for saved SMS by searching for it in your email with the keyword SMS with.


