- Author Jason Gerald gerald@how-what-advice.com.
- Public 2023-12-16 10:50.
- Last modified 2025-01-23 12:04.
MEGA Sync Client allows you to access, manage, and sync files on your Windows computer to MEGA cloud storage. With this desktop application, you no longer need to use a web browser, find files online, and upload and download files manually. File synchronization between desktop and cloud storage will take place in the background. To use MEGA Sync Client on Windows, you must download, install, and set up the application as needed. After setting up the application, you can manage MEGA local files and folders.
Step
Method 1 of 4: Downloading and Installing MEGA Sync Client
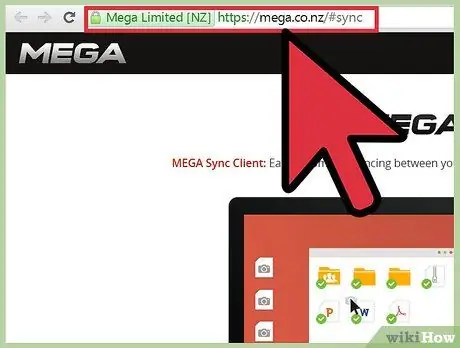
Step 1. Visit https://mega.co.nz/#sync to access the download link for the Windows version of MEGA Sync Client
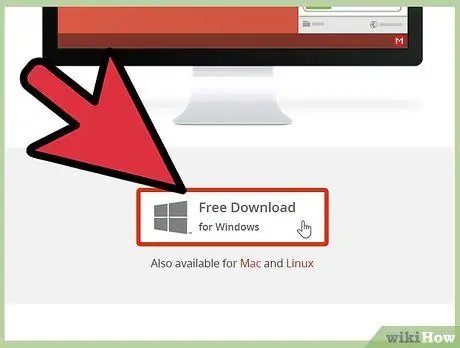
Step 2. Download MEGA Sync Client by clicking the box with the Windows logo and the text “Free Download for Windows.” The installation file will be downloaded to the computer.
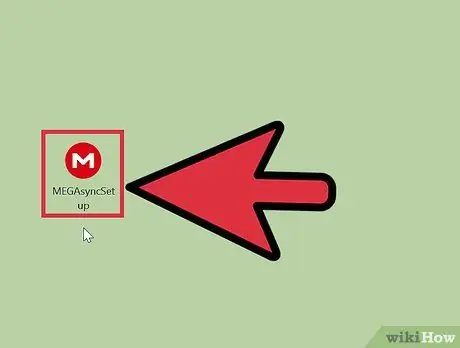
Step 3. Once the download is complete, install the MEGA Sync Client by finding and double clicking the installation file
This file has the name "MEGASyncSetup.exe".
Method 2 of 4: Setting up MEGA Sync Client
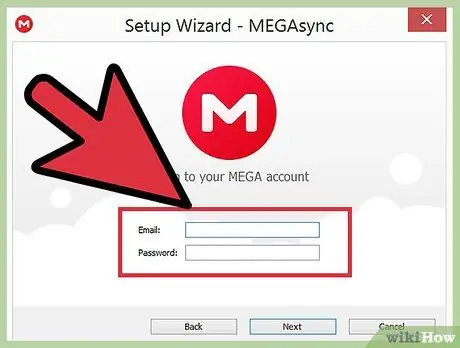
Step 1. Log in to your MEGA account
Before the installation is complete, you will be asked to log in to your MEGA account. The program will use the account information to retrieve files from your MEGA repository. Enter your username and password, then click "Next".
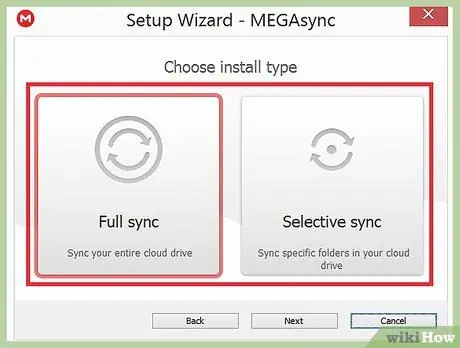
Step 2. Select the type of installation
Once the account is verified, you will be asked to select the option “Full account sync” or “Selective sync.”
- The "Full account sync" option will sync the entire contents of your MEGA account to your computer, while "Selective Sync" will only sync selected files from the cloud drive.
- Click the radio button to select a sync type, then select "Next".
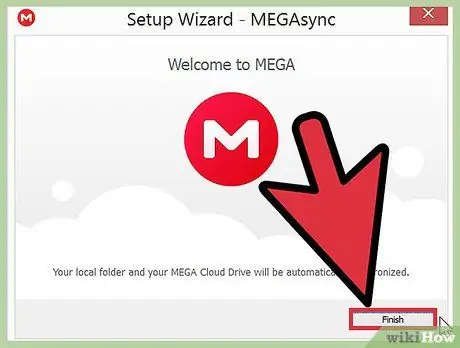
Step 3. Complete the installation
After the configuration is complete, click "Finish". Now, your MEGA cloud drive will be synced or reflected to a specific folder on your computer.
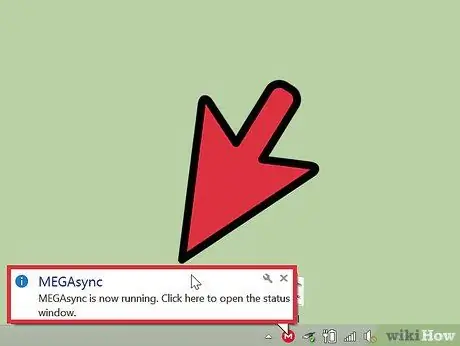
Step 4. Let the MEGA sync process run
As long as MEGA Sync Client is running in the background, the application will display a circle "M" icon in the notification bar at the bottom right of the desktop. When MEGA Sync Client is running, the application will sync files in MEGA local folder and MEGA cloud folder.
Method 3 of 4: Setting up MEGA Local Files
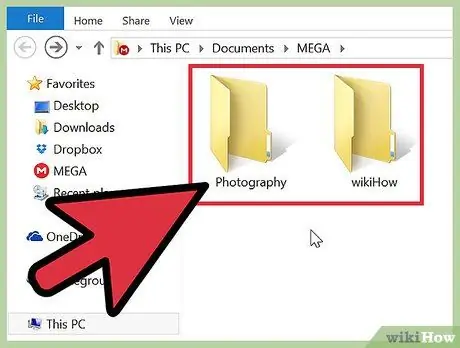
Step 1. Add files
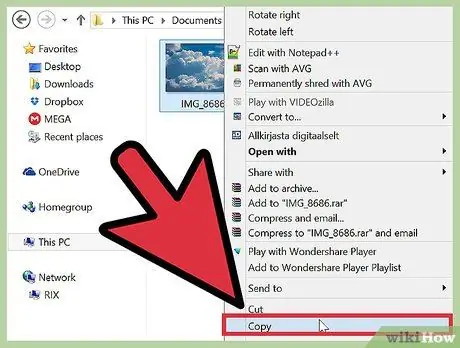
If you want to upload files to your MEGA account for storage, backup, or sync reasons, copy the files you want to upload to the MEGA folder as usual. You can drag files to the MEGA folder, or use shortcuts to copy/move files.
All files that you copy to the MEGA folder will be uploaded and saved to your MEGA account automatically
Step 2. Move the file
As described in step 1, you can move and copy files in the local MEGA folder as usual. You can click the file and copy (Ctrl+C) or cut (Ctrl+X) and paste (Ctrl+V) the file as usual.
All changes you make to the MEGA local folder will be synced to the MEGA cloud drive
Step 3. Delete the file
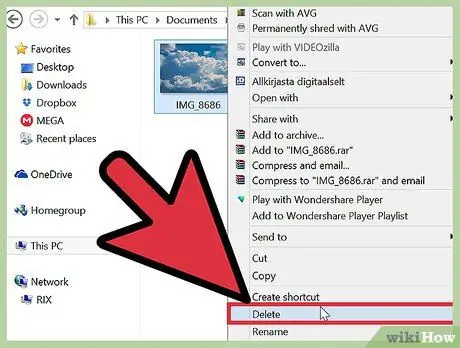
As described in step 1, you can delete files in the MEGA local folder as usual. You can click the file and press "Delete" on your keyboard to delete it, or drag the file to the Recycle Bin.
All files that you delete from the MEGA local folder will also be deleted from the MEGA cloud drive
Method 4 of 4: Setting up a MEGA Local Folder
Step 1. Add folders
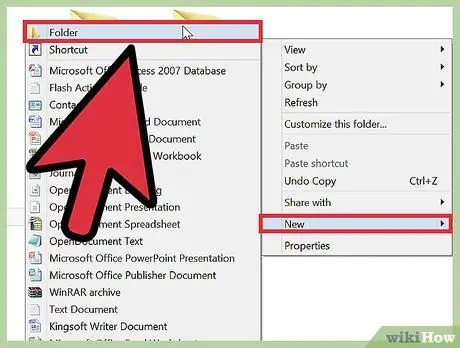
If you want to add folders to make the files more organized/structured, create a folder as usual in the local Mega folder. You can right-click a folder and select "New > Folder" from the context menu to create a new folder. After creating the folder, give the folder a name.
New local folders that you create locally in the MEGA local folder will also be uploaded to the MEGA drive. Once your folder is created, you can add, move, and copy files to it by following the steps in section 3
Step 2. Move the folder
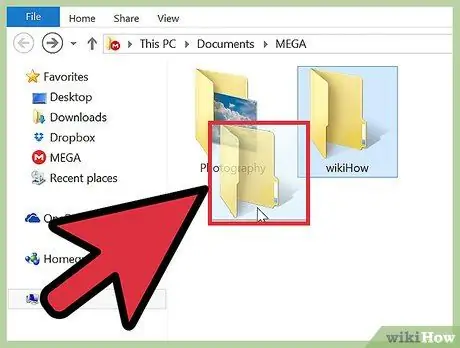
As described in step 1, you can copy and move folders in the MEGA folder as usual. If you don't want to add individual files to the MEGA folder, you can copy or move the whole folder.
All files in the folder you copy/move will also be uploaded to the MEGA drive. Any changes you make to the local MEGA folder will also be uploaded to the drive
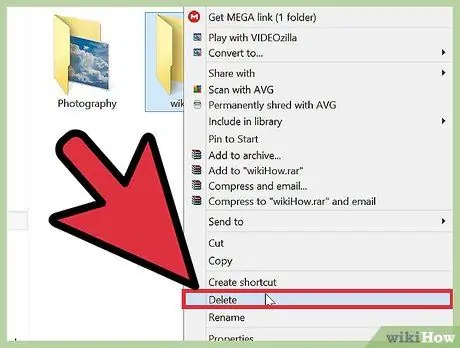
Step 3. Delete the folder
As described in step 1, you can delete folders in the MEGA local folder as usual. You can click the file and press "Delete" on your keyboard to delete it, or drag the file to the Recycle Bin.


