- Author Jason Gerald [email protected].
- Public 2024-01-15 08:07.
- Last modified 2025-01-23 12:04.
This wikiHow teaches you how to sync other calendar entries to the Outlook app on your Android phone or tablet. Outlook allows you to sync web-based calendar entries and internet (cloud) storage space from Exchange, Gmail, iCloud, Yahoo accounts, to other Outlook accounts. You can also sync calendar entries from other Android apps that feature calendar features, such as Facebook, Evernote, Meetup, and Wunderlist.
Step
Method 1 of 4: Syncing Entries from Different Accounts
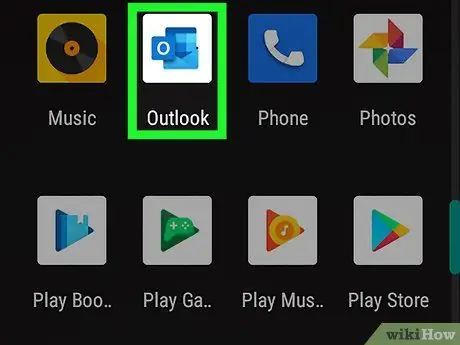
Step 1. Open Outlook on the Android device
This app is marked by a blue icon with the letter “O” and an envelope. Usually, you can find this icon on your home screen or app drawer. If you don't have the Outlook app yet, you can download it for free from the Play Store.
Follow this method for sync online calendar entries from other accounts, like Gmail, iCloud, Exchange, Yahoo, or even a different Outlook account. To sync calendar entries from Android apps that have calendar features built in (eg Wunderlist, Meetup, Facebook, or Evernote), read this method.
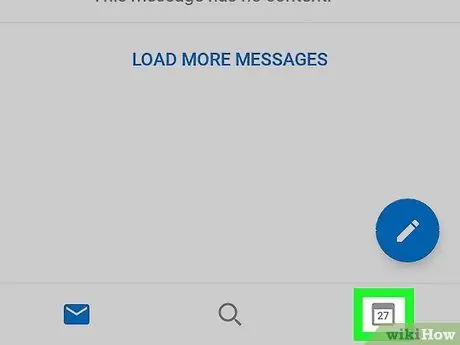
Step 2. Touch the calendar icon
It's in the lower-right corner of the screen.
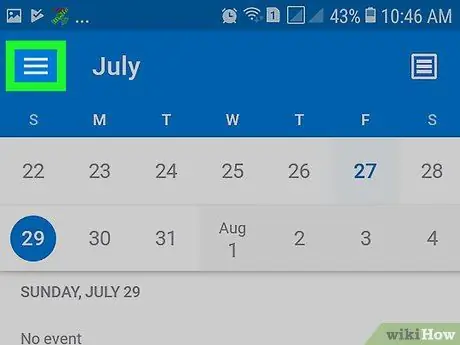
Step 3. Touch the menu icon
It's in the top-left corner of the screen.
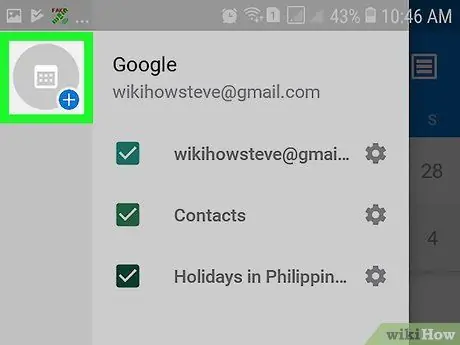
Step 4. Touch the “Add calendar” icon
This icon is indicated by a calendar image with a plus symbol (“ + ”) is blue and white in the top-left corner of the menu.
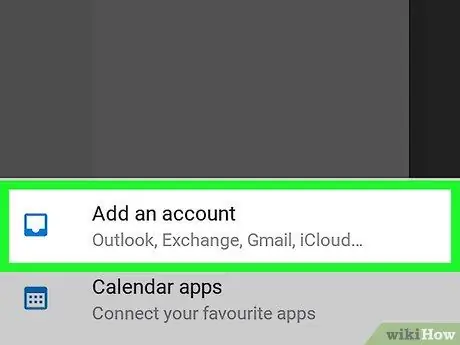
Step 5. Touch Add an account
This option is the first option in the pop-up menu at the bottom of the screen.
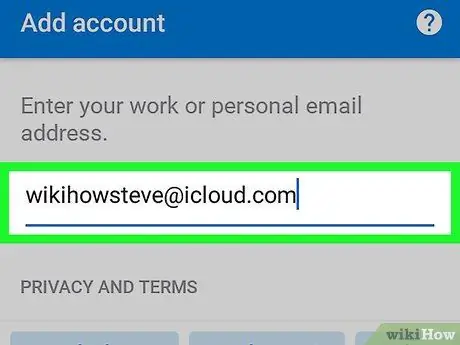
Step 6. Type in the email address and tap Add Account
You will need to use the email address associated with the added account. The login page for the selected account will be displayed afterwards.
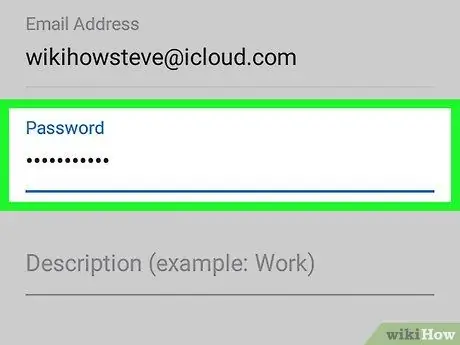
Step 7. Follow the on-screen instructions to log in to the account
The steps that need to be followed to access the account will depend on the type of account added.
- Gmail: Touch Next, enter the password, and select the Next button again. Swipe the screen and touch Allow to allow Outlook to access the calendar entries in the Gmail account.
- iCloud: If you have two-factor authentication enabled, sign in to your iCloud account at https://appleid.apple.com, then click Generate Password in the " Security " section to generate an Outlook app-specific password. You will need to enter the password in the Outlook window before you can add calendar entries.
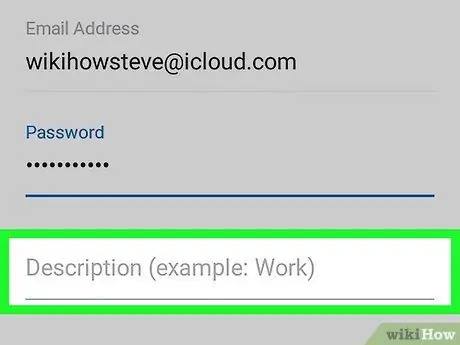
Step 8. Enter a description (optional)
This description is for reference only.
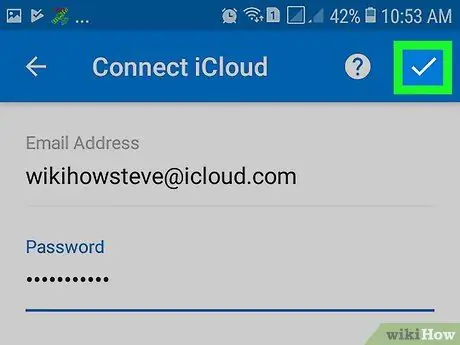
Step 9. Touch the tick icon
It's in the upper-right corner of the screen. The account will be saved to Outlook and the calendar entries will be synced.
- As long as the device is connected to the internet network, calendar entries will be synchronized automatically.
- To customize the calendar entries that are allowed to show in Outlook, touch the button in the top left corner of the calendar, then touch the check icon next to the calendar to show/hide it.
- You can change the color of the calendar by touching the gear icon next to its name, and choosing a different color.
Method 2 of 4: Syncing Entries from Apps with Built-in Calendar Feature
Step 1. Open Outlook on the Android device
This app is marked by a blue icon with the letter “O” and an envelope. Usually, you can find this icon on your home screen or app drawer.
- Follow this method if you want to sync calendar entries from an app that has a built-in calendar feature. Supported apps include Facebook, Evernote, Wunderlist, and Meetup. If you want to sync calendar entries from another online service (eg Gmail, Yahoo, a different Outlook account, iCloud, or Exchange server), read this method.
- If you don't have the Outlook app yet, you can download it for free from the Play Store.
Step 2. Touch the calendar icon
It's in the lower-right corner of the screen.
Step 3. Touch the menu icon
It's in the top-left corner of the screen.
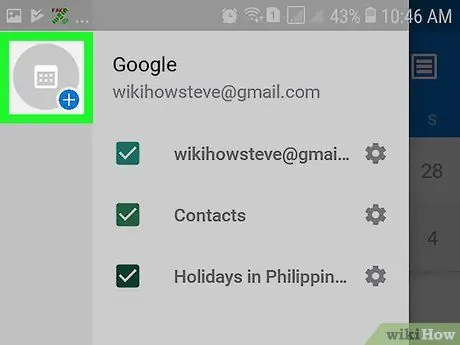
Step 4. Touch the “Add calendar” icon
This icon is indicated by a calendar image with a plus symbol (“ + ”) is blue and white in the top-left corner of the menu.
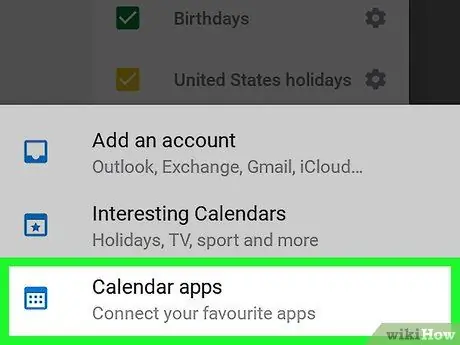
Step 5. Touch Calendar apps
This option is at the bottom of the screen. A list of apps with built-in calendar features that can be synced with Outlook will be displayed.
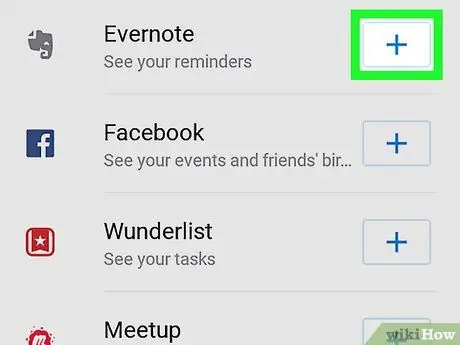
Step 6. Touch next to the desired app
The selected application or login page will be displayed.
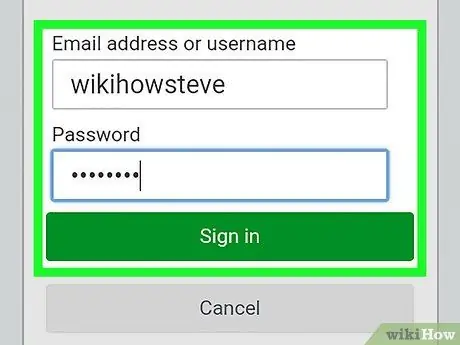
Step 7. Go to the selected application
Follow the on-screen prompts to enter the service from the selected application when prompted. Not all apps require you to sign in to the service.
If you want to sync calendar entries from Facebook and are already logged into your account on the Facebook app on your device, you can tap the “ Continue as [Your Name] or “Continue as [Your Name]”, without having to enter the account password.
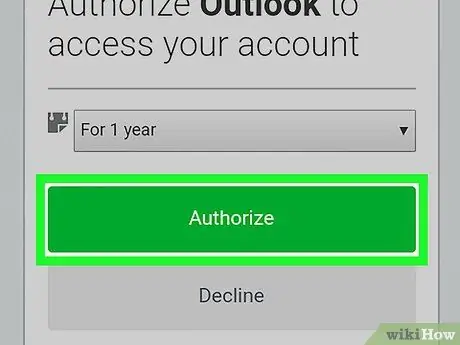
Step 8. Follow the on-screen instructions to sync calendar entries
For example, if you want to sync calendar entries from Facebook, you need to authorize Outlook to access the calendar entries. Once the entries are synced, a blue tick will appear next to the entry name.
- As long as the device is connected to the internet network, calendar entries will be synchronized automatically.
- To customize the calendar entries that are allowed to show in Outlook, touch the button in the top left corner of the calendar, then touch the check icon next to the calendar to show/hide it.
- You can change the color of the calendar by touching the gear icon next to its name, and choosing a different color.
Method 3 of 4: Syncing Interesting Calendar Entries from Bing
Step 1. Open Outlook on the Android device
This app is marked by a blue icon with the letter “O” and an envelope. Usually, you can find this icon on your home screen or app drawer.
- Use this method to sync any of the interesting calendar entries from Bing to your Android device. This entry includes the schedule of sporting events, television shows, and events or celebrations.
- If you don't have the Outlook app yet, you can download it for free from the Play Store.
Step 2. Touch the calendar icon
It's in the lower-right corner of the screen.
Step 3. Touch the menu icon
It's in the top-left corner of the screen.
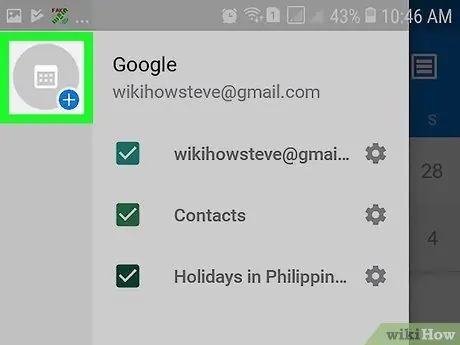
Step 4. Touch the “Add calendar” icon
This icon is indicated by a calendar image with a plus symbol (“ + ”) is blue and white in the top-left corner of the menu.
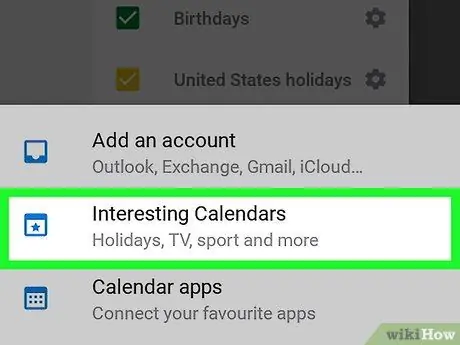
Step 5. Touch Interesting Calendars
This option is the second option in the menu at the bottom of the screen. Various categories of public calendars from Bing will be displayed.
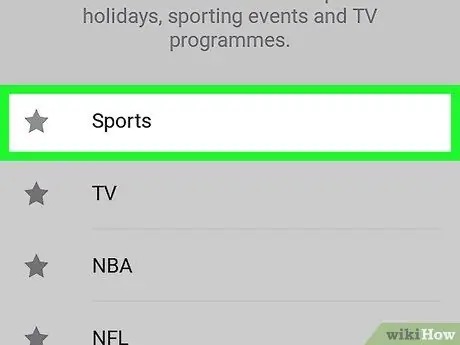
Step 6. Touch the calendar category
A list of subcategories will be displayed.
For example, touch the category “ TV ” to display a list of categories by time zone.
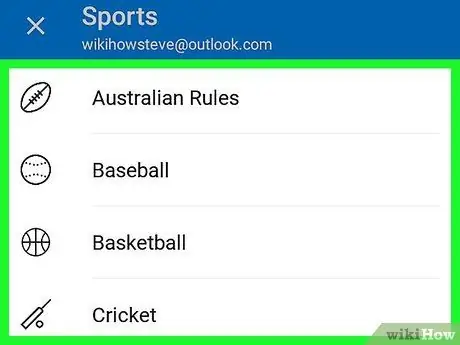
Step 7. Touch a subcategory
After that, a list of calendars that fall into the selected category will be displayed.
For example, touch the time zone in the “TV” category to display a list of scheduled television shows that can be synced. The “Sports” category has subcategories for different types of sports. Each sport itself has additional subcategories for different leagues
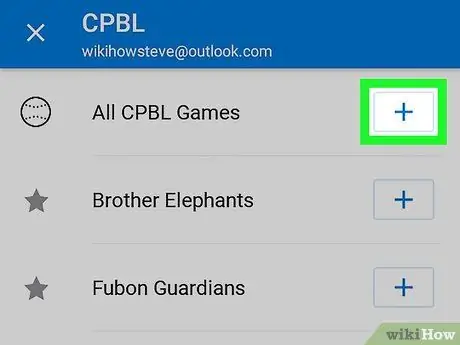
Step 8. Touch on the calendar
It's to the right of the calendar name. After that, the selected calendar will be added to Outlook.
- To customize the calendar entries that are allowed to show in Outlook, touch the button in the top left corner of the calendar, then tap the check icon next to the calendar to show/hide it.
- You can change the color of the calendar by touching the gear icon next to its name, and choosing a different color.
Method 4 of 4: Resolving Sync Issues
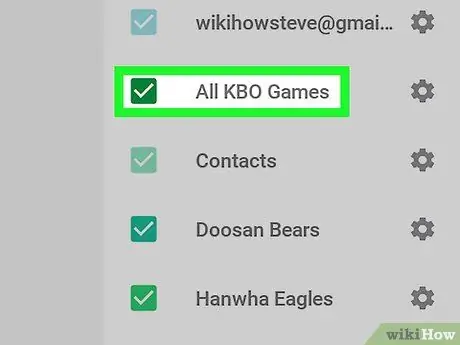
Step 1. Make sure the calendar is set to show all entries
If you don't see any events or bookmarks from your synced calendars (or maybe all calendars), follow these steps:
- Open Outlook and touch.
- Check the " Calendar " option under the " Calendar " heading (if it's not already marked).
- Add a check to the other calendars you want to display.
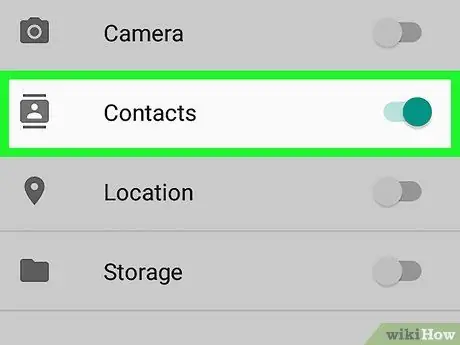
Step 2. Enable access to contacts
If events or calendar entries don't display properly, follow these steps to make sure Outlook has permission to view the device's contact list:
-
iPhone/iPad:
- Open Settings.
- Swipe the screen and touch Outlook.
- Make sure the toggles next to the " Contacts " and " Background App Refresh " options are on or " On " (green).
-
Android (menu name varies by device model):
- Open Settings.
- Touch Applications and select Outlook.
- Enable the "Contacts" option if you haven't already.
- Return to the Outlook application and touch the icon.
- Touch the gear icon.
- Select an account.
- Touch Sync Contacts.
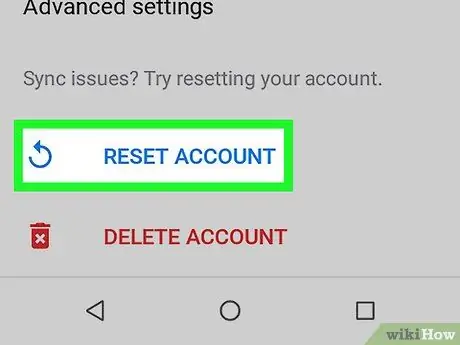
Step 3. Reset Outlook account
If the calendar entries are still not syncing properly, follow these steps to reset the account in the Outlook app:
- Open Outlook and touch the menu.
- Touch the gear icon.
- Select an account and touch Reset Account.
- If the calendar still won't sync after a few minutes, delete and re-add the account.


