- Author Jason Gerald [email protected].
- Public 2023-12-16 10:50.
- Last modified 2025-01-23 12:04.
CSV or “comma separated values ” files allow you to store data in a structured tabular format which is useful when you need to manage large databases. CSV files can be created using Microsoft Excel, OpenOffice Calc, Google Spreadsheets, and Notepad.
Step
Method 1 of 2: Using Microsoft Excel, OpenOffice Calc, and Google Spreadsheets
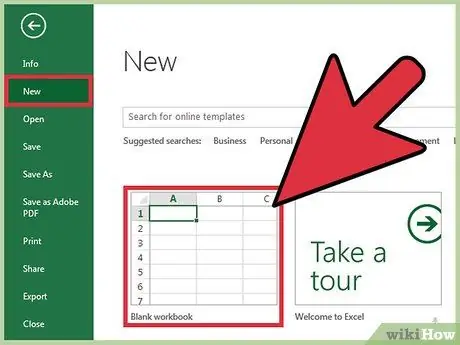
Step 1. Open a new spreadsheet in Microsoft Excel, OpenOffice Calc, or Google Spreadsheets
If you want to convert your existing spreadsheet into CSV format, skip to step four
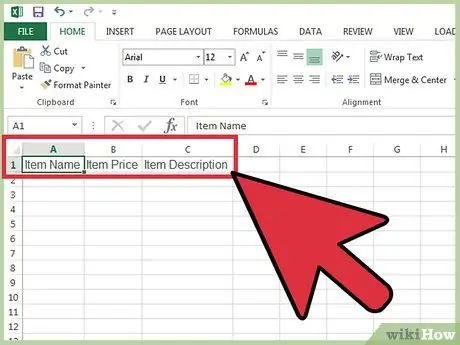
Step 2. Type each column heading or name into the boxes in row 1 at the top of the worksheet
For example, if you want to enter data for goods sold, type "Item Name" in box A1, "Item Price" in box B1, "Item Description" in box C1, and so on.
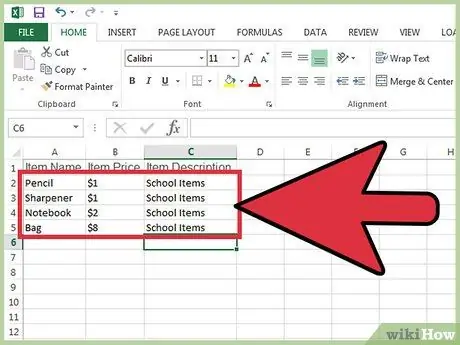
Step 3. Enter the data on the spreadsheet under each column as needed
With the example described in the second step, write the name of the item in box A2, the price of the item in box B2, and the item description in box C2.
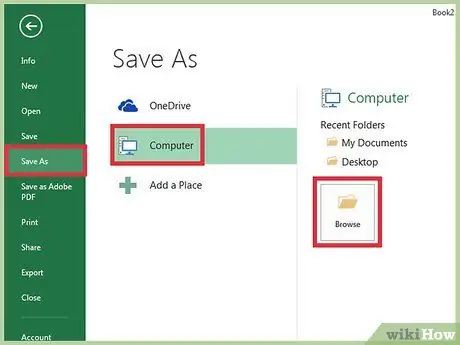
Step 4. Click the “File” menu and select “Save As” after entering all data on the spreadsheet
If you are using Google Sheets, the option to select is “File > Download as”.
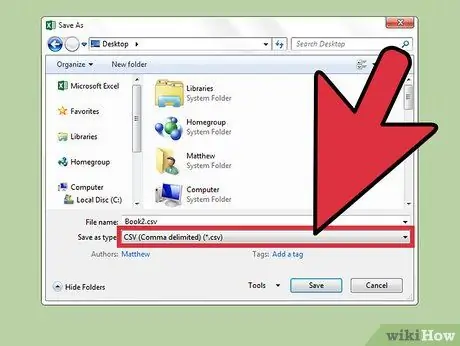
Step 5. Select “CSV” from the “Save as type” drop-down menu
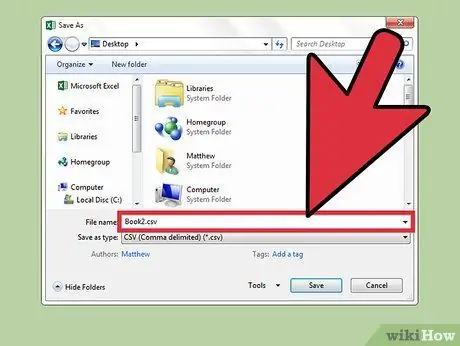
Step 6. Type in the name of the CSV file, then select “Save”
You've now created the CSV file, and a comma will automatically be added to the file to separate each column.
Method 2 of 2: Using Notepad
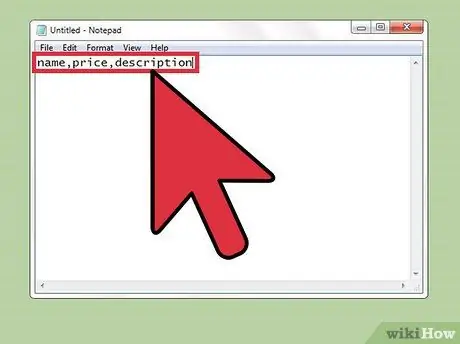
Step 1. Launch Notepad and type the names of the columns separated by commas on the first line
For example, if you want to enter data for items for sale, type the following entry into the first line of the document: “name, price, description.” Keep in mind that there should be no spaces between each column name.
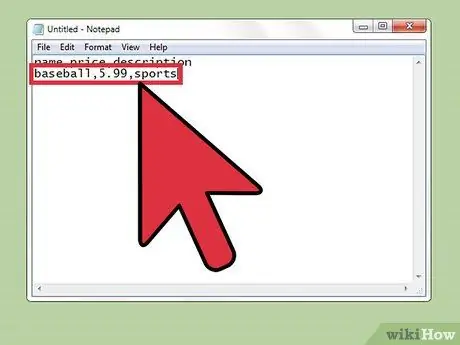
Step 2. Type the data in the second row using the same format as the column names in the first row
With the example described in step one, write the name of the item being sold, followed by the price and description of the item. For example, if you sell biscuits, type in “biscuits, 10,000, snacks.”
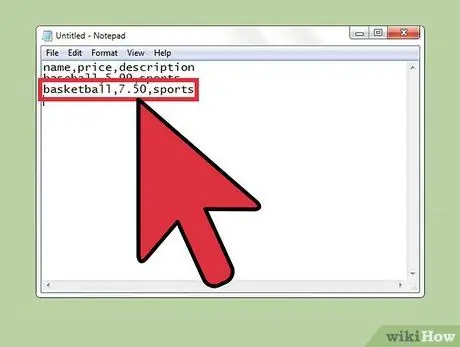
Step 3. Keep entering data for each product in the following rows
If there are fields that you want to leave blank, make sure you keep the commas. Otherwise, the other columns will not be displayed because that one column is empty.
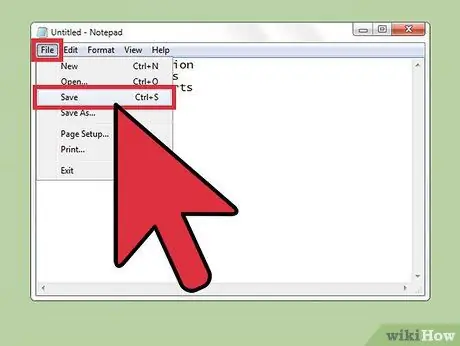
Step 4. Click the “File” menu and select “Save”
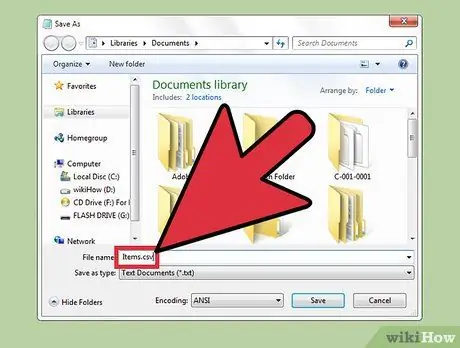
Step 5. Type in a file name and select “.csv” from the extension drop-down menu
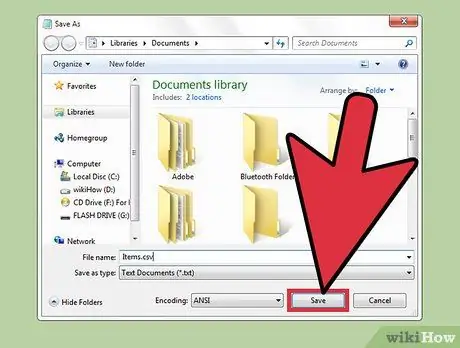
Step 6. Click “Save”
You have now successfully created a CSV file via Notepad.


