- Author Jason Gerald [email protected].
- Public 2023-12-16 10:50.
- Last modified 2025-01-23 12:04.
LRC files are files for displaying lyrics on certain hardware or software while a song is playing. While there are various sites that offer LRC files for free, sometimes you have to create your own. This article will show you how to create an LRC file with any text editor.
Step
Method 1 of 2: Manually Generating LRC File
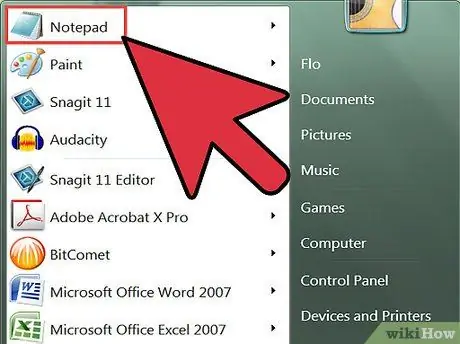
Step 1. Open any basic text editor, such as Notepad on Windows or TextEdit on Mac
LRC files are plain text files with some code in them.
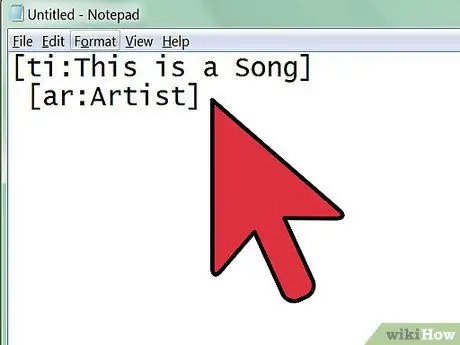
Step 2. Enter artist, song, and album information at the top of the LRC file
Use a special code so that the file is recognized by the music player.
-
Add the song title by writing it in square brackets and adding
ti:
before the title. For example, for a song called "Geboy Mujair", use the format
[ti:Geboy Mujair]
- . Use the song title as the first line of your LRC file.
-
Add the artist name following the same format as the song title. However, use the code
ar:
as an artist marker. For example, if you want to enter "Ayu Ting Ting", write
[ar:Ayu Ting Ting]
-
Follow the artist name and song title format above to add an album title, but use the code
al:
before the title. For example, format the album name "Still Ting Ting" with
[al:Still Ting Ting]
-
Add other additional information, such as name (with code
[by:Your Name]
), or composer (with code
[au:Composer Name]
- ). Not all lyric players can read this additional information.
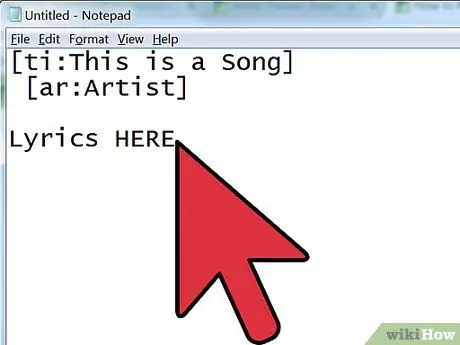
Step 3. Enter the lyrics by typing them or copying them from the lyrics site
Make a new line for each line of the sung lyrics.
Step 4. Open the song in the media player
You have to know when each line of the lyrics is sung, so you have to open the song in the media player which allows you to pause and play the song as needed, also able to display the playback time in milliseconds.
Step 5. Start adding timestamps to the lyrics
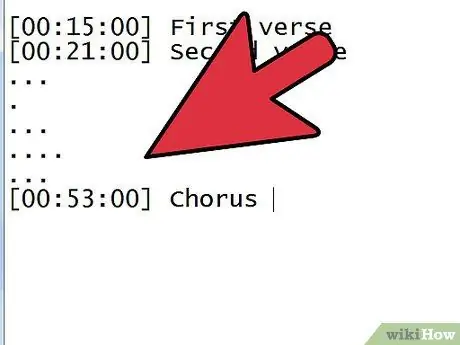
Play the song, then pause each time a new line of lyrics begins. Record the playback time in the media player, then place the cursor in front of the appropriate line in the LRC file.
-
Enter the playback time in square brackets. The lyric time format is divided into three, namely minutes, seconds, and milliseconds. If the lyrics start singing at the first minute, 32nd second, and 45th millisecond, write
[01:32:45]
OR
[01:32.45]
- .
- Most lyric players can only display 95 characters per line. If the lyrics of the song you entered are too long, you may need to separate them into new lines. If you want to display song lyrics word by word, mark when each word in the lyrics is sung.
-
You can remove the millisecond column, like
[01:32]
- .
- Sometimes, there are parts of the song that are repeated, such as choruses. You can add different timestamps to the same piece of lyrics so they don't have to be rewritten. For example: [01:26.03][01:56.24]”Digeboy, geboy mujair, nang ning nong, nang ning nong”.
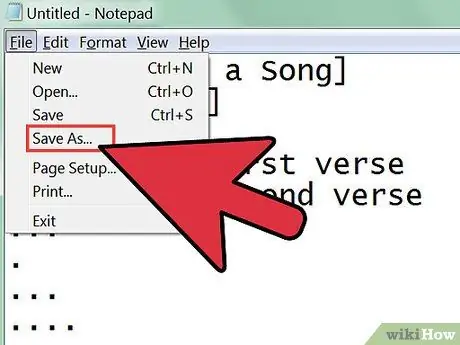
Step 6. After creating the timestamps for all lines of lyrics, save the file as an LRC file by clicking File > Save As
Once the file is saved, you can test it.
- Match the LRC file name with the song file name.
- Change the file extension to LRC by selecting the Save as type > All Files menu. Change the file extension from TXT to LRC.
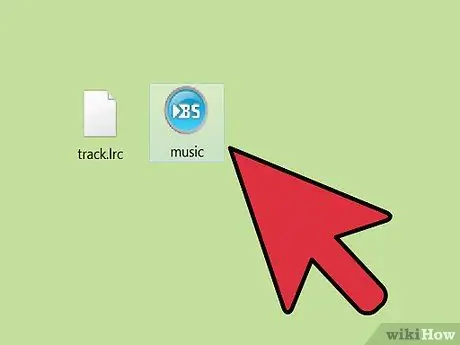
Step 7. Place the file in the same folder as the music file so that the media player can detect and load the LRC file
Step 8. Customize the file
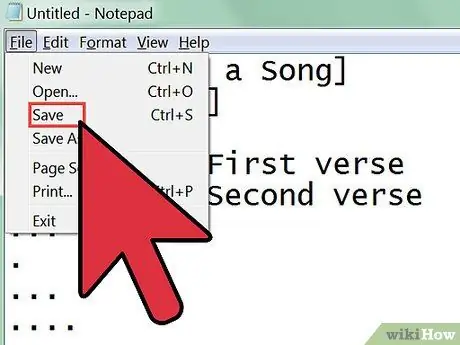
Once you've tested the file, adjust the timestamps if needed so that the lyrics appear at the right time.
Method 2 of 2: Creating an LRC File Using a Music Player Plugin
Step 1. Download and install the MiniLyrics plugin
This plugin will help you synchronize the lyrics.
- Go to the MiniLyrics download page.
- Click the download button.
- Run the installation program. This program will guide you through the MiniLyrics installation process.
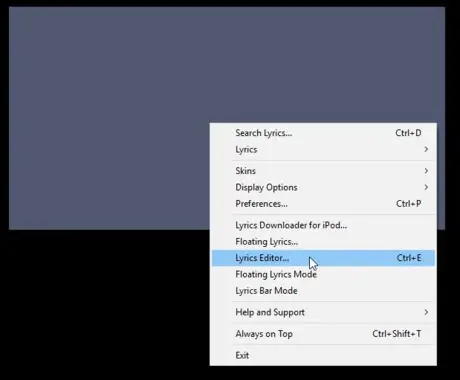
Step 2. Open your favorite music player
The MiniLyrics window should open.
- If not, try another music player like Windows Media Player, iTunes, VLC, Winamp, or Foobar2000.
- Right click on the window and select 'Lyrics editor…'.
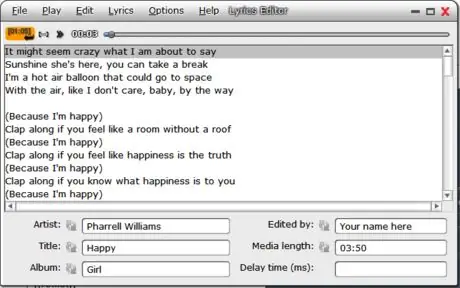
Step 3. Type or paste the lyrics of the song
- Be sure to remove annotations like "ref" or '[x2]'.
- Complete the song details.
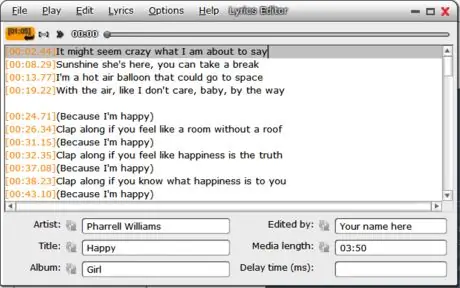
Step 4. Start playing the song
- When the song lyrics start singing, click the orange button. You can also press the F7 key.
- Repeat this step for each lyric until they are all labeled with a time.
Step 5. Once the lyrics are synced, click 'File', then 'Save as
..'. Specify a location to save the.lrc file and it will be saved there.


