- Author Jason Gerald gerald@how-what-advice.com.
- Public 2024-01-19 22:11.
- Last modified 2025-01-23 12:04.
Letterhead makes your document look more professional and official, and you don't have to spend a lot of money asking someone to do it. You can easily create your own letterhead, and all you need is a word processing program like Microsoft Word. This article will guide you through creating your own letterhead, as well as using the program's built-in letterhead templates if you need to create letterhead quickly.
Step
Method 1 of 2: Create Your Own Letterhead in Microsoft Word
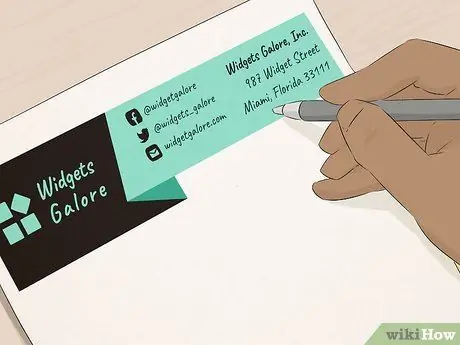
Step 1. Prepare a sketch of the letterhead design you want
Before making letterhead in Microsoft Word, it's a good idea to sketch it first to find out how well each element in the letterhead matches. Draw a letterhead design on a white sheet of paper.
- If you want to create company letterhead, make sure you provide a place to display the company's logo, name and address, and other contact information.
- You can also include a brief description or company slogan if you have one. The addition of a slogan (tagline) is recommended for business names that do not mention or indicate the main product or service offered.
- You can also include a company logo design.
- You may be able to use Microsoft Word's built-in template if you want a plain letterhead.
- You don't need to have a graphic design background to create professional-looking letterhead. However, it's a good idea to consult a professional designer if you're having trouble creating the perfect letterhead design.
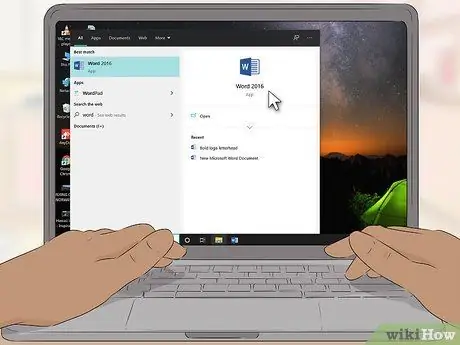
Step 2. Run Microsoft Word
Microsoft Word offers all the tools needed to create the right template. You can easily add elements to your letterhead design.
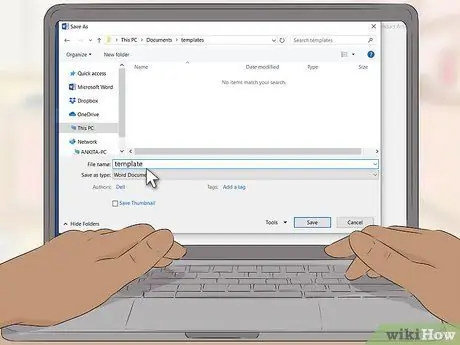
Step 3. Open a new Word document and save it as a template
Use the name "letterhead template 1" or something like that so you can find it easily, and save the file in the templates folder. You can open the document and print the designed letterhead whenever you need to.
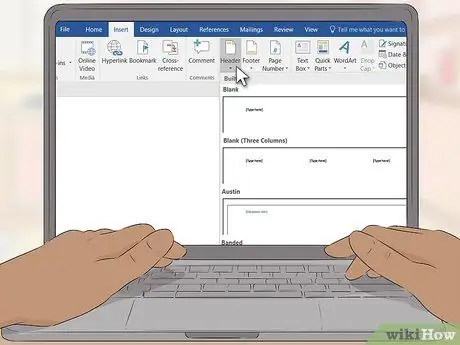
Step 4. Add the document header (header)
If you have Word 2007, select the " Insert " menu and click " Header ". Create a blank document header that acts as a “canvas” for the letterhead.
If you have Word 2003, you can view the document header by clicking the arrow under the “Header” command on the “Insert” tab. Click "Edit header" at the bottom of the drop-down list
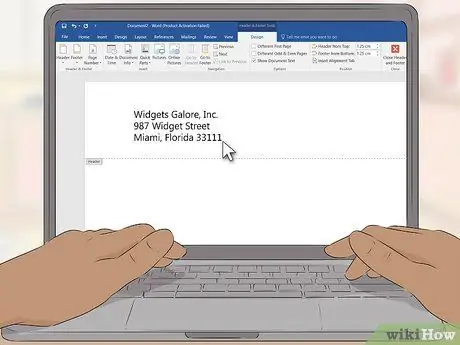
Step 5. Enter the letterhead text
For company letterhead, type your business name, address, phone number, fax number, website, and general email address (for customer inquiries) into the text fields. For personal letterhead, include the contact information you wish to include.
- Add a new line by pressing the “Enter” key after each section/information so that all elements or information on the letterhead are arranged in a stack.
- You can leave the website address blank if the address is already included in the logo design.
- Adjust font, color and text size for each element/information. For company names, the text must be two points larger than the address text, and may use different fonts and colors to match the logo header. Phone number, fax number, and email address entries must be two points smaller than address entries, but use the same font.
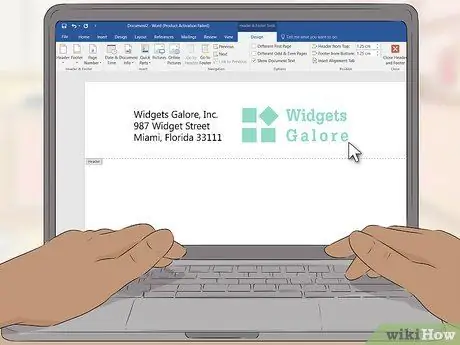
Step 6. Insert the logo into the document header
Select the “Picture” option on the “Insert” tab. Find a digital copy of your logo, select the logo file (in.jpg,.bmp, or-p.webp
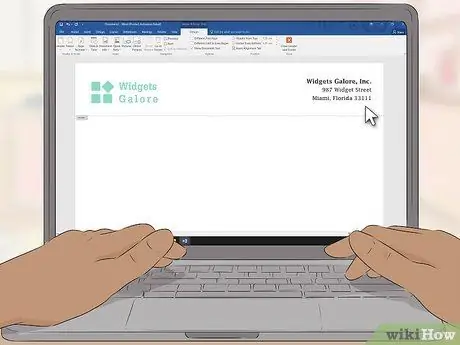
Step 7. Set the size and position of the added logo
Make sure the logo is clear and looks balanced with the text on the letterhead.
- Hover over one corner of the logo. The cursor will change to a diagonal resize cursor (diagonal resize). After that, click and drag the corner of the image to reduce or enlarge the logo.
- Balance the logo size against the contact information text in the upper left corner of the document header.
- Reposition the logo by clicking on it to select the image first, then clicking and dragging the logo to the desired position.
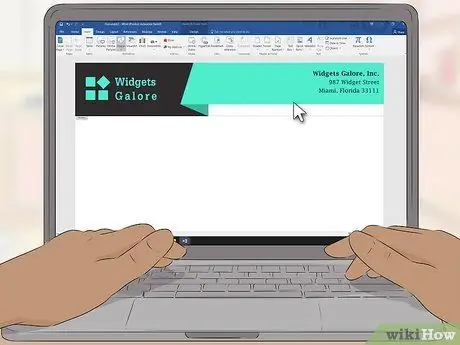
Step 8. Add other visual elements if you want
For example, you can separate company information from the rest of the page by inserting a solid line that runs from the left to the right margin, below the document header. You can also apply a color scheme to represent your company or personal style.
- Click the “Shapes” drop-down arrow button on the “Insert” tab and select the first line option in the “Lines” segment. After that, click and drag the cursor to create a line.
- Right-click the line and adjust its color and thickness to match the logo using the “Format Autoshapes” option. Select the “Center” radio button on the “Layout” tab.
- Right click the line again and make a copy. Paste the copy in any part of the document.
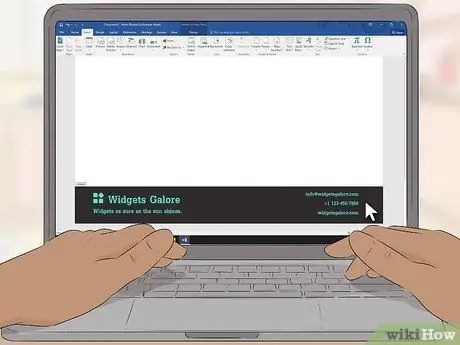
Step 9. Try inserting a slogan or tagline at the foot of the document
If you want, you can balance out the head of the document by including information such as a slogan, phone number, or logo at the foot of the document.
- Click the drop-down box under the “Footer” option on the “Insert” tab.
- Click the centered text option on the paragraph segment on the “Home” tab.
- Type in a slogan. Adjust the font and size. Usually, slogans are typed in italics and use the title case format (capital letters as the first letter of each important or main word).
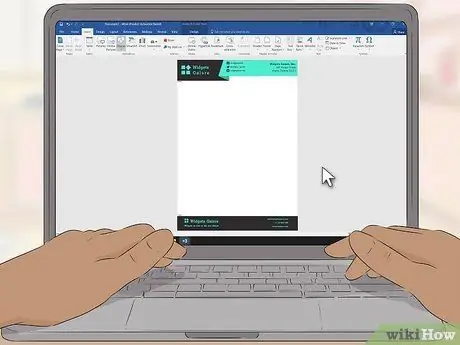
Step 10. Review the created letterhead
Press the “Esc” key to close the head (“Header”) and foot (“Footer”) segments of the document. View your letterhead in full-screen mode or print documents for live review.
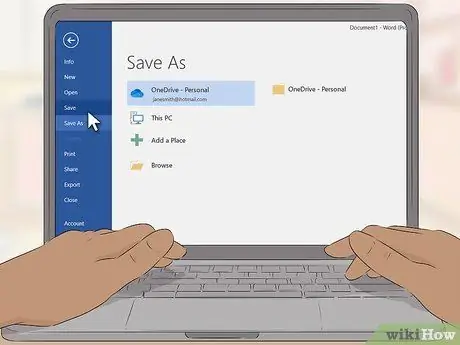
Step 11. Save the letterhead design to the computer hard drive
To create a new document with this letterhead, open the letterhead file and click "Save as" on the Office Windows logo button.
Method 2 of 2: Using Microsoft Word's Built-in Templates
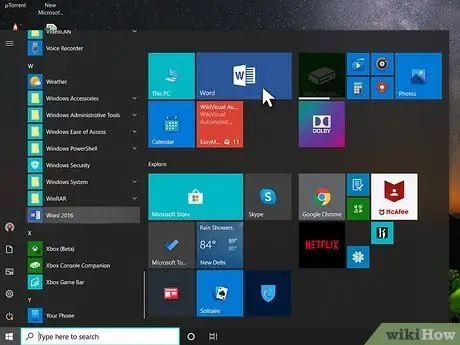
Step 1. Launch Microsoft Word
When the program is opened, a wide selection of new Word document types is displayed.
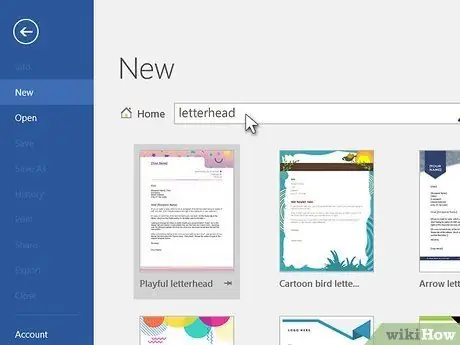
Step 2. Select the “Letterheads” category
After that, a list of Microsoft Word's built-in letterhead templates will be displayed. With these templates, you can easily create professional letterhead.
- You can also download a modifiable template from the official Microsoft Word site. Go to the Microsoft Word site, type "letterhead templates" into the search field, and download the template you want.
- You can find a wide selection of free letterhead templates on Microsoft Word and its website.
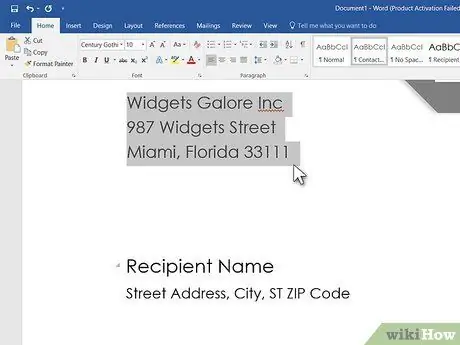
Step 3. Modify the existing letterhead
Open the template in Microsoft Word and start modifying it. Update your business name, contact information, and company logo design.
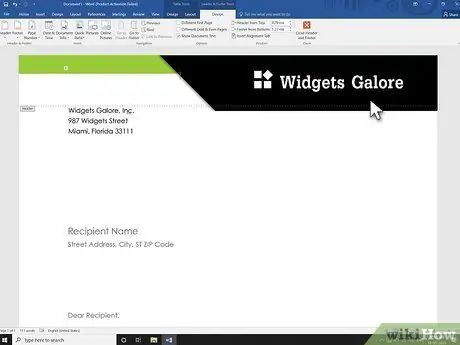
Step 4. Review the modified letterhead
Press the “Esc” key to exit the head (“Header”) and foot (“Footer”) segments of the document. View your letterhead in full-screen mode or print documents for live review.
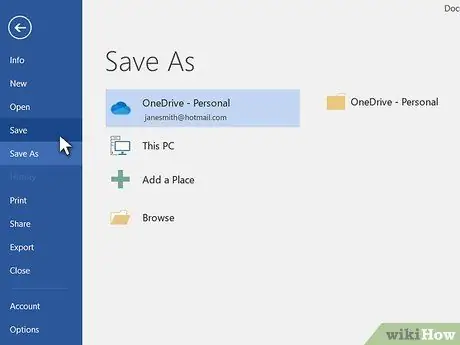
Step 5. Save the letterhead design to the computer hard drive
To create a new document with this letterhead, open the letterhead file and click "Save as" on the Office Windows logo button.
Tips
- Print several copies of your homemade letterhead using an office printer to make sure the letterhead design is correct.
- You can easily create matching envelopes with letterhead. Click the company name and address on the letterhead to mark it, then select “Copy”. After that, select the “Envelopes” button on the “Mailings” tab and enter the copied text into the return address segment. Edit the font, size, and color of the text to match the letterhead.
- Use a letterhead design that goes well with your business card.


