- Author Jason Gerald gerald@how-what-advice.com.
- Public 2024-01-15 08:07.
- Last modified 2025-01-23 12:04.
This wikiHow teaches you how to remove segments from an audio track using Audacity. There are several types of audio that can be removed, including track segments, background noise, and lyrics (in this case, singer vocals). However, keep in mind that Audacity's built-in lyric or vocal eraser tool doesn't work perfectly, and can't delete all vocals.
Step
Method 1 of 3: Trimming Audio Segments
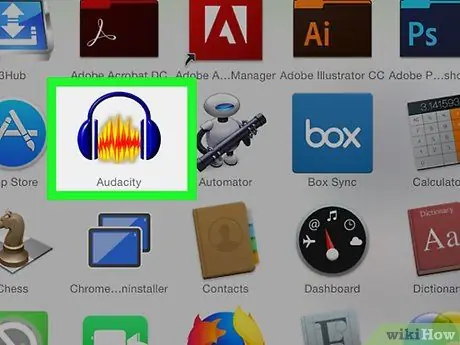
Step 1. Open Audacity
This program is indicated by the orange sound wave icon in the center of the blue headphones.
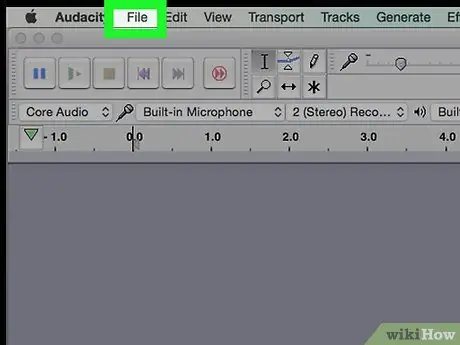
Step 2. Click File
It's in the top-left corner of the Audacity window (Windows) or the top-left corner of the screen (Mac).
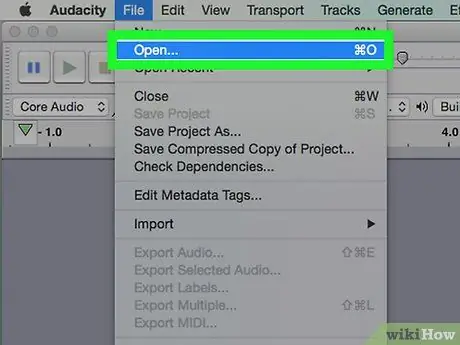
Step 3. Click Open…
This option is in the drop-down menu “ File After that, a new window will open.
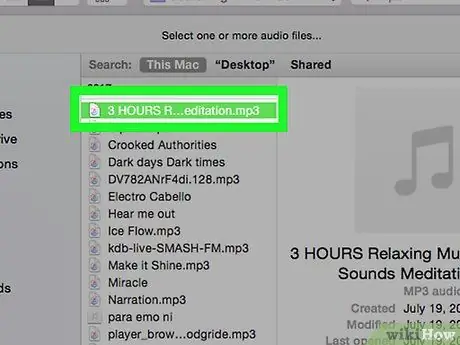
Step 4. Select the audio track
Click the track you want to edit.
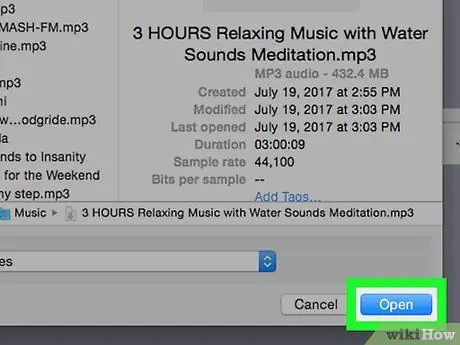
Step 5. Click Open
It's in the lower-right corner of the window. After that, the track will be opened in Audacity.
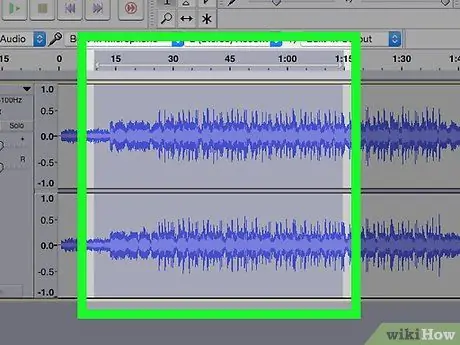
Step 6. Select the segment you want to delete
Find the segment that you want to delete, then click and drag the cursor on the segment to mark it.
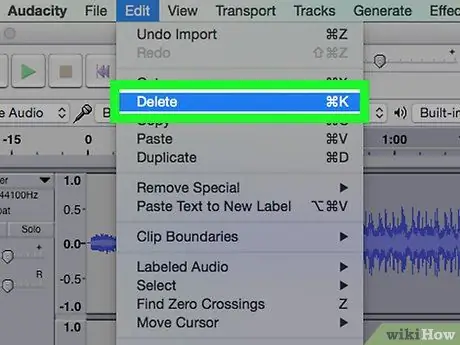
Step 7. Press the Delete key
After that, the segment will be immediately deleted from Audacity.
You can also click the option “ Edit " and choose " Delete ” from the drop-down menu.
Method 2 of 3: Removing Background Noise
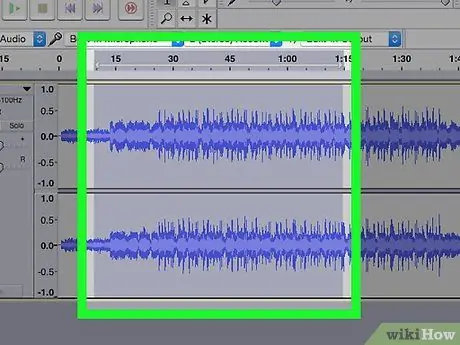
Step 1. Select the track segment that contains background noise
If possible, click and drag the cursor over the segment of the track that contains only background noise.
If none of the tracks are empty enough to contain only noise, select the segment with the most audible background noise
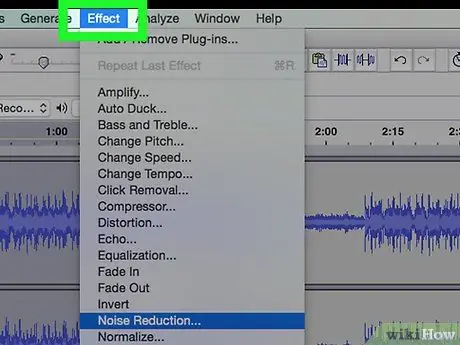
Step 2. Click Effects
This tab is at the top of the Audacity window (Windows) or at the top of the screen (Mac). After that, a drop-down menu will be displayed.
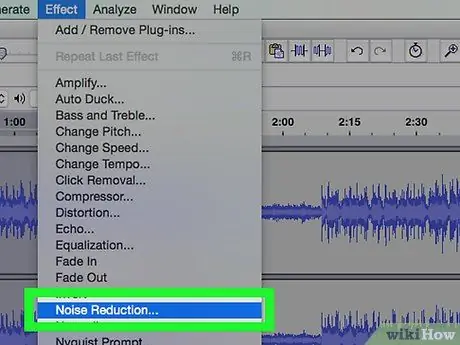
Step 3. Click Noise Reduction…
It's in the middle of the drop-down menu Effect ”.
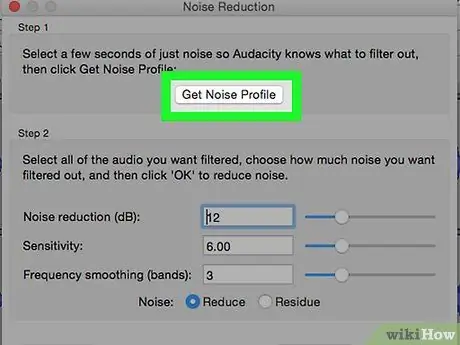
Step 4. Click Get Noise Profile
It's at the top of the window. With this feature, Audacity can determine which elements are considered background noise and which are not.
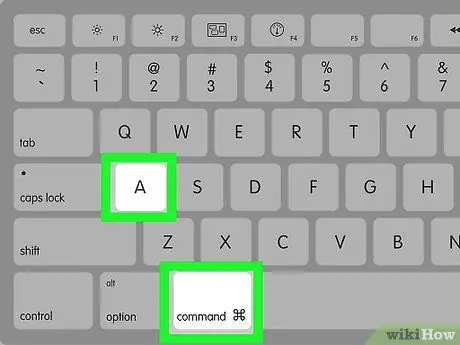
Step 5. Select the track segment you want to clean
You can also click on a track and press the Ctrl+A (Windows) or Command+A (Mac) key combination to select the entire track. This step is considered ideal if you want to remove background noise from the track.
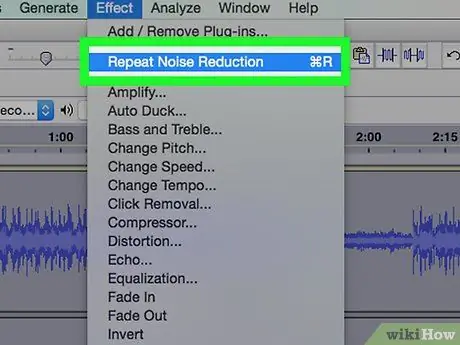
Step 6. Click Effect, then click Repeat Noise Reduction.
It's at the top of the drop-down menu. After that, the noise reduction option will be applied to the track.
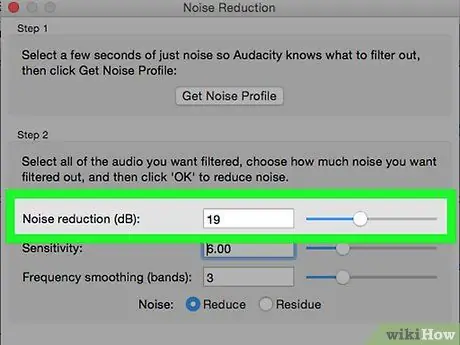
Step 7. Reduce noise again if necessary
If the background noise is still quite audible, repeat the noise removal process. You may need to do this several times.
You can increase the amount of background noise that needs to be removed by clicking “ Noise Reduction… ” in the drop-down menu and move the "Noise reduction" slider to the right.
Method 3 of 3: Removing Vowels
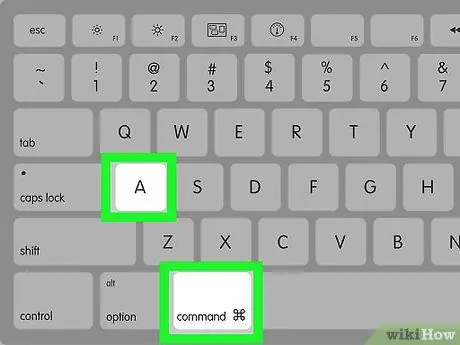
Step 1. Select the entire track
Click the audio track, then press Ctrl+A (Windows) or Command+A (Mac).
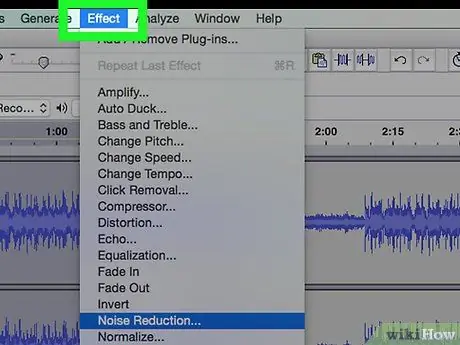
Step 2. Click Effects
This tab is at the top of the Audacity window (Windows) or the top of the screen (Mac).
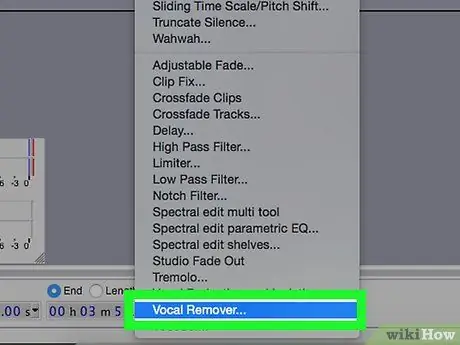
Step 3. Swipe up from the bottom of the screen and select Vocal Remover…
You may need to click the down arrow at the bottom of the drop-down menu to find this option. Once selected, a pop-out menu will be displayed.
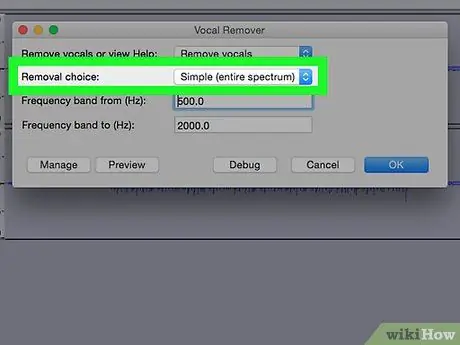
Step 4. Click the vocal remover add-on (“Vocal Remover”)
In the pop-out menu next to the drop-down menu, click this link. After that, the vocal eraser window will open.
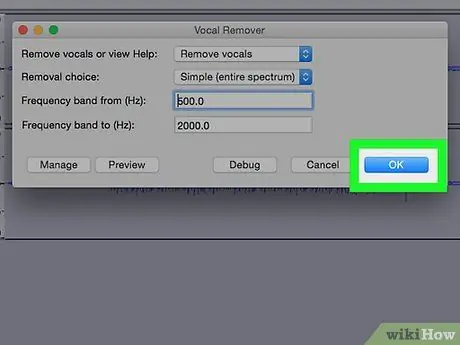
Step 5. Click OK
After that, some vocal elements on the track will be removed. While this feature is not 100% effective in removing vocals, you can see a significant difference in the results of the changes.


