- Author Jason Gerald gerald@how-what-advice.com.
- Public 2024-01-19 22:11.
- Last modified 2025-01-23 12:04.
Pictures taken with digital cameras are great, but are generally too large to be emailed or easily uploaded to sites. If you need to resize your images, there are a variety of tools you can use to do this, and most of them are free. Read this guide to learn how.
Step
Method 1 of 6: Using Free Web Apps
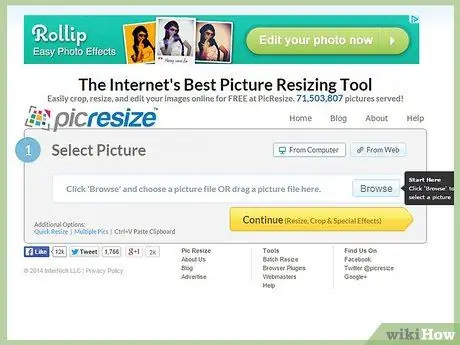
Step 1. Open the web application of your choice
There are many web services that can resize your images for free. You just need to upload your image to its site and then select the resize option you want. Most programs offer the same basic features, although some have additional features that other programs don't have. Some of the popular sites include:
- picresize
- Resize Your Image
- Shrink Pictures
- Web Resizer
- Resize Pic
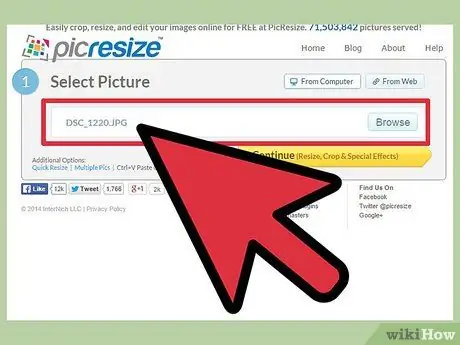
Step 2. Upload your image
You have to find the image on your computer, then upload it to the site. When finished uploading, image editing options will appear.
Most web applications limit the maximum file size that can be uploaded, usually around 5 MB
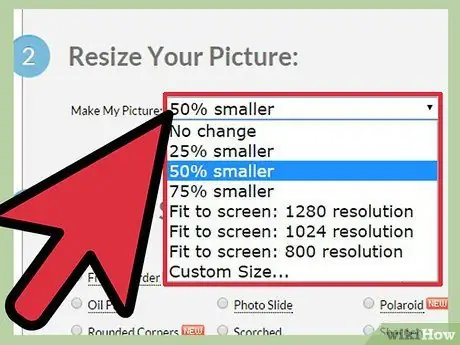
Step 3. Resize the image
Depending on the service you use, you may have several options when it comes time to resize your image. You can choose a percentage of the original image size, or several preset sizes. Most services will allow you to set the exact size in pixels of the image you want to resize.
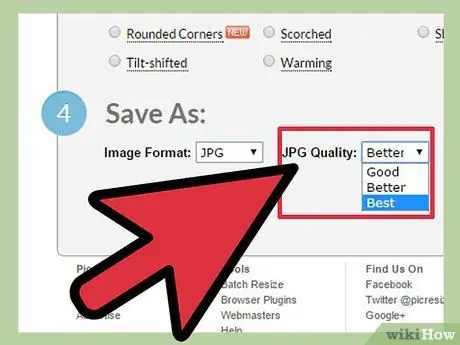
Step 4. Determine the quality
Most image resizing services allow you to set the amount of image compression, which will affect the quality. The higher the compression, the lower the quality and the smaller the file size.
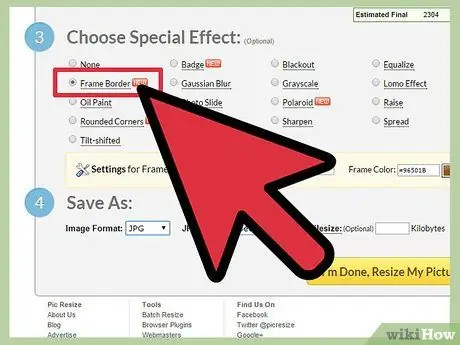
Step 5. Add more effects
Depending on the service you use, you may be given access to select other options such as rotation, color change, filters, and more. Select the effect you want.
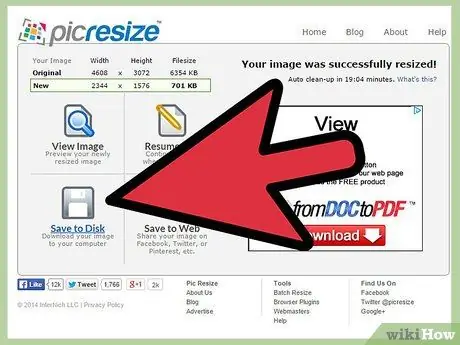
Step 6. Download a new copy of your image
Once you have selected all the settings and effects you specified, click the Download button. This button can be named Resize or something similar. The newly edited photo will be downloaded to your computer, where you can then transfer it wherever you want.
Method 2 of 6: Using Microsoft Paint
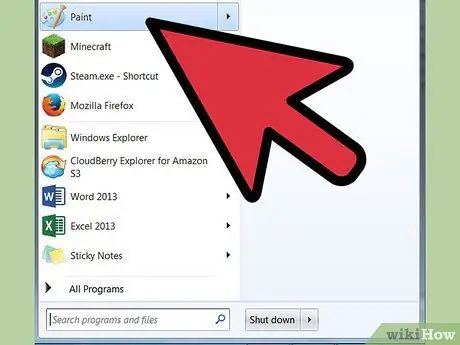
Step 1. Open your image in Microsoft Paint
Click File then select Open. Navigate to the image file on your computer. If you're trying to resize a photo from Facebook or another online service, you'll need to download the image first.
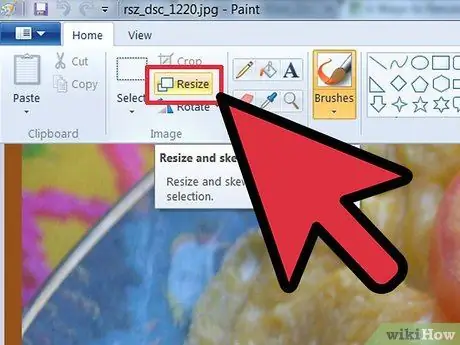
Step 2. Click the Resize button
In newer versions of Paint, the Resize button is located on the Home tab. In older versions of Paint, click the Image menu, then select Resize/Skew.
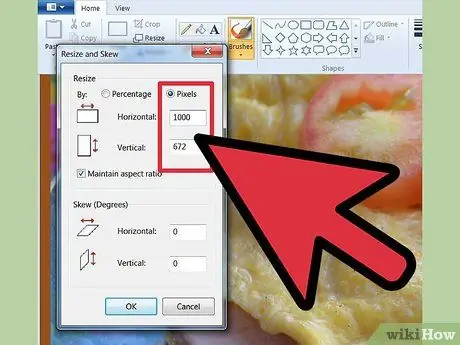
Step 3. Choose a method to resize your image
You can resize the image by percentage or by pixel size. If you leave the “Maintain aspect ratio” box checked, both boxes will be filled in automatically when you enter a value, keeping the proportions the same.
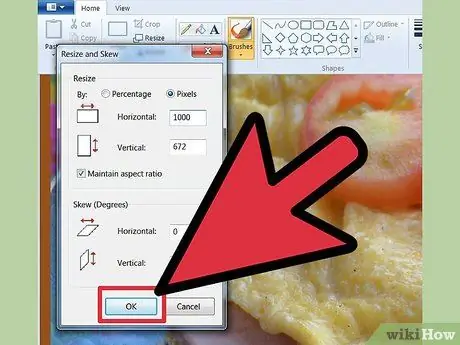
Step 4. Click OK
This will change the image to the size you specify. If you are not satisfied with the changes, press Ctrl+Z to undo the changes.
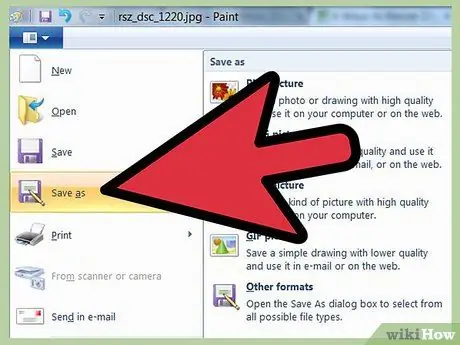
Step 5. Save the resized image
Once you are satisfied with the image size change, click File and then select Save As. Rename the image file so that you don't overwrite the original file.
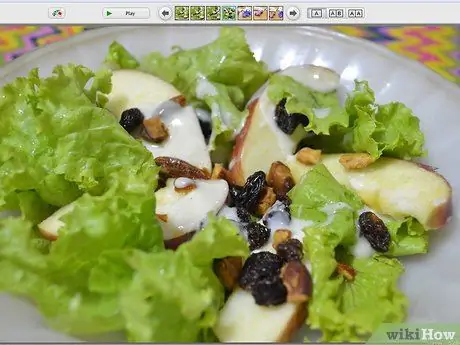
Step 6. Select the file type
The file type you choose will affect the quality of the image after it is saved. PNG and-j.webp
Method 3 of 6: Using Google Picasa
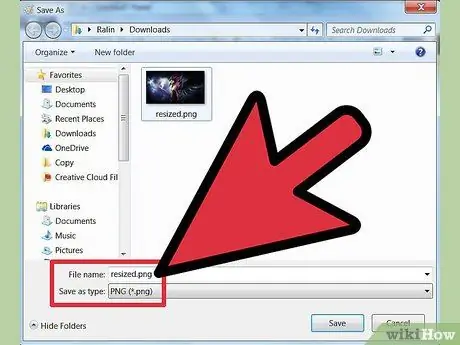
Step 1. Search for your image on Picasa
If the image you want to resize is not in your Picasa library, you can add it by clicking on the file and then selecting Add File to Picasa. Once your file is in your Picasa library, select the image.
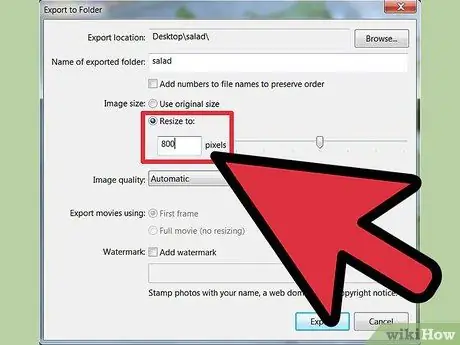
Step 2. Export the image
Click File then select Export Picture to Folder. This will open the Export to Folder window. You can specify where you want to save the photo.
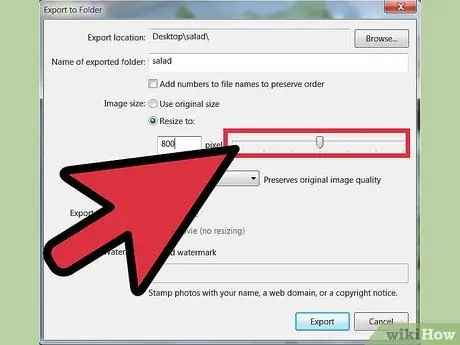
Step 3. Select the option to resize your image
In the "Image size" section, you can choose to use a predefined image size, or specify an exact pixel size. The pixel size affects the longest side of the image size, and the other side of the image is adjusted automatically.
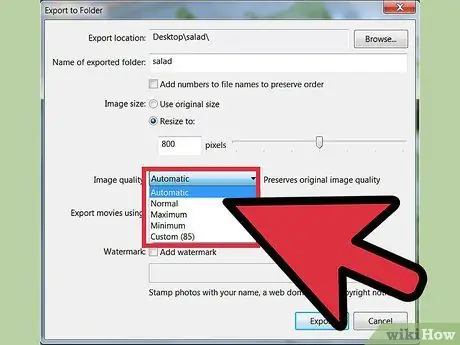
Step 4. Select the desired image quality
Click the "Image quality" dropdown menu. Automatic will try to maintain the original quality as much as possible. Maximum will preserve as much detail as possible, but will result in a larger file size. The minimum will result in a much smaller image size but with a much lower quality.
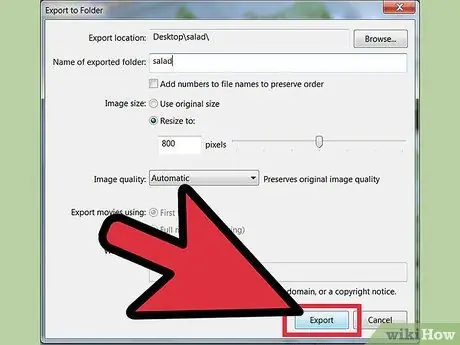
Step 5. Click Export when it's ready
Your newly adjusted image will be copied to the location you specified.
Method 4 of 6: Using Adobe Photoshop
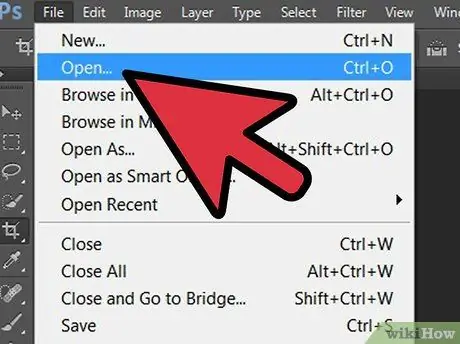
Step 1. Open your image in Photoshop
Click File and select Open. Look for the image file on your computer or on your CD.
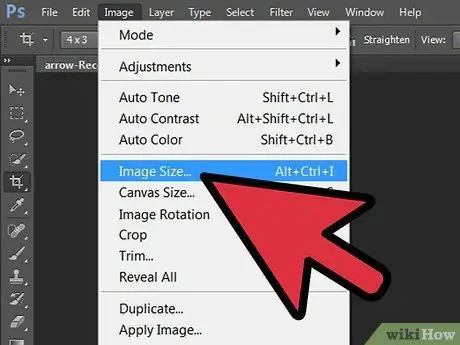
Step 2. Open the Image Size tool
Click on the Image menu then select Image Size. This will open the Image Size window.
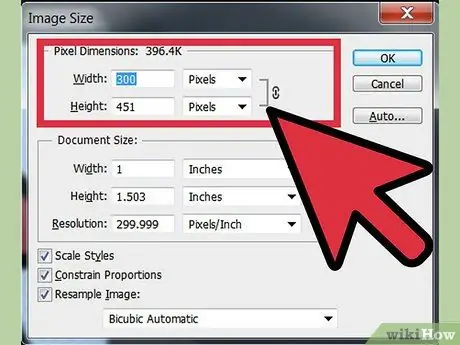
Step 3. Choose your preferred resizing method
You can choose to resize in pixels, inches, or percentages. Enter the value you want in one of the fields and the other fields will update automatically to keep the proportions the same. You can keep the proportions the same, or you can unlink the proportions by clicking the Chain icon.
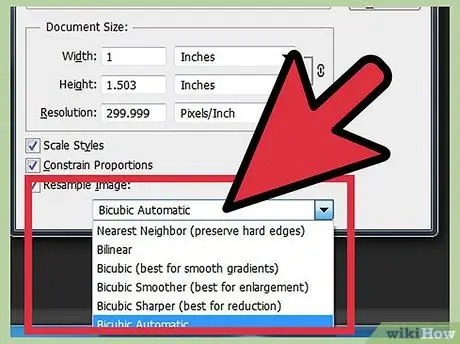
Step 4. Select your image resize option
The "Resample Image" menu allows you to make adjustments that will affect the final quality of the image you are converting. Choose the best option that suits your needs.
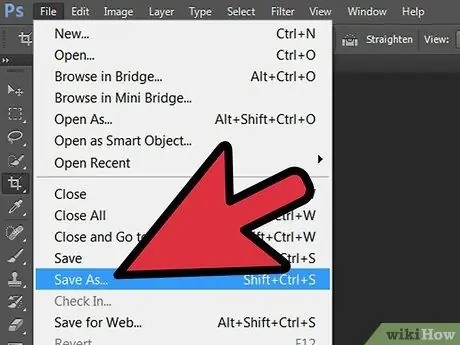
Step 5. Click OK to resize the image
You will see the result in the main window. If you are satisfied with the result, click File and select Save As. Give the file a new name so it doesn't overwrite the original file.
Method 5 of 6: Using GIMP
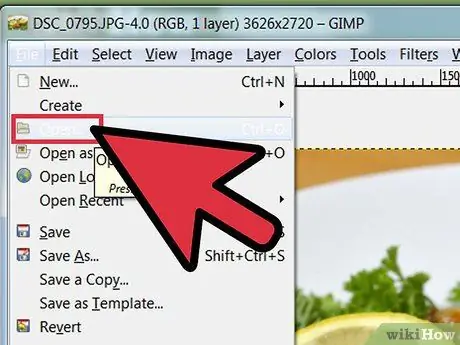
Step 1. Open the photo in GIMP
GIMP is an alternative open source program that has the same functionality as programs like Adobe Photoshop. To open an image, click File and then select Open. Find your file on your computer.
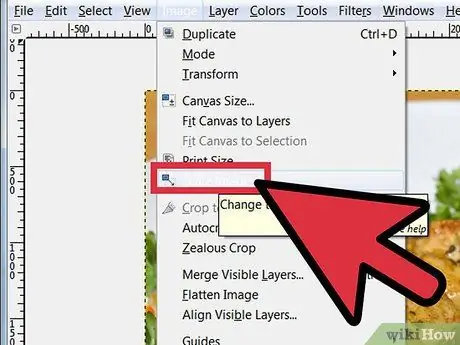
Step 2. Open the Scale Image tool
Click File then select Scale Image. This will open a new window.
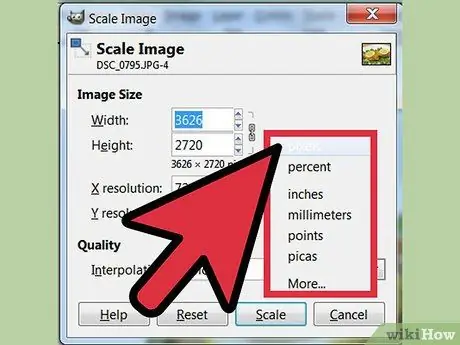
Step 3. Choose a method to resize your image
You can choose between pixels (px), inches (in), or percentages. Use the pull-down menu next to the Image Size field. Enter the values you want into one of the fields and the other fields will update automatically to keep the proportions the same. If you want to customize each dimension individually, click the Chain icon to break the link between dimensions.
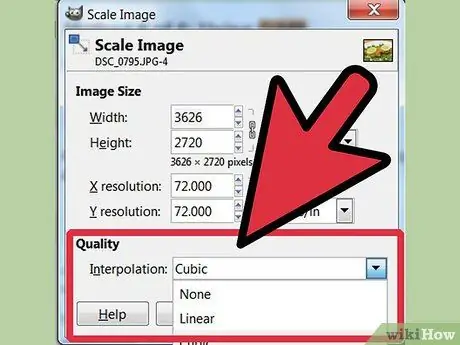
Step 4. Choose your image quality settings
Click the Quality pulldown menu and select the type of resampling you want to use. The choices you make will affect the quality of the image you resize. Experiment to find the best option.
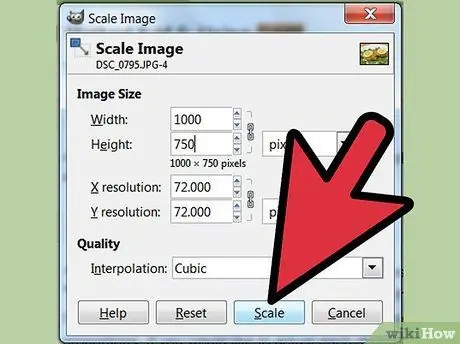
Step 5. Click Scale to resize the image
Once you have made your selection click the Scale button and check the changes to your image. If you are not satisfied with the changes, click the Edit menu and select Undo.
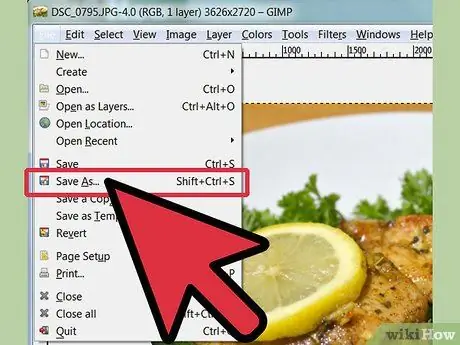
Step 6. Save your changes
Once you are satisfied with the changes you made, click File and select Save As. Choose a new file name so you don't overwrite the original file.
Method 6 of 6: Resizing Photos for Instagram
Step 1. Download the Instagram resizer app
Since uploading images on Instagram is done entirely through your mobile device, it's certainly easier to edit the photos you take directly on your phone. There are several apps available that can resize your photos so that Instagram doesn't crop your photos.
If you want to resize a photo on your computer before uploading it to Instagram, resize it to 612 X 612 pixels. This is the size for the Instagram format
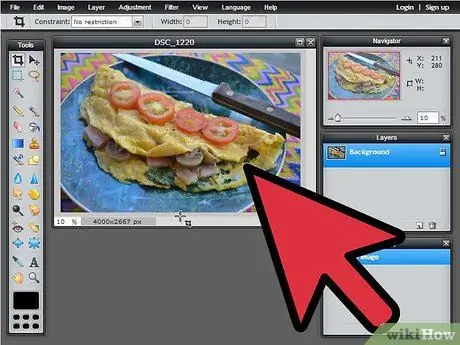
Step 2. Run the resizer app
Depending on the application, the features may change. Most will allow you to resize your image to fit, and others will allow you to crop an existing image so that the cropped portion conforms to Instagram standards.

Step 3. Upload the photo to Instagram
Open your Instagram app and look for the new image that you have resized. Upload as usual and your image won't be cropped by Instagram because you cropped it before.
Tips
-
In order to reduce the image files to the maximum, they must be saved in the proper file format. The three most common formats are JPG, GIF, and PNG.
- File JPG, which is the default file format used by most digital cameras, is ideal for full-color images. This format has the best ratio between image size and quality.
- File GIF smaller, but contains only 256 colors, which can cause discoloration. This format is deprecated and is not recommended to be used anymore.
- File PNG supports true color (+ transparency) and is saved without losing any information. Depending on the content of the image, this format may be larger than one of the other two formats.
For the most downsized images, including images for wikiHow, the best format is JPG..


