- Author Jason Gerald gerald@how-what-advice.com.
- Public 2024-01-15 08:07.
- Last modified 2025-01-23 12:04.
This wikiHow teaches you how to increase or decrease the size of an image, as well as crop it using Microsoft Paint. The first two processes mentioned can maintain the photo's default aspect ratio, while the last process is useful for removing unwanted outer areas in the image.
Step
Method 1 of 2: Enlarge or Reduce Image Size
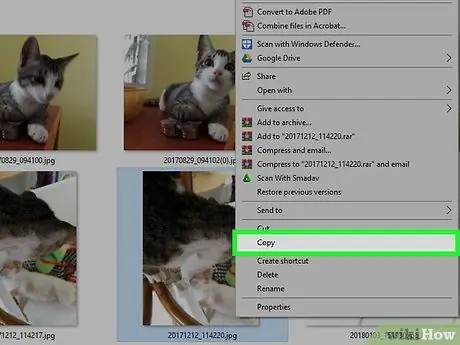
Step 1. Make a copy of the image file that you want to resize
Go to the folder where you want to resize the image file, right-click the file, and click “ Copy ” in the drop-down menu. After that, right-click an empty space on the folder or desktop, and select Paste ”.
If you don't make a copy of the image, the original file will be modified when you make changes
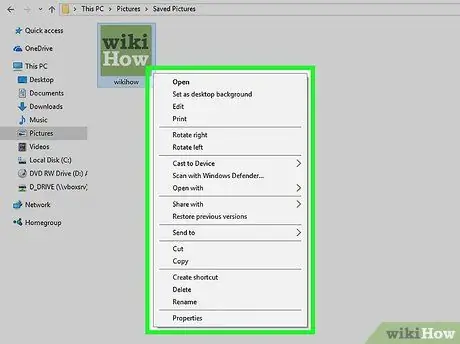
Step 2. Right-click the copy of the image file
A drop-down menu will appear after that.
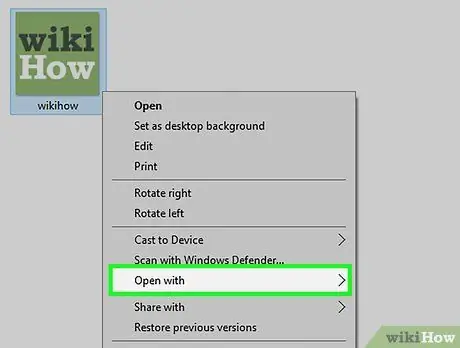
Step 3. Select Open with
It's in the middle of the drop-down menu. Once selected, a pop-out menu will be displayed.
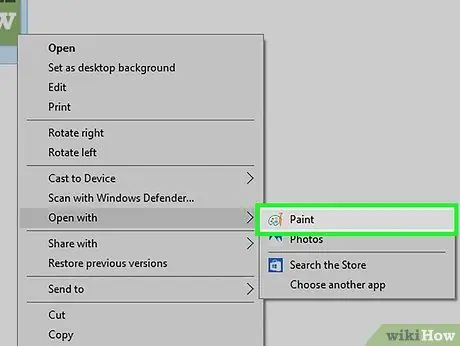
Step 4. Click Paint
It's in the pop-out menu. A copy of the image file will open in the Paint program.
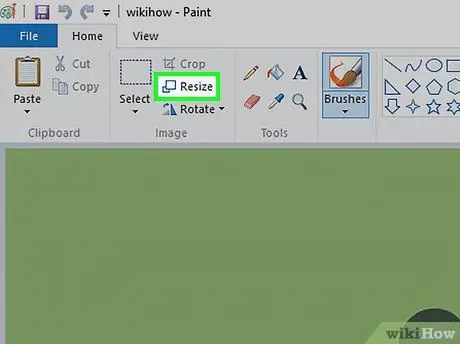
Step 5. Click Resize
It's in the center-right side of the "Image" segment that appears at the top of the Paint window.
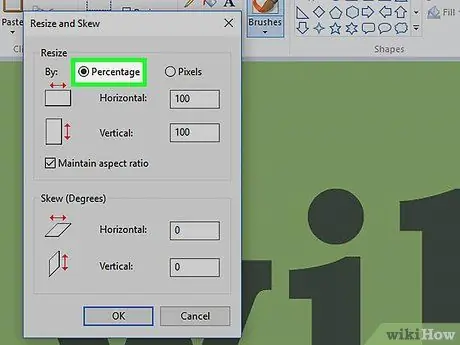
Step 6. Make sure the “Percentage” option is marked by a black dot next to it
If not, click the circle next to the " Percentage " option to make sure the image changes are measured in percentages.
- Initially, the vertical and horizontal lengths of the image will be marked with a value of 100. You can reduce the size to 3/4 of the original size by changing both values to "75".
- If you want to know the exact length of the vertical and horizontal sides of the image (in pixels), click the circle next to the " Pixels " option.
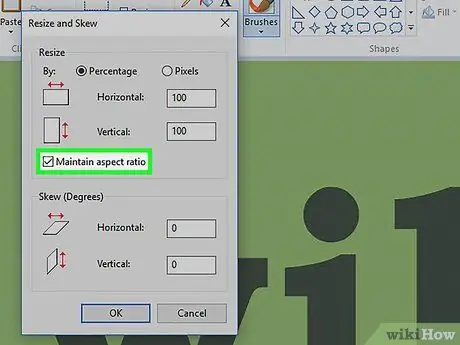
Step 7. Check the "Maintain aspect ratio" box
If the box next to "Maintain aspect ratio" is unchecked, click the box. Otherwise, changes you make to one aspect of the image (eg the length of the vertical sides) may not be weighed or adjusted in balance with the other aspects.
If this box is checked, move on to the next step
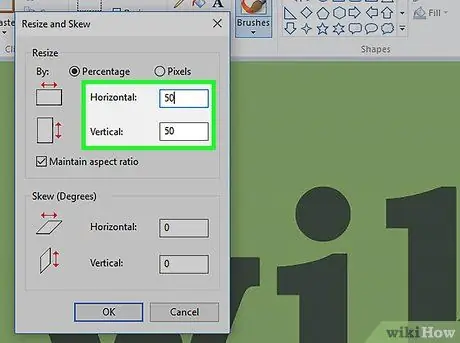
Step 8. Resize the image
Type a number from 1 to 500 into the " Horizontal " text field. To reduce the size of the image and maintain its dimensions, enter a number below 100. Meanwhile, to increase the size of the image while maintaining its dimensions, enter a number above 100.
If you are resizing the image by pixels, type the number of vertical pixels you want in the " Vertical " field. You can also uncheck the "Maintain aspect ratio" box and enter a different number than before in the "Horizontal" column if necessary
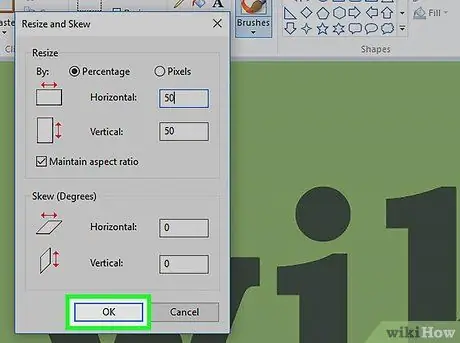
Step 9. Click OK
The changes will be applied to the image.
Step 10. Save the image
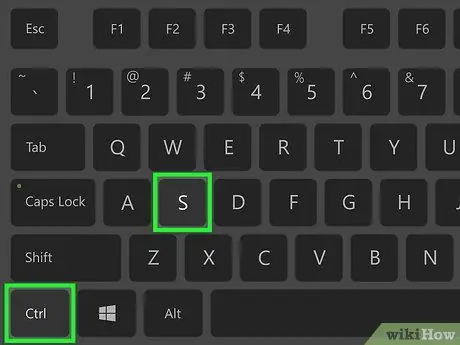
Press the Ctrl+S key combination to save it. Changes will be saved to the image.
Method 2 of 2: Crop Image

Step 1. Understand the function of image cropping
By cropping the image, you will only get a small part of the original image. However, this cut still has the same quality as the original image quality. This step is suitable if you want to make a redundant part of the photo while still maintaining the original resolution of the image.
Cropping the image also makes the file size smaller
Step 2. Make a copy of the image you want to resize
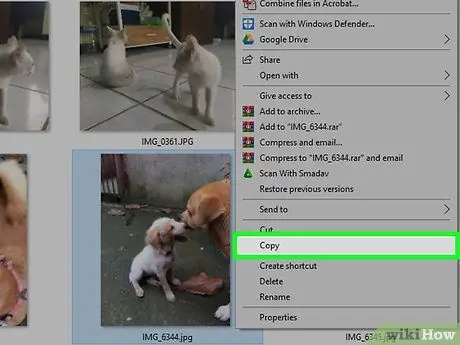
Go to the folder where you want to resize the image file you want to resize, right-click the file, and click “ Copy ” in the drop-down menu. After that, right-click an empty space on the folder or desktop, and select Paste ”.
If you don't make a copy of the image, the original file will be modified when you make changes
Step 3. Right-click the copy of the image file
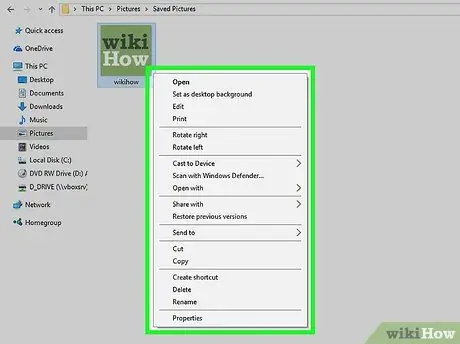
A drop-down menu will appear after that.
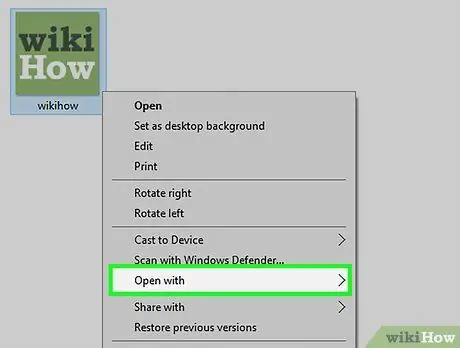
Step 4. Select Open with
It's in the middle of the drop-down menu. A pop-out menu will be displayed.
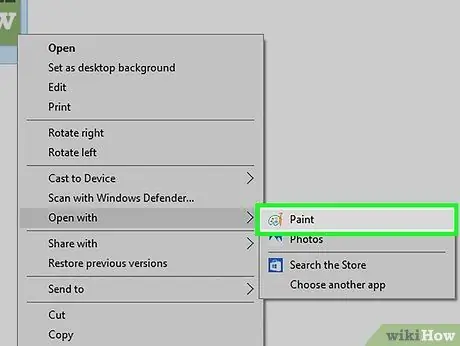
Step 5. Click Paint
It's in the pop-out menu. The selected image will be opened in the Paint program.
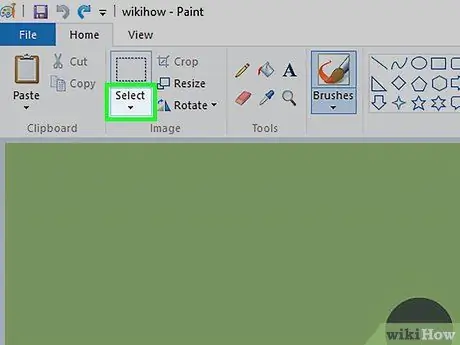
Step 6. Click “▼ ” under options Select.
Option Select ” is in the “Image” section of the “Home” tab that appears at the top of the “Paint” window. A drop-down menu will appear after that.
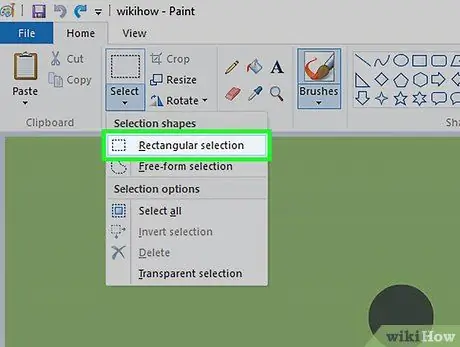
Step 7. Click Rectangular selection
This option is the first option in the drop-down menu.
If you want to draw the selection area yourself, click the option " Free-form selection ”.
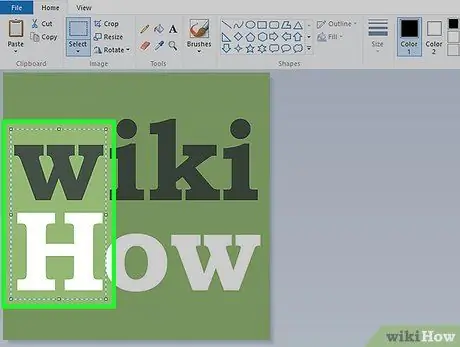
Step 8. Click and drag the cursor on the image
A dotted rectangular outline will appear around the selection area. Areas that are inside the outline will still be saved when you crop the image.
- If you want to remove a frame from a photo, the best way to remove it is to click on the top-left corner of the image and drag the cursor diagonally toward the bottom-right corner (or similar).
- To remove the dashed outline and start the selection process over, click the area outside the dashed line.
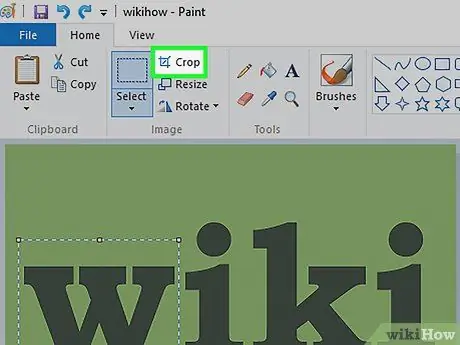
Step 9. Click Crop
It's at the top of the "Image" options section, to the right of the “ Select " Once the button is clicked, the part of the image that is outside the boundary line will be deleted so that you only get the part of the image that is inside the selection area.
Step 10. Save the image
Press the Ctrl+S key combination to save the image. A copy of the image will be saved as a cropped file, and not the original image.
Tips
- When printing a resized image, make sure that the printer setting automatically does not resize the image before you start the printing process.
- Reducing the image size, even to a small degree, can reduce the image file size.
Warning
- Enlarging the image size may reduce its quality.
- Try resizing the copy of the image, and not the original image file. To copy the original image file, right click the file, select “ Copy ”, right-click the desktop, and select “ Paste " You can right-click a copy of the image and open it in Paint.


