- Author Jason Gerald gerald@how-what-advice.com.
- Public 2024-01-19 22:11.
- Last modified 2025-01-23 12:04.
Do you have a great photo but can't use it because it's written on? Well, Photoshop has great features to help you remove text. You don't need a professional graphic designer to do it. When it comes to photo editing, Photoshop is quite user-friendly, even if it's your first time using the program.
Step
Method 1 of 3: Deleting Text Using Raster Functions
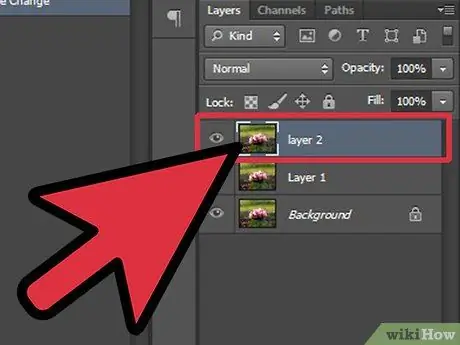
Step 1. You need to know that a photo is made up of different individual layers, which contain different colors, effects, designs, and text
All of these layers make up the final photo in Photoshop. Layers also contain the final JPEG file as well as the final PSD file. If you are not familiar with this term, PSD stands for “Photoshop Documents”.
Different layers in the photo can be made visible or invisible. This layer can also be rasterized (converted to pixels) to remove part of the layer. When you rasterize a photo, you're essentially turning it into a graphic so that the photo can be manipulated
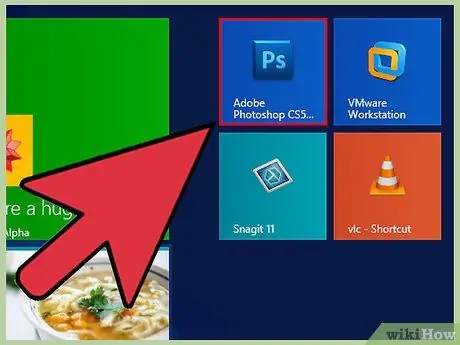
Step 2. Open Photoshop from the “Start” menu
On the interface that appears, select “File” from the “Menu”. Click “Open” in the drop-down list. Find and open your photo in the “Open” window.
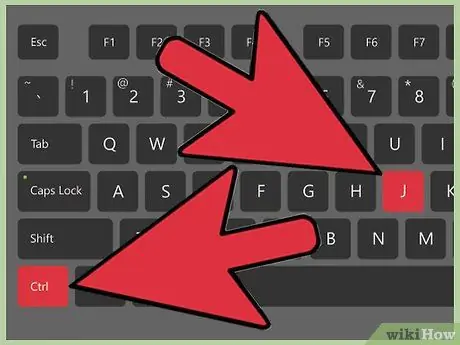
Step 3. Press “Command+J” (Mac) or “Ctrl+J” (Windows) to make a copy of the photo first, so that the original file doesn't change
If you open the "Layers" panel, you will see that there are two layers with the same photo. The original photo will stay safe on the “Background” layer, and any edits you make will be applied to the copy, “Layer 1”, above the “Background” layer.
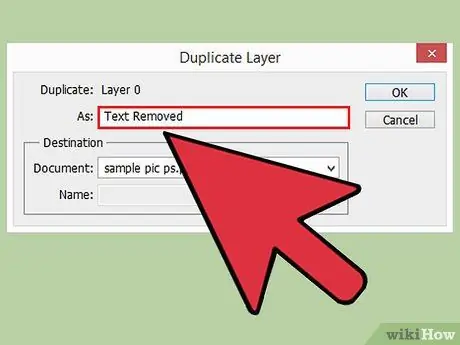
Step 4. Name your photo copy
It's a good idea to have a name for this copy of the photo, otherwise you could confuse it with the original. To keep it recognizable, you can save a copy of this photo with the same name, but add something like “WRITING DELETED” at the end of the file name.
To do so, right-click directly on “Layer 1”. Rename options will appear. Rename it, then press “Return” (Mac) or “Enter” (Win) to accept the name change
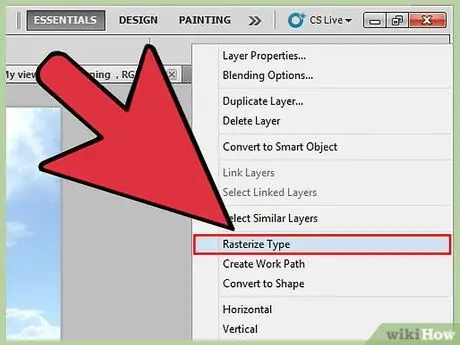
Step 5. Select the “Layers” tab from the “Toolbar” section on the right side of the interface
In the “Toolbox” (toolbox), right-click on the layer and select “Rasterize Layer” from the available options. Select the “Lasso Tool” from the “Toolbar” on the left side of the screen. Then draw a selection outline on the part of the photo you want to delete. Press "Delete". From the “Menu”, select “File” and “Save” to save the changes you have made.
- Of all the tools (tools) in Photoshop, the "Lasso Tool" is probably the easiest tool to understand. By selecting this tool, the cursor will appear like a small lasso icon, and you just have to click on the part of the text that you want to delete. Press-and-hold the mouse button (mouse) and drag to draw an outline around the text to its starting point. When finished, press "Delete" to delete the posts.
- To understand the concept of layers, you can think of them as a photo stacked on top of another photo. Imagine you have a piece of paper and color it red. Then you take a piece of clear cellophane and paint a yellow circle on it. You put the cellophane on red paper. Now you take a second cellophane and write a word in blue paint, then place it on top of the yellow cellophane. Now you have a red background with 2 layers of yellow and blue on it. Each layer is called a layer. This is what Photoshop means by layers, which are basically all the separate pieces that make up a photo into a cohesive whole.
Method 2 of 3: Deleting Text with “Content-Aware Fill”
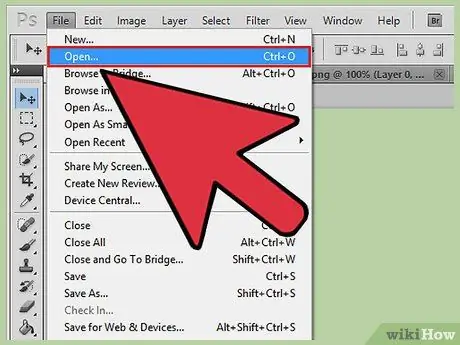
Step 1. Open your photo in Photoshop
Press “Command+J” (Mac) or “Ctrl+J” (Win) to make a copy of the photo first, so that the original file remains unchanged. If you open the "Layers" panel, you will see that there are two layers with the same photo. The original photo will stay safe on the “Background” layer, and any edits you make will be applied to the copy, “Layer 1”, above the “Background” layer.

Step 2. Name your photo copy
It's a good idea to have a name for this copy of the photo, otherwise you could confuse it with the original. To keep it recognizable, you can save a copy of this photo with the same name, but add something like “Written DELETED” to the end of the file name.
To do so, right-click directly on “Layer 1”. Rename options will appear. Rename it, then press “Return” (Mac) or “Enter” (Win) to accept the name change
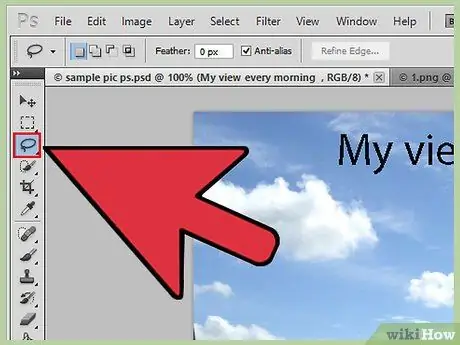
Step 3. Select the “Lasso Tool” from the “Toolbar” on the left side of the screen
Click near the end of the text. Drag the “Lasso Tool” until you create an outline around the text. Leave some space around the text. This “Action” will help Photoshop give better results in blending the background after you've removed the text.
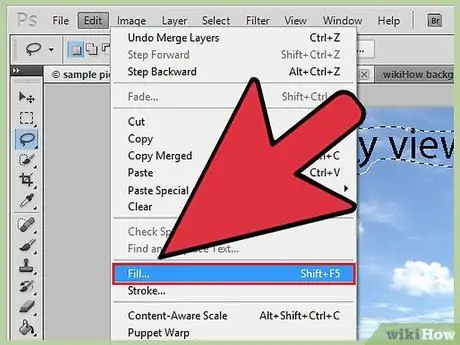
Step 4. Click on “Edit” and select “Fill” from the drop-down
Alternatively, just press “Shift+F5”. A box labeled “Fill” will appear on the screen. Select “Content-Aware” from the drop-down next to “Use”. Click "OK". Wait for Photoshop to fill the remaining space, where the text is removed.
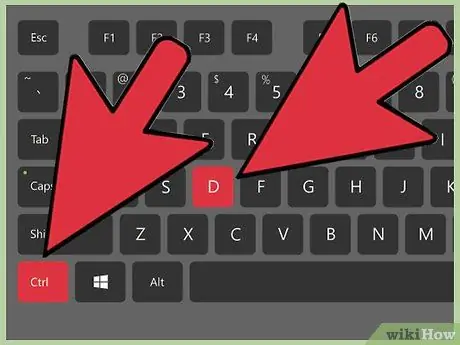
Step 5. Press “CTRL-D” to remove the selection outline on the photo once the background filling is complete so you can see the photo better
Save the changed photo. Once you're good at it, deleting text only takes a few seconds with this feature.
Method 3 of 3: Deleting Text Using “Clone Stamp”

Step 1. Open your photo in Photoshop
Press “Command+J” (Mac) or “Ctrl+J” (Win) to make a copy of the photo first, so that the original file remains unchanged. If you open the “Layers” panel, you will see that there are two layers with the same photo. The original photo will stay safe on the “Background” layer, and any edits you make will be applied to the copy, “Layer 1”, above the “Background” layer.

Step 2. Name your photo copy
It's a good idea to have a name for this copy of the photo, otherwise you could confuse it with the original. To keep it recognizable, you can save a copy of this photo with the same name, but add something like “WRITING DELETED” at the end of the file name.
To do so, right-click directly on “Layer 1”. Rename options will appear. Rename it, then press “Return” (Mac) or “Enter” (Win) to accept the name change
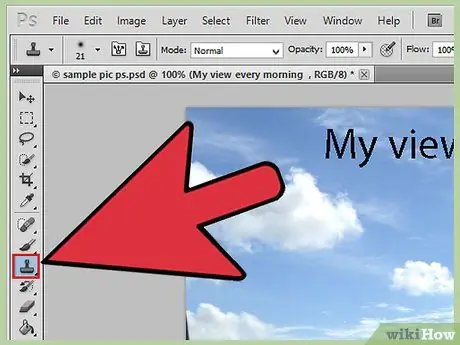
Step 3. Click “Clone Stamp” in the “Tools” palette
Alternatively, press “CTRL-S”. Choose a soft-tipped brush with a stroke thickness of between 10% and 30% (for most jobs). Start with 95% opacity. You can make adjustments as needed.
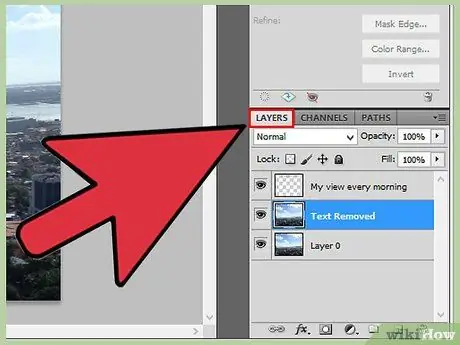
Step 4. Click on the “Layers” panel
Select the original layer in the “Layers” panel. Drag the original layer to create a “Create a New Layer” button, which is the icon to the left of the trash can icon. Alternatively, just hit “CTRL+J” to create a new layer.
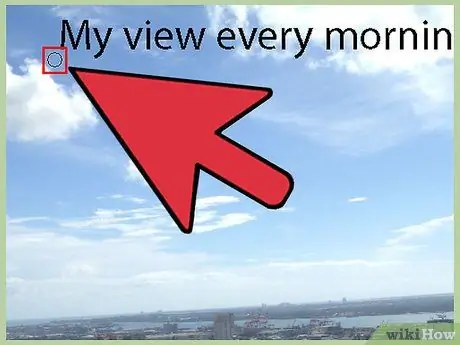
Step 5. Place the cursor at a point as close to the text as possible
Press-and-hold “Alt” and then left-click on the selected area. This point is the "source" point. Basically, you take the "color" from this point and use it to color (delete) the text.
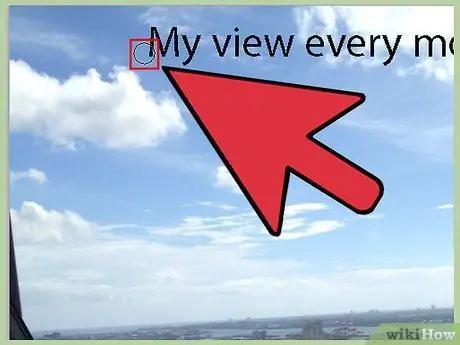
Step 6. Be careful not to get too close to the text, because the "source" point will shift as you color the text
If you get too close, you'll end up copying the part that should be deleted. If the "source" point is too far from the text, the background color may not be suitable for camouflaging the area where the text is. You will see distortion when coloring the photo.
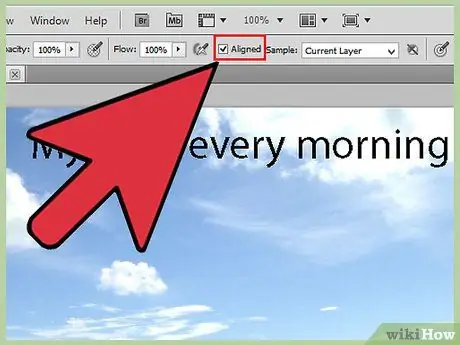
Step 7. Open the “Options” menu and select “Aligned”
This “Action” samples pixels continuously without losing the current sample points. Each time you stop coloring, turn off “Aligned” before starting again. Reset after you select a new sample point.

Step 8. Release the "Alt" key and drag the mouse over the text you want to delete
Left-click to dab the “source” color over the text. Notice the light in the background. Make sure the point you cloned is illuminated in the same direction as in the original.

Step 9. Slump in small parts
Do not drag the mouse over the text in broad strokes. This “Action” will make sure your work looks professional and immaculate. Continue the process until it is finished.
Tips
- In multi-layered files such as PSD or PDF files, the text can be placed on an additional layer above the background photo. Right-click the text layer in the “Layers” panel, to the right of the interface, then select “Delete Layer” and click “Yes” to confirm it.
- Take your free time on this project, especially if you are inexperienced or if you use the “Clone Tool”. If the letters are large, you will need a lot of time to make the background look smooth.


