- Author Jason Gerald [email protected].
- Public 2024-01-19 22:11.
- Last modified 2025-01-23 12:04.
Want to have your own Minecraft server where you and your friends can play? If you've seen the price, of course you know how expensive it is to rent a server. However, you don't need to give up! With services like vps.me, you can have a simple server without paying a dime. If vps.me is not suitable for you, you can also get free servers through other services.
Step
Part 1 of 5: Register
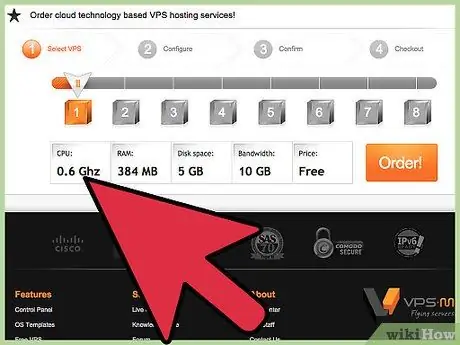
Step 1. Choose a free package (Free package)
Visit the vps.me site. Drag the selection slider on the front page to select the option on the far left, which is Package 1. This is the free plan. Click the "Order" button.
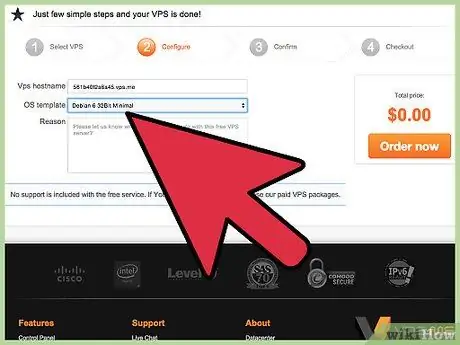
Step 2. Select the operating system with the Minecraft installation already available
Click the "OS Template" menu, then select "Debian 6 32Bit With Minecraft Game Server". This template includes Minecraft server software. You are also facilitated and do not need to spend a lot of time.
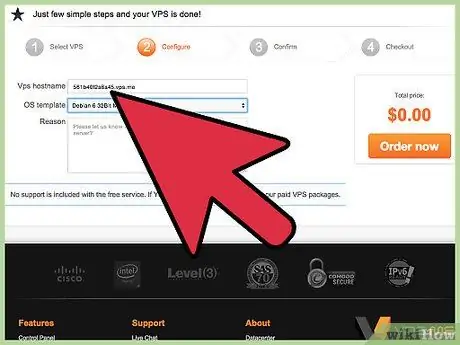
Step 3. Choose a domain name
If you have a domain name, enter it here. If you don't have one, leave it blank; You will be assigned a domain automatically. The given domains are indeed more cluttered than the ones you could pick and buy yourself, but they're free.
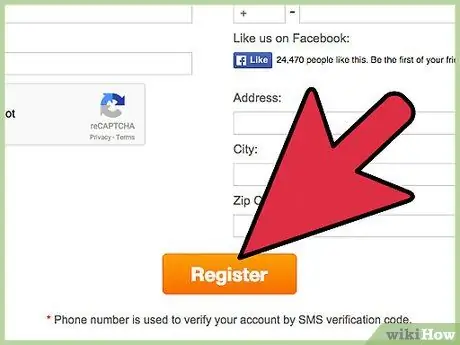
Step 4. Register an account
When you proceed to order, you will be asked to register an account. Enter your name, email address, country, address, and phone number for verification.
You need a valid phone number to verify identity and get a server
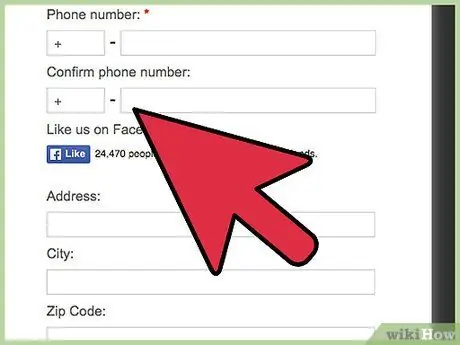
Step 5. Confirm your phone number
After entering all the requested information, click the "Confirm Phone Number" button. Click that button to send the activation code to your phone. When you receive an SMS containing a code, enter the code into the box then click "Validate".
Part 2 of 5: Configuring Your Server with SSH
Step 1. Wait 24 hours
After registering a free server, you need to wait 24 hours to continue server registration. After 24 hours, log back into the vps.me site and click on the "My Servers" tab.
Step 2. Choose how you edit files on the server
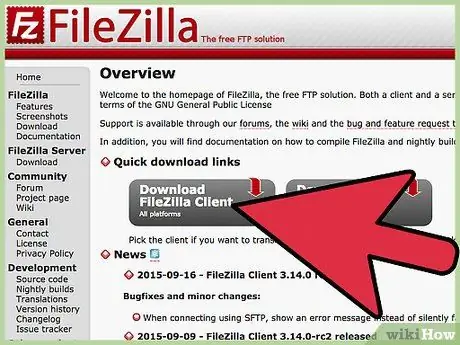
You can use an FTP client like Filezilla or an SSH client like PuTTY. In this section we will use PuTTY.
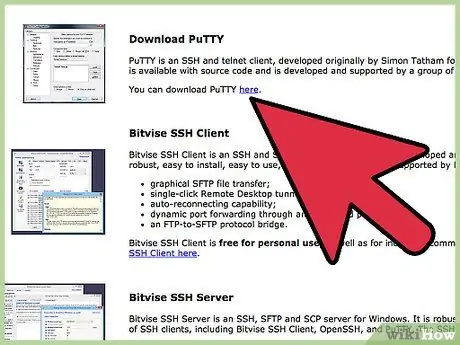
Step 3. Download the PuTTY SSH client
With this software, you can connect with the server via text commands and perform configurations.
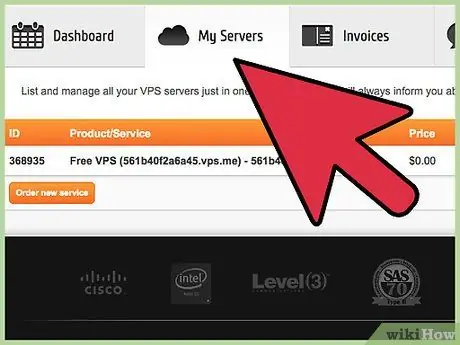
Step 4. Enter the server information
Click the "SSH" option in the "My Servers" tab. This will open a pop-up with SSH connection information. Copy the IP address shown, then open PuTTY.
In the Session section, enter the IP address you copied into the "Host Name" box. In the "Field" box, enter the number after the "-p" of the SSH pop-up that appears
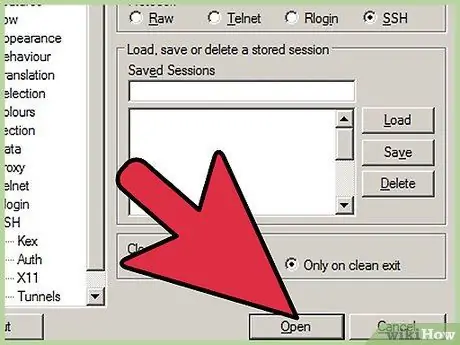
Step 5. Connect with the server
After entering the server address and port, click the Open button in PuTTY. You will be notified that the host key has not been cached in the registry. Click Yes to continue.
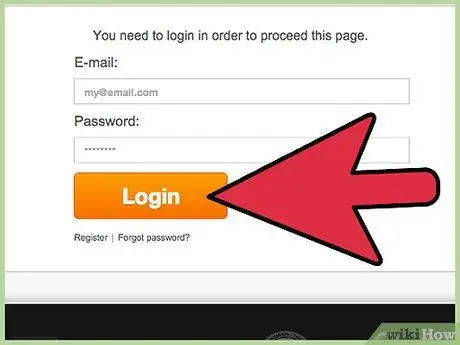
Step 6. Log in to the server
Once connected, you will be asked for login information. Enter root as the username, and the password you created when registering the server. If you forget the password, click the "Root" button in the "My Servers" tab to enter a new password.
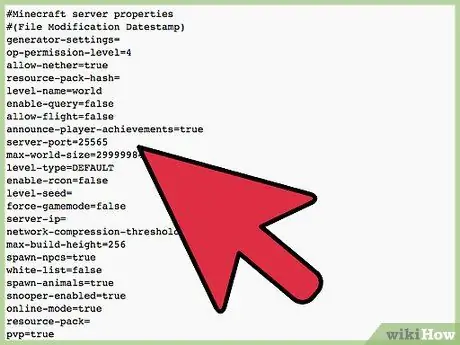
Step 7. Open your Minecraft server settings
You can use the command text to edit the server settings. Once you are connected to the server, type nano minecraft-server/server.properties to open the server properties file. You can then edit the parameters in this file to make the server your own.
Look for the -Xmx entry in the server settings and change it to -Xmx384M
Step 8. Restart the server
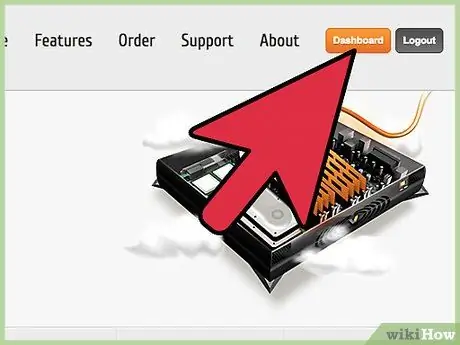
After making changes to the server configuration, you will need to shut down and then restart the server. Go back to your vps.me dashboard and click the "Reboot" button at the top of the "My Servers" tab. Once that server is back up, you and your friends can connect to it!
Part 3 of 5: Configuring the Server with FTP
Step 1. Wait 24 hours
In this time, your VPS is created.
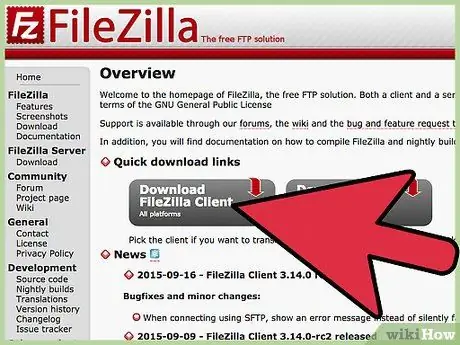
Step 2. Download and install FileZilla
FileZilla is a popular and easy to use FTP client.
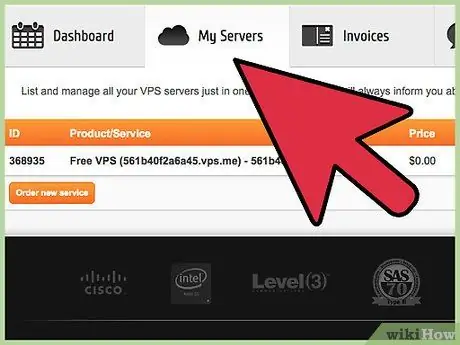
Step 3. Go to the "My Server" tab on your vps.me dashboard
Click the SSH button and copy the IP address that appears. You'll also need port information.
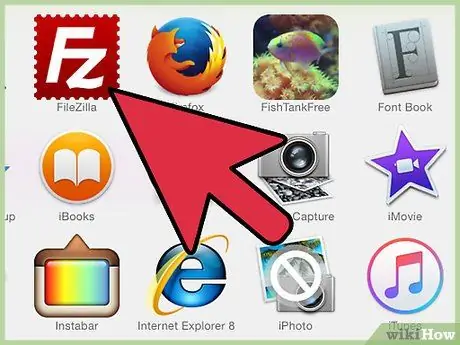
Step 4. Open FileZilla
At the top of the program there are several boxes, namely "Host", "Username", "Password" and "Port". In the "Host" box, paste the IP address you copied from the SSH tab in vps.me, but in front of it write sftp://. Then, in "Username", type "root" (without the quotes); in the "Password" box enter the password you received from vps.me after registering (a password you created yourself), and finally, in the "Port" box, enter the port number you copied from the SSH tab.
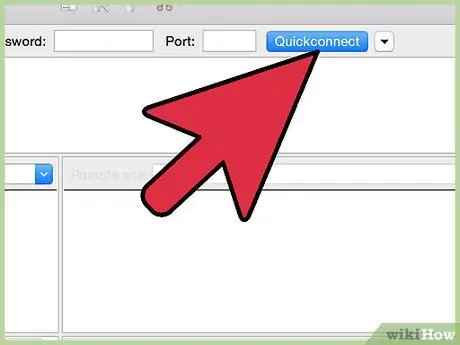
Step 5. Click "Quickconnect"
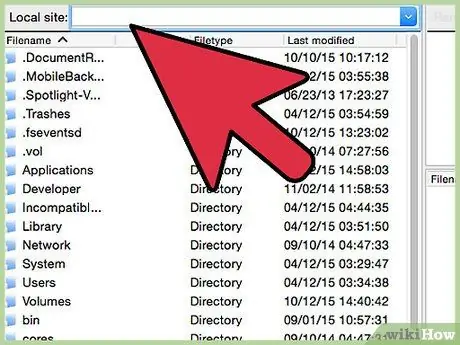
Step 6. Locate the Minecraft servers tab
This tab is by default /home/minecraft/minecraft-server.
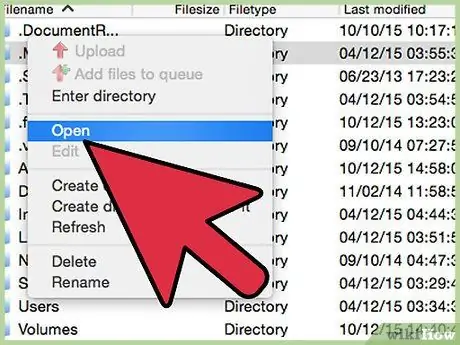
Step 7. Locate the "server.properties" file
Right-click, then open the file with Notepad.
- Look for the -Xmx entry in the server settings and change it to -Xmx384M.
- In the server.properties file, you can change many things. Note: if you need a cracked server, you can change the online-mode line from true to false.
Step 8. Edit other files
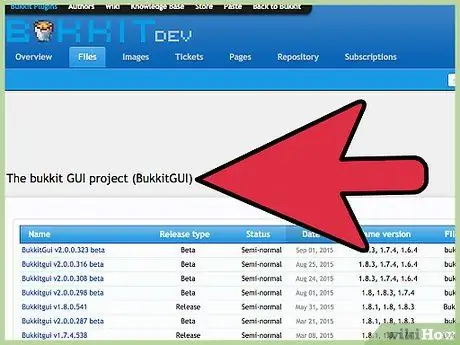
In minecraft-server files you can edit worlds, ops, whitelists, etc. You can also install Bukkit!
Step 9. Shut down then restart the server
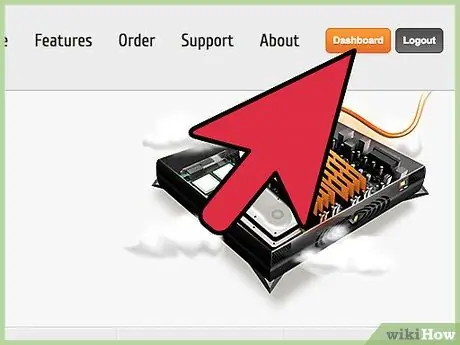
After making server configuration changes, shut down then restart the server. Return to your vps.me dashboard, then click the "Reboot" button at the top of the "My Servers" tab. Once the server restarts, you can already play Minecraft with friends!
Part 4 of 5: Connecting to the Server
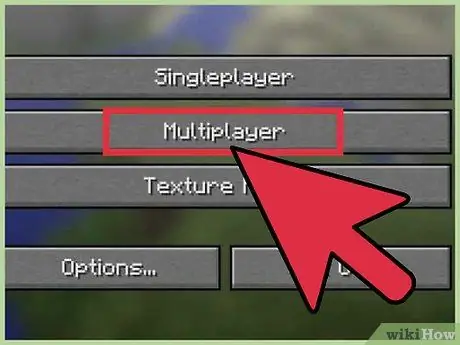
Step 1. Open the Multiplayer menu in Minecraft
You can enter the server IP address into the Minecraft server list. That way, you won't have to enter it every time you want to connect to the server.
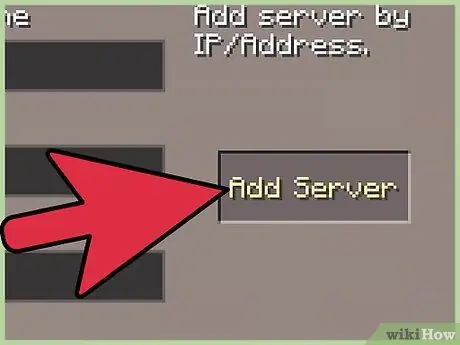
Step 2. Click the "Add Server" button
A new page will open, on which you can enter the connection information to the server.
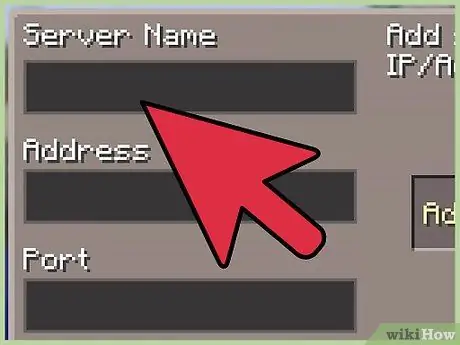
Step 3. Enter the server information
The IP address is the same as the one you entered to connect with SSH or FTP. The port is 25565. You can enter any name you want.
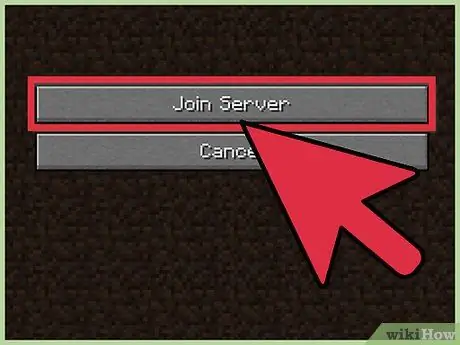
Step 4. Join servers. After you enter the connection information, the server will be added to the list. You can now connect to that server, just like any other Minecraft server.
Part 5 of 5: Looking for Other Options
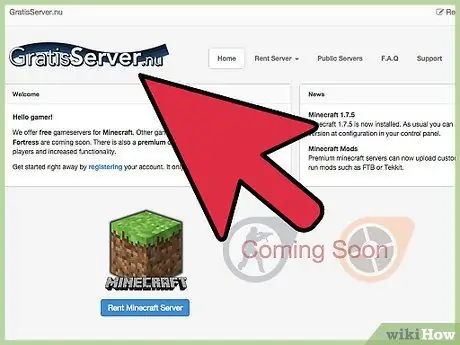
Step 1. Visit another site
There are reports that vps.me is not very reliable and indeed, their free server service is sometimes slow. If you want a free Minecraft server, there are several sites that provide free hosting, although the server options are usually limited. Some of the popular sites are:
- FreeServer.nu
- Aternos.org
- Zip-Hosting.com
Step 2. Create your own server
If you have an unused computer at home, you can set it up as a dedicated Minecraft server for you and your friends. This is certainly easier than renting a server because you only need to pay for electricity and internet fees from home.
Minecraft server creation for free. You don't even need to have Minecraft to create the server
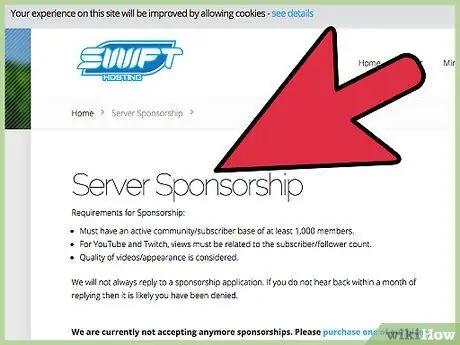
Step 3. Find sponsors for your server
If you are currently renting a server or are looking to build a server, you can try to find a sponsor for that server. Usually you need to ask for support from the host server or from the company that wants to advertise. Sponsored servers are fully paid for by the host. You can still run it.
- To get a server sponsor, you need to prove that your server can maintain a sufficient population.
- Sponsors usually request a plan for server monetization. Be prepared to promote servers that have a donation path.
- Your server will look better if it has some unique features that make it different from other Minecraft servers.
- When asking for help from a host company, use a variety of professional language, and explain in detail all the benefits of your server to their company.


