- Author Jason Gerald gerald@how-what-advice.com.
- Public 2024-01-11 03:37.
- Last modified 2025-01-23 12:04.
Backing up your Samsung Galaxy S4 is essential if you want to avoid losing your personal data and media files caused by software malfunctions or if you physically lose or forget to put your device. You can back up your Galaxy S4 by saving your information to Google servers or by moving files to your SIM card, SD card, or computer.
Step
Method 1 of 5: Backing Up Apps to Google Servers
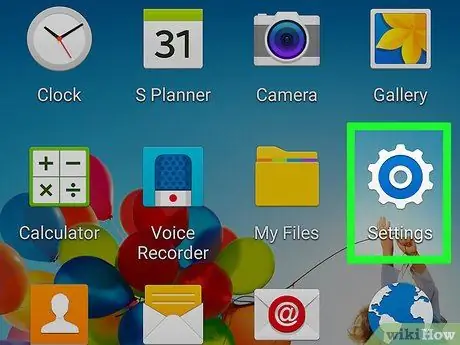
Step 1. Tap “Menu” and select “Settings
”
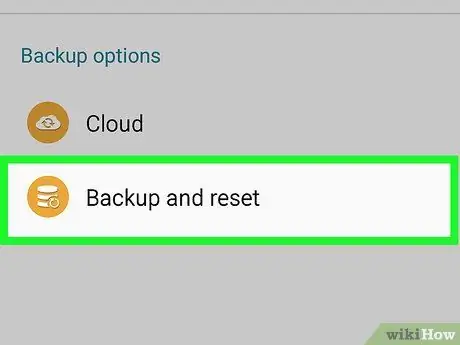
Step 2. Tap “Accounts,” then scroll and tap “Backup and Reset
”
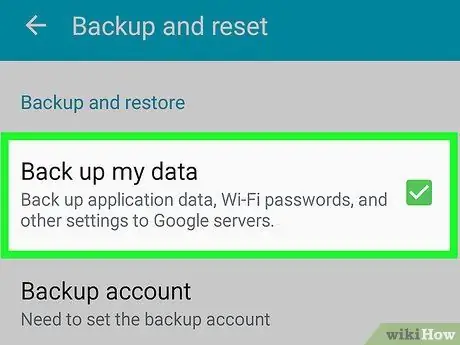
Step 3. Put a check mark next to “Back up my data
” Google will automatically start syncing and backing up all your bookmarks, apps and other phone data to Google servers.
Method 2 of 5: Backing Up Contacts to SIM Card/SD Card
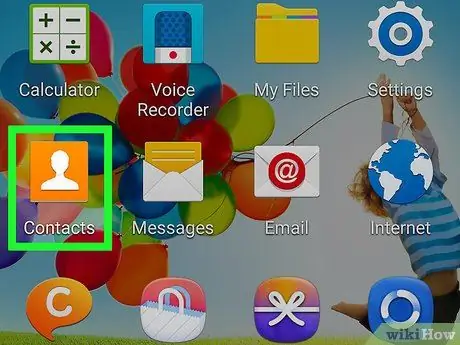
Step 1. Tap “Menu” and select “Contacts
”
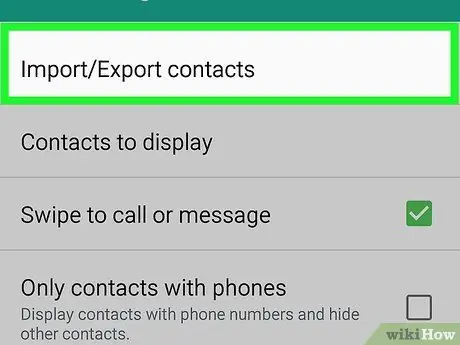
Step 2. Tap “Menu” and select “Import/Export
”
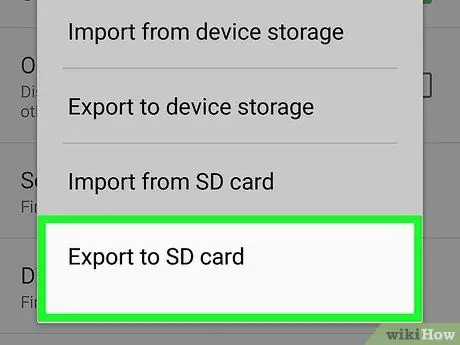
Step 3. Tap “Export to SIM card” or “Export to SD card,” depending on your preference
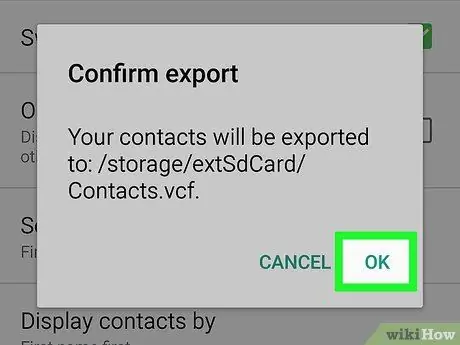
Step 4. Tap “OK” to confirm that you want to export your contacts
Then your contacts will be copied and backed up to the source you selected.
Method 3 of 5: Backing Up Media to SD card
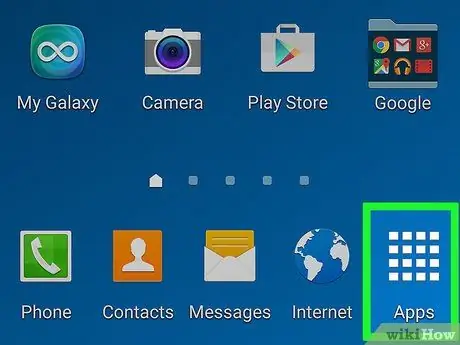
Step 1. Tap on “Apps” from the Home screen of your Samsung Galaxy S4
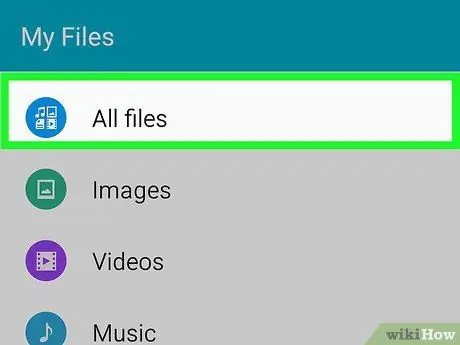
Step 2. Tap “My Files,” then tap “All Files
”
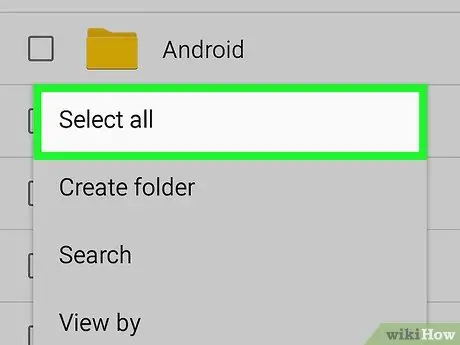
Step 3. Tap on “Menu” and select “Select All
”
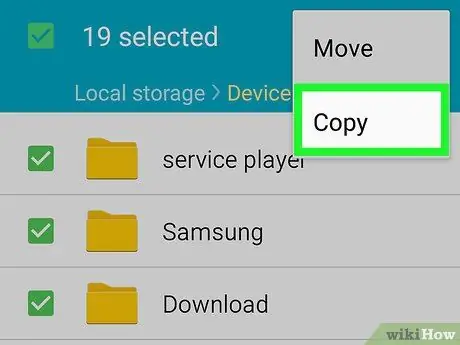
Step 4. Tap on “Menu” and select “Copy
”
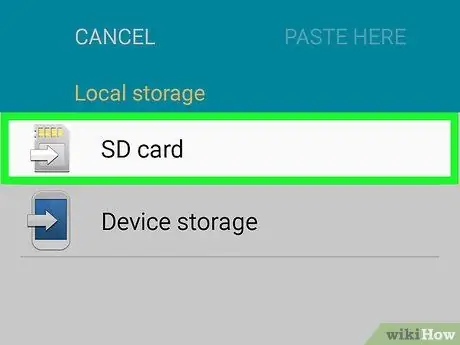
Step 5. Tap on “SD Memory Card
”
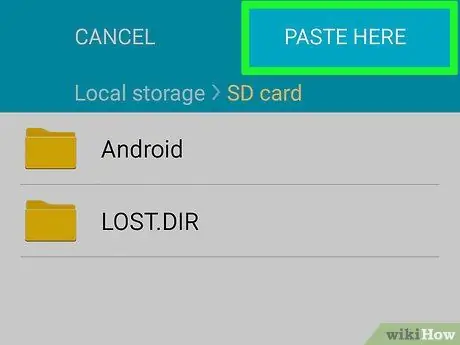
Step 6. Tap “Paste here
” All media files on your device will now be copied to your SD card.
Method 4 of 5: Backing Up Media to Windows PC
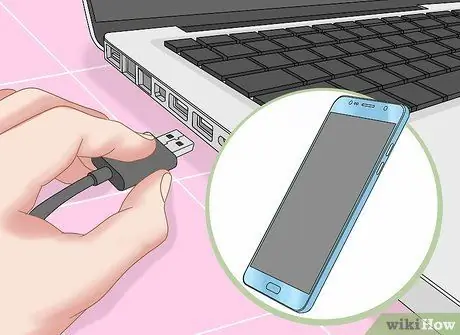
Step 1. Connect the Galaxy S4 to your computer using a USB cable
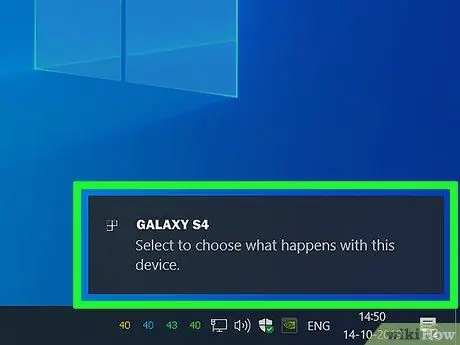
Step 2. Wait until your computer recognizes the Galaxy S4
An “Autoplay” pop-up window will appear on the screen when Windows recognizes your device.
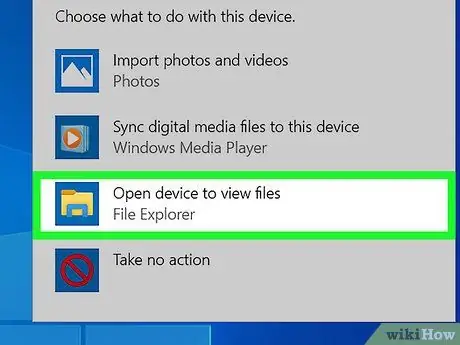
Step 3. Select “Open device to view files using Windows Explorer
”
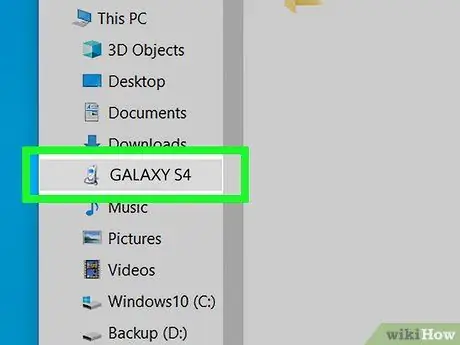
Step 4. Click your device in the left sidebar of Windows Explorer
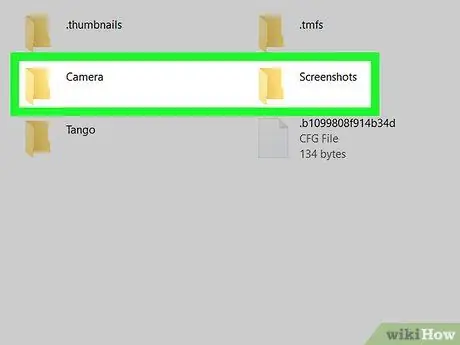
Step 5. Select the files you want to back up, then drag them to the desired location on your computer
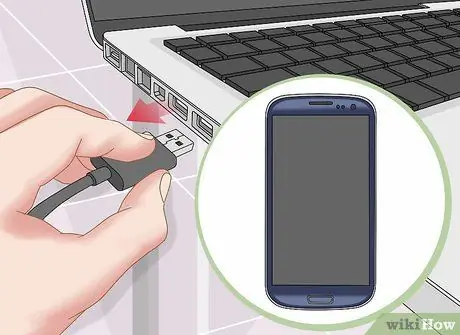
Step 6. Unplug your Galaxy S4 from the computer and the USB cable when you have finished moving the files
Method 5 of 5: Backing Up Media to Mac OS X
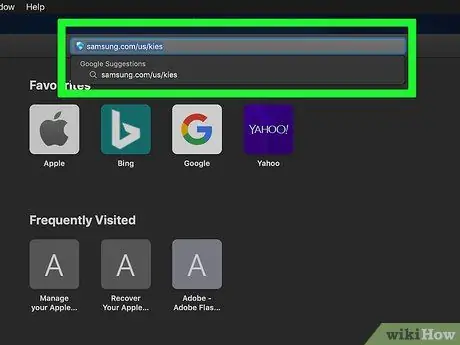
Step 1. Visit the official Samsung Kies website at
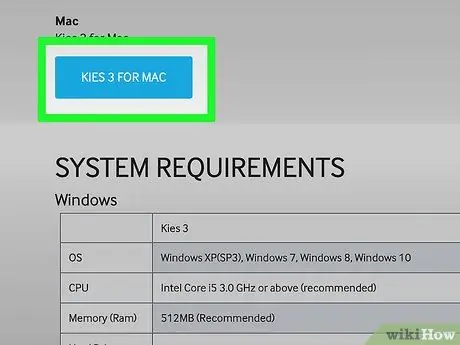
Step 2. Select the option to download and install the software for Mac OS X
You will need Samsung Kies software to transfer files between your device and computer.

Step 3. Connect the Galaxy S4 to your computer using a USB cable
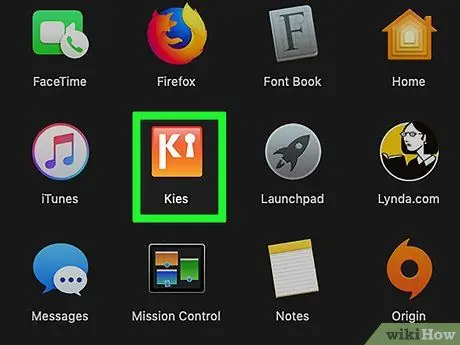
Step 4. Run the Samsung Kies application on your computer if the program is not already opened
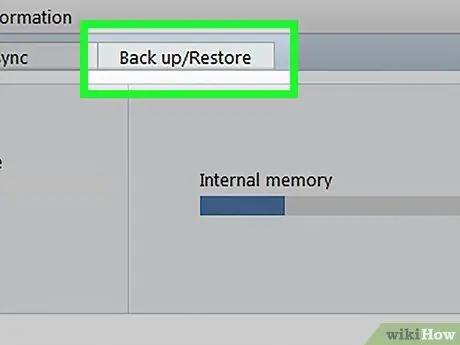
Step 5. Click the “Back up/Restore” tab in Samsung Kies
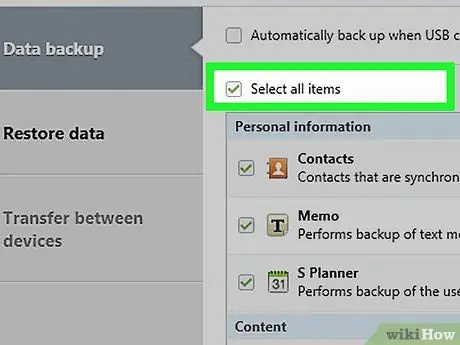
Step 6. Put a check mark next to “Select all items
”
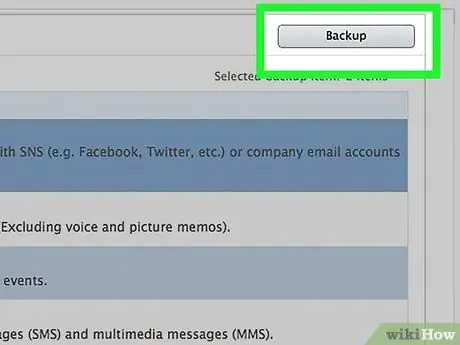
Step 7. Click “Backup
” Your media files will be saved to your computer via Samsung Kies.


