- Author Jason Gerald gerald@how-what-advice.com.
- Public 2024-01-19 22:11.
- Last modified 2025-01-23 12:04.
Google offers a handy option for storing and backing up data from mobile devices. In addition, Google provides internet storage services (Google Drive) for users who want to store backup files in internet storage (cloud storage). This option makes it easy to store files, especially backup copies of photos, videos, data, apps, and settings on Google, either through your Android phone or tablet.
Step
Method 1 of 4: Uploading Backup Copies of Photos and Videos to Google Photos
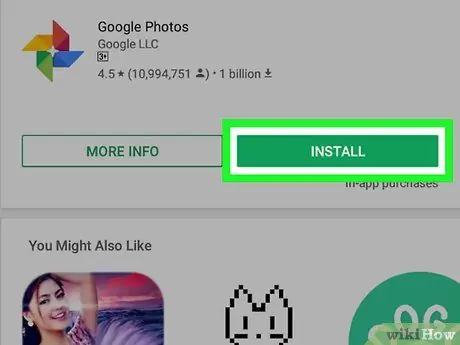
Step 1. Download and install Google Photos
This application can be obtained for free from the Google Play Store.
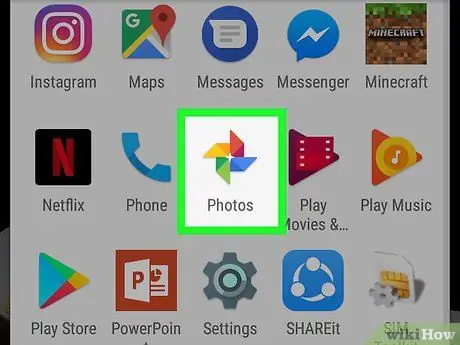
Step 2. Open the gallery application (Photos) on the Android device you are using
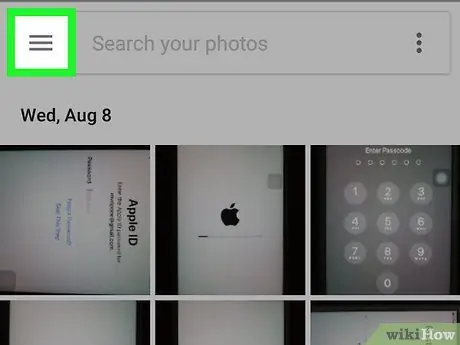
Step 3. Touch the menu
A menu icon appears in the upper-left corner of the screen.
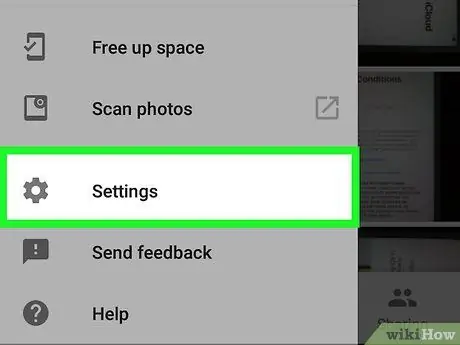
Step 4. Select “Settings”
After that, photo upload and management options will be displayed on the screen.
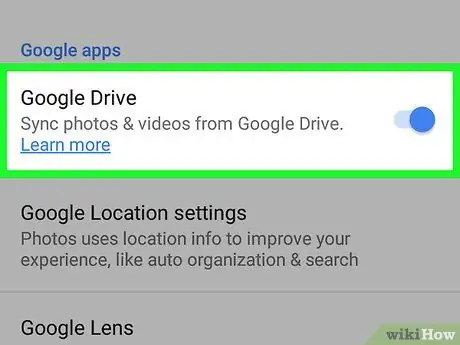
Step 5. Save the photo to Google Drive
Slide the switch next to the “Google Drive” option. With this option, photos and videos that are on the device will be automatically saved to the Google Photos library.

Step 6. Check if photos and videos have been copied to Google Photos
- Open the Google Photos app.
- Touch “Photos”. It's at the bottom of the screen.
- Photos and videos that have not been copied will be marked with a cloud icon crossed out with a diagonal line.
Method 2 of 4: Copy Android Device Backup Data to Google Drive
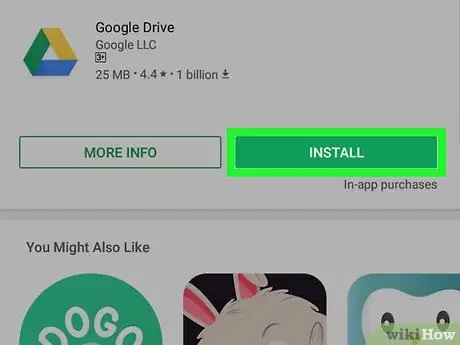
Step 1. Set up your account on Google Drive
Google Drive is Google's internet-based storage service that offers 15 GB of free storage space for storing copies of photos, videos, or other data. Before you start copying backup files from your Android device to Google Drive, you'll need to create an account on that platform first.
- Download and install the Google Drive app from the Google Play Store.
- Open the Google Drive app on the device.
- Sign in using your Google email address and password. After that, you will be automatically connected to Google Drive.
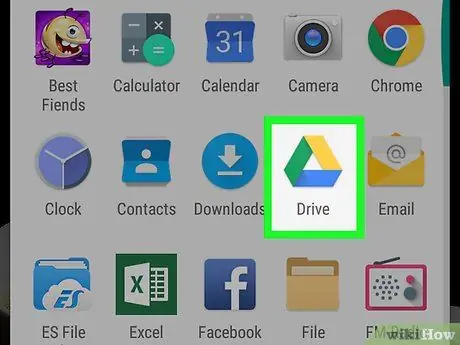
Step 2. Open the Google Drive app via the device
This app allows you to easily upload files to Google's internet storage space.
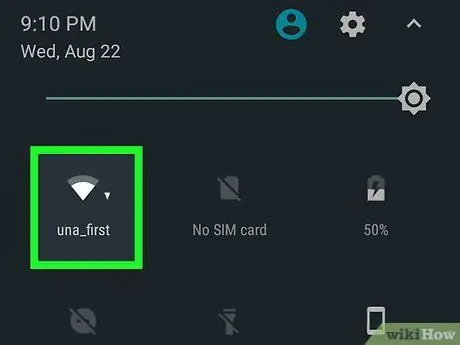
Step 3. Make sure that you have activated your device's WiFi or mobile network
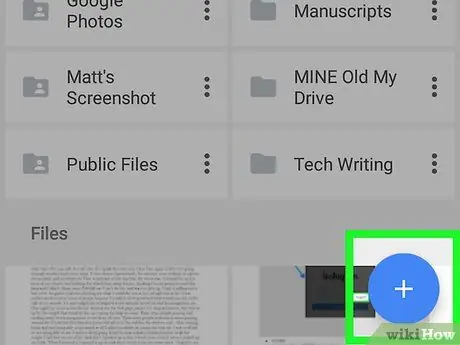
Step 4. Touch the plus sign icon in the corner of the screen
After that, a new window will be displayed.
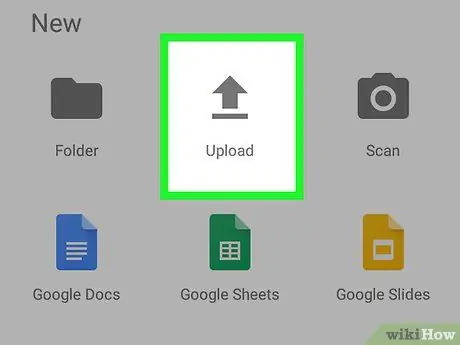
Step 5. Select “Uploads”
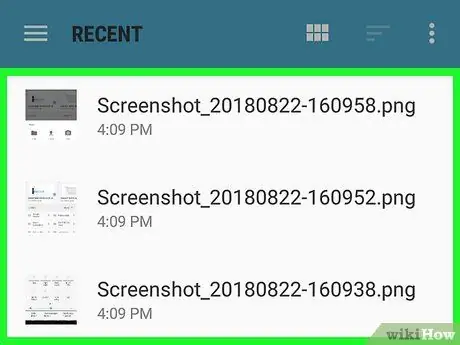
Step 6. Touch the photos and videos you want to copy to Google Drive
After that, photos and videos will be selected for later upload.
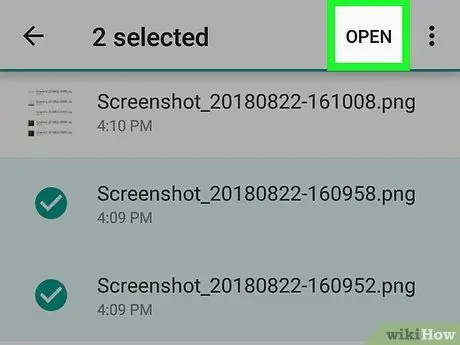
Step 7. Touch “Done”
The content that has been selected will be automatically copied to the Google Drive storage space.
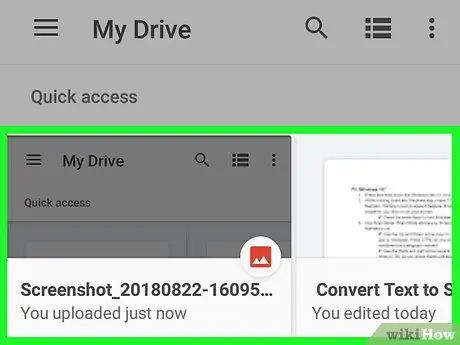
Step 8. Review the uploaded files in “My Drive”
Method 3 of 4: Syncing Android Device Apps and Settings with Google
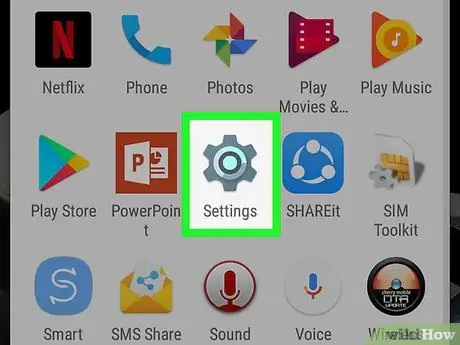
Step 1. Open the device settings menu (“Settings”)
This menu is indicated by a gear icon on the screen. With the settings menu, you can easily sync apps on your Android device to your Google account.
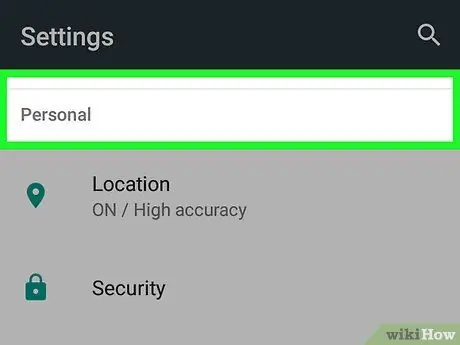
Step 2. Go to the “Personal” section
In this segment, you can manage and review your personal information, privacy settings, and account history settings.
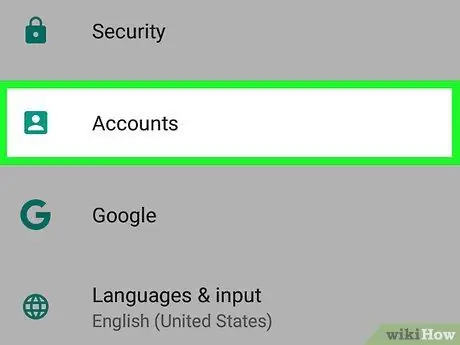
Step 3. Open the “Accounts” section
In this segment, you can manage and review your Google account preferences and any Google services you use.
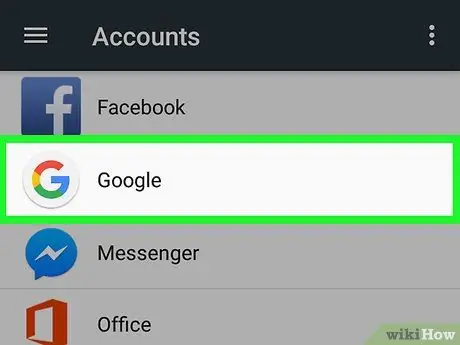
Step 4. Touch “Google”
In this segment, you can review and manage all of the Google apps that appear on the list.
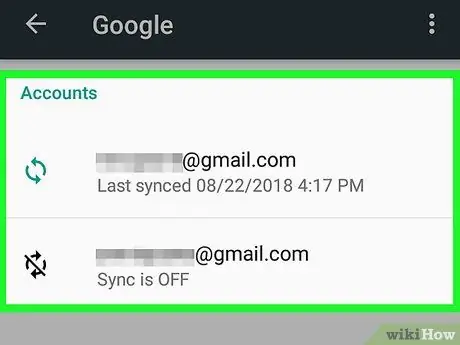
Step 5. Select the account you want to sync
Selection can be made if you keep multiple accounts on Google.
- In this segment, you can see a list of apps that were synced to Google, as well as the last sync time.
- With the auto-sync option (“auto-sync”), Google apps will update the data on the Android device automatically and provide notifications about updates.
- You can turn off the auto-sync feature for each Google app.
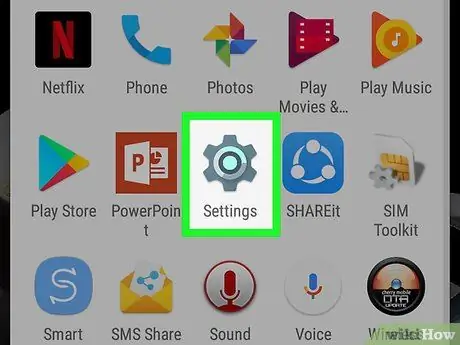
Step 6. Go to the settings menu (“Settings”)
This menu is indicated by the gear icon at the top of the screen. You can sync your Android device settings to your Google account via the settings menu.
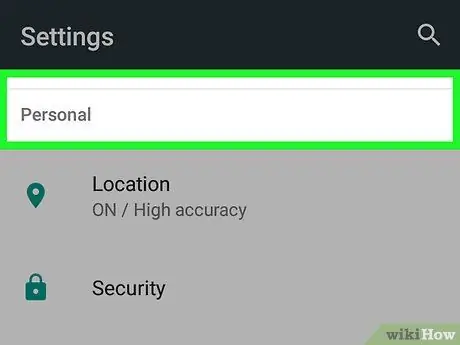
Step 7. Go to the “Personal” section
In this segment, you can manage and review your personal information, privacy settings, and account history settings.
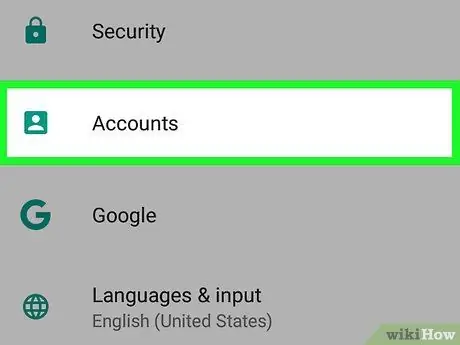
Step 8. Open the “Accounts” section
In this segment, you can manage and review your Google account preferences and any Google services you use.
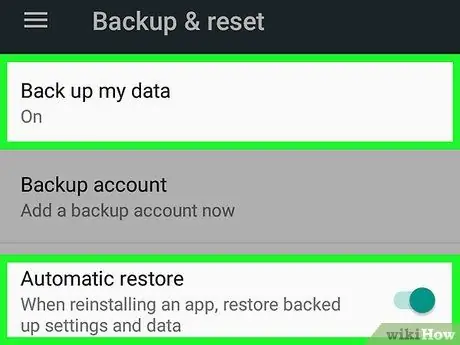
Step 9. Select “Backup my data” and “Automatic restore”
With these two options, not only can data and device settings be copied to the Google account, but can also be restored to the device. The “Auto Restore” feature is found to be useful, especially if you lose data on the device you are currently using, or want to replace the old device with a new device and restore the data and settings of the old device to that device.
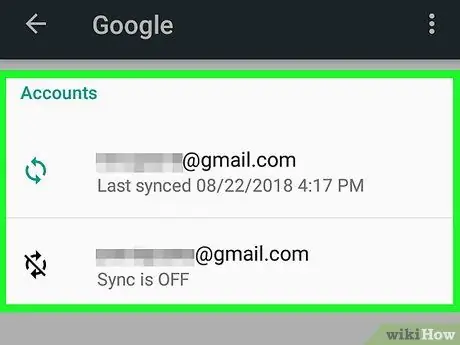
Step 10. Select the account you want to sync
Selection can be made if you keep multiple accounts on Google.
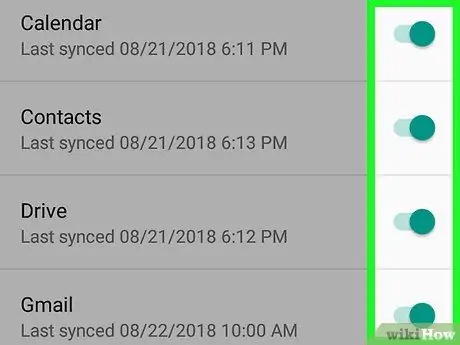
Step 11. Check all the boxes shown in the list
This is done to ensure all data is synced to Google account.
Keep in mind that Android versions 5.0 and 6.0 offer more advanced backup file copying features, including saving game files, settings, application data, and more
Method 4 of 4: Copying Data Using Android Backup Service
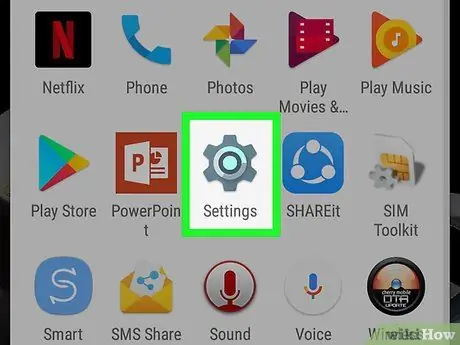
Step 1. Go to the settings menu (“Settings”)
This menu is indicated by the gear icon at the top of the screen. In this menu, you can create a backup application file using the Android Backup Service (Android Backup Service). This feature is useful, especially if you need to change devices or wipe data from the device you are currently using.
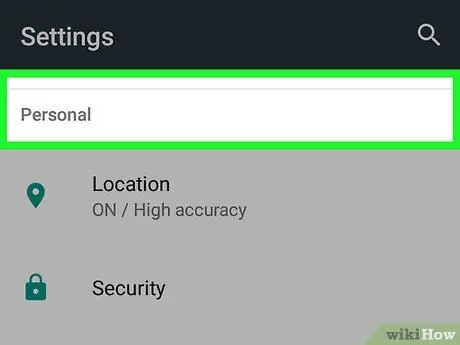
Step 2. Go to the “Personal” section
In this segment, you can manage and review your personal information, privacy settings, and account history settings.
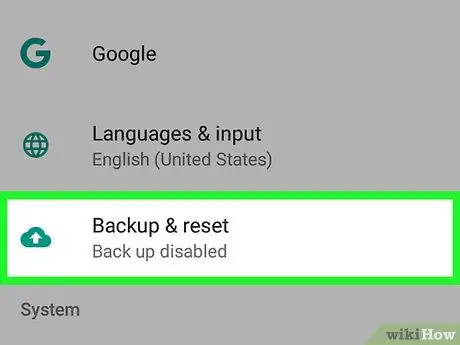
Step 3. Select “Backup & Reset”
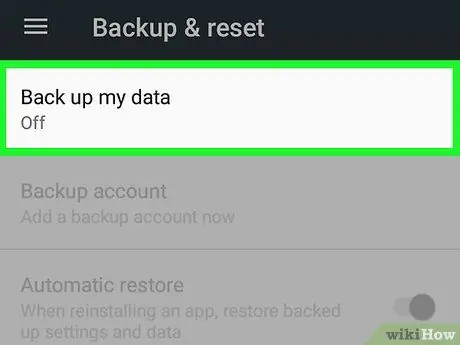
Step 4. Touch “Backup my data”
Slide the switch to the on position to activate the automatic backup feature.
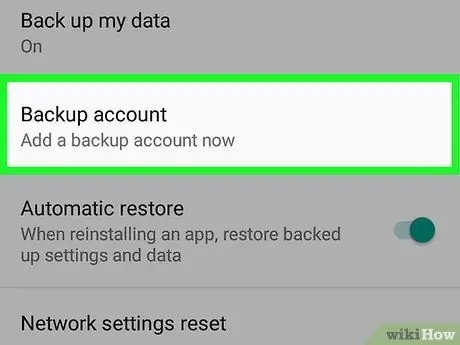
Step 5. Select the account you want to sync in the backup process
After that, the data on the device will be automatically copied to the account. Of course you can only select an account if you have multiple accounts stored on the device/Google.
- Enter the settings menu (“Settings”).
- Go to "Personal".
- Touch “Backup account”.
- Touch “Add account”.
- Enter the device PIN, lock pattern or password.
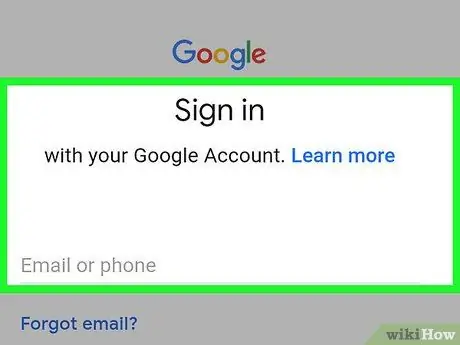
Step 6. Sign in to the selected Google account
After logging in, device data can be copied to the account automatically.
This service will copy app/device settings such as calendar, network and passwords, Gmail, display/screen, language and input, apps, and more
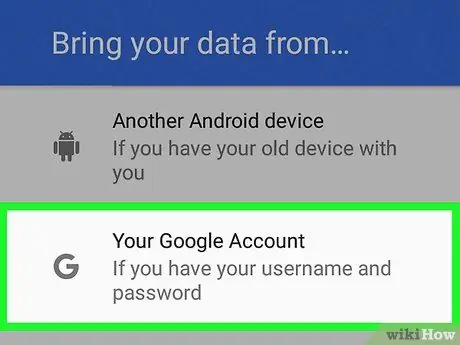
Step 7. Restore saved data
You can restore data/backup copy of Google account previously selected to sync.
Add a Google account to a new or formatted device. Once added, the backup data will be restored automatically via the Android backup service (Android Backup Service)
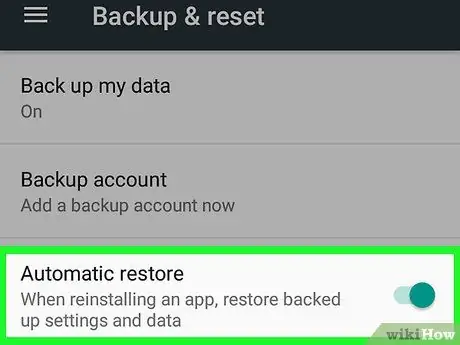
Step 8. Restore app settings
When you reinstall the app on a new device (or a device that was recently formatted), you can also restore settings that were previously backed up.
- Go to the settings menu (“Settings”).
- Go to “Personal” > “Backup & Reset”.
- Touch “Automatic restore”. After that, the automatic return feature will be activated.
- Keep in mind that you can't restore data for apps that don't use Android's backup service.


