- Author Jason Gerald [email protected].
- Public 2024-01-19 22:11.
- Last modified 2025-01-23 12:04.
Have you ever wanted to add to your family quilt collection with your own creations? One of the easiest ways is to crochet. This work was completed fairly quickly, and the results were appreciated for years to come. Let's get started!
Step
Method 1 of 4: Getting Started
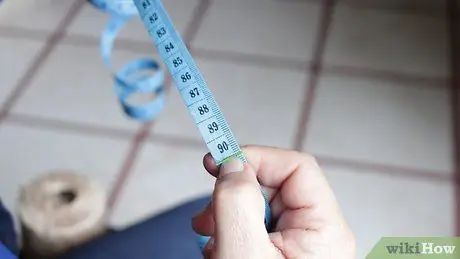
Step 1. Determine the final size you want
The size of your blanket will depend on the destination and recipient. Here are some common blanket sizes, listed in centimeters:
- Baby blanket: 90x90 cm
- Children's blanket: 90x105 cm
- Teenage blanket: 120x150 cm
- Adult blanket: 125x175 cm
- Sitting blanket: 90x120 cm
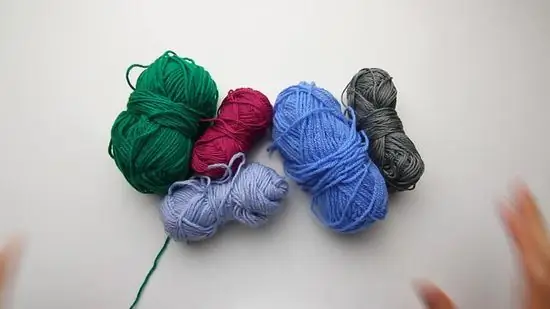
Step 2. Choose your yarn
The size and thickness of your blanket, as well as your knitting ability, can help you choose the right yarn. If you're a beginner at crochet, choose a yarn that has a fine texture, a light color (so you can see each stitch clearly) and a medium size yarn.
- Count 3-4 skeins of yarn to make a sitting blanket or baby blanket. Double that estimate for a larger blanket.
- If you're not sure you have enough yarn for the work you're doing, take an extra skein or two of yarn.
- If you buy yarn that is manufactured in dye batches, make sure that your threads have the same color group number. Otherwise, your yarn will be a slightly different color.
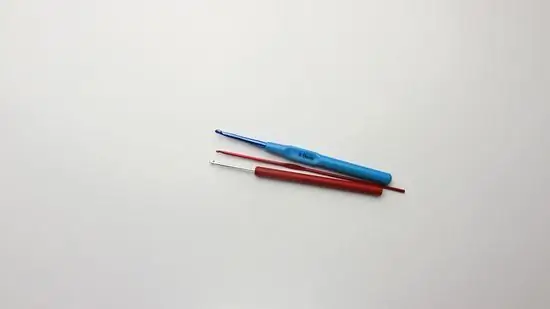
Step 3. Choose your hook size
Crochet hooks range in size from 2.25mm to 19mm. Here's what you should keep in mind when choosing hooks:
- The bigger your hook, the bigger the stitch you will make. Larger stitches are easier to see, and mean you'll finish your quilt more quickly. However, it also means you use more yarn.
- The larger stitch is also looser, and makes the blanket lighter. If you want to make a warm blanket, choose a smaller hook for a tighter stitch.
- If you are just starting to crochet, choose a hook that is 9mm or larger. You can replace your hook with a smaller one halfway as you get used to crochet.
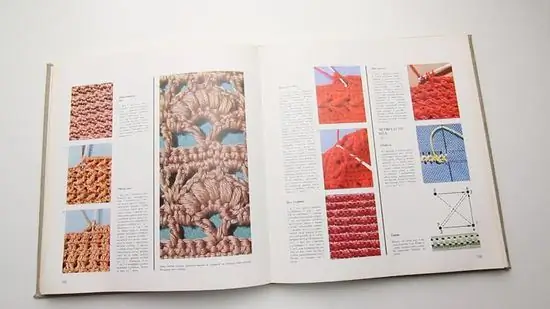
Step 4. Choose a stitch type
Your stitch will define the look and composition of your quilt. There's a huge selection of stitches to choose from, and you can even develop basic stitches to create your own style. This article will show you some easy patterns you can try.
Method 2 of 4: Simple Line Pattern
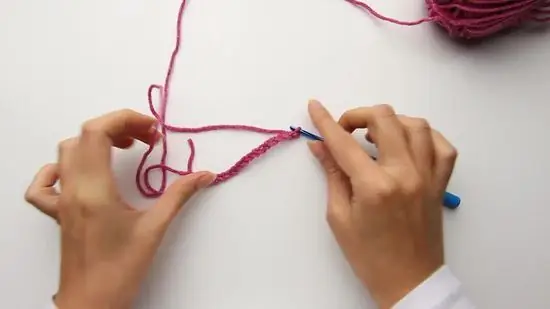
Step 1. Make a chain stitch along the width of the blanket
Leave the chain stitch loose so you have plenty of room to crochet inside. Tips & Warnings Make chain stitches in multiples of 5 or 10. This will make it easier for you to track if you accidentally add or subtract stitches in each row. Know how many "extra" chain stitches you need. Depending on the type of stitch you're using, you'll have a number of stitches that become part of the "new row" as you move on to the second row. For single stitch, one chain stitch; for double stitch, triple chain stitch.
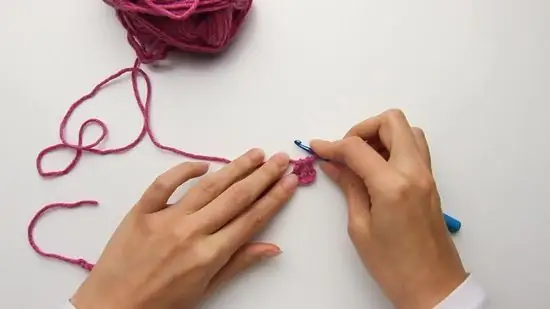
Step 2. Flip over and start creating the second row
Once you've finished making the chain stitch, turn your work so that you can work it from right to left from the top of the chain stitch. To make a single stitch, insert the hook into the second loop of the hook. To make a double crochet, thread the hook into the third loop of the hook.
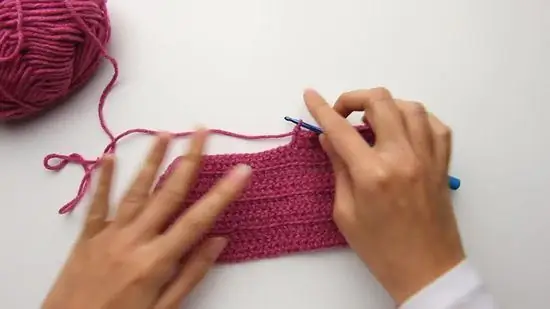
Step 3. Continue until you get the length you want
You can count the number of stitches as you work, or you can stop every now and then and count the number of stitches in the row you just finished. Decorate (optional). Crochet on the inner circle of each stitch (and not on both loops) will give you a beautiful jagged look to your crochet quilt.
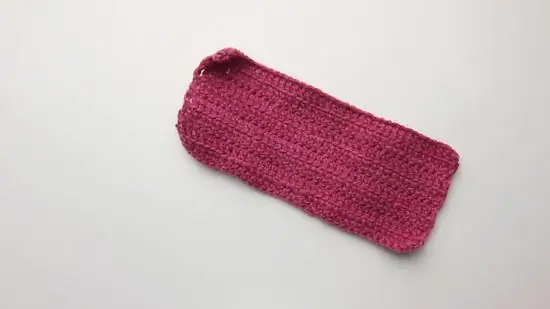
Step 4. Done
Method 3 of 4: Grandma's Box
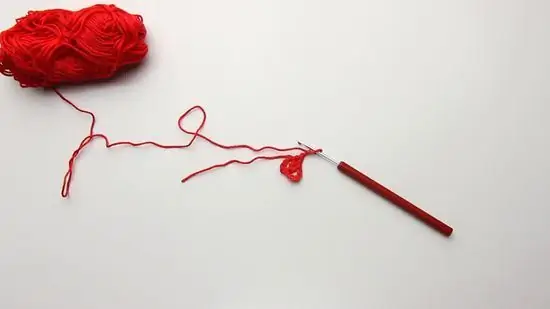
Step 1. Start crochet granny square
Continue until you have enough to make your quilt. Play with color combinations. You can make your granny square with just one color, or vary the color of each piece. You can also create designs like a maze or a heart shape, though that requires more planning. Go a little further, and you can make combinations of opposite colors on different squares.
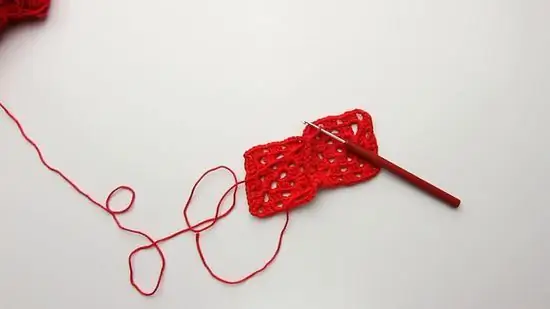
Step 2. Sew the squares together
Slip the plaid stitches in a row. Make rows of crochet at the edges of your quilt (optional). If you wish, you can add embellishments around the edges of the squares that have been joined together for a neater result.
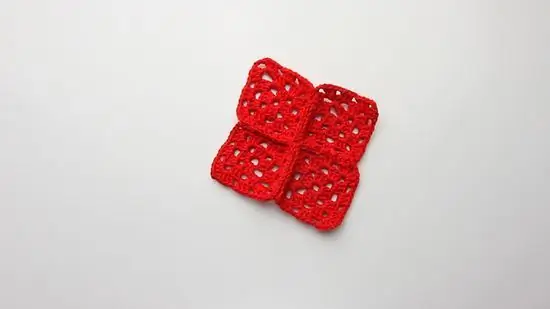
Step 3. Done
Method 4 of 4: Monk's Row
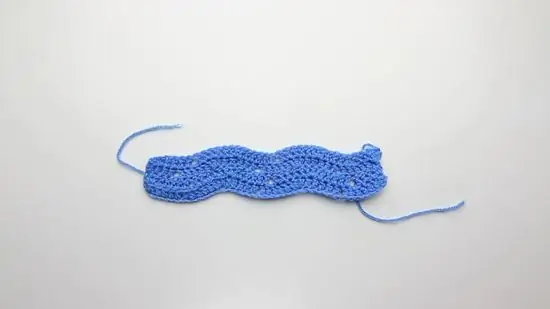
Step 1. Make a row of vertical monks
-
Make a basic chain stitch in 12+2

Image -
Row 1: sc (single stitch) 2 into second ch (chain stitch), then *sc 5, complete 1 ch, sc 5, sc 3 in next ch. Repeat from * to the last 12 ch. Then sc 5, complete 1 ch, sc 5, sc 2 in the last ch, ch 1 then flip.

Image -
Row 2: sc 2 into second ch, then *sc 5, complete 2 ch, sc 5, sc 3 in next ch. Repeat from * to the last 12 ch. Then sc 5, complete 2 ch, sc 5, sc 2 in last ch, ch 1 then flip. Repeat row 2 until you reach the length you want.

Image
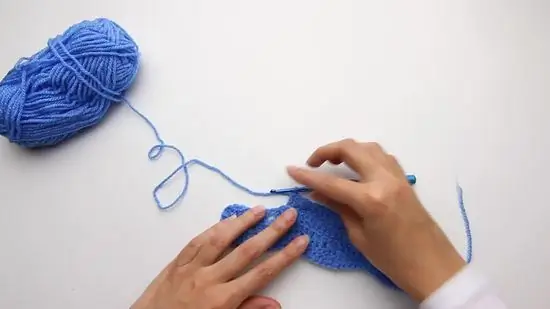
Step 2. Make horizontal rows of monks
Use the same steps as for the vertical crochet row but you will be crocheting only on the back loop of each stitch. This method will create a horizontal bent effect that adds thickness to your work.
Step 3.


