- Author Jason Gerald [email protected].
- Public 2023-12-16 10:50.
- Last modified 2025-01-23 12:04.
Perspective drawing is a drawing technique used to illustrate dimensions through a flat plane. There are many forms of perspective drawing, such as one-point perspective, two-point perspective, and three-point perspective, bird's eye view, worm's eye view, etc. In this tutorial, a one-point perspective is used to draw the scene beneath the checkerboard lines. One-point perspective is also a perspective drawing that has one “vanishing point”, meaning that the lines drawn are parallel to each other and are “infinite”.
Step
Method 1 of 5: Basic Perspective Drawing
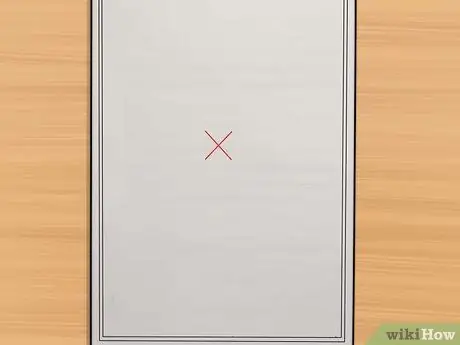
Step 1. Start by creating a vanishing point by drawing an X in the middle of the paper
Then, draw a line from the center to the end of the paper, but make sure the line becomes part of your drawing later.
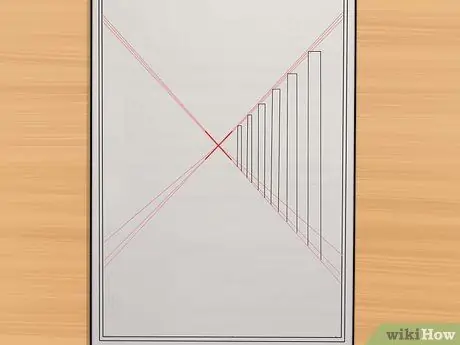
Step 2. The next step is to draw a row of poles on the right side
When you're almost at the center (or vanishing point), replace the posts with a series of lines.
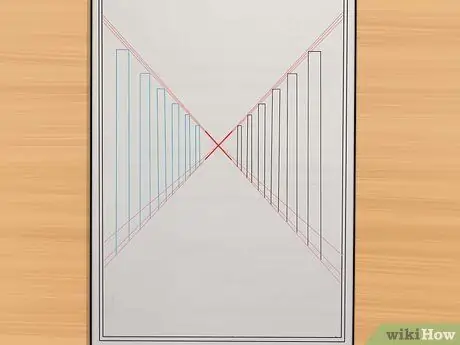
Step 3. On the left side, draw a row of posts and add some kind of upright bench
Redraw a series of lines when you're almost to the center.
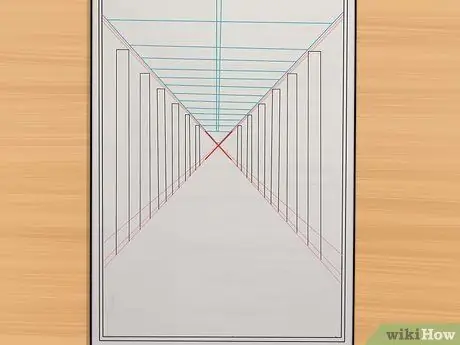
Step 4. For the next step, draw the roof of the hallway in the form of a checkerboard pattern
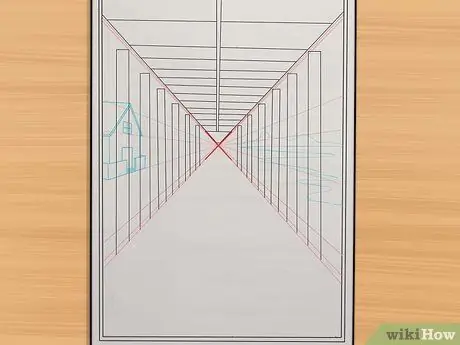
Step 5. Then, sketch the house on the left side and the beach view on the right
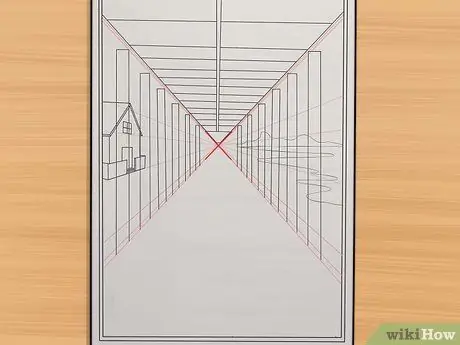
Step 6. Finally, add the lines that will complete the image into the 3D pillars and roof
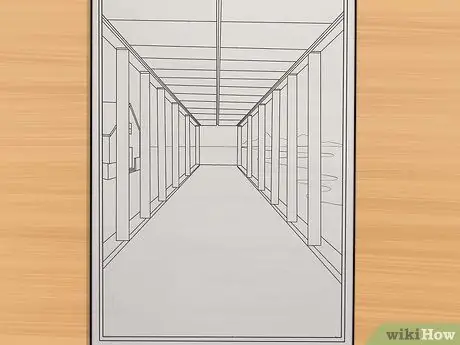
Step 7. Color the image and you're done
To color the image, you can use a black pencil or marker with different ends to create a variety of textures in the image.
Method 2 of 5: One-Point Perspective
One-point perspective is usually used when the front of the object is facing the viewer of the image. In this type of image, the horizontal line will remain horizontal and the vertical line will remain vertical, and the line that is further away from the observer's eye will lead to an angle called the "vanishing point". Click on the following pictures to take a closer look.
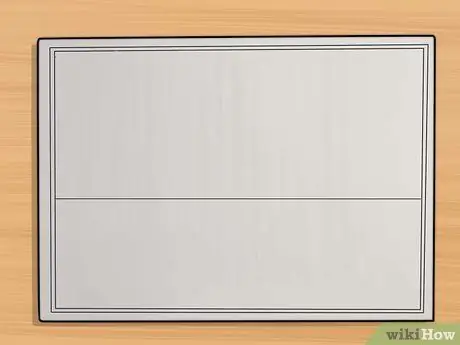
Step 1. Define the horizon line (horizon line) in the image
Draw a horizontal line as a horizon line with a hard pencil. The horizon line determines how far the observer can see based on the terrain and the observer's distance from the ground.
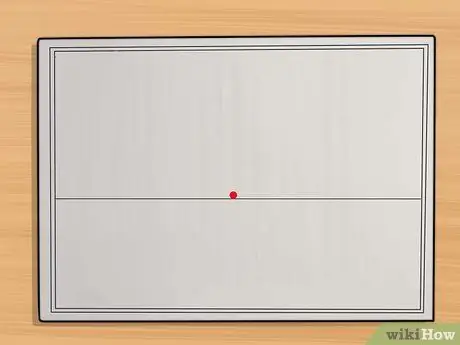
Step 2. Choose the vanishing point
This point will define the perspective effect. For reference, the most basic vanishing point is usually in the middle of the drawing paper, on the horizon line. If you set the vanishing point to the right, the angle of view of the image will appear to move to the left of the object. The vanishing point for some objects can also be above or below the horizon line, depending on the inclination of the terrain to the ground.
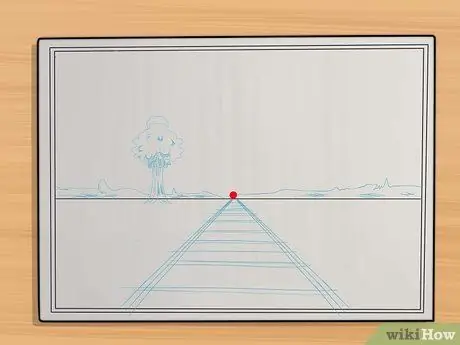
Step 3. Draw a sketch of the main object
- Draw all horizontal and vertical lines correctly and perpendicularly.
- A line that “starts near the observer's point of view and progresses away” should be drawn towards the vanishing point. This is what will give the perspective effect.
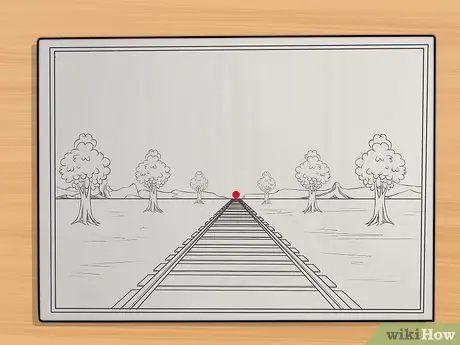
Step 4. Add details to the image according to the proportions determined by the reference lines you created earlier
Method 3 of 5: Two-Point Perspective
Two-point perspective or perspective with two vanishing points is used when the corners of the object are facing the viewer of the image. This method is suitable for drawing isometric objects.
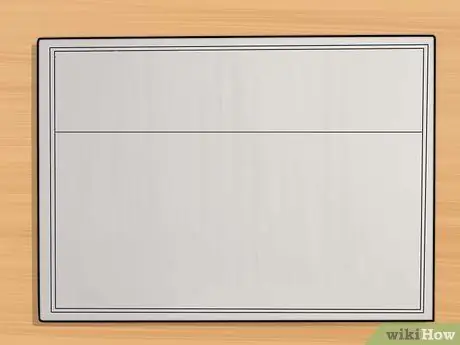
Step 1. Define the horizon line in the image
Draw a horizontal line as a horizon line, as in the first method above.
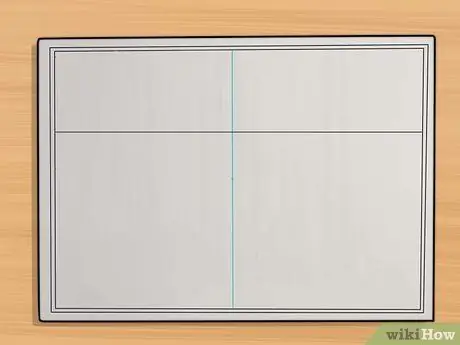
Step 2. Determine the angle of view which is the approximate location of the eye of the observer looking at this image
The dot can be under the paper (outside the drawing paper). You don't need to actually mark the point.
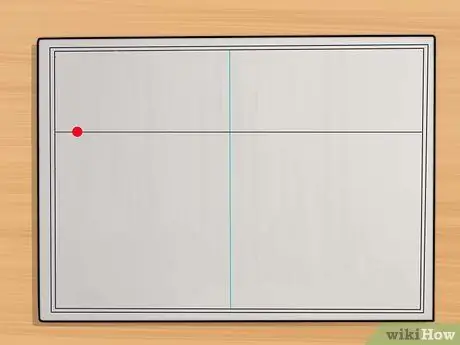
Step 3. Determine the first vanishing point
A common way to do this is to draw a line at an angle of 60 degrees, starting from the observer's point of view towards the top left. Then, mark the vanishing point, which is where the line intersects the horizon line.
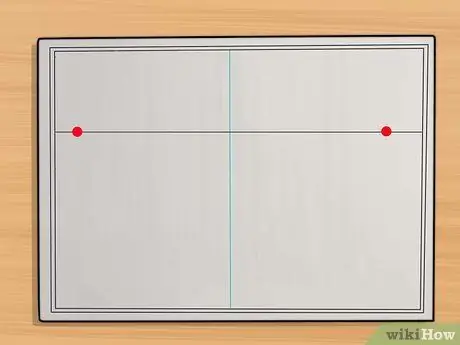
Step 4. Determine the second vanishing point
For the second vanishing point, draw a line at an angle of 30 degrees, starting from the observer's point of view towards the top right. Again, the vanishing point will be where the line intersects the horizon line. The location of the point of intersection of the 60 and 30 degree angles can be different, but the angle between the lines starting from the observer's eye point to the vanishing point will both form an angle of 90 degrees.
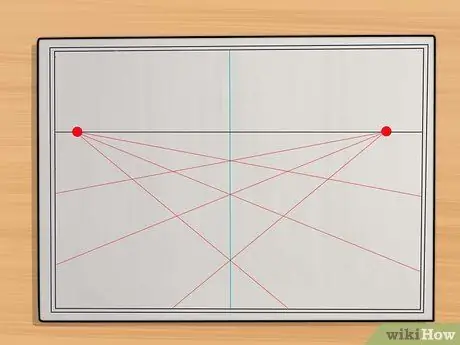
Step 5. Draw the main object of the image with perpendicular vertical lines; a left horizontal line sloping towards the left vanishing point; and a right horizontal line that slopes toward the right vanishing point (all horizontal lines must converge at the right and left vanishing points if the line is drawn as far as that point)
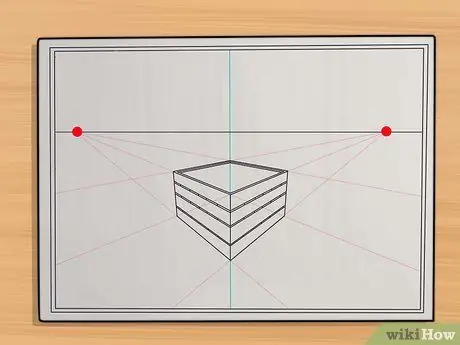
Step 6. Add details to the image according to the horizontal guide lines drawn for the main object of the image
These lines will determine the proportion of the object's size when it is nearer or farther from the viewer's point of view.
Lightly draw temporary guide lines with a ruler (shown in green here) to ensure that your detailed drawing fits into perspective. Erase these guide lines after the drawing is complete later
Method 4 of 5: Three-Point Perspective
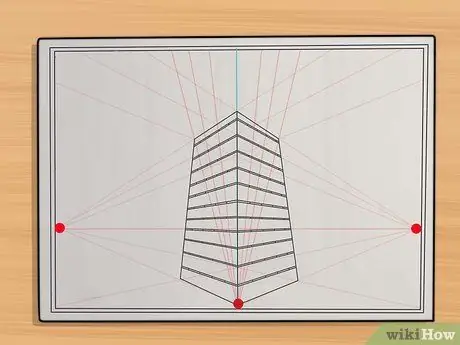
Step 1. This three-point perspective includes a two-point perspective or it can also be called a “perspective with two vanishing points plus a third vanishing point (or third perspective point) located in the vertical perspective aspect
This third vanishing point is located on the ground level and is pointing upwards, and the position of the observer of the image is facing the vertical corner (or side) of the object.
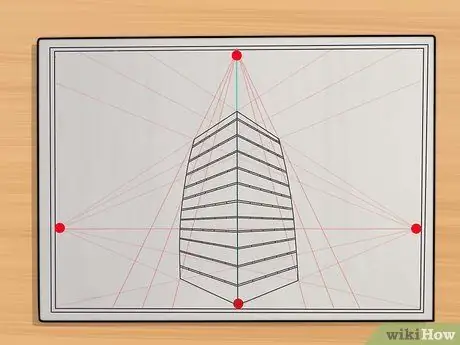
Step 2. This third point can be a fourth, fifth, etc. point of view
for angular, tilted, or rotated portions of the image.
However, usually this third point is based on parallel lines in each section and corresponds to sections that are actually parallel to each other.
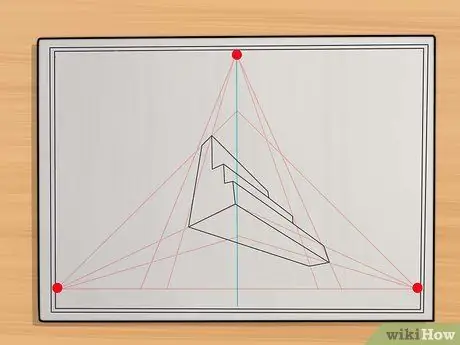
Step 3. Look at the example picture of the stairs above to see that the difference in this third point depends on the angle of the object being viewed
So, there could be several other vanishing points at different angles, either above or below the image. For example, two identical stairs in different positions, as in the picture in the lobby of a building.
Method 5 of 5: Zero Point Perspective
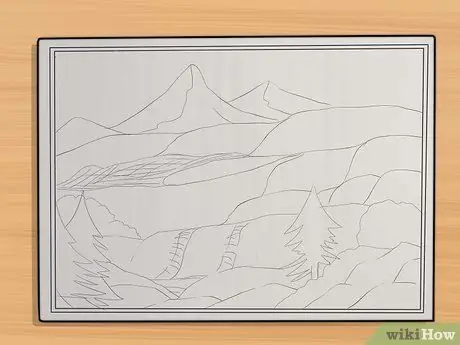
Step 1. Imagine a scene like a landscape that has no parallel lines
This kind of perspective consists of irregular shapes, such as curved trees, rocks, mountains, rubble, gravel, sand dunes, etc.
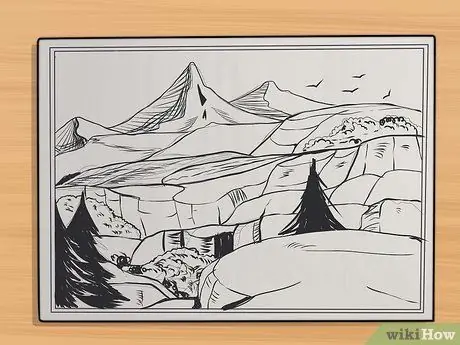
Step 2. Draw this kind of perspective with the size of the object generally getting smaller as it moves further away from the viewer's point of view
Image elements such as tree trunks, should be made thinner and less detailed in the background. In addition, the further away the object is from the observer's eye point of view, the less contrasting the textures, shadows, and colors will be. So, the color of objects in the distance will fade (become lighter) and more tinge towards the blue hue.
Tips
- Always use a ruler so that the lines you draw are straight.
- Start drawing with a hard pencil. A 2H pencil is highly recommended for this section, but you can use a harder pencil if you want the reference lines to be invisible in the final drawing. Finish the drawing with a slightly softer pencil, such as HB.
- A good practice is to visit a place where the structure seems to disappear into the horizon line (railways are a good option, but be careful with trains coming especially from behind). Sit down and draw the structure, then move about 5 meters to the right or to the left, then draw the same object again. Practice drawing from different angles and notice where the vanishing points are.
- Perspective can also be applied to block letters for a more dramatic and impressive effect.
- Use graphite paper when erasing or drawing. This paper is great because it's stain-resistant (so you can rest your hand on it safely).
Warning
- Make sure your hands are always clean when drawing. There's nothing more depressing than ruining the perfect image that has been created for hours because of dirty hands.
- Remember, draw with light strokes. Otherwise, in the final image, you will see traces of the erased guide lines.
- If the picture isn't perfect, just try again. Do not give up!
- There are types of three-dimensional images that do not have perspective. The coordinate system has no vanishing point. For this type of drawing, parallel lines will never meet at one point even when drawn far away.


