- Author Jason Gerald [email protected].
- Public 2023-12-16 10:50.
- Last modified 2025-01-23 12:04.
Balloon cars are a fun science and craft project to work on with kids because they contain an educational element. This activity can teach children how to use wind energy to propel objects, as well as various physical principles such as momentum, force, resistance, and velocity. This project can also teach children how to recycle objects and how to turn used items into fun toys. The materials needed are very simple: anything like a car body, straws, masking tape, skewers and balloons.
Step
Method 1 of 3: Making an Ordinary Balloon Car
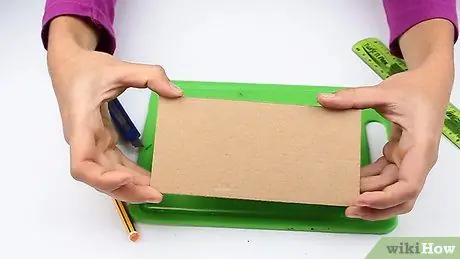
Step 1. Cut the cardboard in the shape of a rectangle with a size of 8 x 15 centimeters
Draw a rectangle using a pen and ruler. Cut the image you created using scissors or a cutter.
- You can also use a foam core (a type of hard foam). This material is often used as a presentation board.
- To make a luxury car, paint the cardboard with acrylic paint or coat it with duct tape. Let the paint dry before you continue.
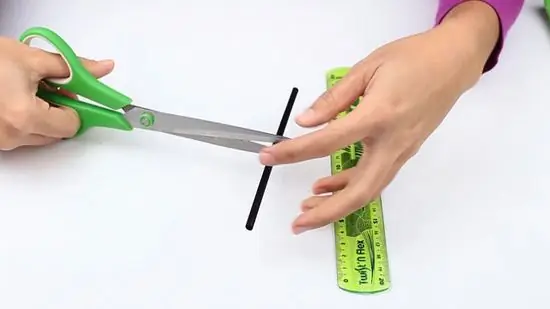
Step 2. Prepare 2 straws about 8 centimeters long
Remove the curved part of the straw. Only use the straight part because this straw will be used as a holder for the axle (axle) and wheels.
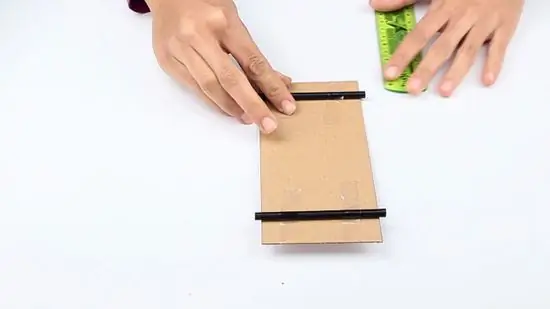
Step 3. Glue the straw to the cardboard
Place the straws crosswise over the cardboard, about 1 cm from each of the top and bottom edges of the cardboard. Make sure the straw is placed straight and parallel to the edge of the cardboard. If it is bent, the car cannot run in a straight line. Attach the straw to the cardboard using masking tape.
- Use strong tape, such as duct tape, to keep the straw from coming off.
- Make sure you stick the tape over the entire length of the straw.
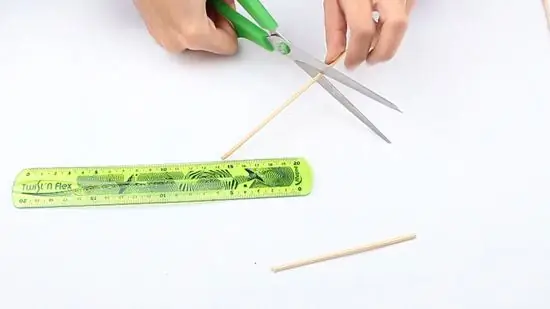
Step 4. Prepare 2 sticks of wooden skewers about 10 centimeters long
Don't forget to trim the pointed ends first. After that, cut the skewers until you get about 10 cm long. You need 2 sticks of skewers to make a car axle.
- You can use wire-cutting pliers if the skewer cannot be cut with scissors.
- If you don't have a wooden skewer, you can use a lollipop stick instead. Make sure the stick rolls easily inside the straw.
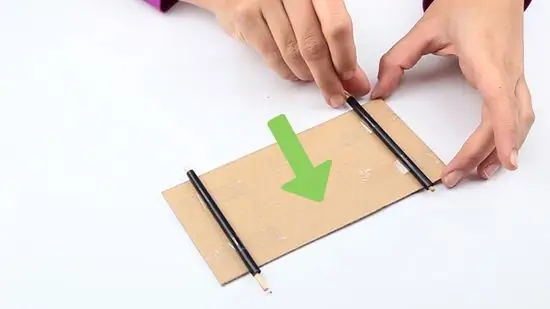
Step 5. Insert the skewer into the straw
Each end of the skewer will stick out of the straw about 1 cm long. The car wheel will be plugged into the end of this skewer later. In this way, the axle (skewer) can rotate easily inside the straw so the car can move.
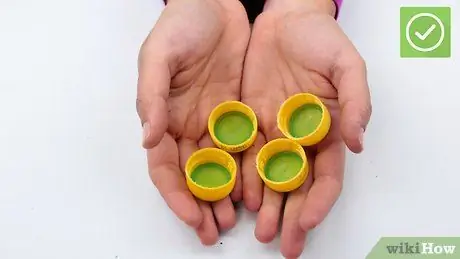
Step 6. Make the wheel
Trace a bottle cap or a large coin onto a cardboard sheet to make 4 wheels. Cut the circle you made with scissors or a cutter. Make the cuts as even as possible.
You can also use bottle caps instead of cardboard
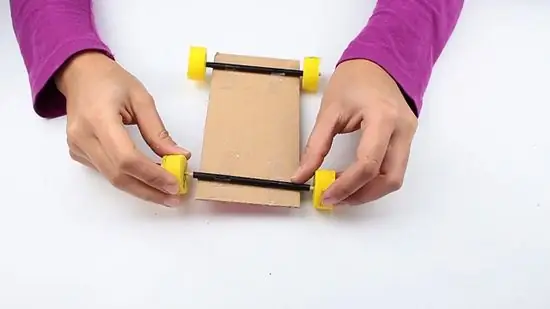
Step 7. Plug the wheels into the skewers
Make a hole in the center of the wheel. Plug the wheel into the end of the skewer. Make sure the wheels don't touch the cardboard as this could jam it. If the wheel is loose, apply a little glue or clay to the end of the skewer. Don't worry, the wheels can still spin.
- If using cardboard or foam core, you can punch holes in the wheel with a pencil, pen, or skewer.
- If using a bottle cap, punch a hole in the wheel with a nail and hammer. Children should be assisted by adults when doing this.
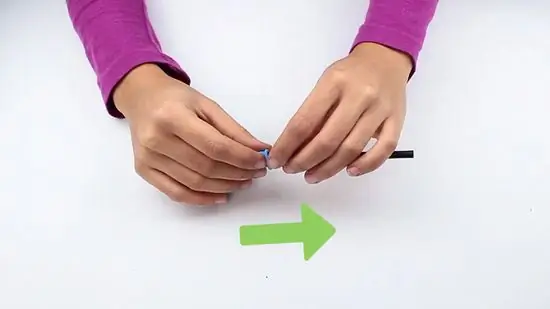
Step 8. Insert the straw into the balloon, then glue it with tape
Insert the straw into the balloon about 5 centimeters deep. Wrap the tape tightly around the end of the balloon. Widen the loop of tape so that it partially covers the straw. Make sure there are no gaps between the straw and the balloon hole. There should be no air that can get out/in through the balloon holes.
Use regular balloons instead of water balloons or balloons shaped like noodles, hearts, aliens, worms, and so on
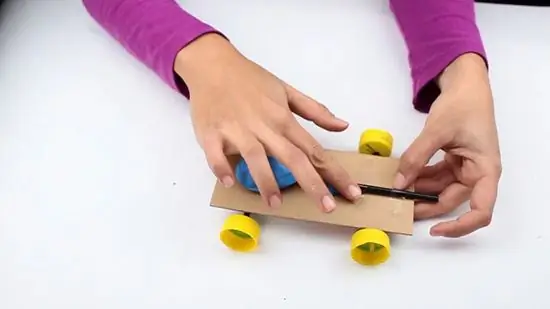
Step 9. Attach the straw to the top of the car using masking tape
Position the car so the wheels are down. Place the balloon-mounted straw on top, facing the narrow end. Make sure the straw is straight. The balloon should be placed on top of the cardboard and the straw sticking over one edge of the cardboard. Secure the straw to the cardboard using masking tape.
- It doesn't matter if the straw is a little out of the car body. If it hits the floor, cut off a bit of the tip.
- The balloon should not hang over the edge of the cardboard. If this happens, the balloon will hit the floor and the car will not move.
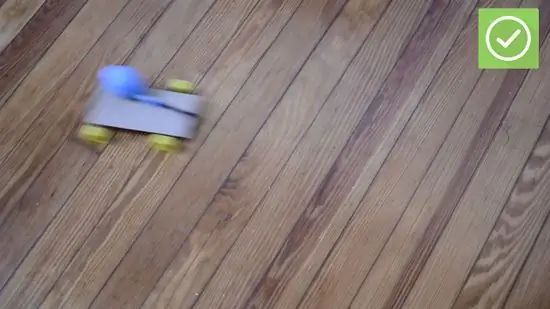
Step 10. Start the car
Use a straw to blow some air into the balloon. Clamp the straw so that no air can escape. Place the car on a smooth and even surface. Remove the end of the straw and watch as the car moves forward.
- The straws are at the back of the car, and the balloons are at the front.
- If the air inside the balloon escapes, there may be a gap between the balloon opening and the straw. Wrap the tape again around the end of the balloon.
- If the air is still coming out, the balloon may have a hole. Replace with a new balloon.
Method 2 of 3: Making a Balloon Car from a Drink Box
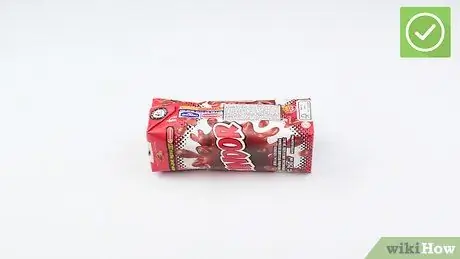
Step 1. Prepare a small drink box
You can also use a small milk carton box. To make the car look luxurious, paint the drink case with acrylic paint, or cover the box with duct tape, cloth, or other material.
Make sure the drink carton is clean and dry
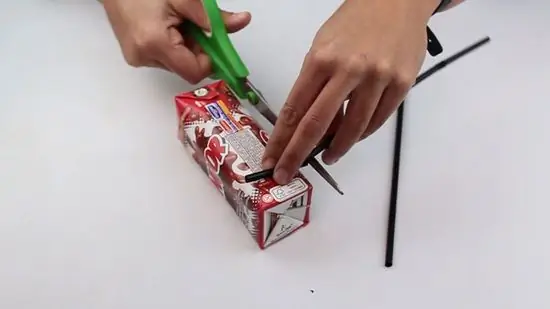
Step 2. Prepare 2 straws with a length equal to the width of the drink box
The drink box has panels on the front, back, and two sides. Cut straws to a length equal to the width of the front of the back panel.
Use the straight part of the straw. Do not include curved sections
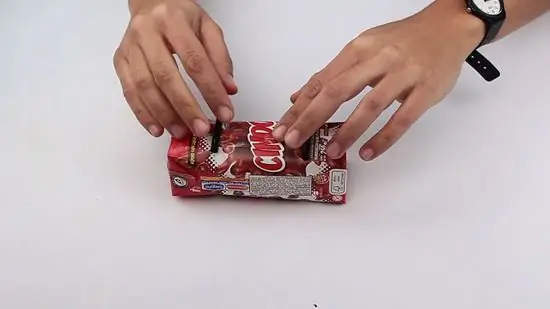
Step 3. Adhere the straw to the front of the drink box using masking tape
Place the drink box so the front is facing you. Glue the two straws at the top of the box about 1 cm from the top and bottom edges of the box. Secure the position of the straw by attaching it with tape. This is to keep the axles and wheels attached.
- Make sure the straw is attached straight. If it is bent, the car will not run in a straight line.
- Use strong tape, such as duct tape.
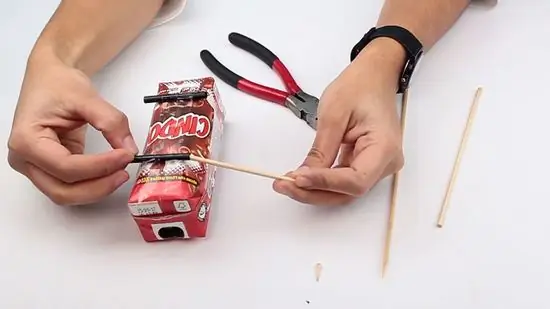
Step 4. Prepare 2 skewers to serve as axles
Remove the sharp end of the skewer first. After that, cut the skewers about 2 cm longer than the width of the box and straw.
If you don't have skewers, you can replace them with lollipop sticks. Make sure the stick can move easily inside the straw
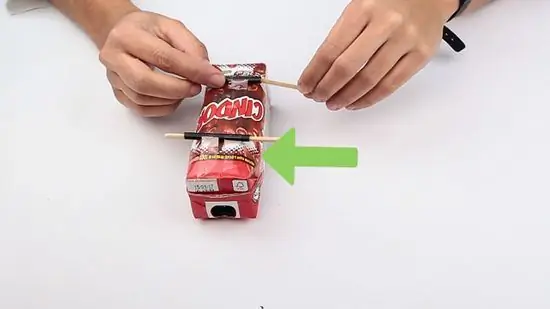
Step 5. Insert the skewer into the straw
Each end of the skewer should stick out of the straw about 1 cm long. It is used to place the wheels of the car.
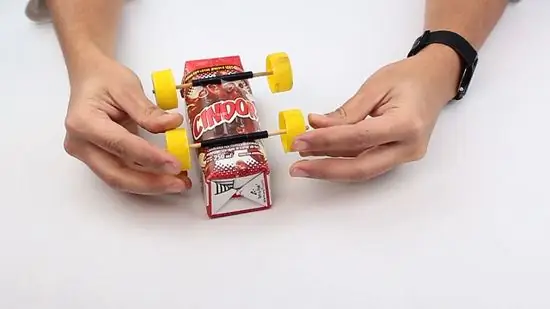
Step 6. Install the wheels
Place pieces of sponge or clay into 4 bottle caps. Plug the bottle cap on the skewer. Do not let the clay part touch the straw. You can also stick it firmly with a hot glue gun.
You can use buttons if you don't have a bottle cap. You can also make wheels out of cardboard cut into rounds. Make sure all wheels are the same size
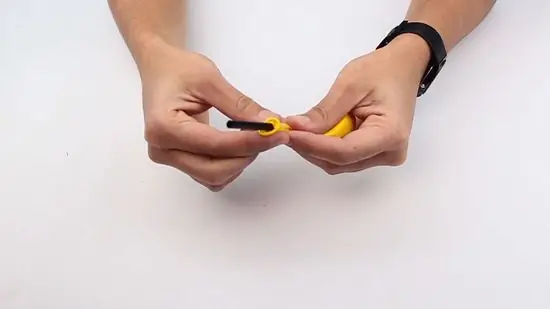
Step 7. Glue the balloon to the end of the straw using masking tape
Insert the straw about 5 cm deep into the balloon. Wrap the tape around the mouth of the balloon. Widen the loop at the end of the balloon until it reaches the straw. There should be no gap between the balloon hole and the straw.
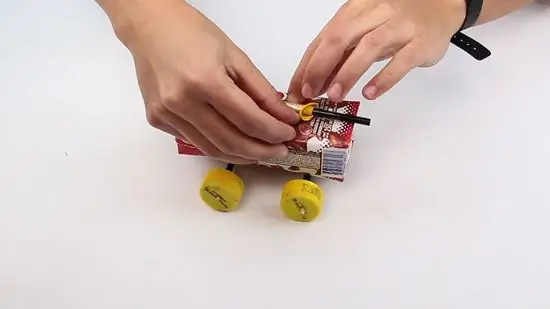
Step 8. Glue the straw to the drink box using masking tape
Place the balloon and straw in the center of the drink box. The balloon will be spread out at the end of the drink box. The straw will stick out a little at the other end of the box. Make sure the straw is straight, then apply tape over the straw to secure its position.
- Use strong tape, such as duct tape.
- Cut straws that are too long. Only leave the end of the straw about 2 to 5 centimeters from the edge of the box.
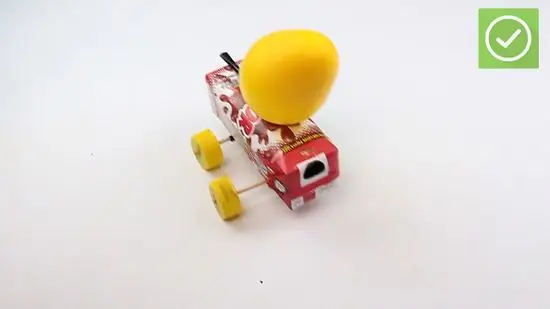
Step 9. Start the car
Blow on the straw to inflate the balloon, then pinch the straw. Place the car on a smooth and even surface. Release the clamp on the straw, and watch the car move.
- Blow up the balloon.
- Don't tie the ends, just cover them with your fingers.
- When you're ready, remove the clip on the end of the straw, and watch the car move forward.
Method 3 of 3: Make a Balloon Car from a Drink Bottle
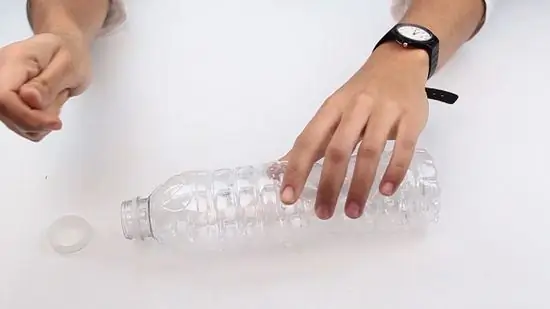
Step 1. Clean the plastic drink bottles
You can use a bottle of mineral water or soda. Remove the cap and label on the bottle. Clean the bottle and let it dry.
- We recommend that you use a small water bottle.
- Make sure the bottles are cleaned, especially if you are using a juice or soda bottle.
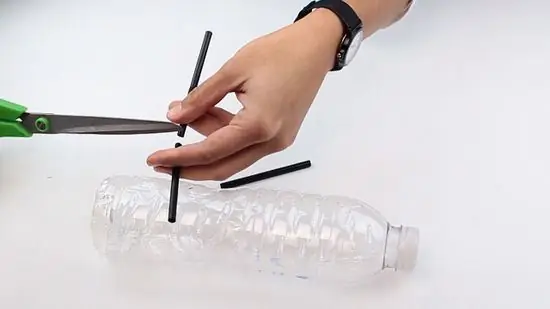
Step 2. Prepare 2 straws with a length equal to the width of the bottle
Measure the width of the bottom of the bottle. Cut 2 straws according to the width of the bottle. Only use the straight part of the straw, not the bent one. This will be used as a place for the axles and wheels of the car.
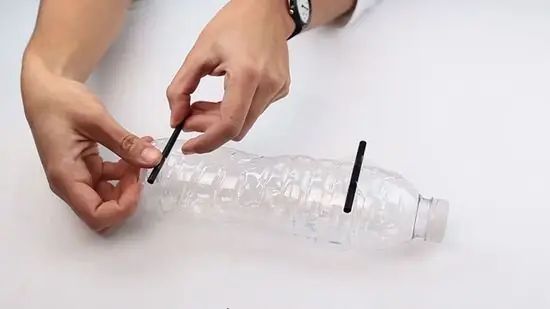
Step 3. Glue the straw to the side of the bottle using masking tape
Stick the first straw about 2 cm from the bottom of the bottle. Glue the other straw about 2 cm below the dome of the bottle. Make sure the two straws are installed straight and parallel to each other. If the position is bent, the car will not run in a straight line.
- If the bottle has an indentation, you can use it as a guide.
- Use strong, sturdy tape, such as duct tape.
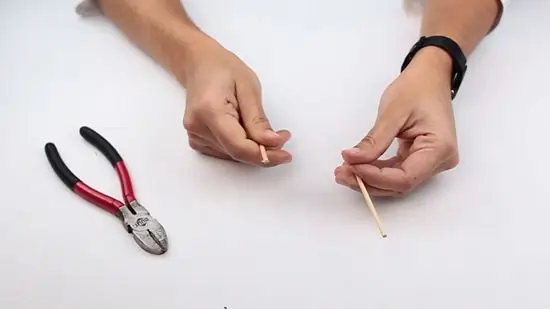
Step 4. Prepare 2 skewers to serve as axles
Remove the sharp end of the skewer first. After that, cut the skewers about 2 cm longer than the width of the bottle. The skewer should be long enough to fit inside the straw and serve as a wheelbase.
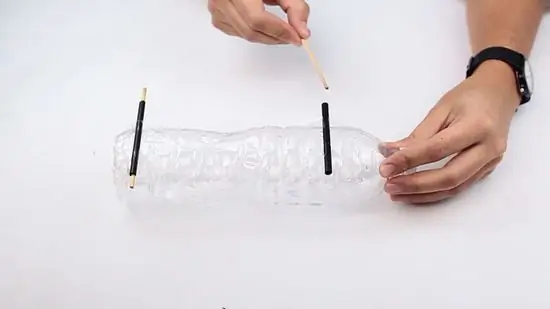
Step 5. Insert the skewer into the straw
The skewers will be about 1 cm longer than the straw on each end. You'll need to stick the wheels into the skewers later.
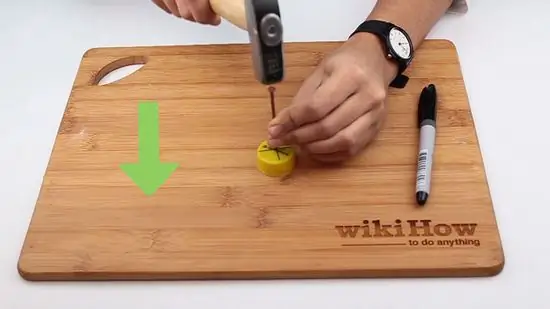
Step 6. Make the wheels of the car
Prepare 4 bottle caps. Draw a crossed line (X) on each lid to get the midpoint. Make a hole in the center of the cross of the X line using a nail and hammer.
- You can also make wheels out of cardboard by cutting them in circles.
- If you don't have a bottle cap, you can use a button instead. The buttons don't need to be punched, and make sure they're all the same size.
- If you're not comfortable using nails and a hammer, fill the bottle cap with a piece of sponge.
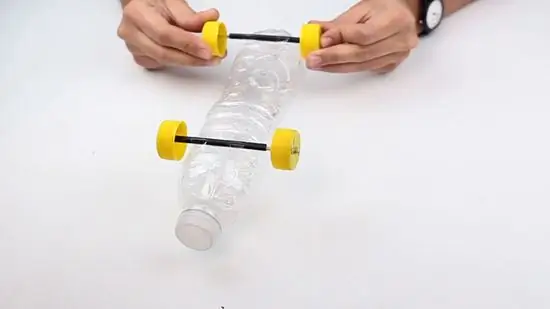
Step 7. Install the wheels
Insert the wheel into the end of the skewer, with the inside of the bottle cap on the outside. Do not place the wheel too close to the bottle as this may jam it. If the wheel is too loose, fix it in position by applying glue or clay.
- If you're using buttons, you can simply glue them to the ends of the skewers using hot glue.
- If you are inserting a piece of sponge into a bottle cap, just stick the sponge into the skewer.
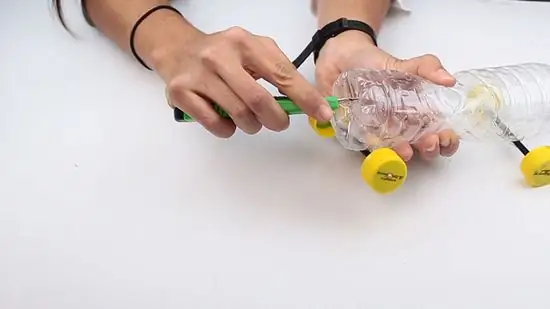
Step 8. Make an X-shaped hole on the side of the bottle, just below the dome
Position the "car" so the wheels are down. Look for a location at the top of the car just below the bottle dome. Make 2 X-shaped slits using a cutter. It is used to place the "engine" of the car.
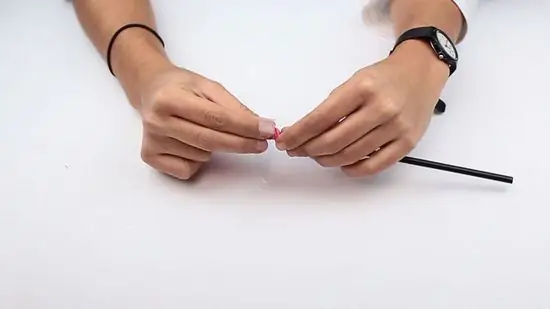
Step 9. Attach the balloon to the end of the straw, then wrap it with tape
Insert a straw (about 30 cm long) into the balloon. Wrap the tape around the end of the balloon tightly in a spiral. Make sure the tape is wrapped over the mouth of the balloon and attached to the straw. Also, make sure there is no gap between the mouth of the balloon and the straw. The straw should stick tightly inside the balloon.
Insert the bent part of the straw into the balloon
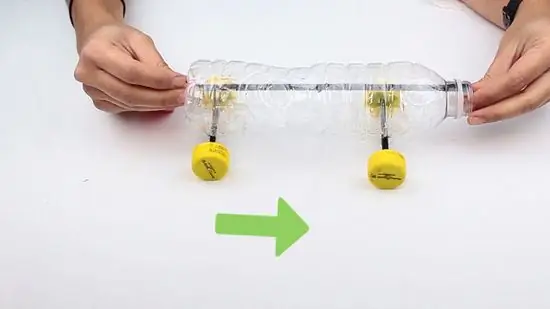
Step 10. Insert the straw into the bottle
Insert the other end of the straw into the X slit you made. Keep pushing the straw into the hole until it comes out of the mouth of the bottle. The end of the straw should stick out 2 cm from the mouth of the bottle. Cut the straws if they are too long.
The bent part of the straw will bend naturally inside the bottle
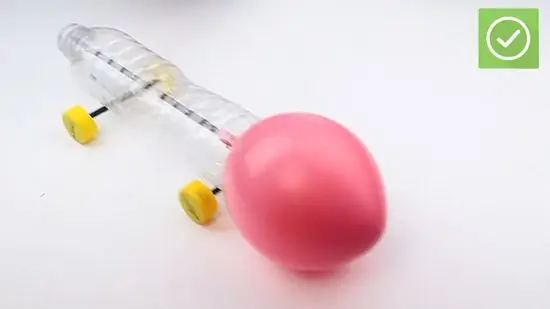
Step 11. Start the car
Blow on the straw to get air into the balloon. Clamp the straw to prevent air from escaping. Place the car on a smooth and even surface. Release the finger holding the straw, and watch the car move forward.
- Fill the balloon by blowing air through the suction hole at the end of the bottle.
- Pinch your finger on the end of the straw once the balloon is filled with air.
- When you're ready, release your finger from the straw and watch the car move.
Tips
- If this is a group or class assignment, ask the children to note whose car is moving the fastest or the furthest. This is a great way to demonstrate the scientific method and develop students' abilities to improve car performance.
- The best materials are round balloons, not small and long ones. The round balloon will compress the air and give it more power.
- The car can run faster if you use a lightweight box, such as a cardboard shoe box.
- Bigger wheels can make the car go further.
- You can put a straw on the back of the car. This will function as a rudder that can help the car move in a straight line.
- Make the car more aerodynamic (slippery and straight so it can penetrate the air easily and go faster). To do this, try experimenting with different designs and materials, such as materials for car bodies, wheels, and more.
- Use big balloons to make the car stronger and faster. The car can even fly when removed.
- You can also use old CDs to turn into wheels.
- You can make wheels from bottle caps.
- Don't place the balloon on the wrong side. If done, the car will run backwards.
Warning
- Use a balloon that does not contain latex if you are allergic to latex.
- Always supervise children when they use scissors and sharp objects.
- Be careful when using sharp pins. Bend the safety pins at right angles or in a circle using pliers. This is to prevent the safety pin from slipping off the axis of the straw.
- Don't over-inflate the balloon as it can make you dizzy and even faint.


