- Author Jason Gerald gerald@how-what-advice.com.
- Public 2024-01-19 22:11.
- Last modified 2025-01-23 12:04.
The Out of Office or “Outdoors” Assistant in Microsoft Outlook allows you to set up automatic replies that are sent to people who contact you while you are inactive or out of the office. The Out of Office feature is only available to Microsoft Exchange account users. However, even home users without an Exchange account can still create “out of office” templates and create rules for the program so that Outlook can send replies automatically.
Step
Method 1 of 4: Outlook 2013 and 2010
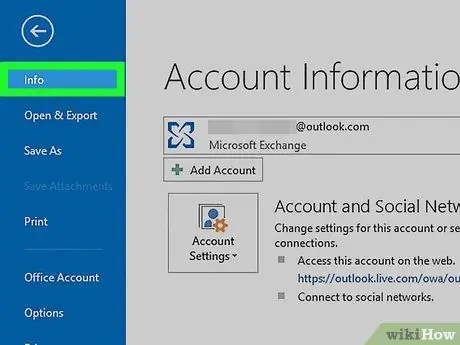
Step 1. Click the “File” menu, then select “Info” from the left sidebar menu
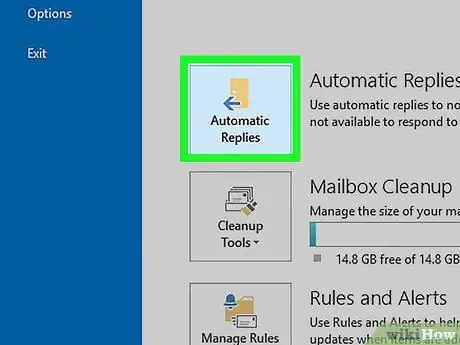
Step 2. Select “Automatic Replies (Out of Office)”
The “Automatic Replies” dialog box will open after that.
If this option is not available, you may be using a non-Exchange account. Follow the steps described in the fourth method in this article to set up automatic replies on non-Exchange accounts
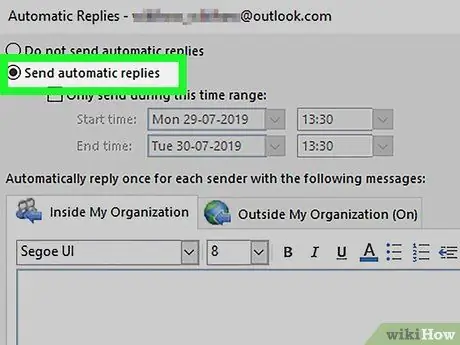
Step 3. Check the “Send Automatic Replies” option
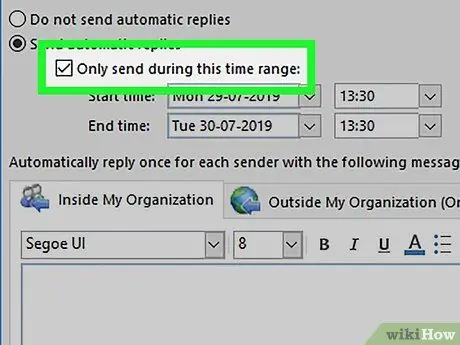
Step 4. Check the “Only send during this time range” option, then select the desired start time (“Start time”) and end time (“End time”)
For example, if you are planning to take a two-week vacation, select the length of your vacation.
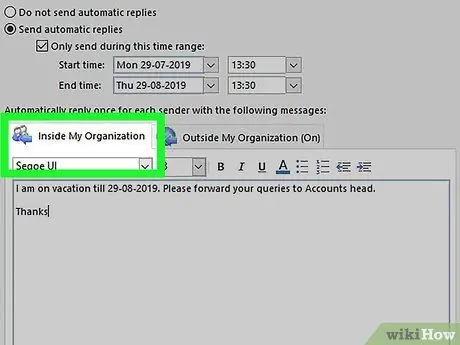
Step 5. Click the “Inside my organization” tab, then type in an automated message that will be sent to coworkers (in the same office or company) who want to contact you
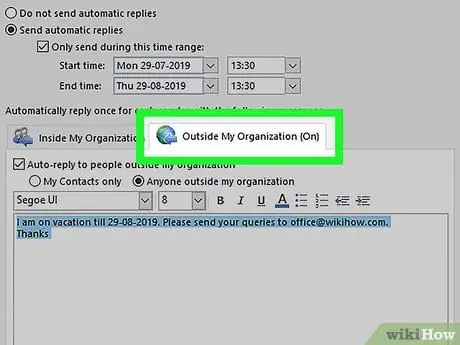
Step 6. Click the “Outside my organization” tab, then write an automated message that will be sent to people outside your organization or office who want to contact you
For example, write a message explaining that you are busy, and direct the sender of the message to ask questions and discuss issues with other contacts in the office.
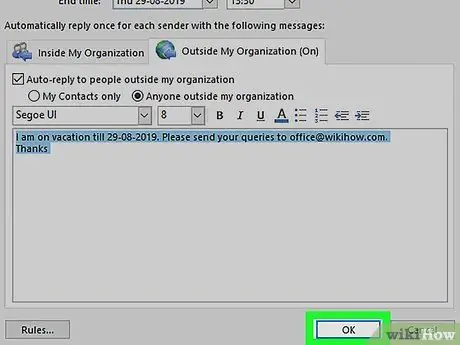
Step 7. Click “OK”
People who send you email when you're not in the office will receive an automated message that you create.
Method 2 of 4: Outlook 2007
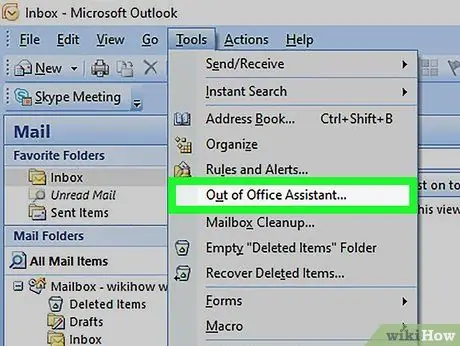
Step 1. Click the “Tools” menu, then select “Out of Office Assistant”
The “Out of Office Assistant” dialog box will open.
If this option is not available, you may be using a non-Exchange account. Follow the steps described in the fourth method in this article to set up automatic replies on non-Exchange accounts
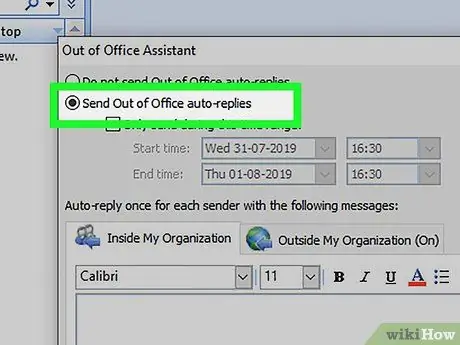
Step 2. Check the “Send Out of Office auto-replies” option
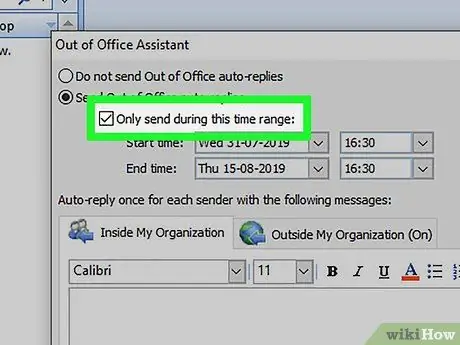
Step 3. Check the “Only send during this time range” option, then select the desired start time (“Start time”) and end time (“End time”)
For example, if you plan to be out of the office for a day, choose an appropriate date (your leave date or your no-show date, for example).
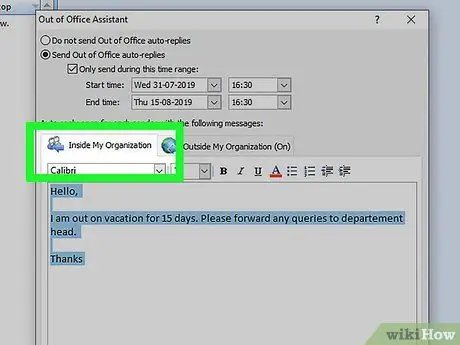
Step 4. Click the “Inside my organization” tab, then type in the automatic reply you want to send to coworkers (in the same office or company) who want to contact you
For example, explain that you are not in the office for one day, and the manager will be responsible for your work while you are away.
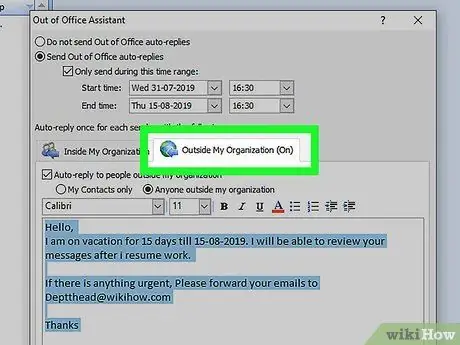
Step 5. Click the “Outside my organization” tab, then type in an automated message that you want to send to people outside your organization or office who want to contact you
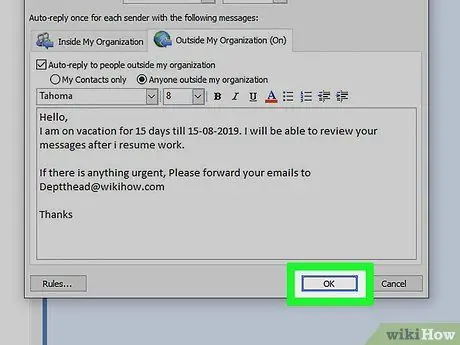
Step 6. Click “OK”
People who send you email when you're not in the office will receive an automated message that you create.
Method 3 of 4: Outlook 2003
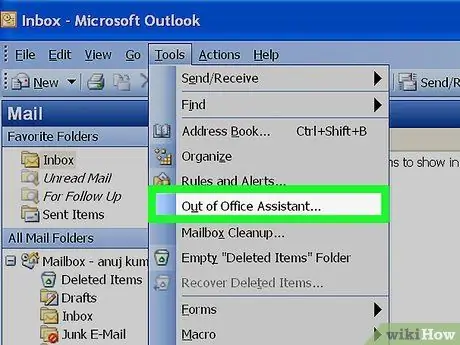
Step 1. Click the “Tools” menu, then select “Out of Office Assistant”
The “Out of Office Assistant” dialog box will open.
If this option is not available, you may be using a non-Exchange account. Follow the steps described in the fourth method in this article to set up automatic replies on non-Exchange accounts
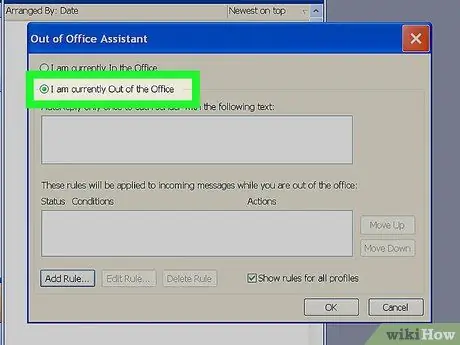
Step 2. Check the “I am currently out of the office” option
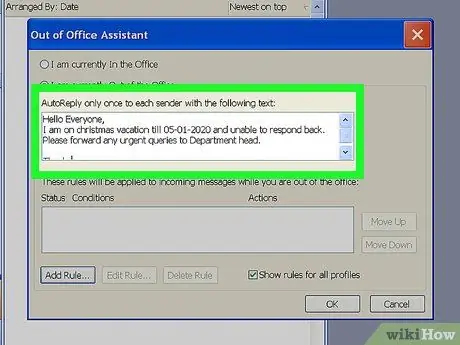
Step 3. Write the message you want to be sent automatically to people who contact you in the “AutoReply only once to each sender with the following text” field on the screen
People who email you will get automatic replies until you get back to work.
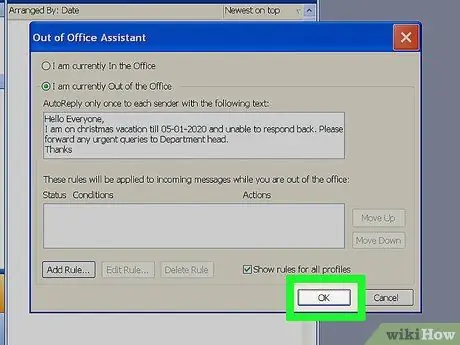
Step 4. Click “OK”
All parties who contact you via email will receive an automatic “Out of Office” message for an indefinite period of time, or until you repeat the first step in this method and select “I am currently in the office”.
Method 4 of 4: Non-Exchange Account
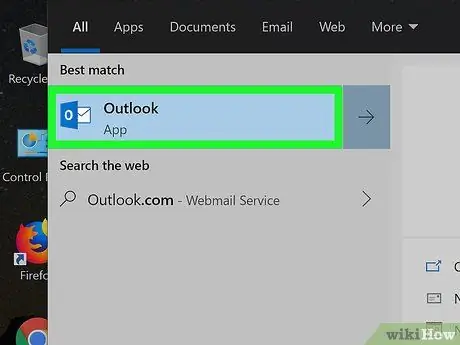
Step 1. Run Microsoft Outlook on the personal computer
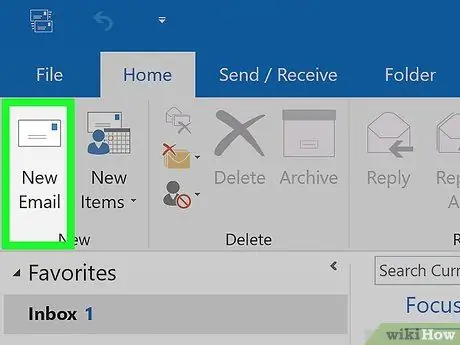
Step 2. Click the “Home” menu and select “New Email”
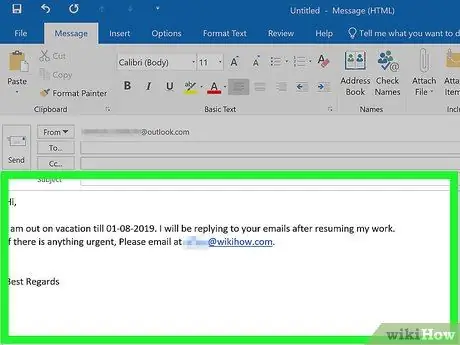
Step 3. Type the reply you want to be automatically sent to people who contact you in the body of the message
Later this message is used as your “out of office” template.
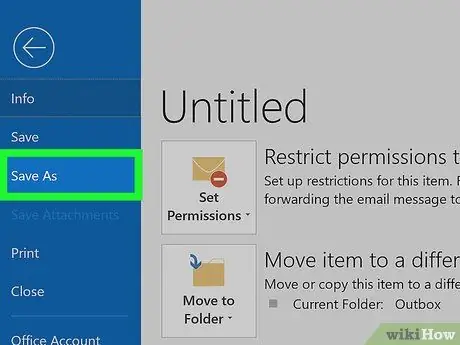
Step 4. Click the “File” menu and select “Save As”
The “Save As” dialog box will open afterwards.
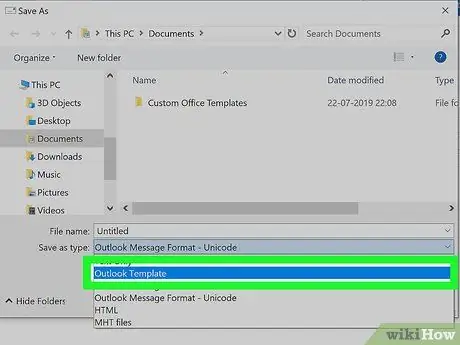
Step 5. Select “Outlook Template” from the “Save as type” drop-down menu
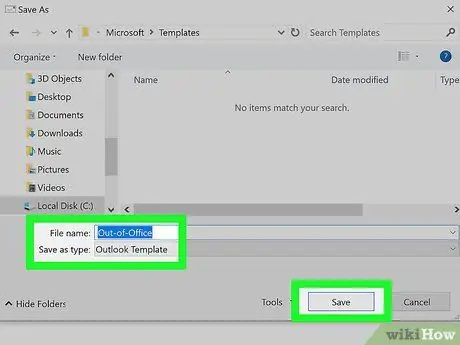
Step 6. Type in the name of the message template, then click “Save”
This template can now be used whenever you cannot be contacted via email on your personal Outlook account.
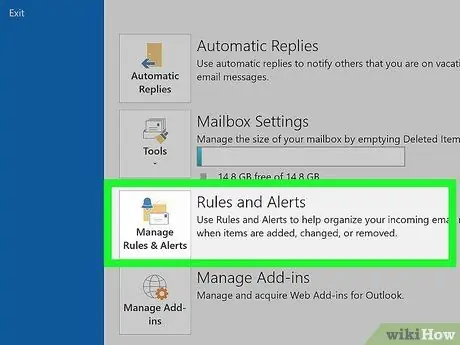
Step 7. Click “Home”, select “Rules”, and select “Manage Rules and Alerts”
In order for the template to be automatically sent to the sender of the message when you are not reachable, you need to create a rule that instructs Outlook to automatically reply to letters received using the template.
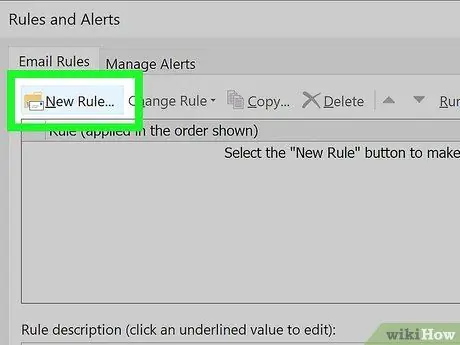
Step 8. Select “New Rule”, then select “Apply rules on messages I receive” under the “Start from a blank rule” section
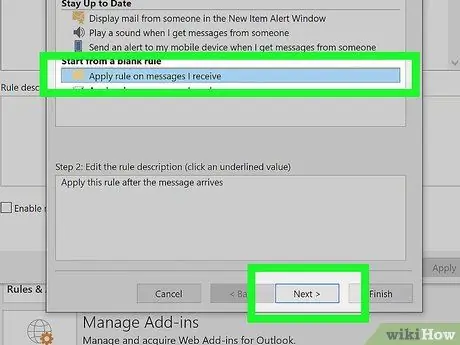
Step 9. Click “Next”, then select “Next” again to create a rule
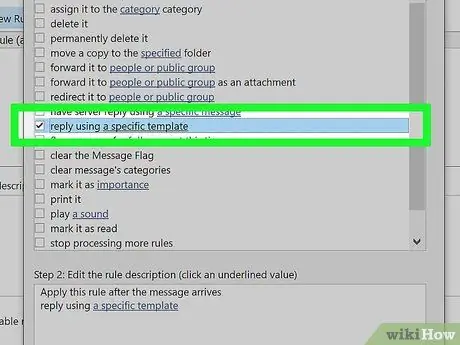
Step 10. Check the “reply using a specific template” option under the “What do you want to do with the message? ”.
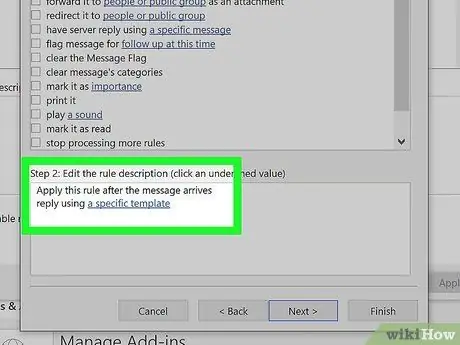
Step 11. Check the “a specific template” option under the “Edit the rule description (click an underlined value)” section
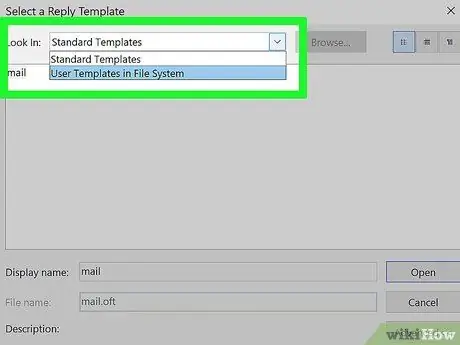
Step 12. Select “User Templates in File System” from the “Look In” drop-down menu
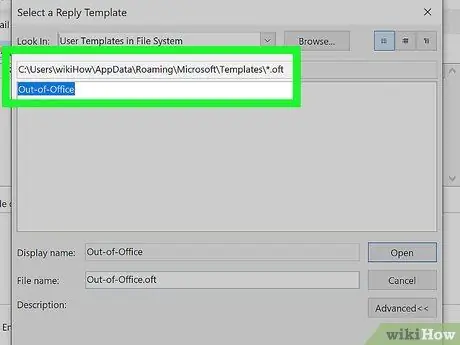
Step 13. Select a pre-made template to use as an automatic “out of office” reply, then select “Open”
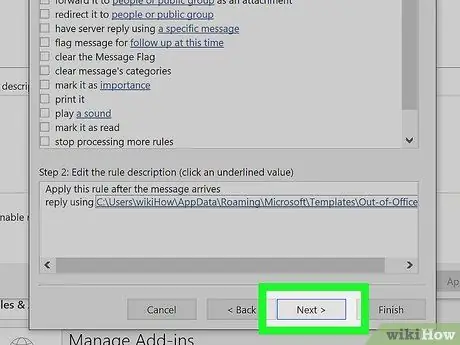
Step 14. Click “Next”, then add exceptions if necessary
For example, you can forward email from one particular sender to another email account.
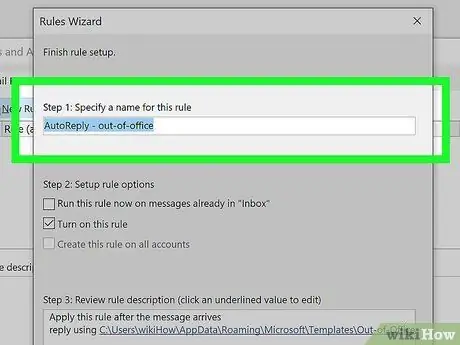
Step 15. Click “Next”, then type in the name of the auto-reply rule that was created
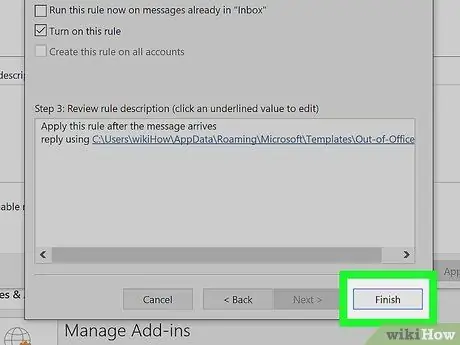
Step 16. Click “Finish”
Anyone who sends you an email will get an automatic message from the template you create.


