- Author Jason Gerald [email protected].
- Public 2024-01-15 08:07.
- Last modified 2025-01-23 12:04.
This wikiHow teaches you how to create a new file (such as a document) on your computer. Windows computer users can create basic files through File Explorer. All computer users (regardless of the operating system) can create new files through the " File " or " New " menu in the program to be used.
Step
Method 1 of 3: On Windows Computer

Step 1. Open File Explorer
Click the File Explorer app icon, which looks like a yellow and blue folder on the taskbar at the bottom of the screen.
You can also use the keyboard shortcut Win+E to open File Explorer
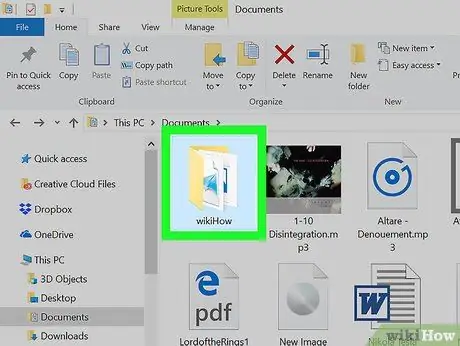
Step 2. Go to the folder you want to set as the file creation location
On the left side of the File Explorer window, click the folder where you want to save the computer files you want to create.
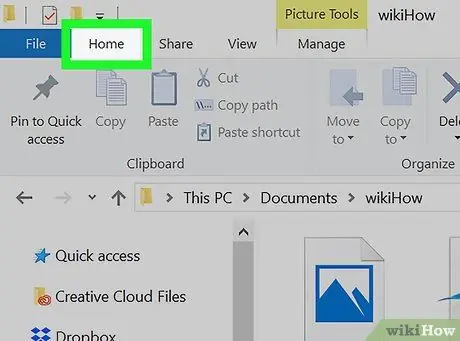
Step 3. Click the Home tab
It's a tab in the upper-left corner of the File Explorer window. The toolbar will appear from the top of the File Explorer window.
You can also right-click an empty space in the window to display a drop-down menu
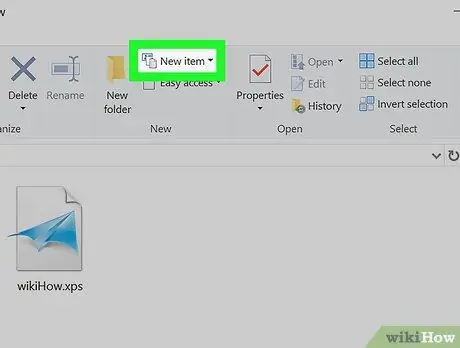
Step 4. Click New item
It's in the " New " section of the toolbar. A drop-down menu will be displayed.
If you use the right-click menu, select " New ” from the drop-down menu to display the pop-out menu
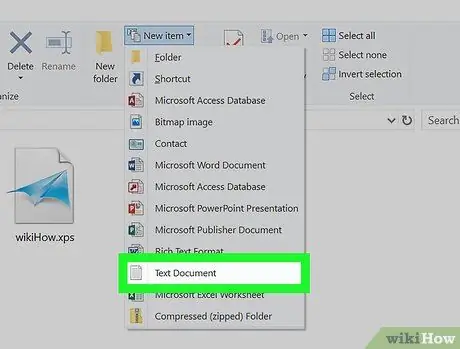
Step 5. Select the file type
On the drop-down menu, click the type of file that you want to create. The file will be displayed in the selected folder and its name will be marked.
If the type of file you want to create is not shown in the menu, read the last method to learn more about how to create files directly through the respective program
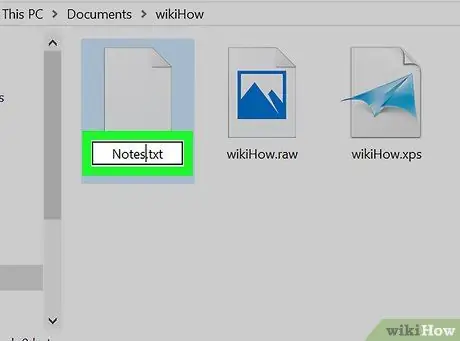
Step 6. Enter a file name
When the name is marked, type any name for the file you want to create.
Step 7. Press Enter key
The name will be saved and the file will be created in the selected directory/folder.
You can double-click the file to open it
Method 2 of 3: On Mac Computer
Step 1. Understand the types of files that can be created
Unlike Windows, Macs don't allow you to create new files without opening the respective program. This means that if you want to create a Microsoft Word document, you must open the Microsoft Word program). However, you can still create folders.
If you want to create a file or document, read the last method

Step 2. Open
Finders.
Click the Finder icon, which looks like a blue face in your computer's Dock.
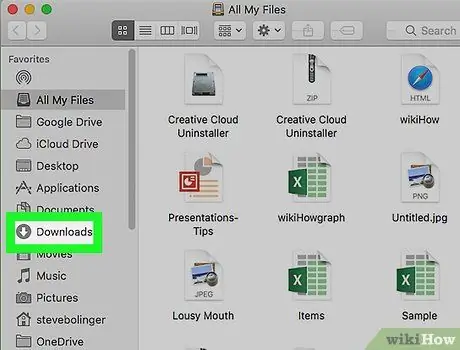
Step 3. Visit the directory you want to add the folder to
In a Finder window, open the directory to which you want to add the new folder.
For example, to create a new folder in the “Downloads” folder, click “ Downloads ” on the left side of the Finder window.
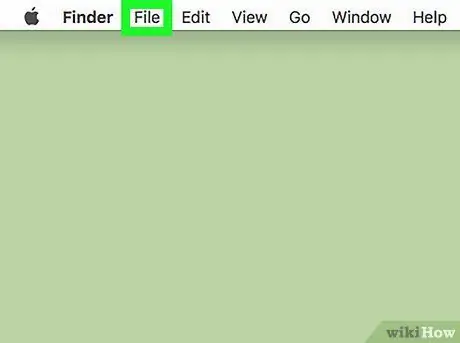
Step 4. Click File
It's on the left side of the menu bar, at the top of your computer screen. A drop-down menu will appear after that.
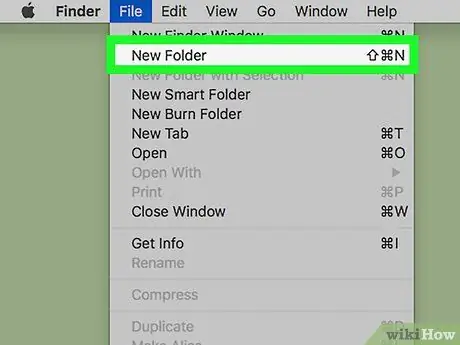
Step 5. Click New Folder
This option is in the drop-down menu. After that, a new folder will be added to the selected directory.

Step 6. Enter a name
When the folder name is marked (automatically after the folder is created), type the desired name for the new folder.
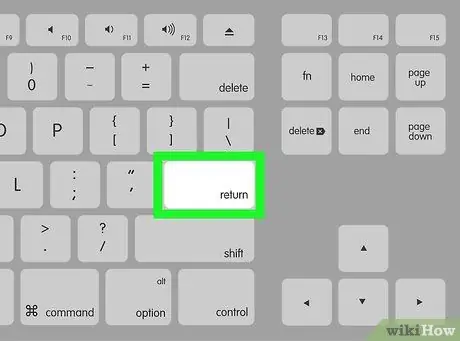
Step 7. Press the Return key
The name will be saved and a new folder will be created in the selected directory.
Method 3 of 3: Using the Menu in Programs

Step 1. Open the program you want to use
Click or double-click the icon of the program you want to use to create the file, or follow one of the following steps to locate the program:
-
Windows - Click the menu “ Start ”
type the name of the program you need to open, and click the appropriate program at the top of the list of search results.
-
Mac - Click “ Spotlight ”
type the name of the program you want to open, and double-click the program at the top of the search results.
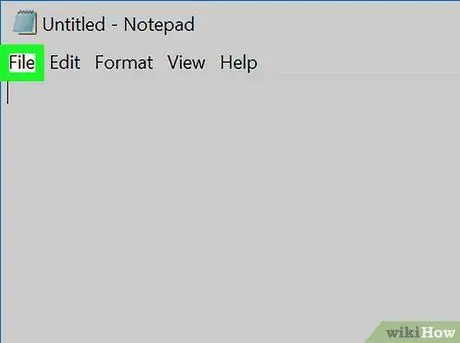
Step 2. Click File
It's usually in the upper-left corner of the program window (Windows) or screen (Mac). A drop-down menu will appear after that.
Some programs (eg Paint 3D on Windows computers) have the option “ New " or " New Project ” on the opening page. If an option like this is available, skip this step.
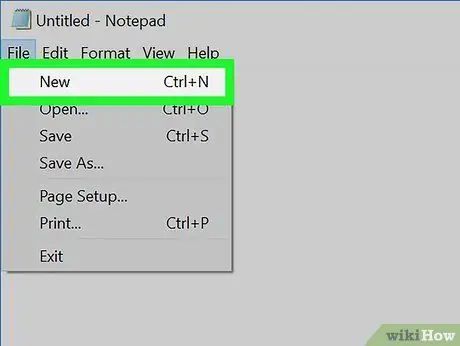
Step 3. Click the New option
This option is usually in the drop-down menu “ File ”, but maybe you can see it on the startup/launch page of the program.
Some programs, such as Adobe CC, require you to enter project details or select a template before you move on to the next step
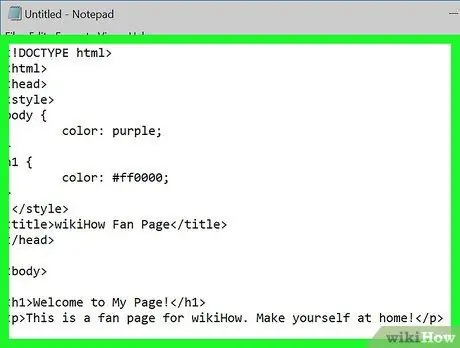
Step 4. Create files as needed
If you need to edit or do something to the file (eg add text) before saving it, take that step at this stage before moving on to the next.
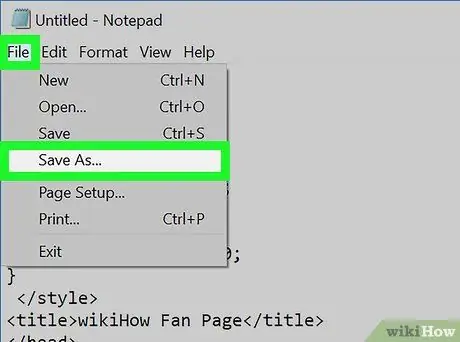
Step 5. Open the "Save As" menu
The easiest way to access this menu on any computer is to press the shortcut Ctrl+S (Windows) or Command+S (Mac).
- You can also click on the " File " and choose " Save As ”.
- If the menu doesn't appear after you press Ctrl+S or Command+S, you may have created the file during the option selection process. New " Things like this usually happen in Adobe CC programs.
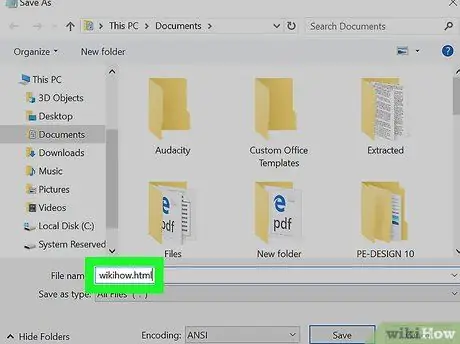
Step 6. Enter a file name
In the " File name " (Windows) or " Name " (Mac) field in the “Save As” window, type the name you want to use to identify the file.
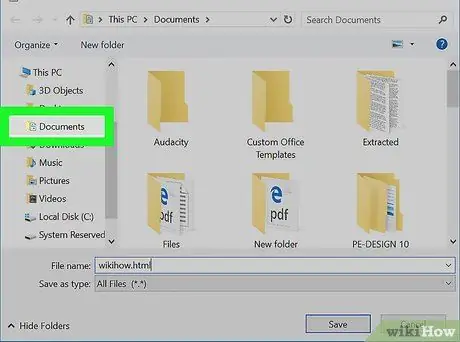
Step 7. Select a file storage location
Click a folder on the left side of the window to select it as the location to save the file.
- For example, to save a file on the desktop, click the “ Desktop ”.
- On a Mac, you'll need to click the " Where " drop-down box and select a file storage folder from the drop-down menu that appears.
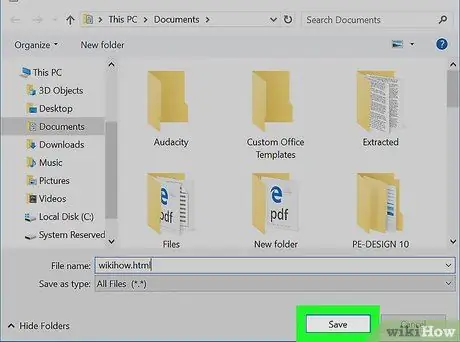
Step 8. Click Save
It's in the lower-right corner of the window. After that, the file will be created and saved in the selected directory with the specified name.


